
 admin
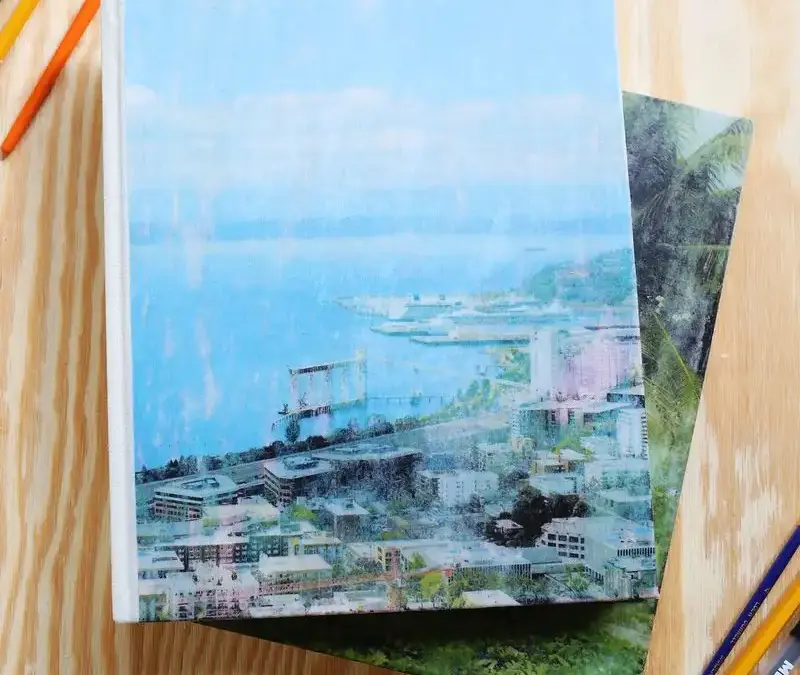
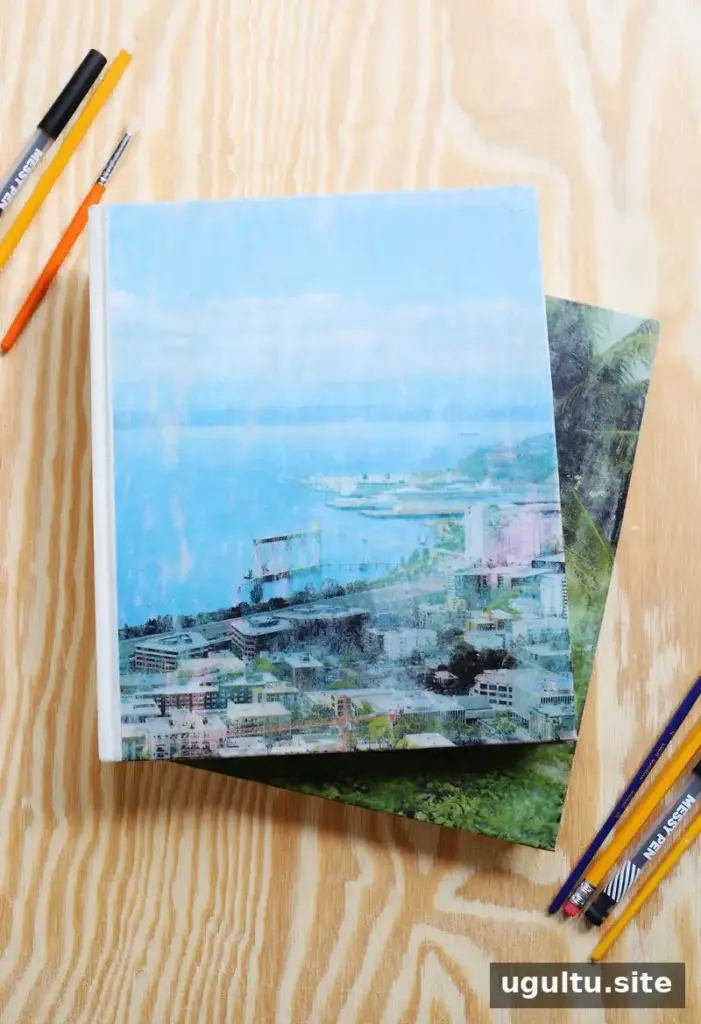
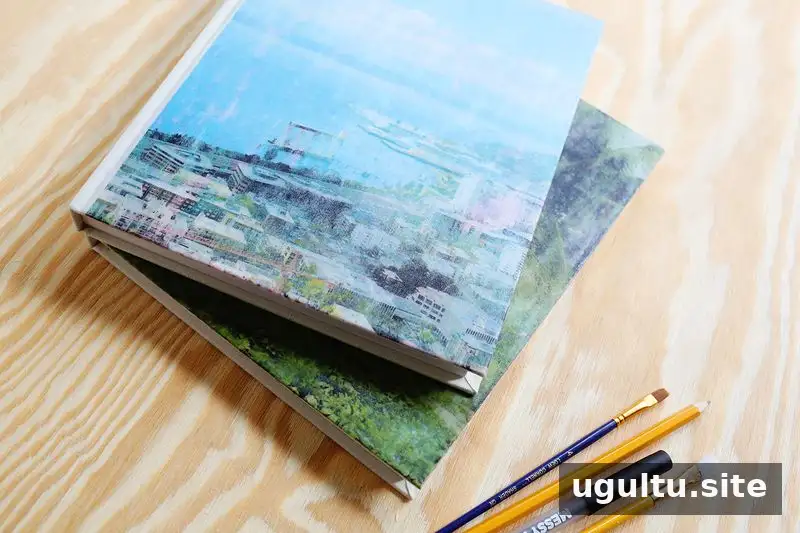
Fabric photo transfer journals turn printed images into textured, personalized covers. The process uses gel medium to transfer an image from copy paper onto fabric, creating a finish that can look softly weathered. You can use a ready-made fabric journal or cover a plain journal yourself.
This method also works for other fabric-covered display projects. Since the paper is rubbed away by hand, the final image may have small imperfections; a practice piece can help you learn how much pressure to use before working on your journal.
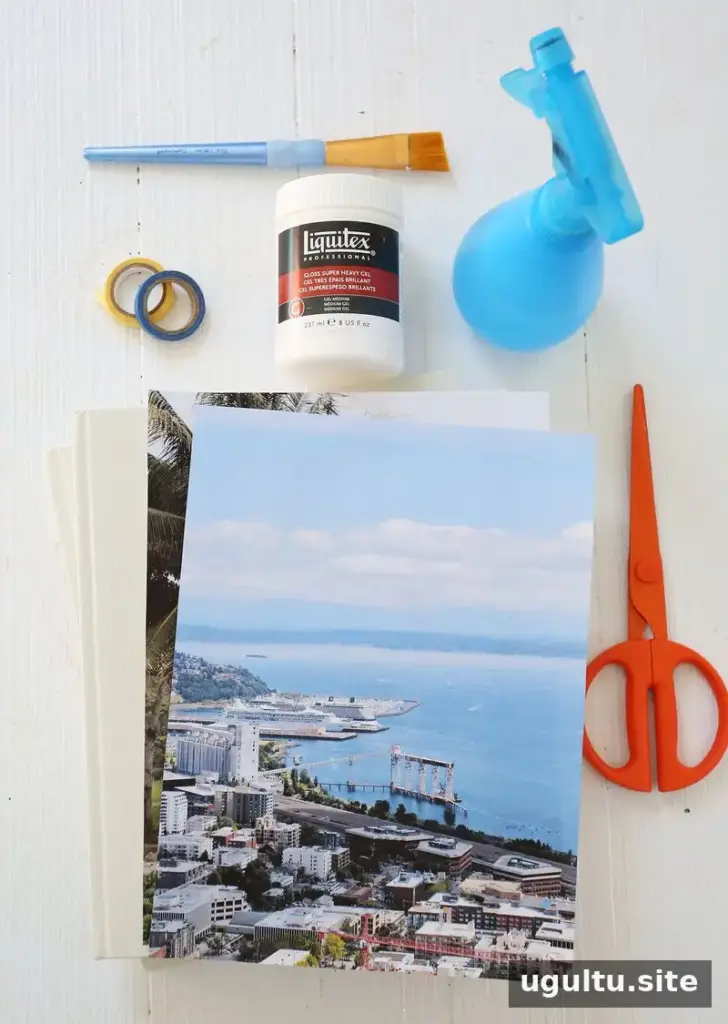
Supplies for fabric photo transfer journals
- A fabric journal, store-bought or covered with fabric
- Heavy gloss gel medium
- Paintbrush
- Scissors
- Copy paper and an inkjet printer
- Water spray bottle with a mist setting
- Washi tape, optional
Choose a journal with a fabric surface that can be coated evenly. Before starting, check that the cover is clean and dry, and protect your work surface from gel medium and water.
How to transfer a photo onto a fabric journal
1. Print and position the image
Print your chosen image on copy paper at a size that suits the journal cover. An image that fills most or all of the cover can create a bold result. Remember that the transfer will appear reversed. Flip the image before printing if it contains text or another detail that needs to read in its original direction.
2. Apply gel medium and let it dry
Brush a generous, even coat of heavy gloss gel medium over the printed image. Press the printed side against the fabric, positioning it carefully before it adheres. Smooth it into place and let it dry completely for at least 2–3 hours. Drying time matters: removing the paper too soon can affect the transfer.
3. Dampen and remove the paper
Set the spray bottle to a fine mist and lightly dampen the paper. Rub the paper away gently with your fingers to reveal the image underneath. Work gradually, using light pressure. If the paper starts to dry, mist it again rather than scrubbing harder.
4. Finish and seal the cover
When most of the paper has been removed, mist the surface once more to bring out the colors. Seal the transferred image with another coat of heavy gloss gel medium. Add washi tape along an edge if you like, or leave the cover plain for a simpler look.
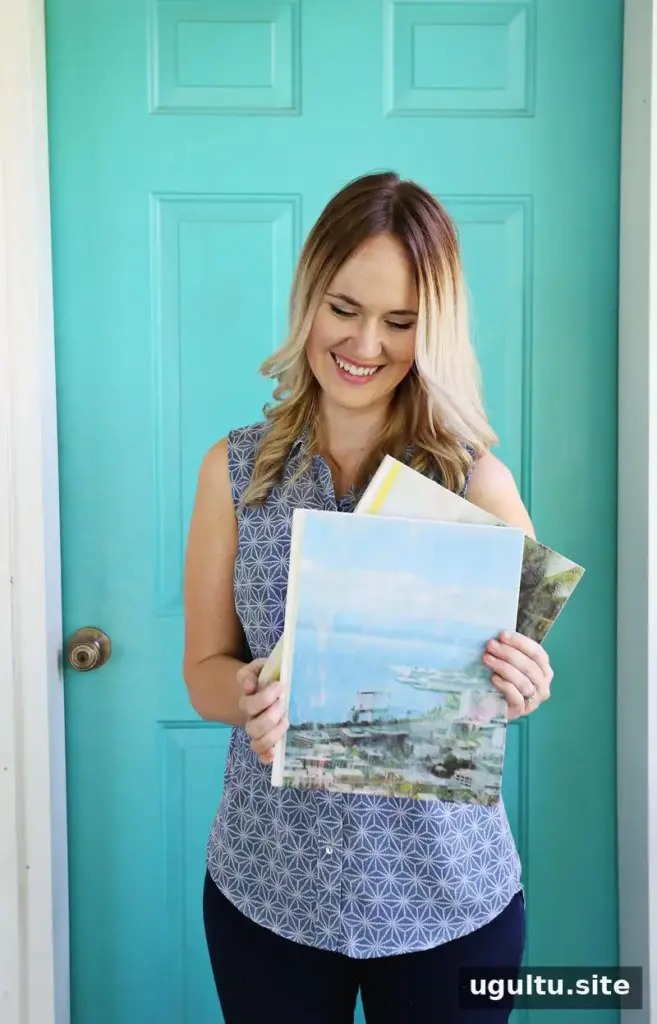
Tips for a better photo transfer
- Practice on a spare piece of fabric or an inexpensive journal before transferring your favorite image.
- Use a light touch when rubbing. Too much pressure can lift parts of the image along with the paper.
- Expect some variation: a slightly distressed appearance is part of the handmade look.
- Landscape photos can work especially well, but you can choose any image that fits the cover and your intended style.
Make a personalized fabric photo transfer journal
Fabric photo transfer journals are a practical way to give a notebook a custom cover, whether you use a travel photo or another image with personal meaning. Allow enough drying time, reverse text before printing, and practice the paper-removal step to get a feel for the technique. The finished journal can also make a thoughtful handmade gift.


