
 admin
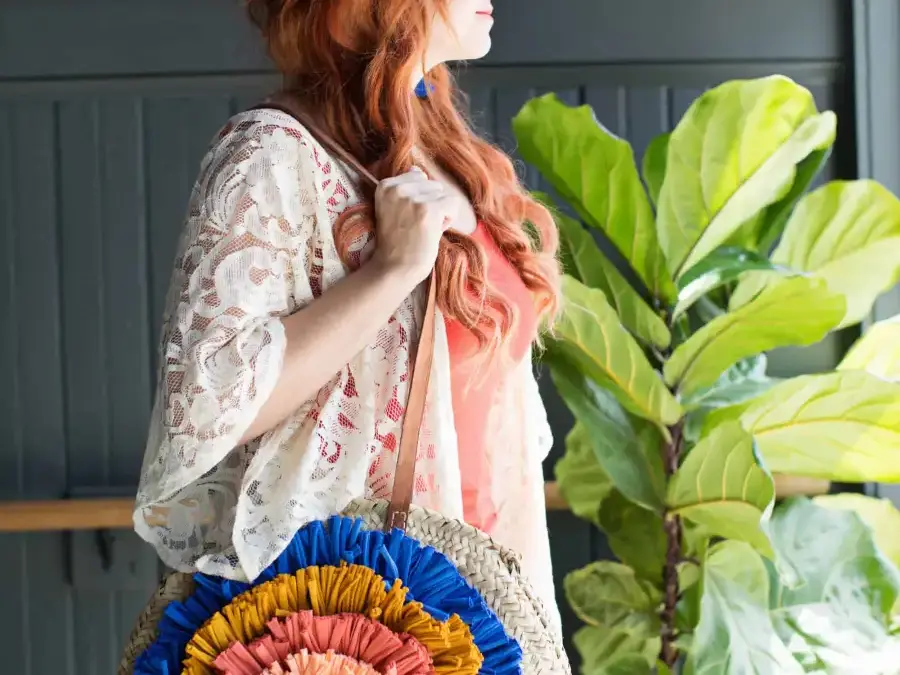
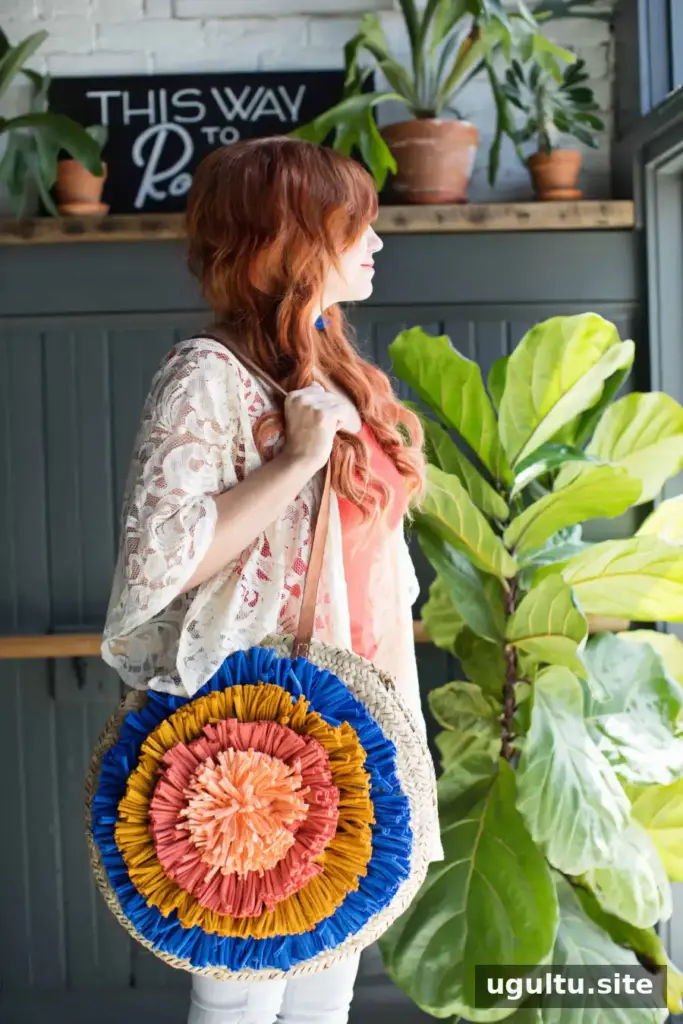
This fabric tassel bag DIY transforms a basic round seagrass tote into a bright, textured accessory. Using fabric yarn in several colors, cotton yarn, and a needle, you can add layered tassels in a circular pattern. Set aside an evening for making the tassels and attaching them carefully; preparing the strands in batches helps make the project easier.
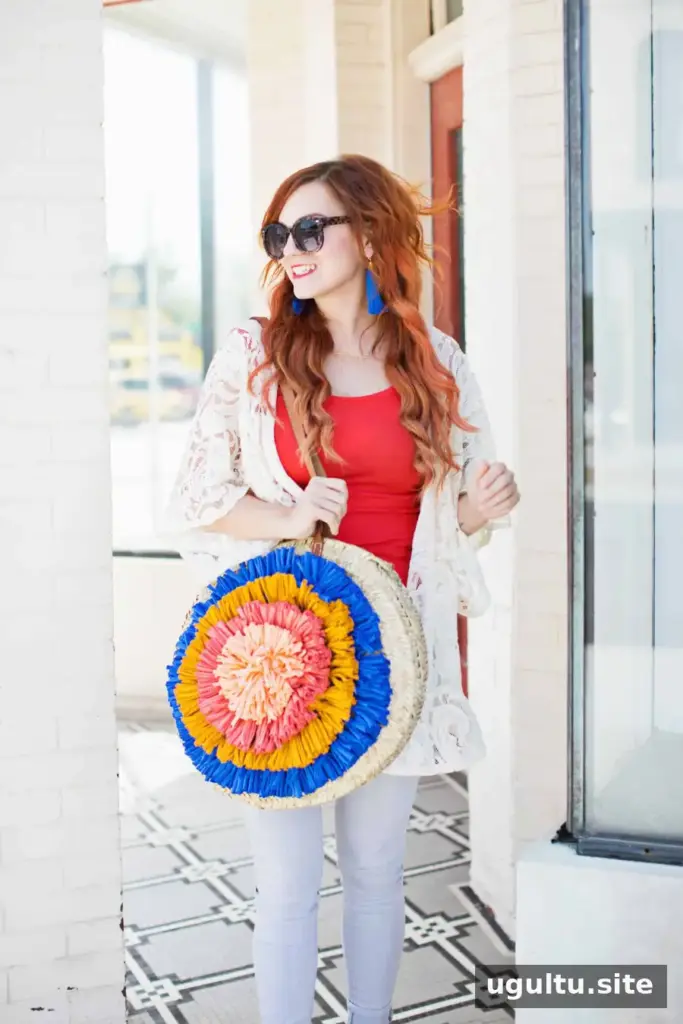
The circular arrangement is one way to decorate a tote or backpack with tassels. Choose colors that work together, and plan the placement before sewing so the rows look balanced.
Supplies for the fabric tassel bag DIY
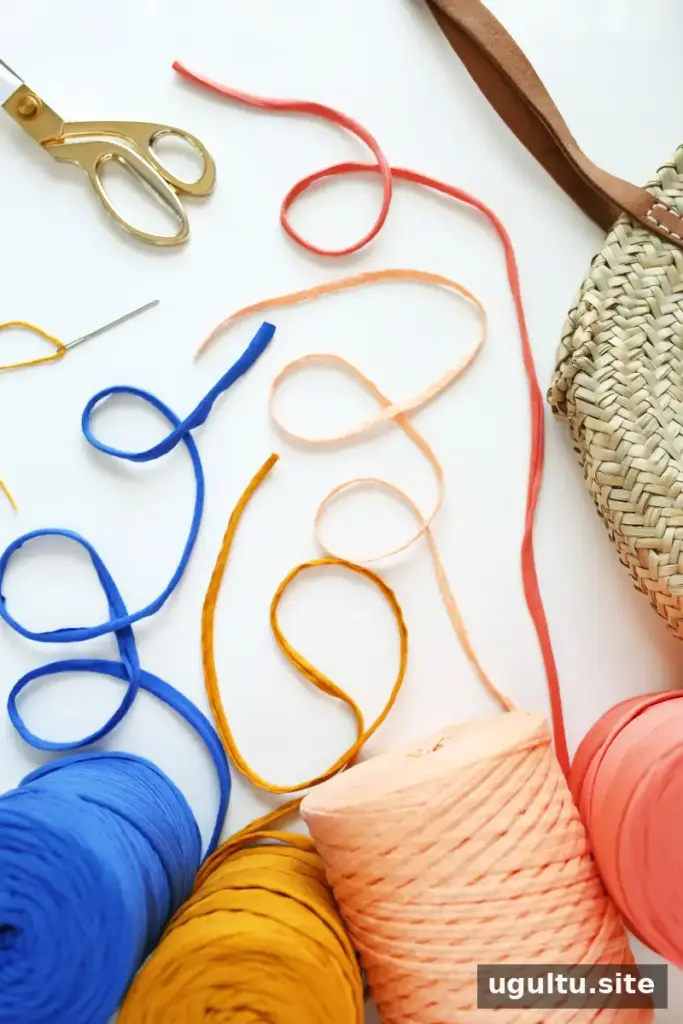
- One round seagrass tote bag
- Three or four colors of fabric yarn, or yarn made by cutting up a colorful jersey T-shirt. Plan on about half a skein for the outer two colors and less for the inner two; the amount depends on the bag and tassel spacing.
- Coordinating cotton yarn
- One 3-inch metal tapestry needle
- Scissors
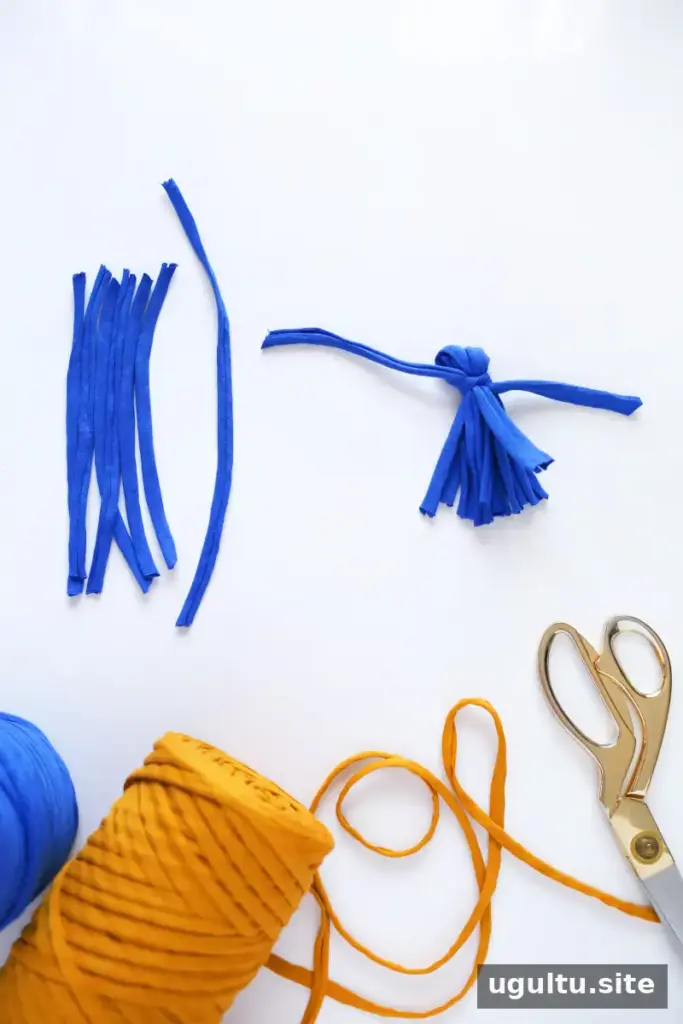
You will need many tassels, so cutting the yarn in batches can save time. For each standard tassel, prepare six strands about 7 inches long and one 8-inch strand for tying. To cut the six shorter strands quickly, wrap the yarn gently around the width of four fingers six times, then cut near the starting end. Make a separate pile of longer tie strands.
Make the fabric tassels
Fold six strands in half. Use one longer strand to tie them tightly near the fold with a double knot, forming the tassel head. Fold the two ends of the tie strand down and trim them so they blend with the tassel. Repeat for the remaining tassels.
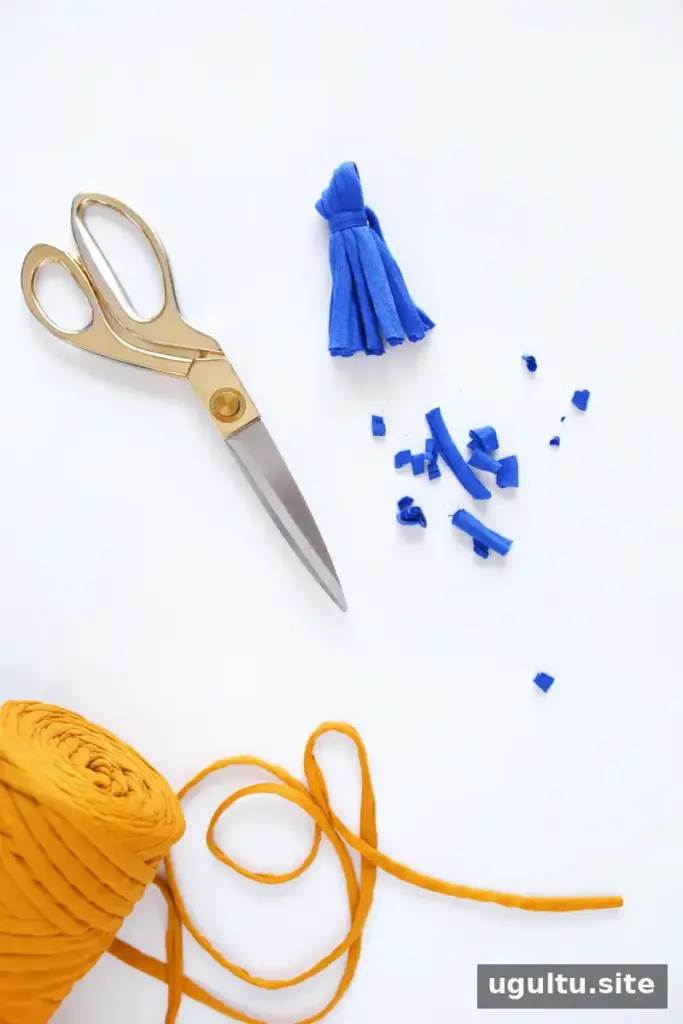
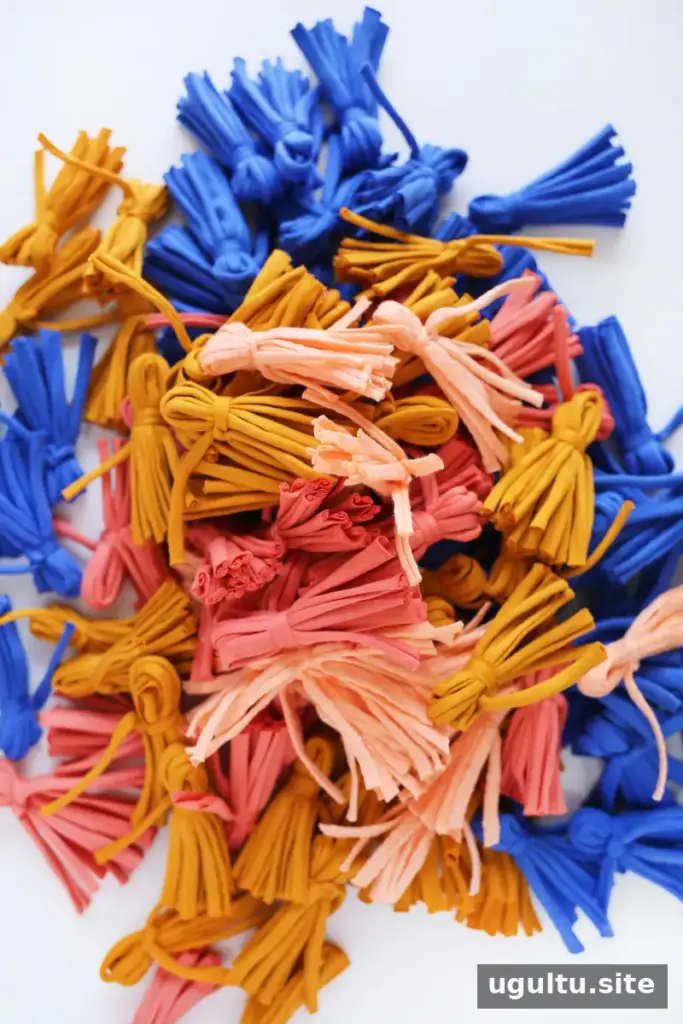
Make the outer-color tassels first and arrange them on the tote before attaching them. This gives you a practical count for the first row and helps prevent making more than you need. Keep the tassels close enough to create a full look, while leaving room to sew them securely.
Attach the outer row
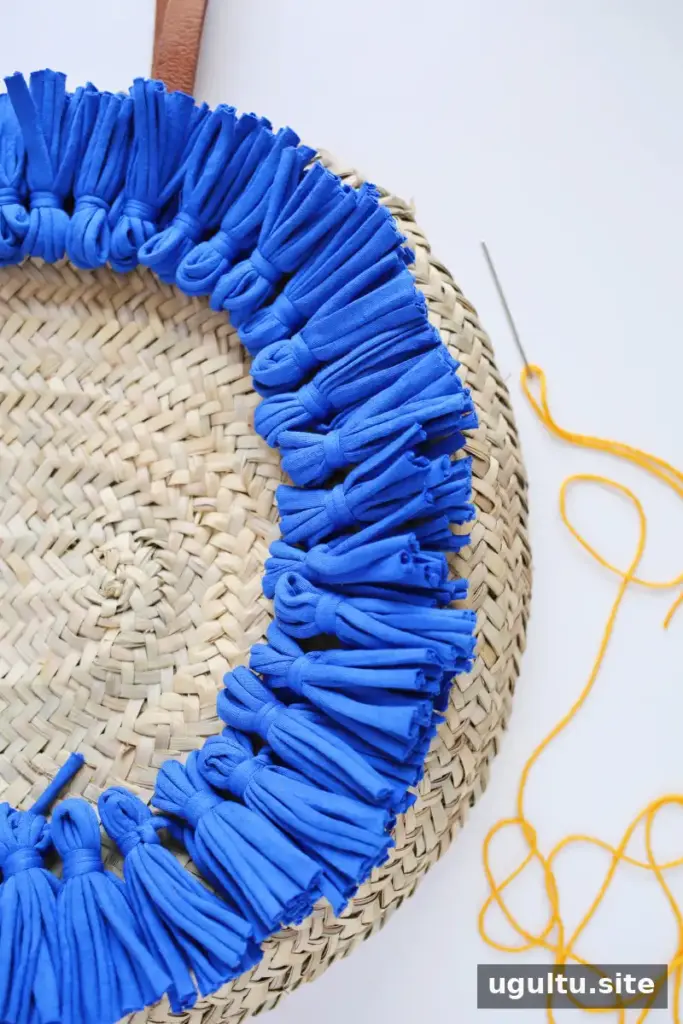
Position the outer row to decide how far it should sit from the bag’s edge and how much space to leave between tassels. Thread the needle with an arm’s length of cotton yarn. Begin from inside the tote and push the needle through to the outside, taking care not to split the seagrass strands.
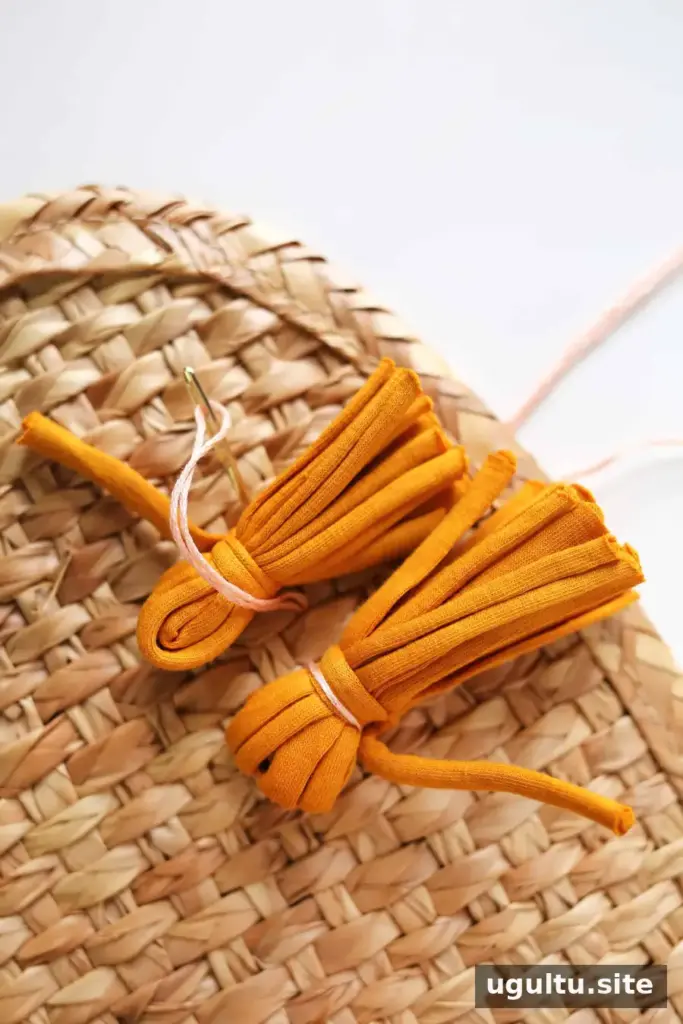
Place the first tassel to the left of the cotton yarn. Bring the yarn over the tassel head, where its tie strand sits, then stitch down through the bag and secure the yarn inside with a double knot. Stitch back up about 2 inches to the right of the first tassel. Position the next tassel to the left of the yarn, wrap the yarn over its head, and stitch down and back up about 2 inches to the right.
Continue around the tote in a clockwise direction, stitching over each tassel toward the left. This method helps hold the tassels in place and keeps them from twisting freely. When the working yarn runs short, knot it firmly inside the bag and start with a fresh length.
Add inner rows and finish the center
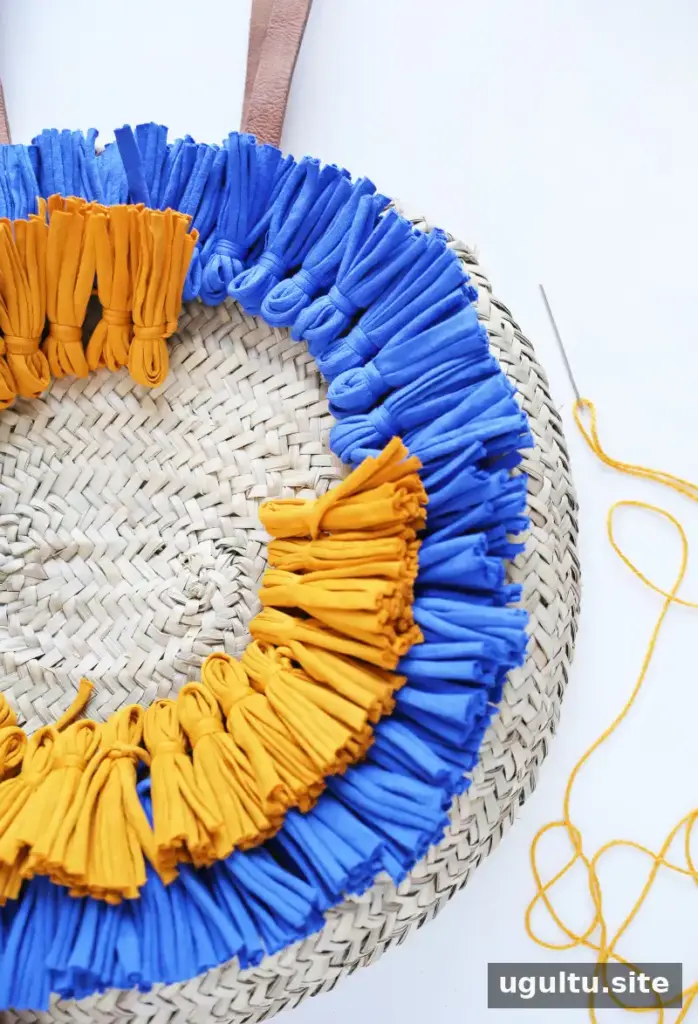
Place the second row about 1 to 1.5 inches inside the outer row. It will need fewer tassels because it covers a smaller area. Attach the row using the same stitching method.
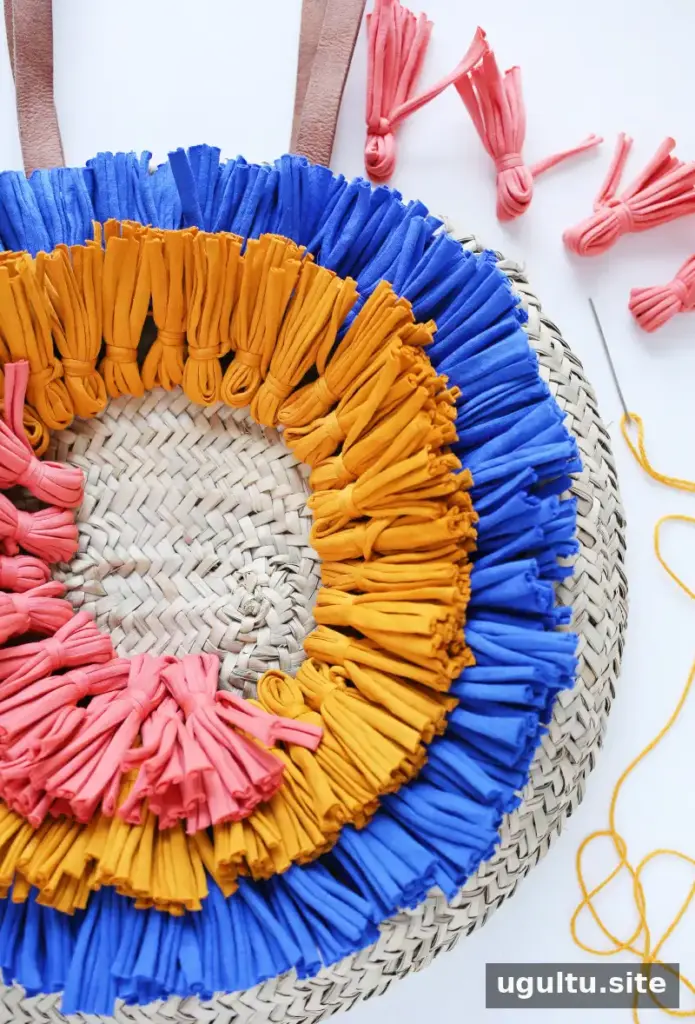
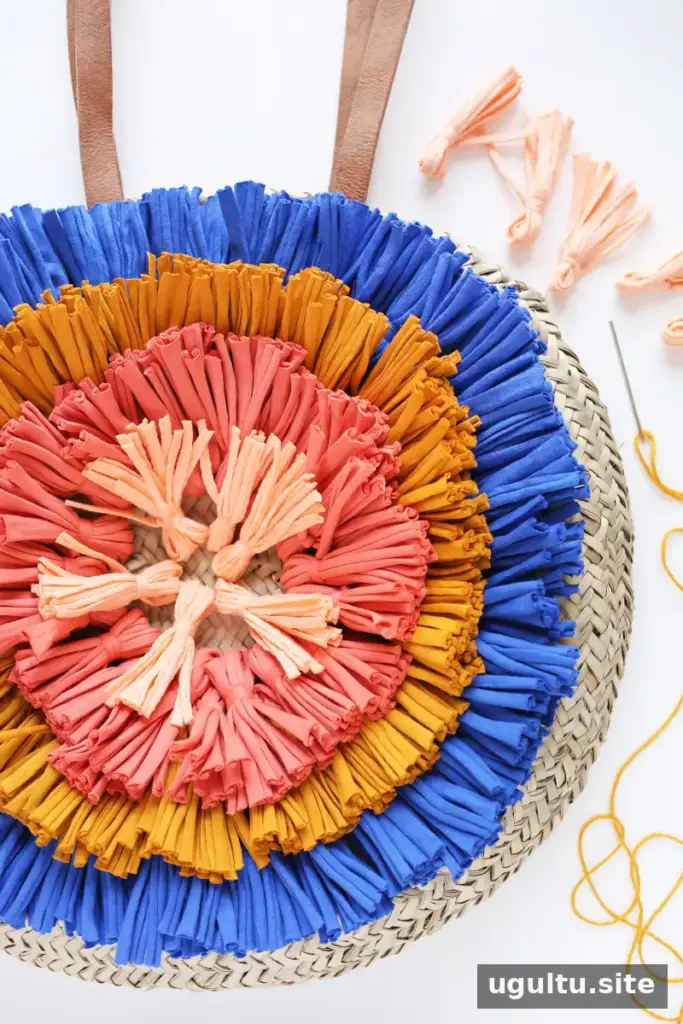
By the fourth row, the remaining space may be too small for the same arrangement. Bring the tops of neighboring tassels together and stitch them in place. Fill the gaps with narrower tassels made from three or four strands. Trim these about half an inch shorter than the standard tassels so their ends can sit at a similar length.
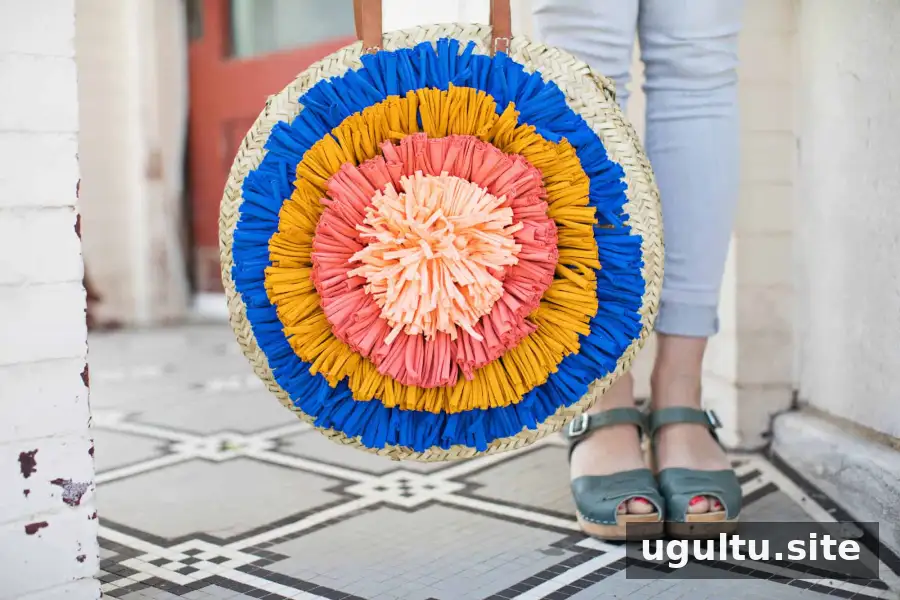
To cover the center, cut about 14 to 18 strands of the inner color, unless you plan to add a fifth row. Tie them tightly at the center with a single knot, as you would when making a pom-pom. Fold the tassel ends on both sides toward the knot and use the loose ends to tie another knot, creating a fuller shape. Trim the ends, then stitch the center piece firmly onto the tote.
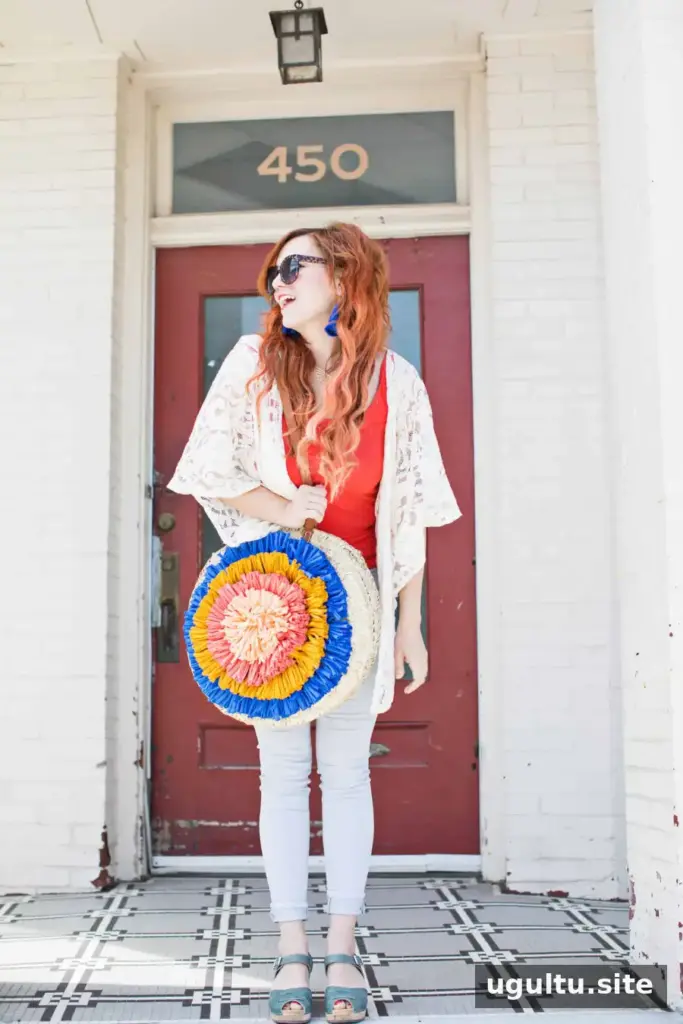
Fabric yarn gives the tassels enough structure to hold their circular shape, though colored raffia or other yarn can create a different texture. Once the stitching is complete, check that the knots are secure and the tassels are evenly trimmed. The finished tote can hold everyday or beach essentials. This fabric tassel bag DIY is also easy to personalize by changing the color combination or adjusting the number of rows. –Rachel


