
 admin
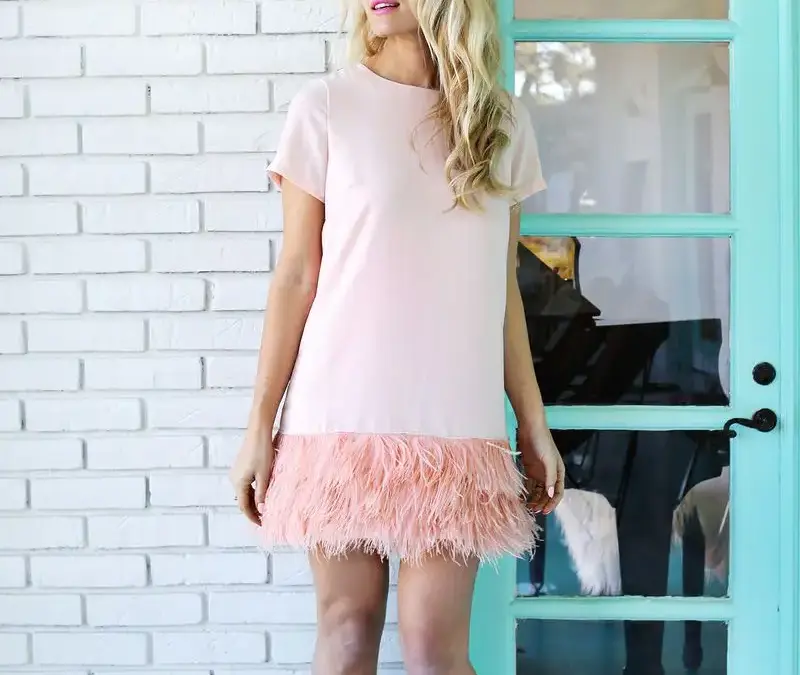
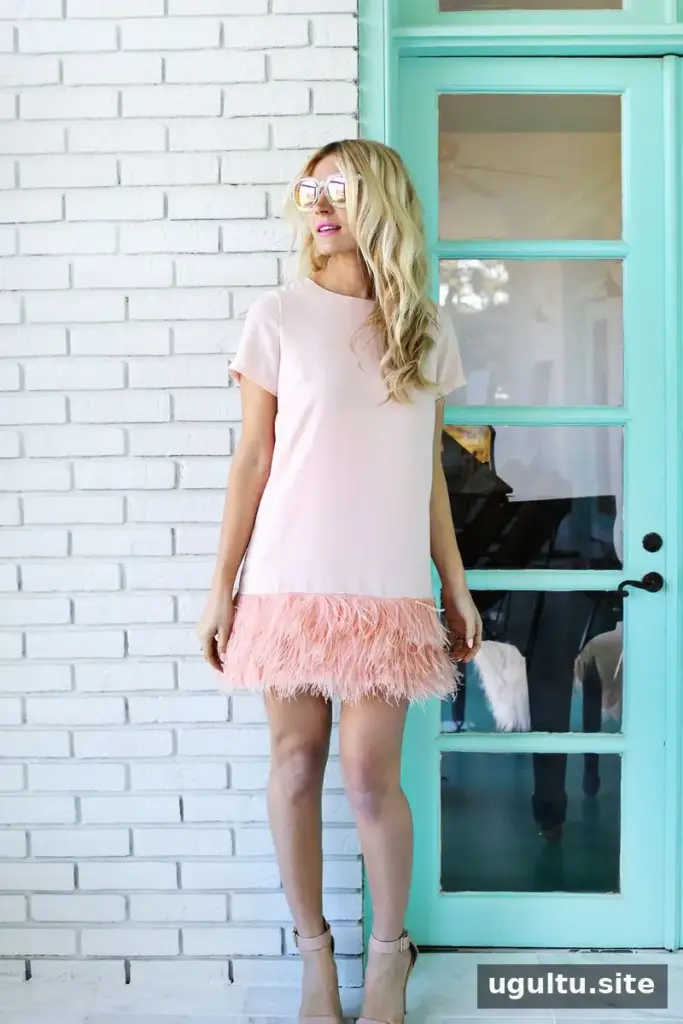
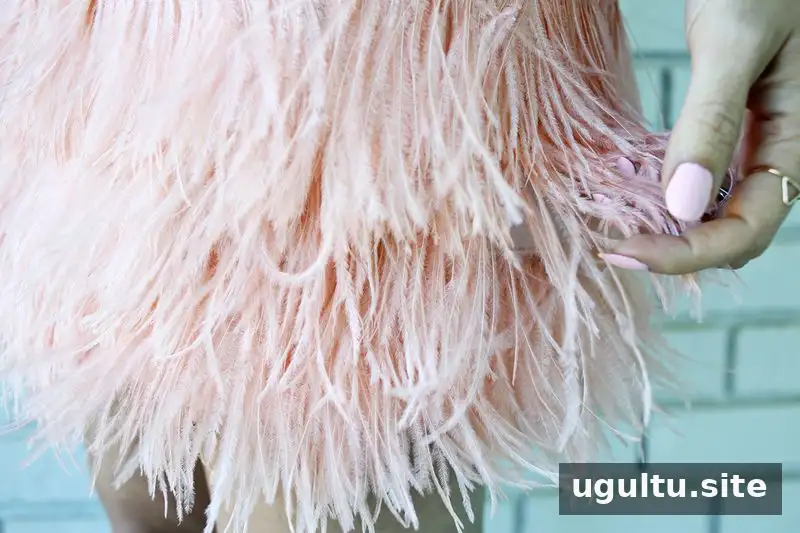
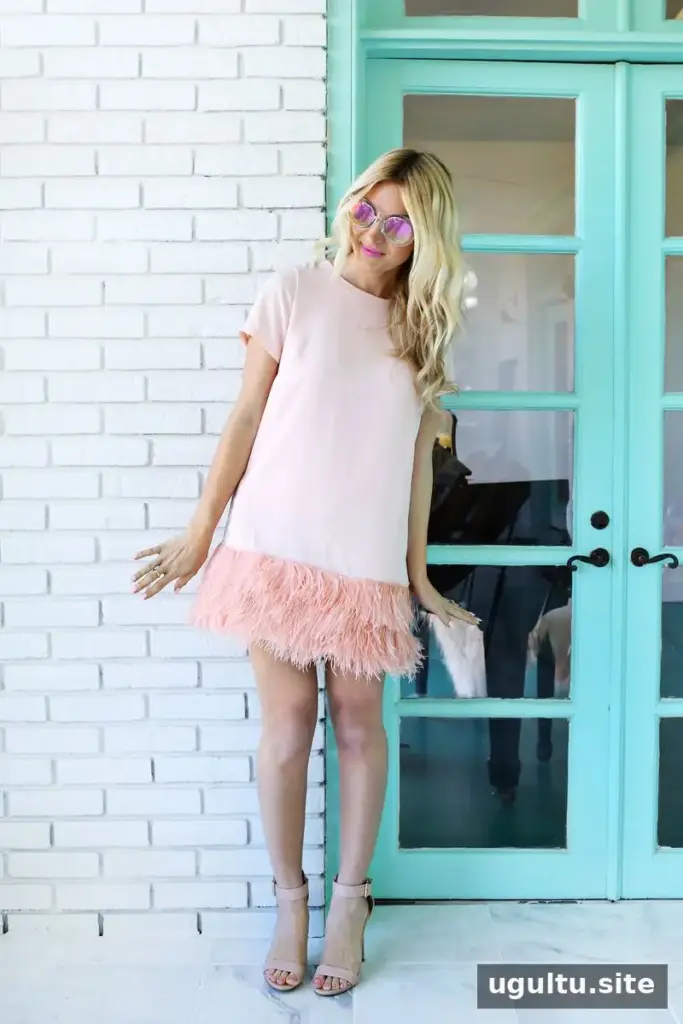
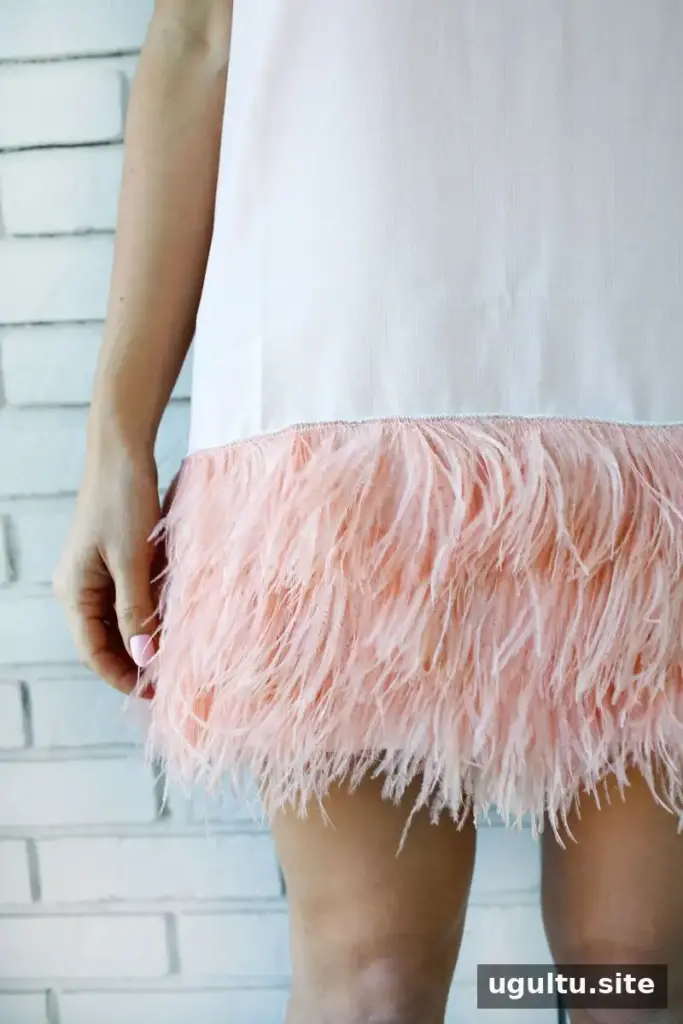
A DIY feather dress is a practical way to create a special-occasion look without paying designer prices. With a plain shift dress and matching feather trim, you can add a soft, layered hem at home. This method is suitable for bridesmaid dresses and other events where you want a distinctive outfit; choose a trim color that blends in for a subtle finish or contrasts with the fabric for a bolder effect.
Supplies for a DIY Feather Dress
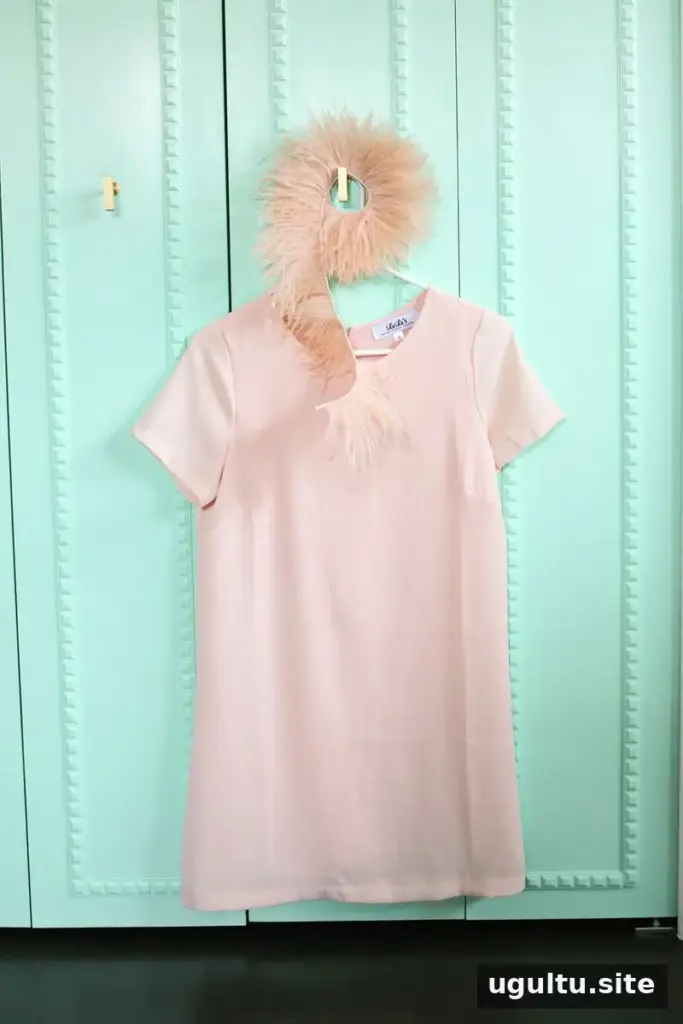
You will need:
- A solid-color shift dress
- Feather trim in the same color as the dress, or a contrasting shade
- A sewing machine
- Straight pins
- A ruler or measuring tape
Feather trim is commonly attached to either ribbon or a thin cord. Ribbon-backed trim can be easier to sew, while cord-backed trim may have a less visible base. Consider how much of the attachment you want to show when choosing between them. Before starting, check that your machine can sew the dress fabric and trim together, and test the stitch on a discreet area if possible.
Measure and Plan the Feather Layers
Measure across the bottom of the dress and decide how many rows of feathers you want. These measurements help estimate the trim required. For example, if the dress measures 20 inches across and you want two layers, plan for 80 inches of trim. Allow a little extra if needed to make a neat join at the back.
How to Sew Feather Trim onto a Dress
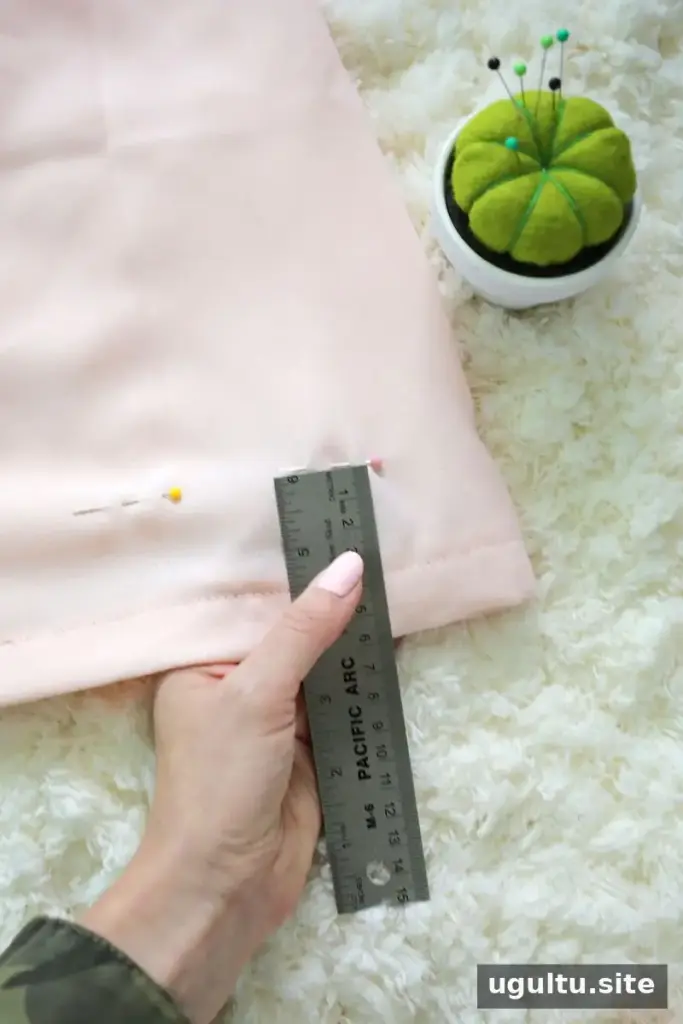
Mark the first row
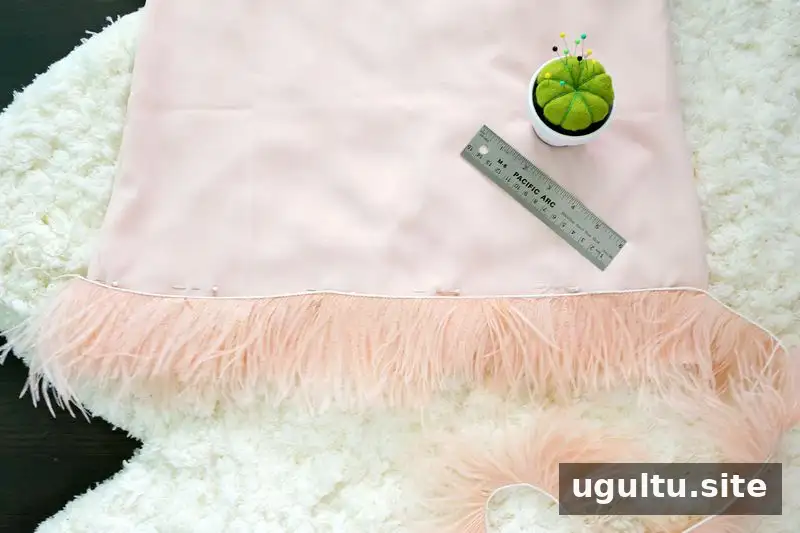
Decide how far the lowest feather layer should extend below the dress hem. The original example places the feathers about 1 inch below the hem. Mark the attachment line with straight pins just above the intended position. Use a ruler to keep the pins evenly spaced from the hem so the row remains level around the dress.
Attach the lower layers
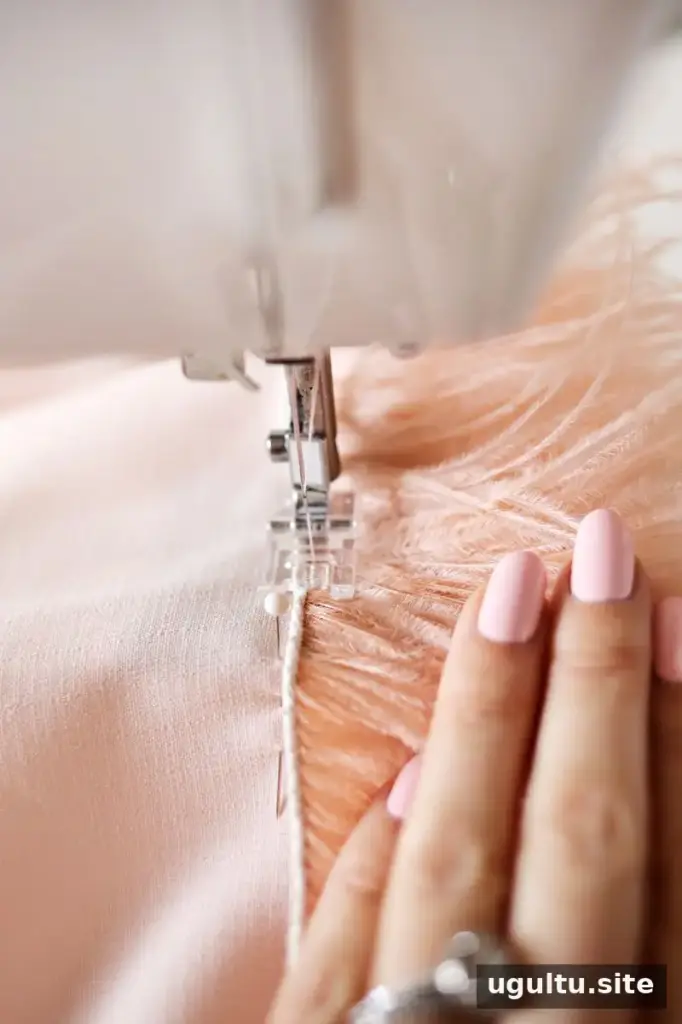
Start at the back of the dress and sew the trim just below the pinned line. For any layer that will be covered by another row, use a zigzag stitch along the top edge of the trim. Continue around the dress until you reach the starting point. If the trim is cord-backed, a small amount of fray-prevention glue can help keep the cord from unraveling when you trim it.
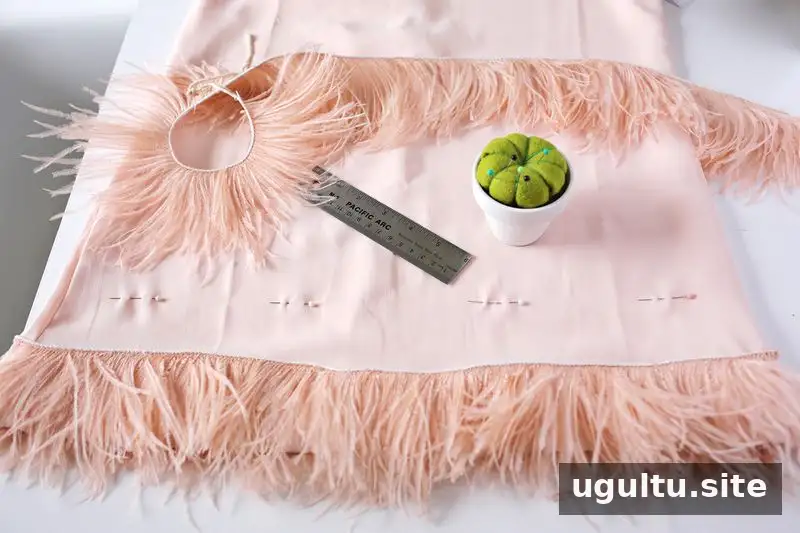
For each additional row, measure upward from the hem and mark the placement with pins. The ideal spacing depends on the feather length and trim thickness, so overlap the layers and check how they look before sewing. Once the position is right, stitch the next row in place.
Finish the top layer
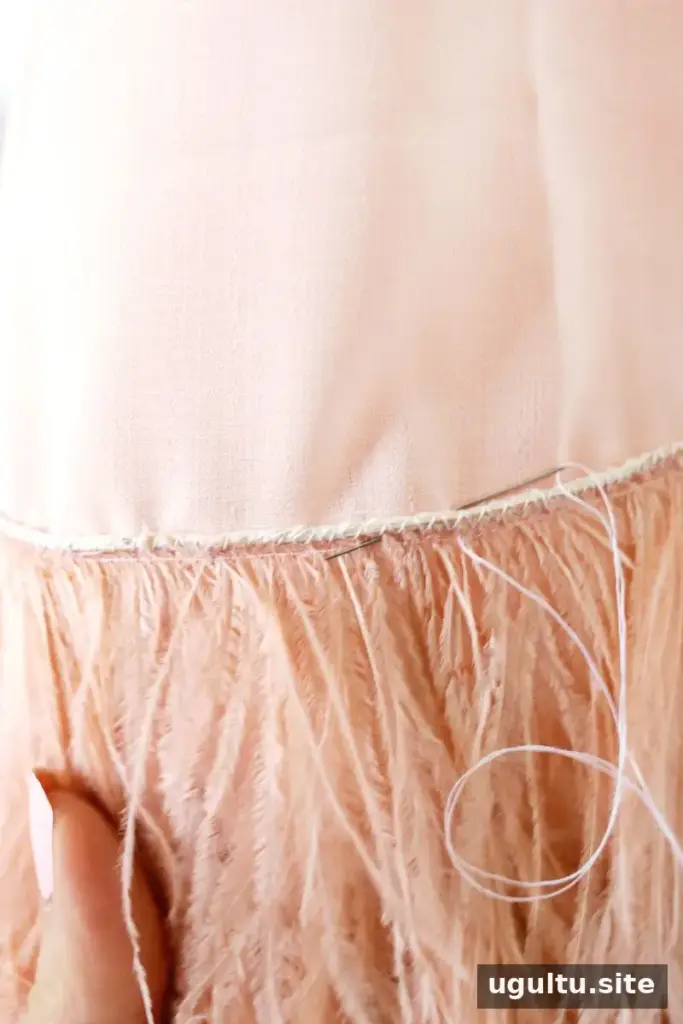
For the final row, sew a straight stitch beside the trim cord on the feather side to make the stitching less noticeable. A straight stitch alone may allow sections of trim to shift and create an uneven or wavy edge. Hand-sewing the cord with a hidden stitch can help hold it in place. If you prefer to save time and do not mind visible stitching, use the zigzag method used for the lower rows.
Care Tips and Finishing Ideas
Feathers are delicate, so dry cleaning is a cautious choice for the finished dress. If you need to clean it by hand, wash only the upper part of the dress in a sink and avoid soaking the feather trim. You can also adapt the idea with different colors, such as black feathers on a white dress, for a more dramatic contrast. In the example, the finished dress cost around $100 rather than more than $300.
A DIY feather dress lets you customize the color, trim placement and number of layers to suit the occasion. Measure carefully, pin each row before sewing, and handle the feathers gently during cleaning to help keep the finished hem looking its best.
— Laura


