
 admin
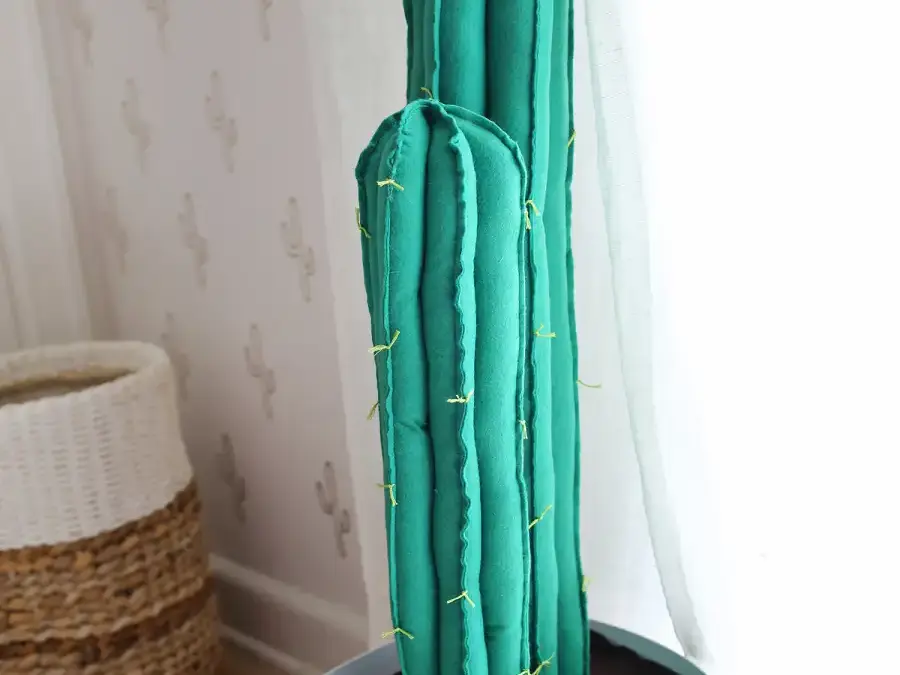
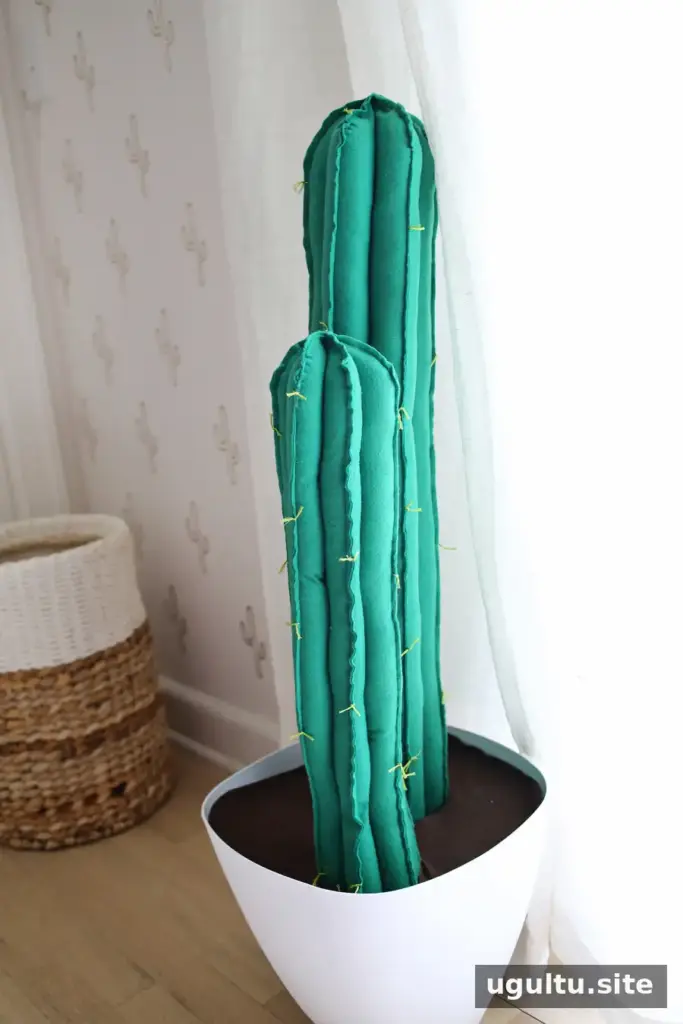
A felt cactus plush adds a playful desert-inspired accent to a bedroom, playroom, or guest room without using a real plant. This DIY project uses felt, stuffing, and a lightweight planter to create soft, three-dimensional cactus shapes. Follow the steps below to cut, sew, fill, and assemble the pieces, and adjust the colors or dimensions to suit your space.
The room concept was developed by Elsie, with Laura contributing the felt cactus project instructions.
Materials for the felt cactus plush
Gather the following supplies before you begin. Preparing the felt and planter in advance makes the sewing and assembly steps easier to manage.
- Green and brown felt
- Fabric scissors
- Sewing machine
- Plastic planters
- Pillow stuffing
- Embroidery thread and a yarn needle
- Cardboard
- Hot glue gun
Use fabric scissors for cleaner edges, and take care when working with hot glue. If the finished cactus will be placed in a child’s room, keep the glue gun and small loose materials out of reach during construction.
Cut the cactus panels
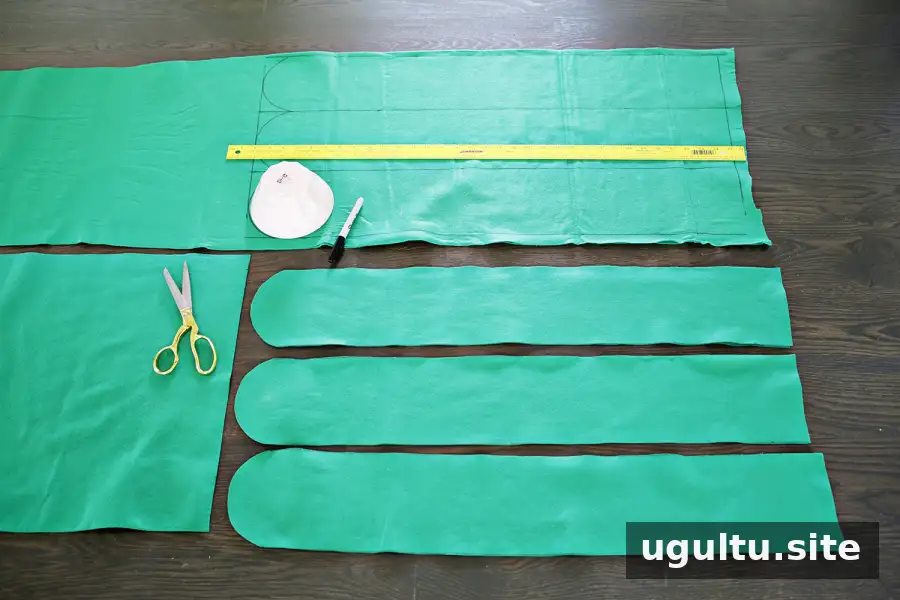
Each cactus is made from six matching felt panels. The smaller cactus measures 22 inches by 4.5 inches, and the larger measures 32 inches by 5.5 inches. Trace a rounded top edge with a bowl of a suitable size, then cut out six panels for each cactus.
Before cutting all the pieces, check that the six panels for each cactus match in shape and size. Consistent pieces help the finished form come together evenly.
Sew and shape the felt cactus plush
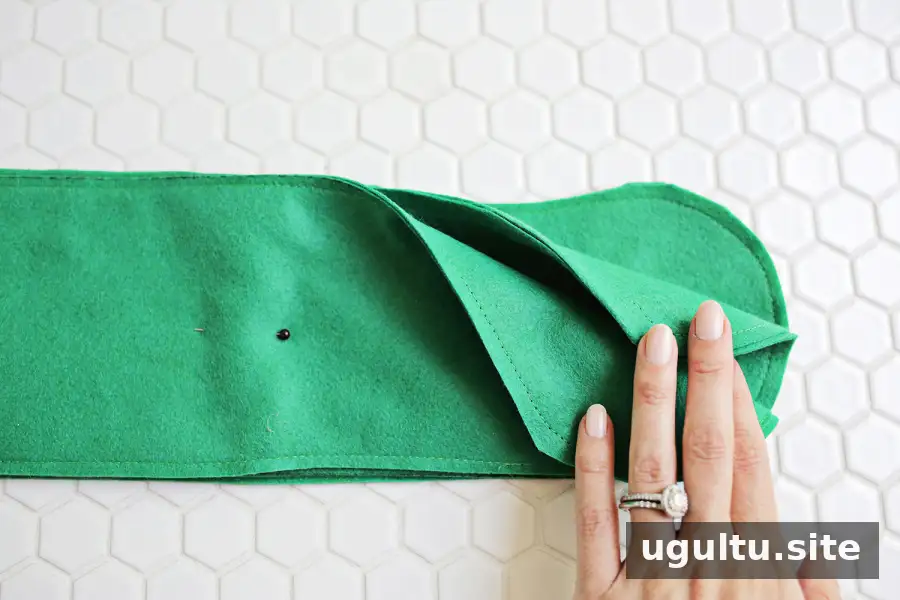
For each cactus, pair the six panels into three pairs. Sew around the edges of each pair, leaving the bottom open so you can add stuffing later. Place the three sewn pairs on top of one another and pin them together down the middle.
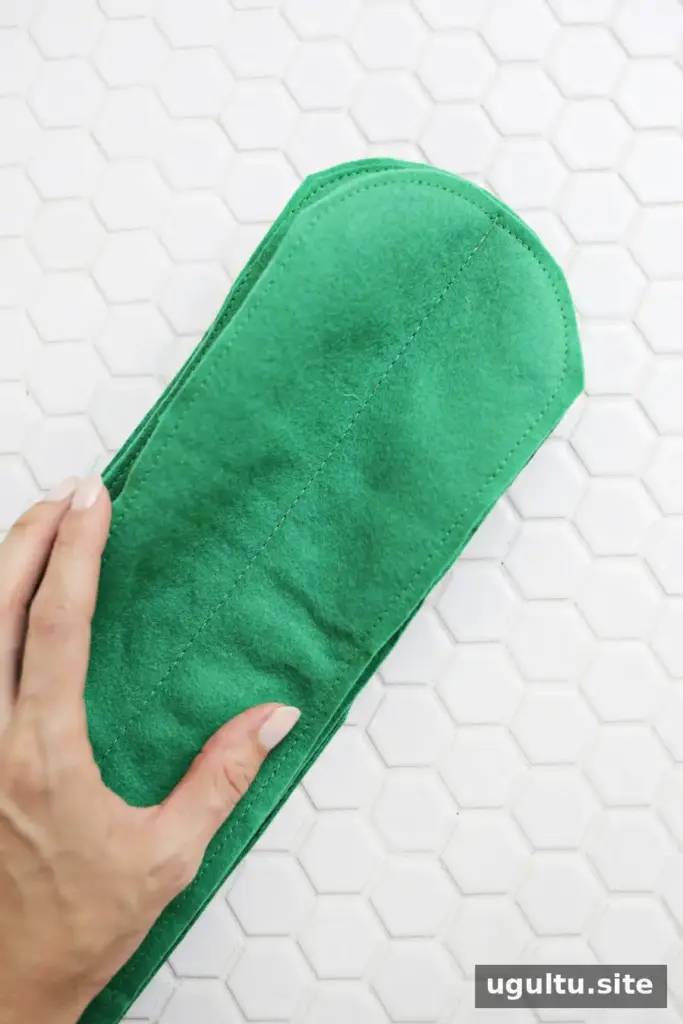
Sew a straight line up the center of the stacked pairs. This joins the sections while leaving openings at the bottom for filling.
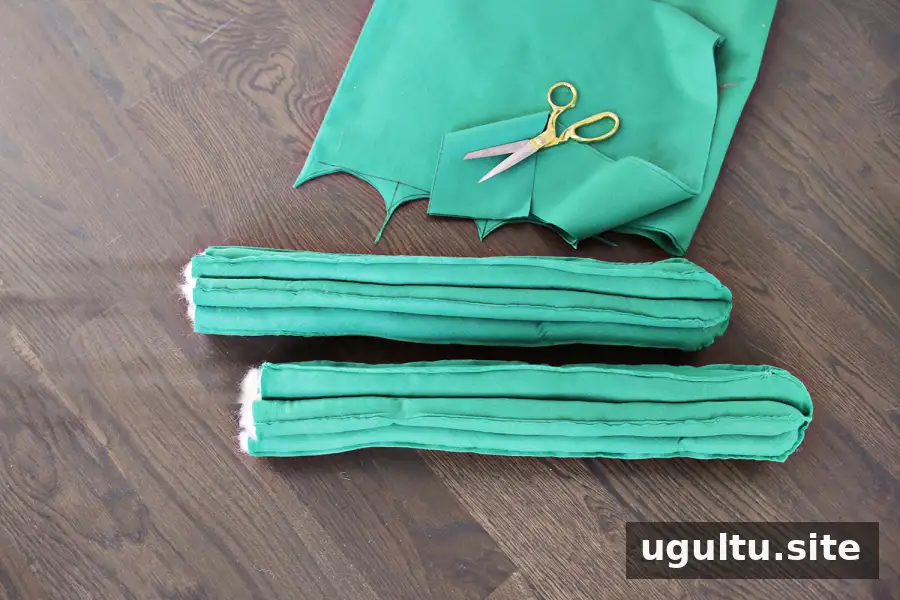
Fill each section evenly
Stuffing takes more material than the cactus may initially appear to need; the project instructions estimate a large bag for each pair. Add stuffing through the bottom openings, then use a long ruler or stick to gently push it toward the top. Continue filling and moving the stuffing upward until the cactus holds a rounded, three-dimensional shape.
Work gradually and distribute the filling across the sections. A long tool can help reach the upper areas without pulling on the felt seams.
Add the spines and close the base
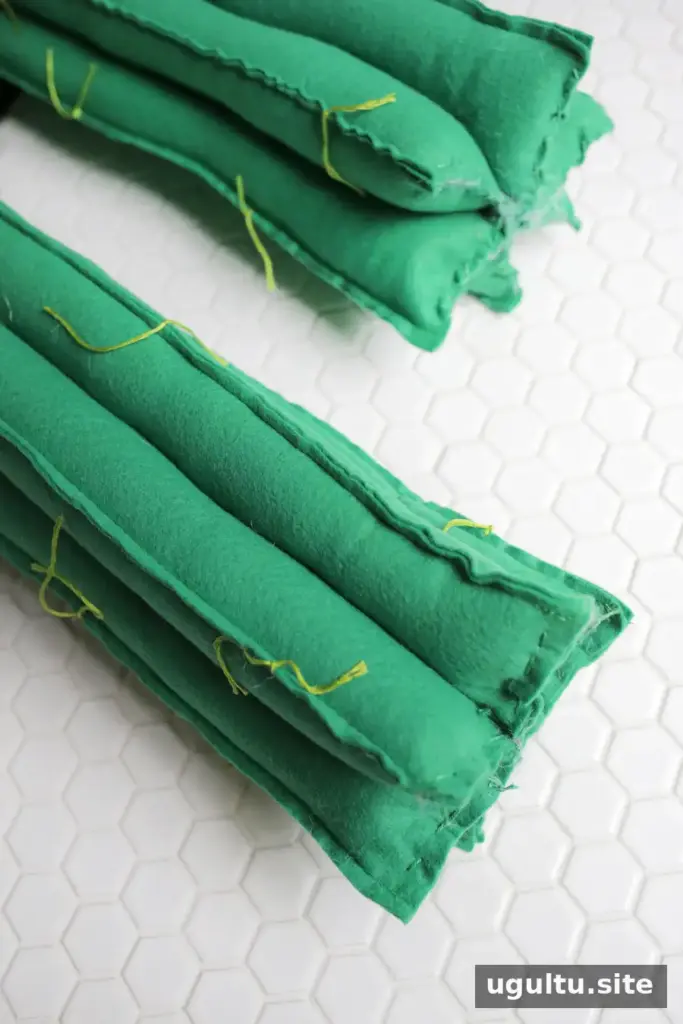
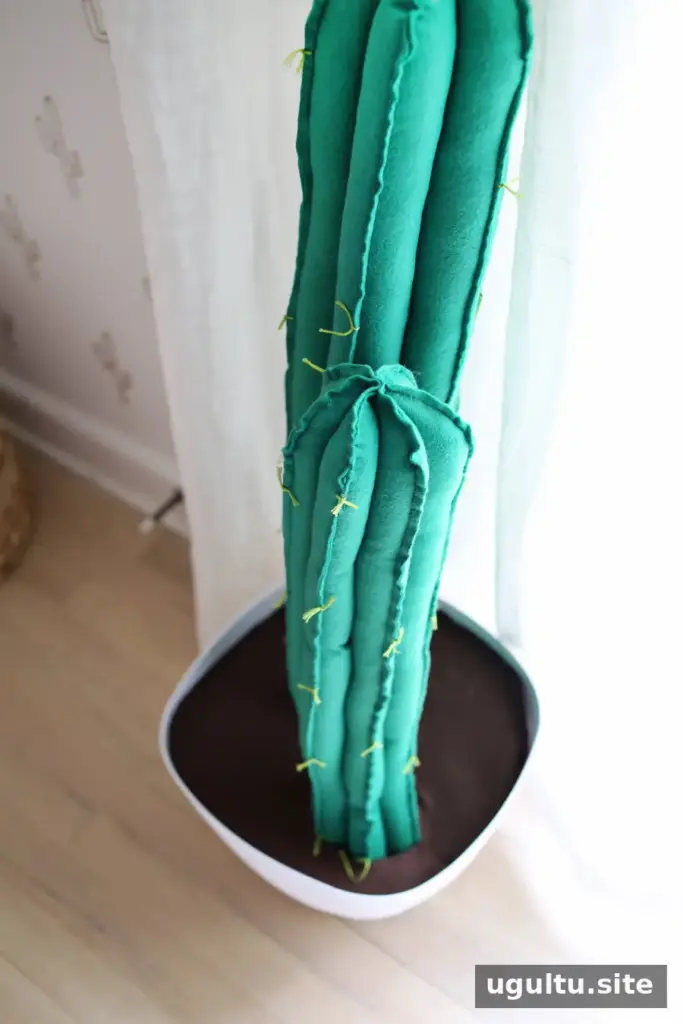
Use embroidery thread to sew small knots through the felt along the cactus “spines.” Once the sections are filled, hand-sew the bottom openings closed so the stuffing stays inside.
Attach the cactus to a planter
Trace the opening of the planter onto cardboard and cut the cardboard slightly smaller than the traced outline. Make two additional holes in the cardboard, each large enough for a cactus to fit through.
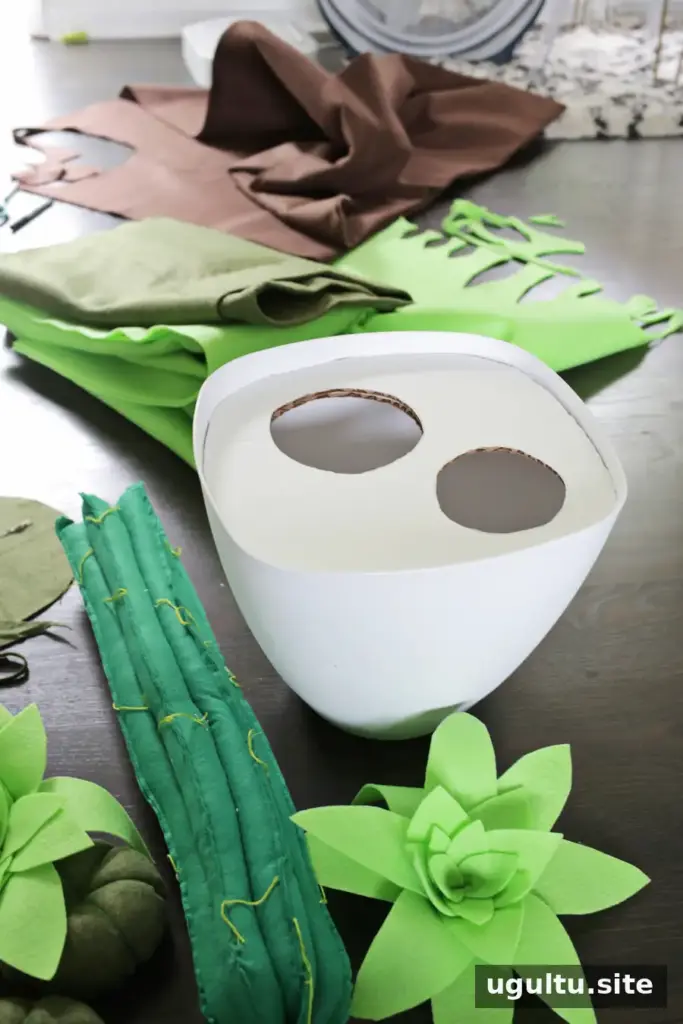
Trace the cardboard shape onto brown felt, then cut the felt slightly larger than the cardboard. Use glue to attach the felt to the cardboard disk.
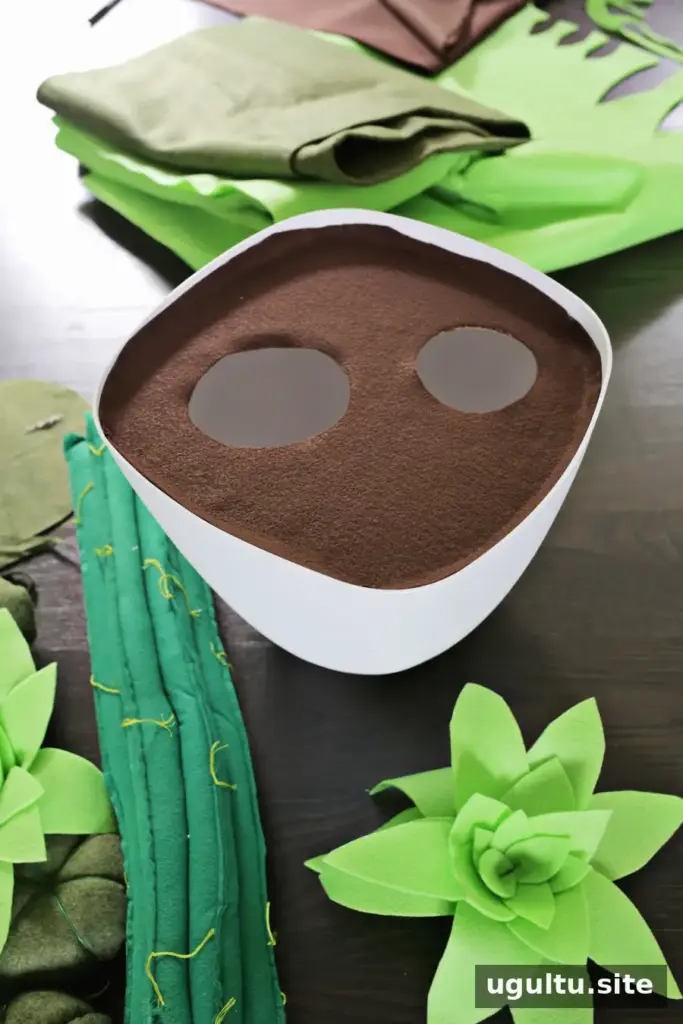
Set the covered cardboard into the planter, either wedging it into place or gluing it down. For a tall arrangement, check that the planter will remain stable: the cactus stems can make a lightweight pot tip over. The project uses rocks in the bottom of each plastic planter as added weight. Fit the cactus pieces into the holes in the cardboard.
Finishing and display tips
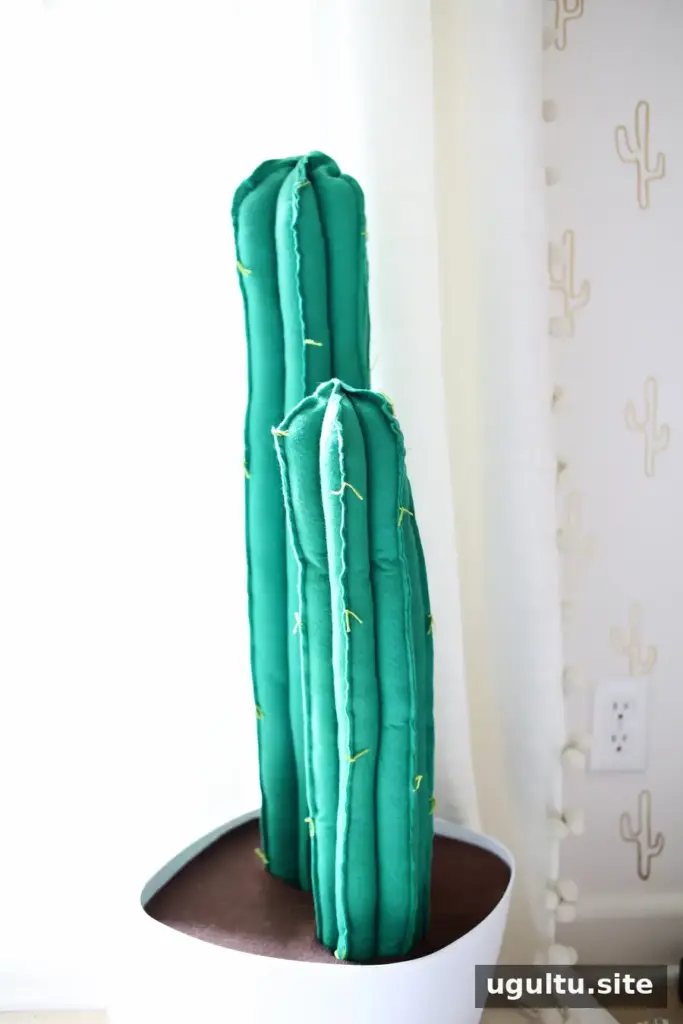
Each finished cactus is about three feet high. Before displaying it, gently check the seams and the base, and make sure the planter sits securely on a level surface. The design can be adapted in size, shape, or color to coordinate with a room, while keeping the same basic panel-and-planter construction.
Conclusion
This felt cactus plush project turns simple materials into a soft, eye-catching room accent. Follow the measurements, fill each section thoroughly, and add weight to the planter if needed for stability. With those details in place, the felt cactus plush can bring a cheerful desert-inspired touch to a child’s room or another indoor space.


