
 admin
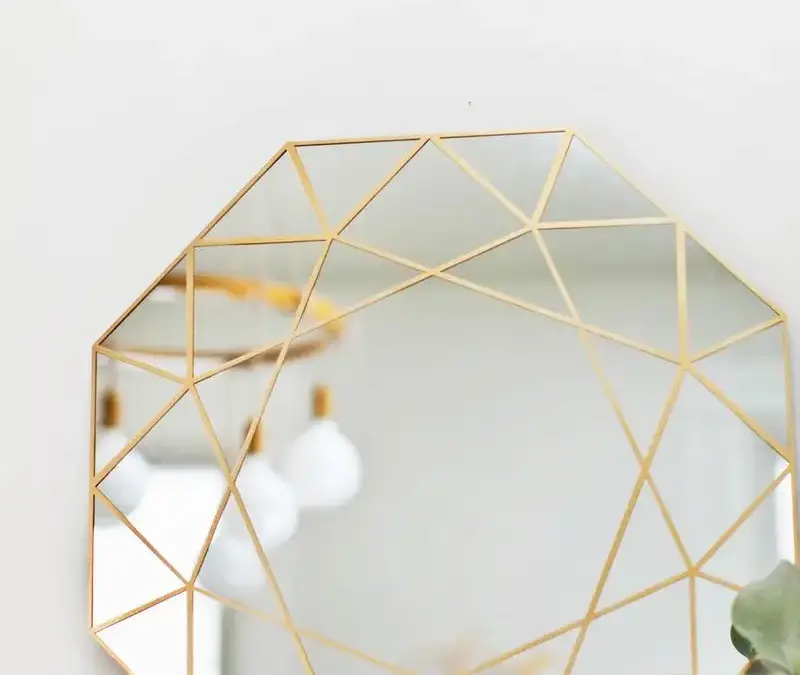
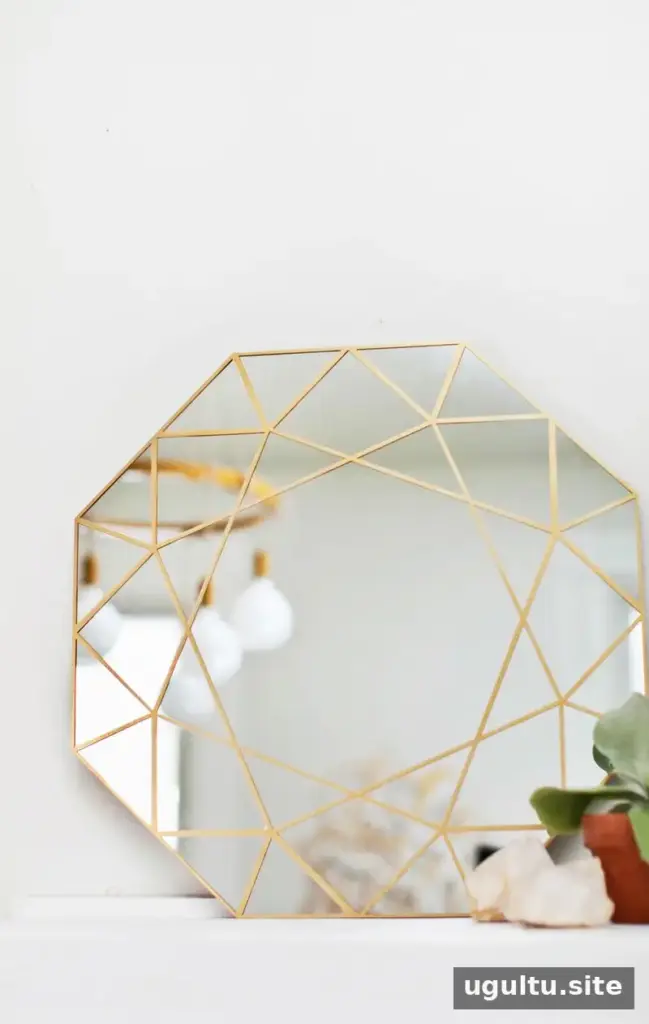
A DIY gem mirror adds a geometric accent and a reflective surface to a room. The project involves shaping a mirror into an octagon, masking a gem pattern, and painting the exposed lines. With a glass cutter, a metal ruler, and careful preparation, you can create the shape using a score-and-snap method. Work slowly, wear protective equipment, and follow the instructions for your glass cutter.
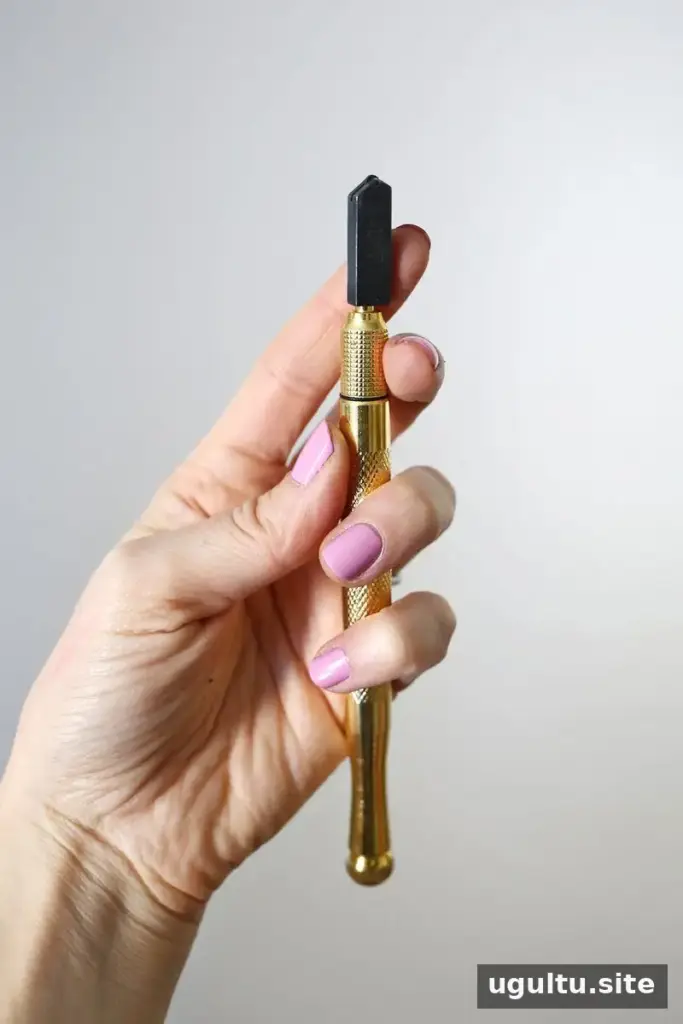
Supplies:
- Glass cutter
- Mirror
- Metal ruler and marker
- Gloves and safety glasses
- Gem line drawing and cutting guide
- Fine-grade sandpaper
- Contact paper
- X-Acto knife
- Gold spray paint
- Clear spray paint
Some glass cutters have a reservoir for oil to help keep the cutting wheel in good condition. Oil is not required for scoring the mirror, but check the tool’s instructions before use. Set up on a stable, clear work surface and keep the mirror supported while measuring and cutting.
How to Cut the Mirror for a DIY Gem Mirror
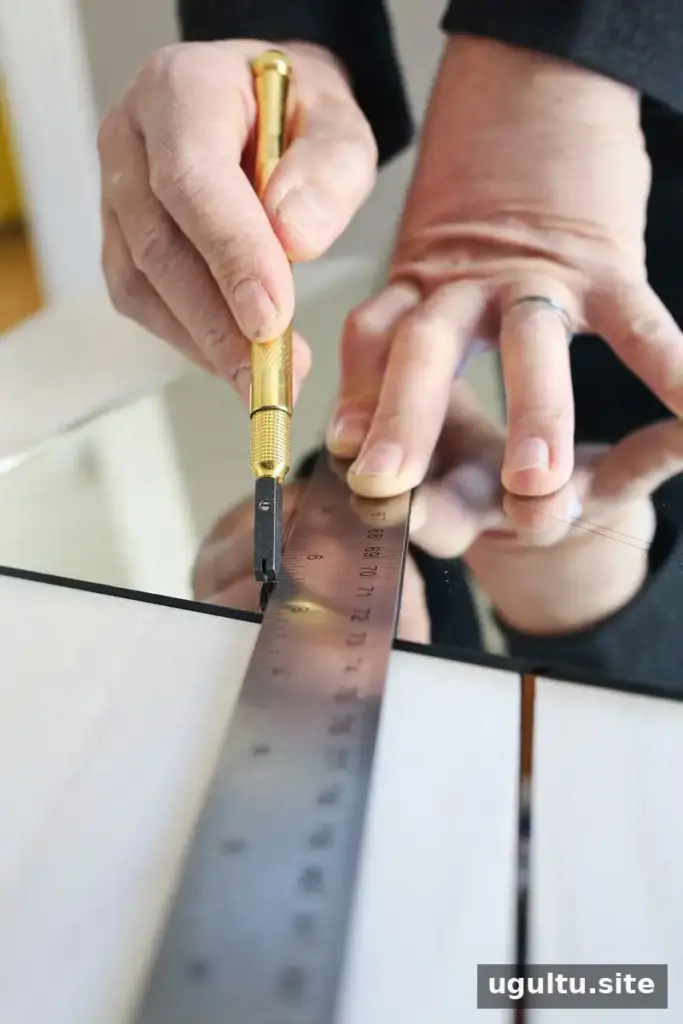
First, measure and mark a square on the mirror to match the desired finished width. A marker line can be cleaned off later with glass cleaner. Place the metal ruler along the cutting line and guide the glass cutter against it. Score the full line in one firm, continuous pass; do not repeatedly run the cutter over the same score.
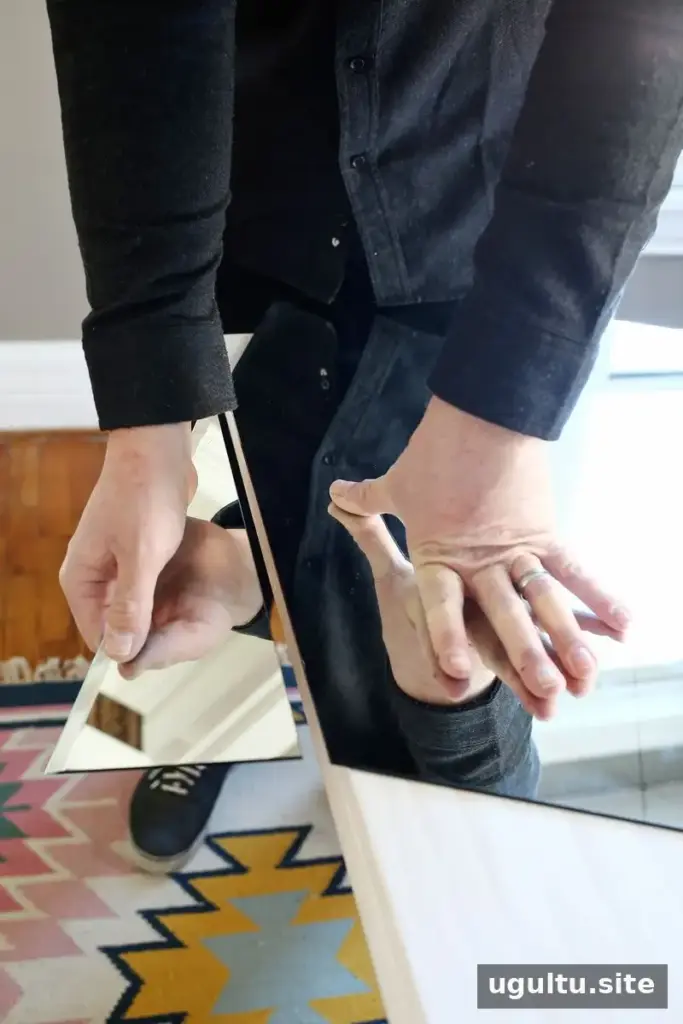
Move the mirror so the scored line is aligned with the edge of a table, while keeping the section you are retaining supported. Press down on the offcut in a controlled motion so it separates along the score. Wear gloves and safety glasses during this step, and keep hands away from the cut edge. If the mirror does not separate cleanly, do not force it; review the cutter’s instructions or seek help from someone experienced with glass.
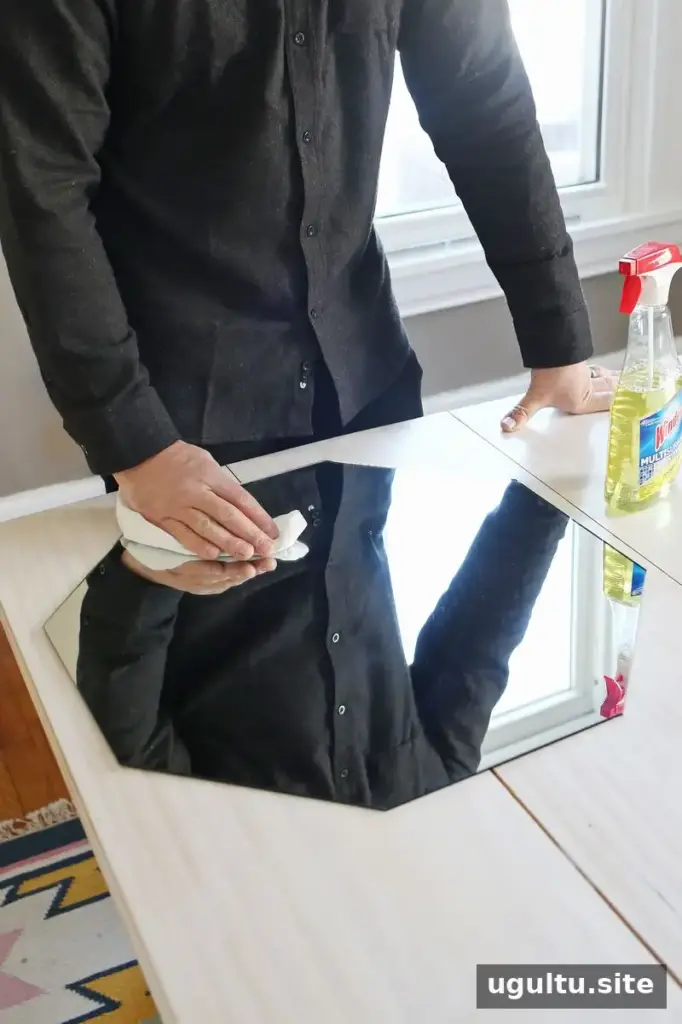
Repeat the measuring, scoring, and snapping process to remove the remaining sides and create a square. Then measure and mark the corners, score them, and carefully snap them off to form an octagon. Clean away marker lines with glass cleaner. Handle the shaped mirror carefully, as newly cut edges may be sharp.
Add the Gem Pattern and Gold Finish
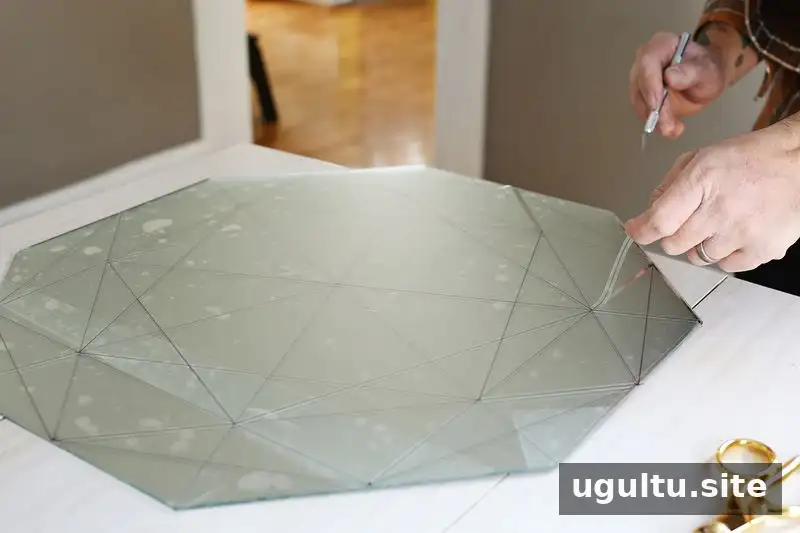
Cover the front of the mirror with contact paper. Use the gem line drawing and cutting guide to mark the pattern, then cut the lines in the order shown with an X-Acto knife. The lines can be adjusted to suit the mirror’s size. For a mirror with lines about 1/4 inch wide, remove 1/8 inch of contact paper on each side of each marked line. Peel away the strips to expose the mirror beneath.
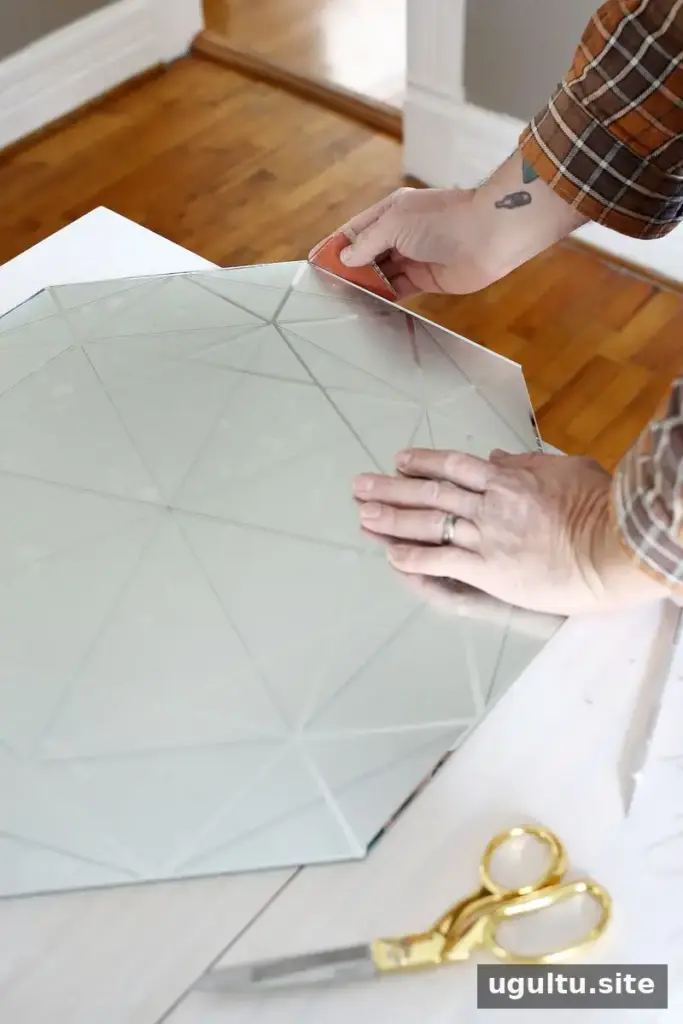
Lightly sand the mirror edges with fine-grade sandpaper to reduce rough or sharp spots. Avoid sanding the reflective face, and remove any dust before painting.
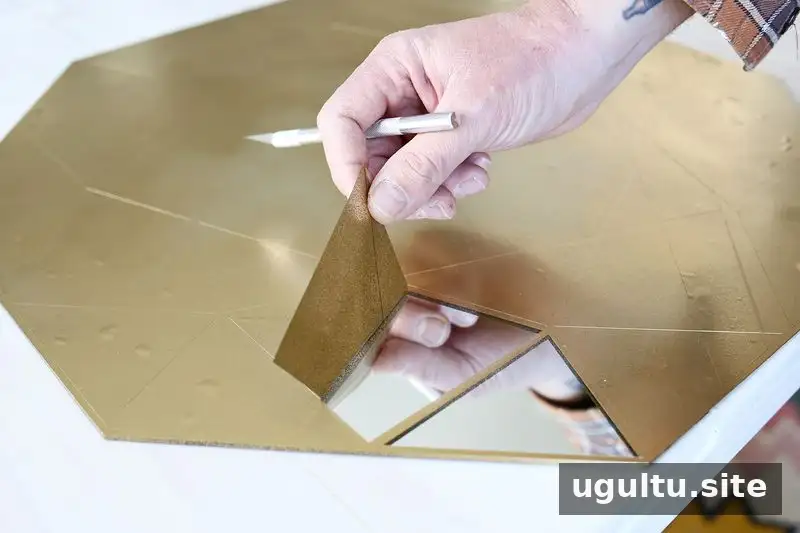
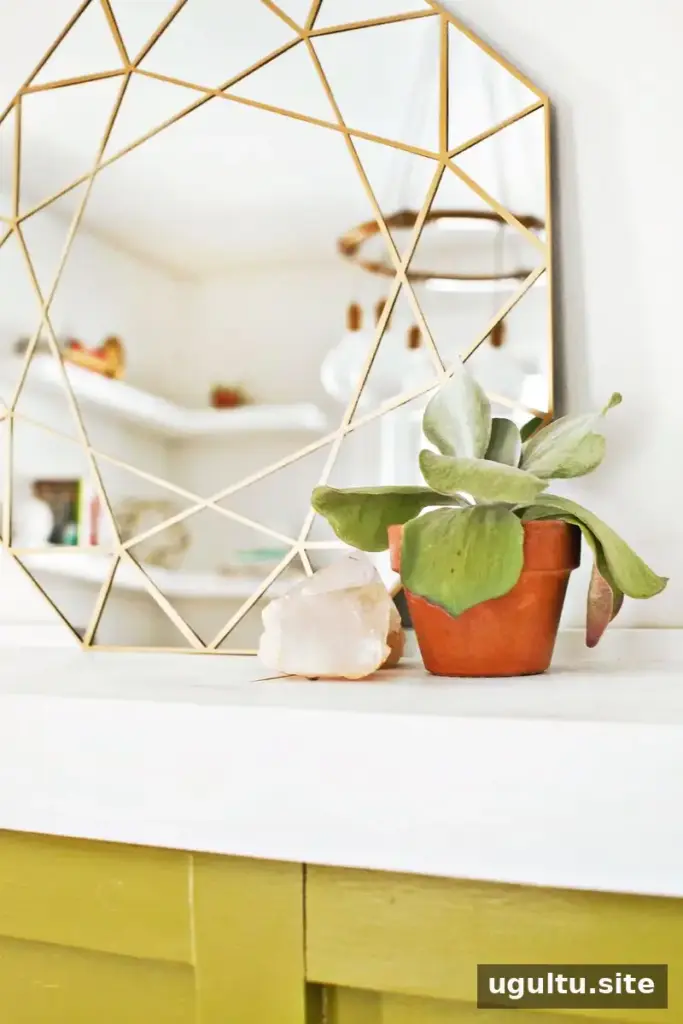
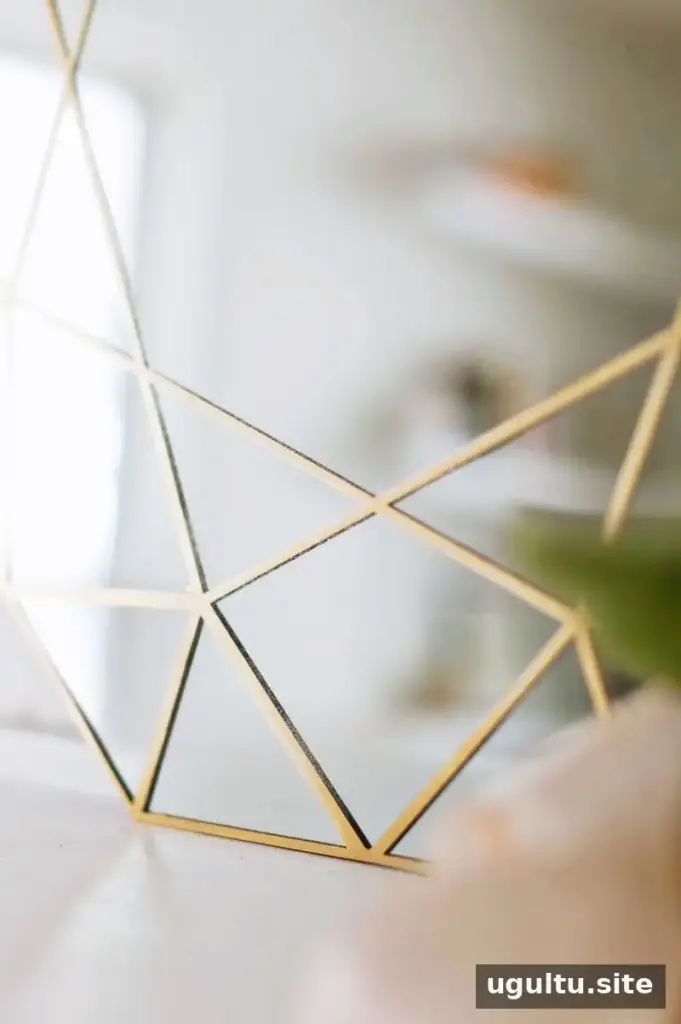
Apply a few coats of gold spray paint, following the product’s directions, and finish with clear spray paint if appropriate for the paint used. Once the finish is ready for handling, lift the contact paper carefully with the X-Acto knife and peel it away to reveal the geometric design. Use spray paint in a well-ventilated area and protect nearby surfaces.
Display and Care
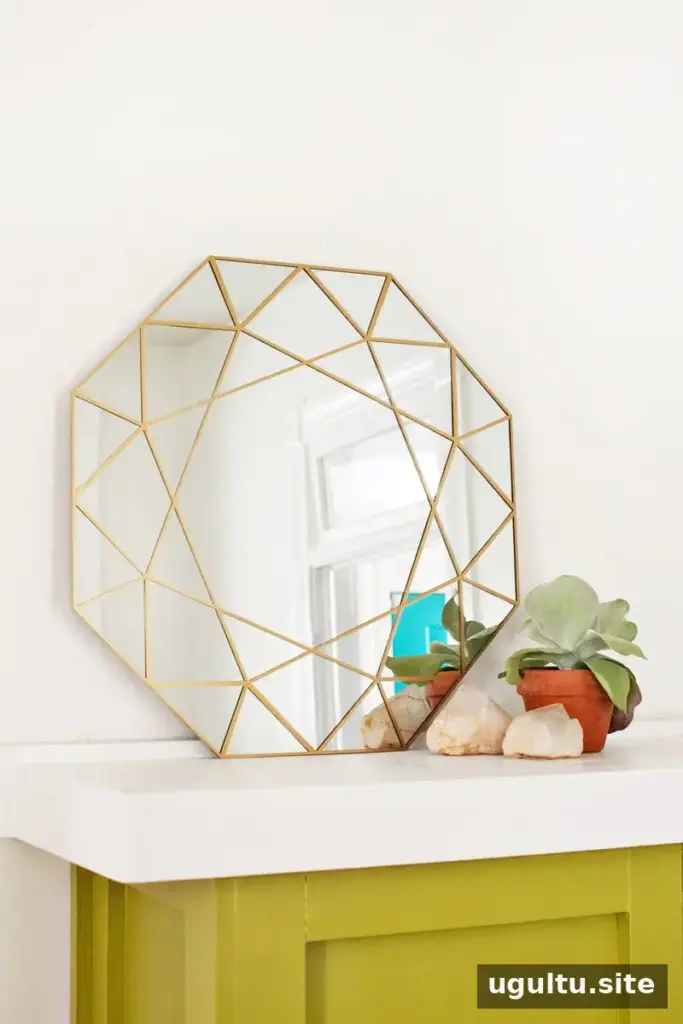
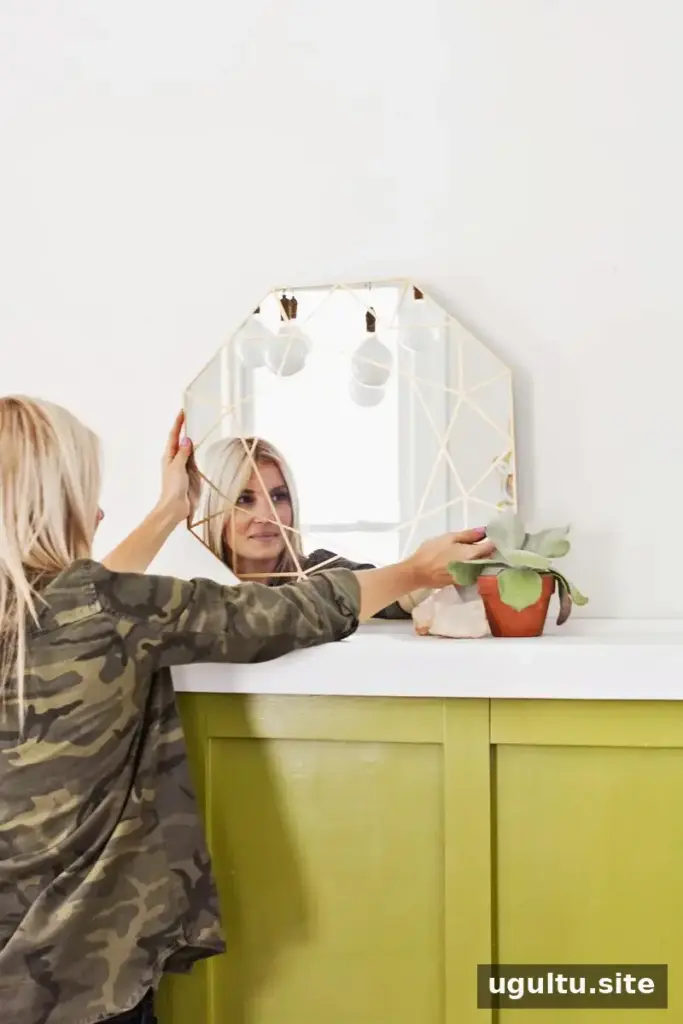
Place the finished mirror on a shelf or ledge, or use mirror clips suitable for wall installation. If you plan to clean the painted design with glass cleaner, test the cleaner and clear coat on a scrap piece of mirror first. Paint finishes can respond differently to cleaning products, so follow the coating manufacturer’s care instructions.
The same general scoring method can be used for clear glass, but glass type and thickness affect how it behaves, so check that your cutter is appropriate for the material. A DIY gem mirror is also easy to personalize with different colors or by making several geometric shapes. Laura (+ Josh)
Conclusion
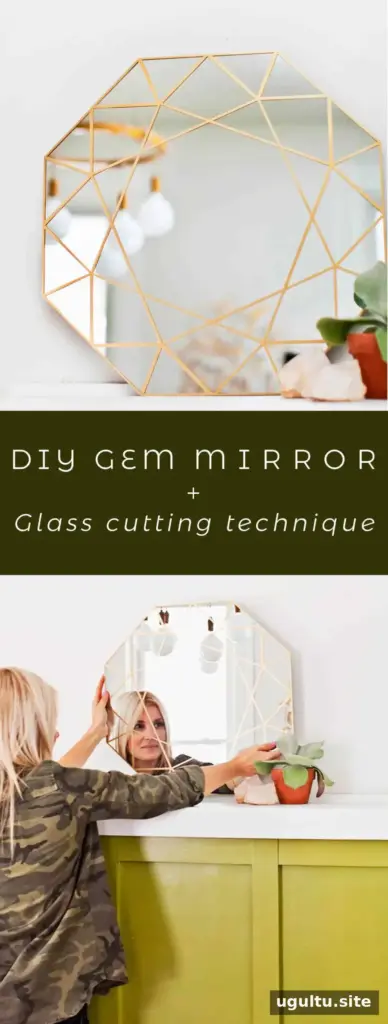
A DIY gem mirror combines careful glass shaping with a straightforward masking and painting process. Measure accurately, score each line once, and prioritize eye and hand protection when separating the glass. These steps help create a clean octagonal mirror with decorative gem lines and a gold finish.


