
 admin
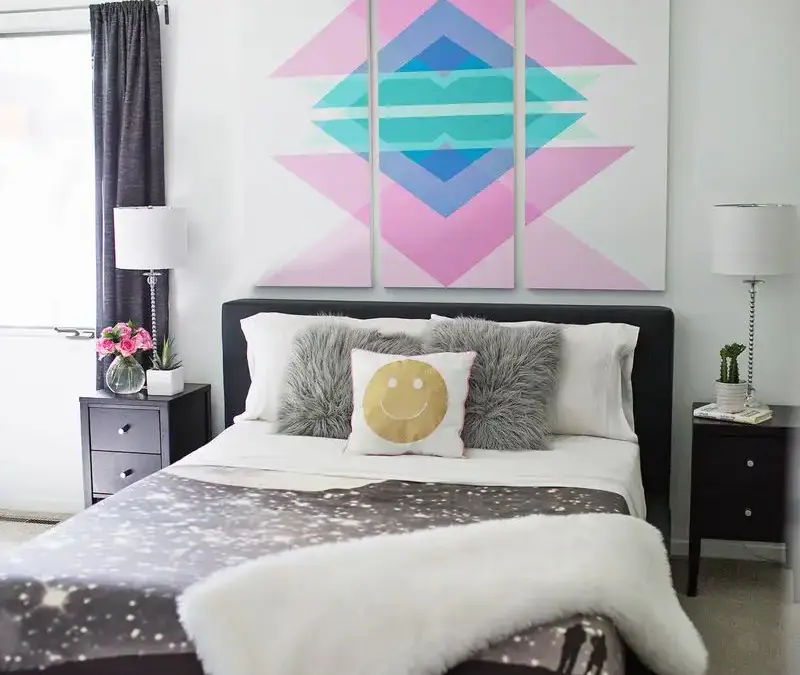
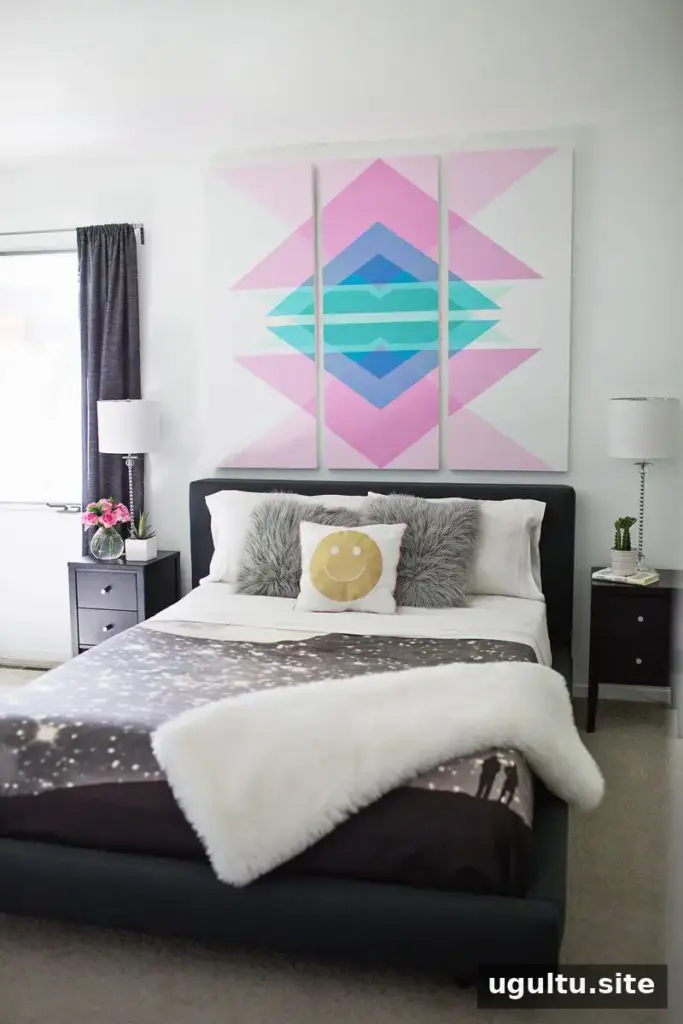
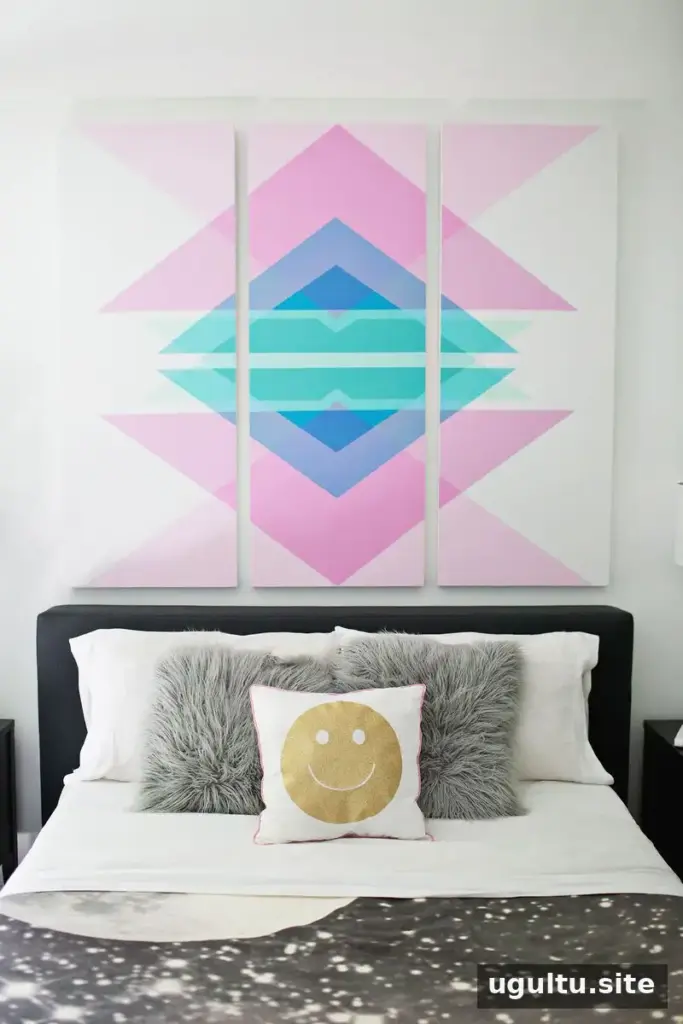
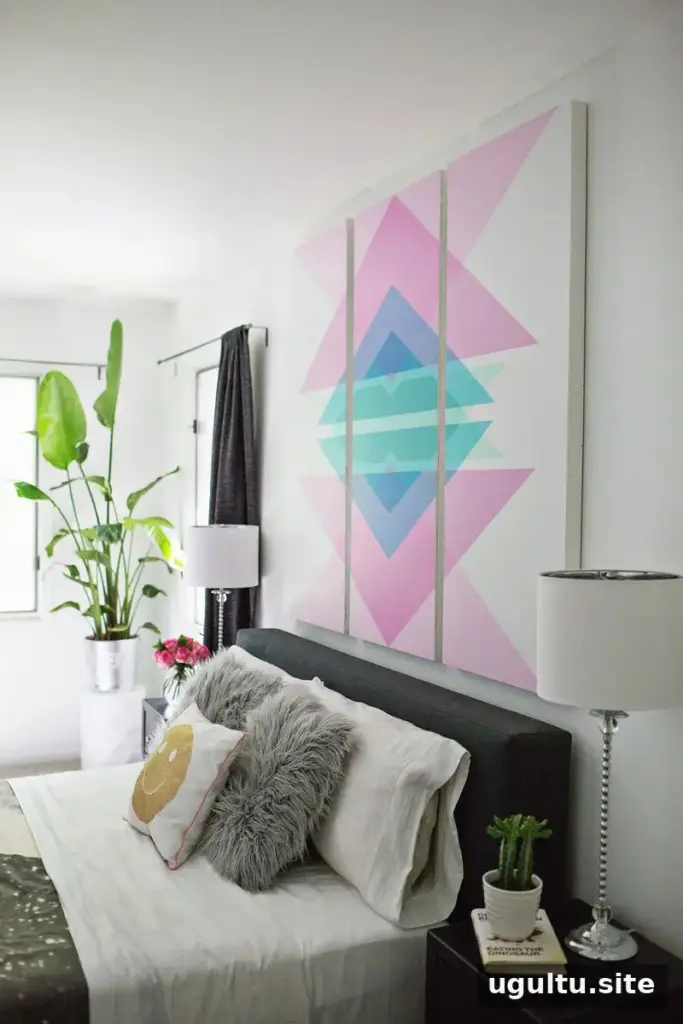
A bedroom with limited natural light can feel brighter with light-colored walls, but a pale backdrop may also need a strong accent. These geometric art headboard panels use three painted wood boards to add a colorful focal point above a bed. The overlapping shapes create the look of transparent layers, while a planned color chart helps keep the painting process organized.
Plan the geometric art headboard panels
The design is based on a geometric pattern made from overlapping shapes. Because the overlaps produce additional shades, the palette needs to include the colors used for those intersections as well as the main shapes. Sketching or printing the pattern before painting makes it easier to identify each section and decide where every color belongs.
For this project, the artwork is divided across three panels. Planning how the pattern will continue from one board to the next is important: the panels should be positioned with their intended spacing before tracing, so the shapes align when the finished pieces are mounted above the bed.
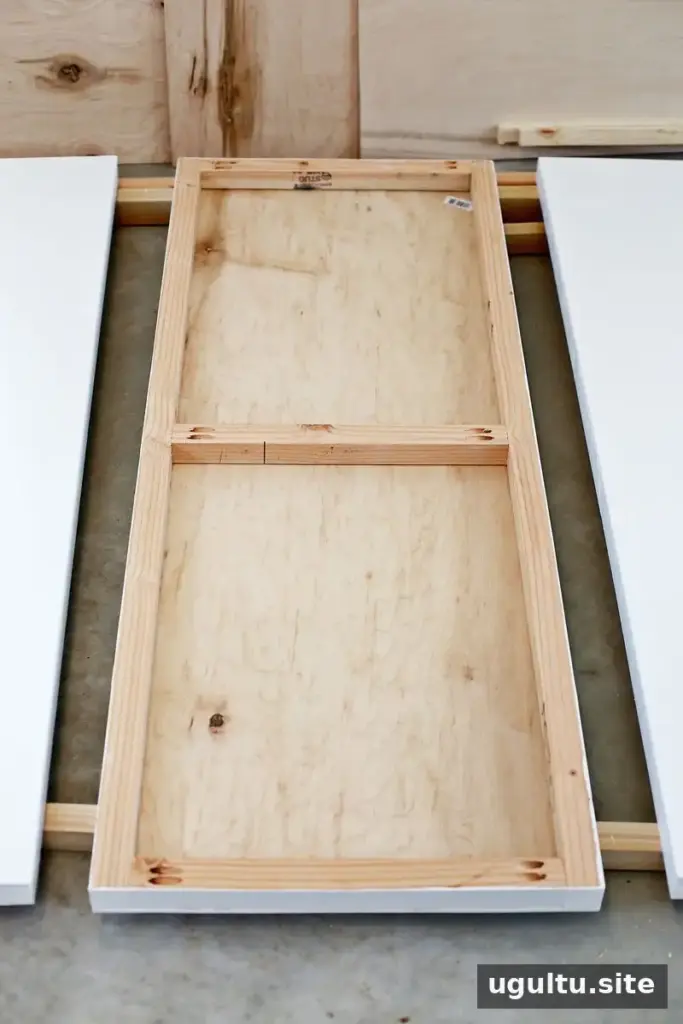
Josh prepared three matching boards, each measuring 20″ × 53″. A 1.5″ × 1.5″ border was added around each board to provide extra stability, and the pieces were assembled with pocket screws. The completed panels were painted bright white as a base for the colorful design.
Transfer and map the pattern
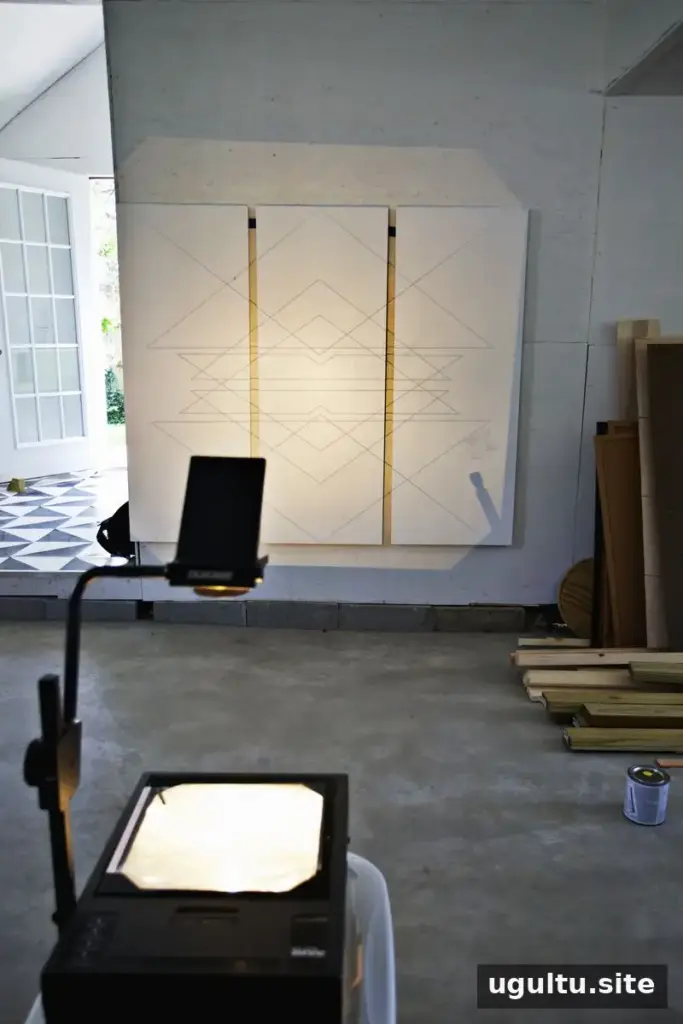
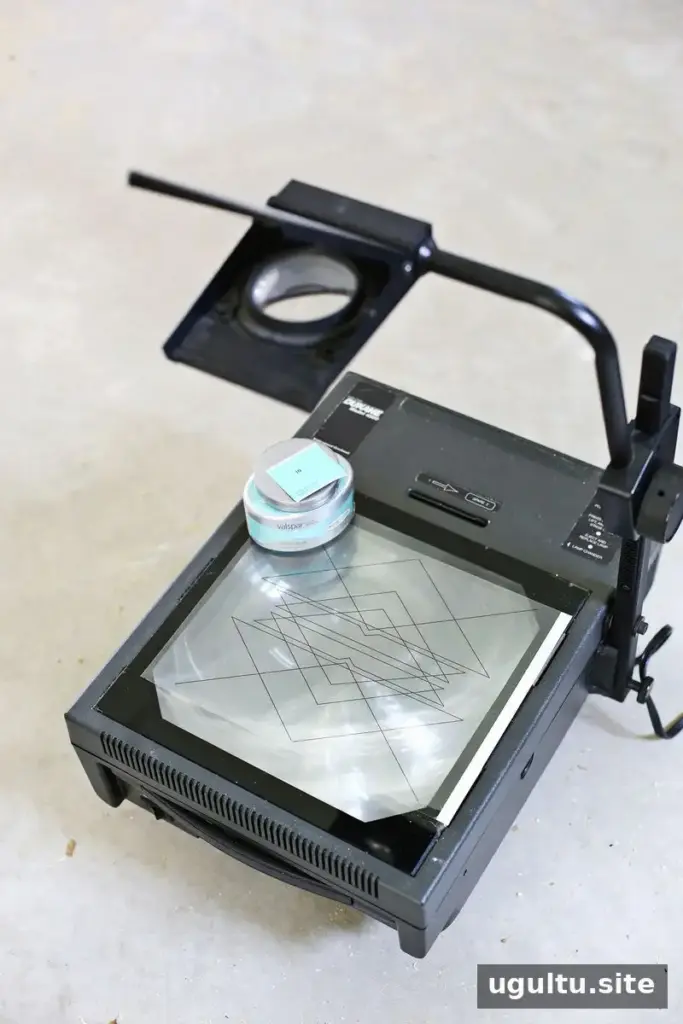
An outline of the shapes was printed onto a transparency and projected onto the boards. Before tracing, the panels were hung at the correct distance apart on the wall so the design could be lined up across all three sections. This dry-fit step is useful for checking the overall scale and alignment before any paint is applied.
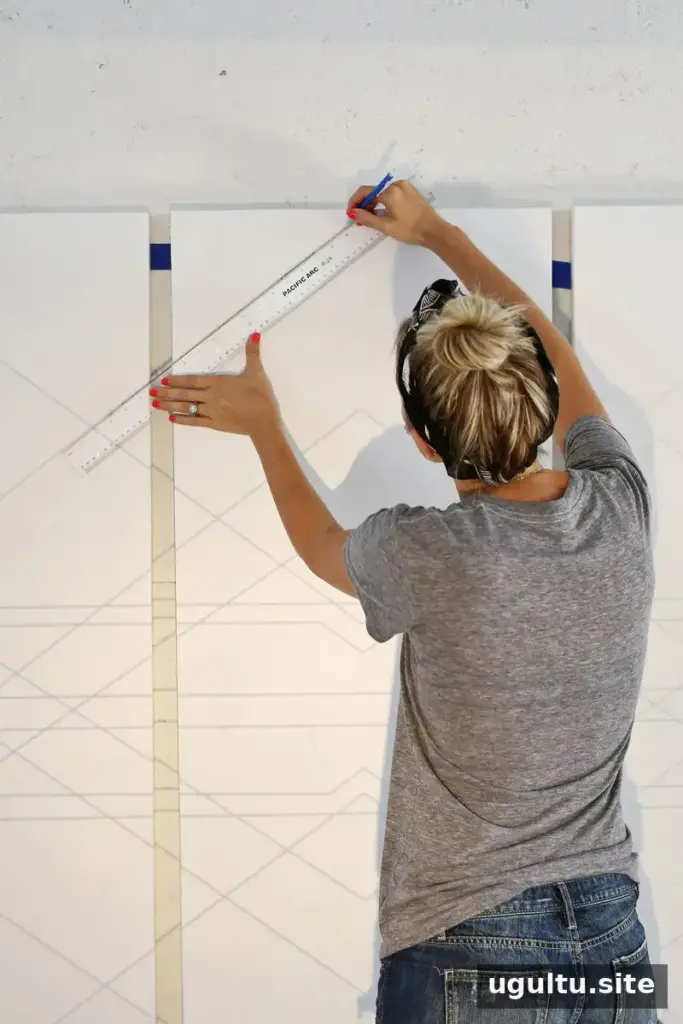
With the projected pattern in position, the outlines were traced onto the wood using a ruler and pencil. Clear lines make it easier to tape the edges neatly and reduce the chance of color areas drifting out of shape.
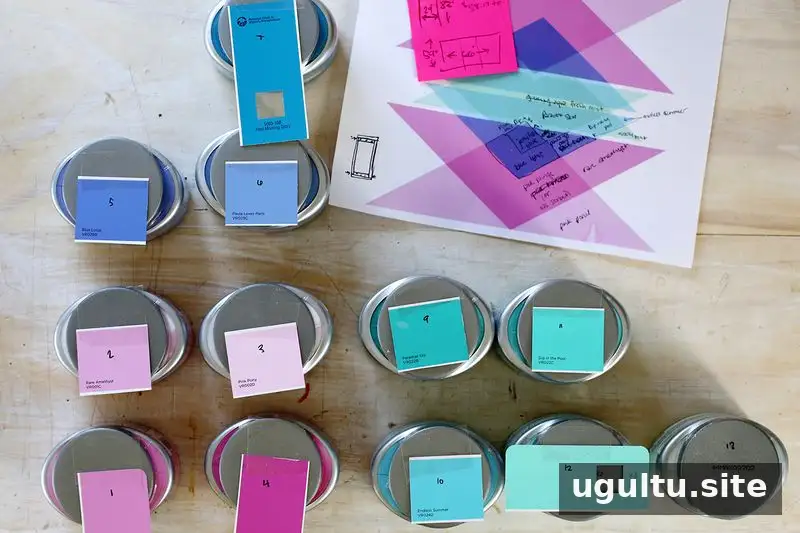
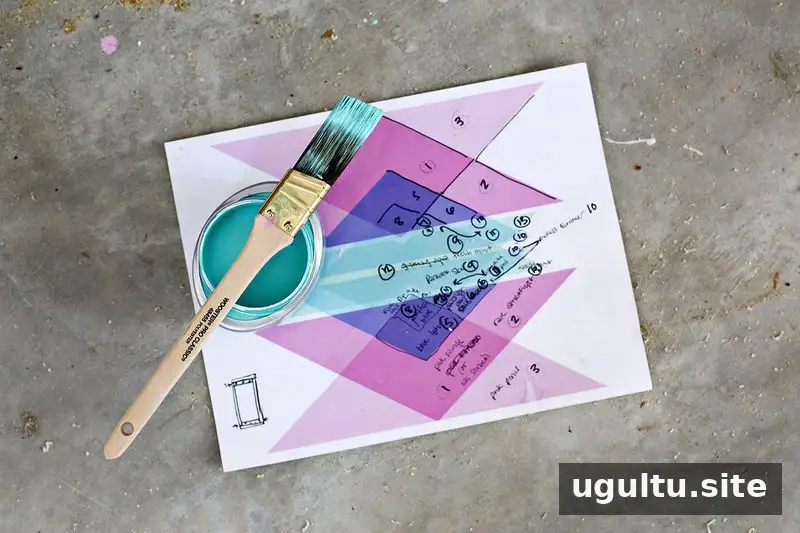
A printout of the design was used to create a numbered color chart. Each number corresponded to a paint color and its location in the pattern. This simple reference is especially helpful when a design contains many similar shades or repeated shapes.
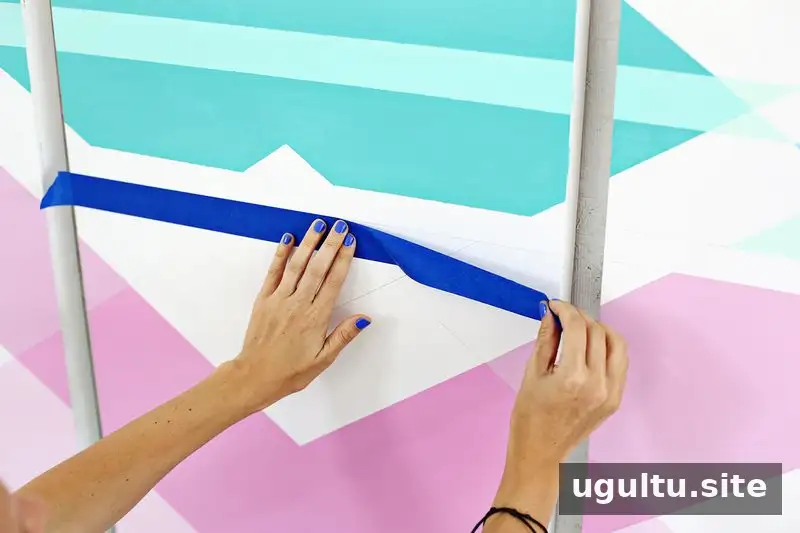
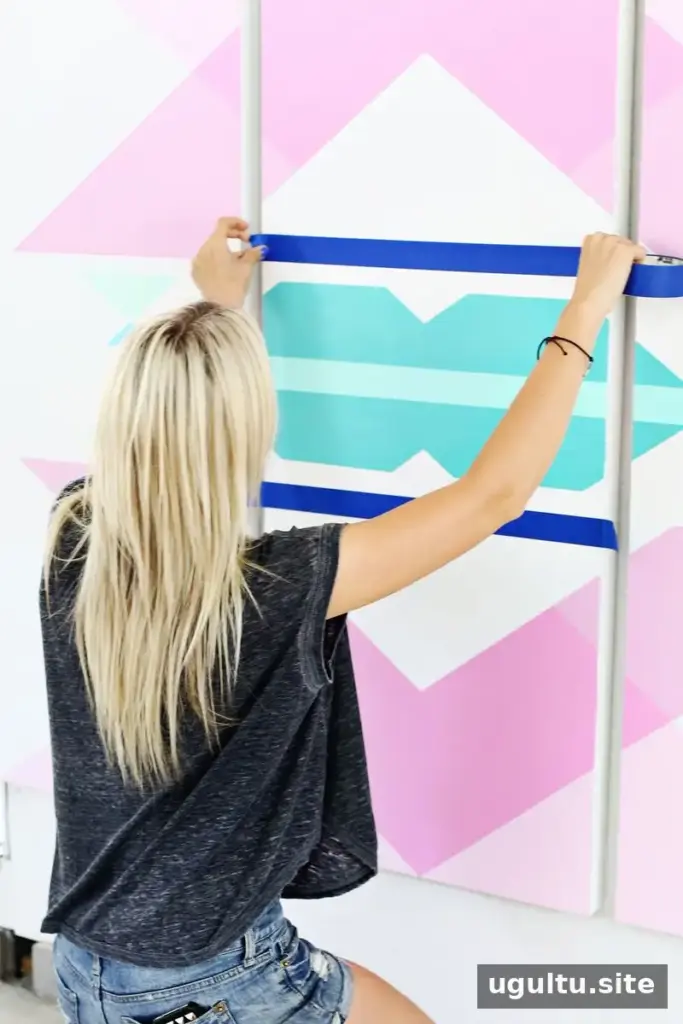
Paint the shapes one color at a time
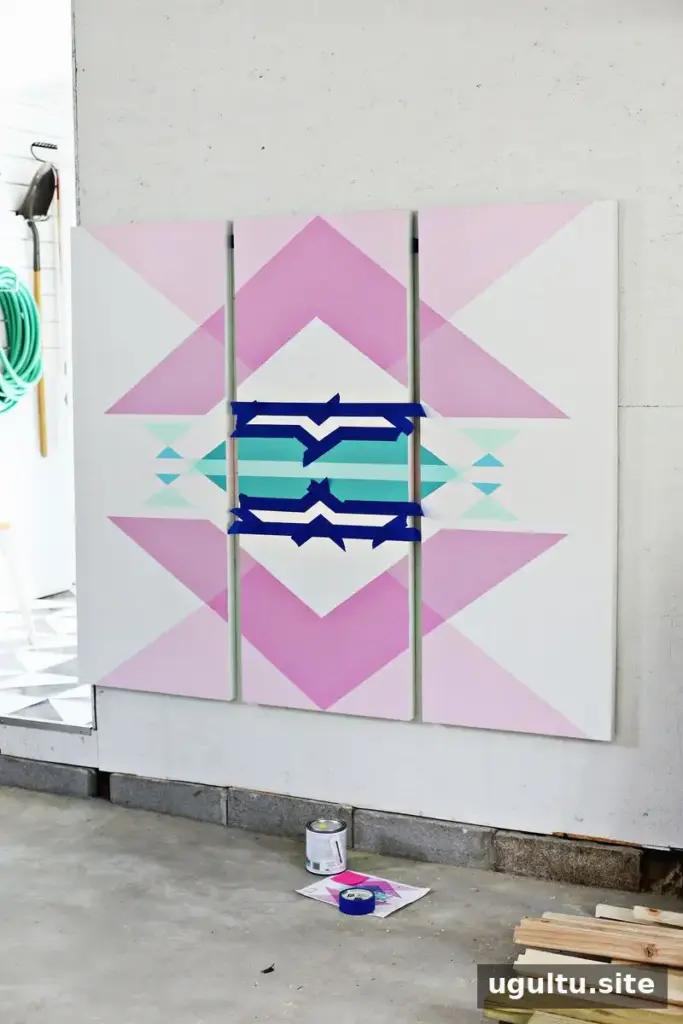
Painter’s tape was used to mask each section, and the colors were applied one at a time. Allow each coat to dry before adding another coat or painting an adjacent section. Working in a planned order can help protect finished areas and keep the edges crisp. A fan was used to help the paint dry more quickly, though drying time will vary depending on the paint and room conditions.
Once the pattern is complete and the paint is fully dry, add wire hangers to the backs of the panels. Before hanging them, check that the mounting hardware and wall fasteners are suitable for the weight of the assembled pieces. Keeping the original spacing between panels will help the geometric artwork read as one continuous design.
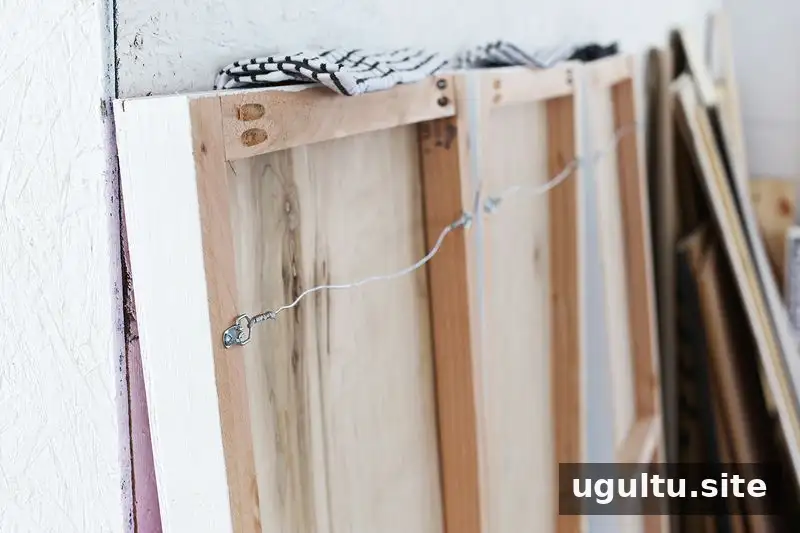
Wire hangers were added to the backs of the finished frames to make them ready for installation above the bed.
A colorful focal point for the bedroom
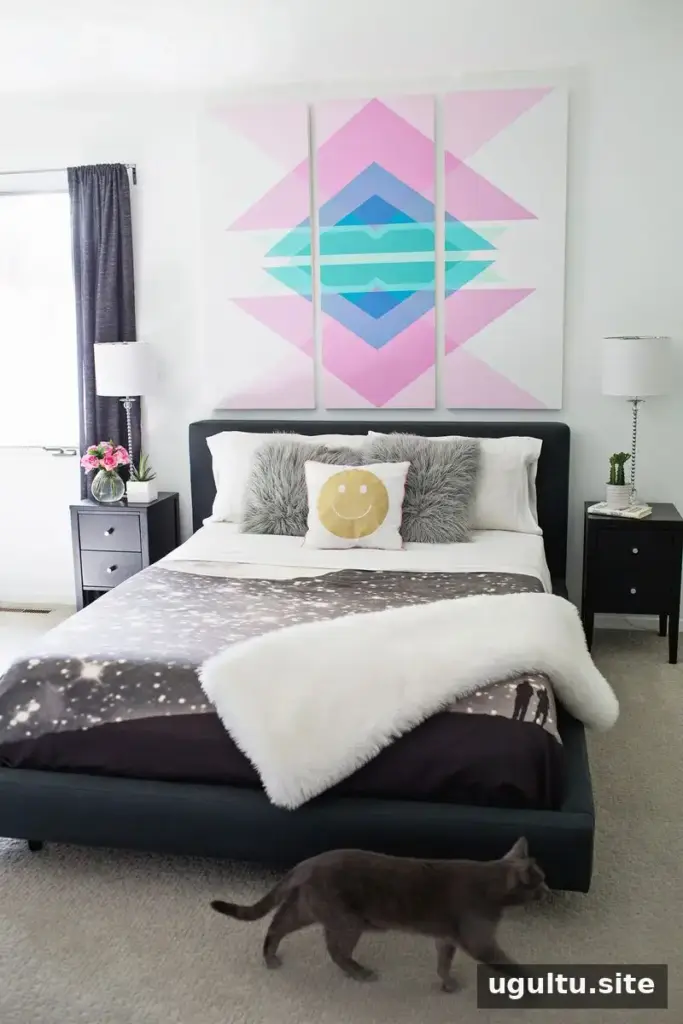
The completed headboard brings a bright pop of color to the room and adds personality against the white walls. Its overlapping geometric shapes give the artwork a layered appearance, while the three-panel layout makes it possible to create a large feature without painting directly on the wall. Laura designed the colorful artwork, and Josh built the panels.
These geometric art headboard panels offer a practical way to introduce color and a custom focal point into a bedroom. Careful measuring, a numbered paint guide, and patient drying between coats can make the project easier to manage and help the finished pattern look cohesive.


