
 admin
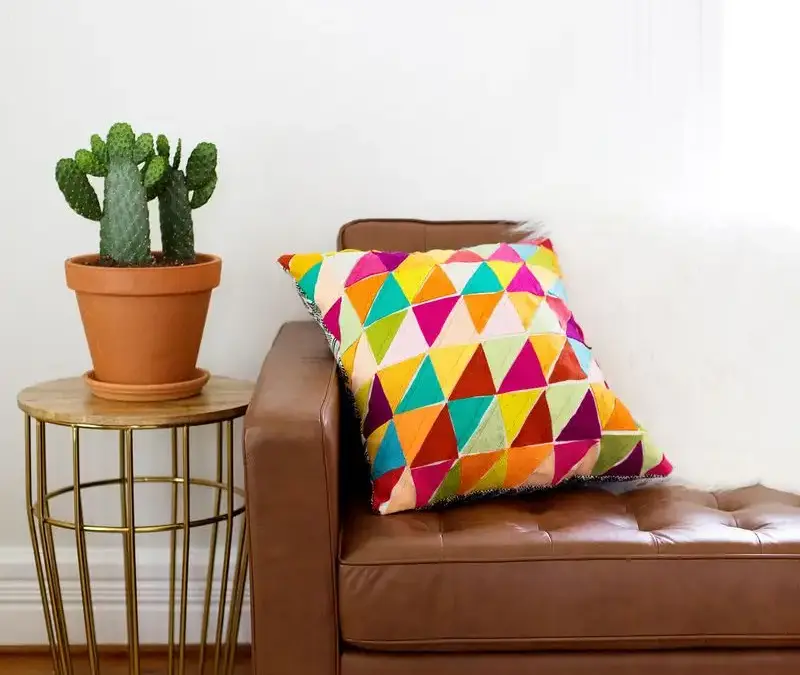
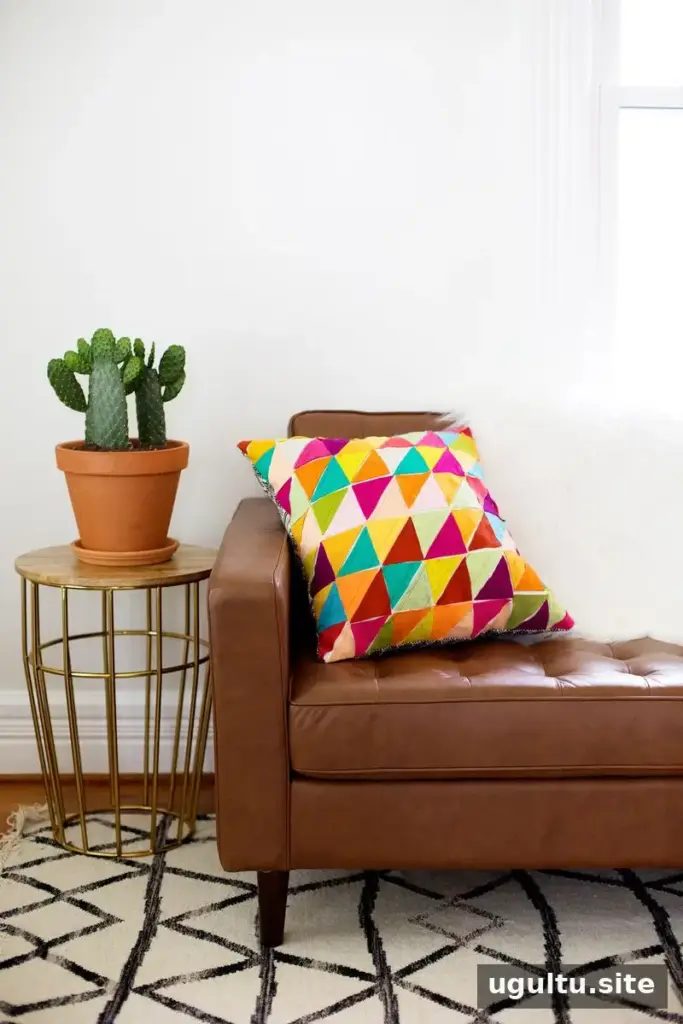
Geometric wool felt pillows add color and texture to a living room, and they can be made with basic cutting and sewing skills. This project uses small felt triangles arranged in a repeating pattern, then stitched onto a pillow front. Choose wool felt for a soft, substantial finish, or use craft-store felt as a more budget-friendly option.
Supplies for geometric wool felt pillows
Gather the materials and tools before you begin. You will need felt in several colors, fabric for the pillow back, fabric glue, stuffing, a ruler, scissors, thread, a sewing machine, and a hand-sewing needle. The pillow back can be made from a fabric that coordinates with the felt.
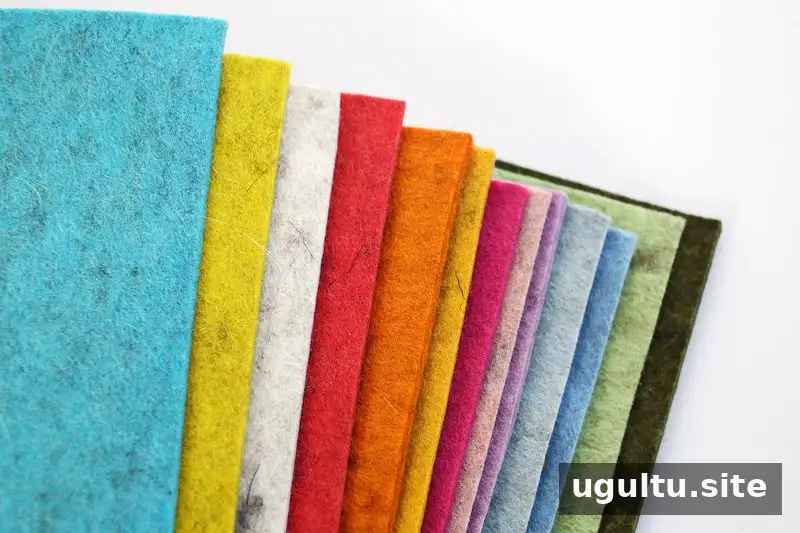
Select colors that work well together and check that you have enough felt for the full pillow top. Higher-quality wool felt is one option; synthetic craft felt can also be used. If the pillow will be used often, choose materials that feel sturdy and are suitable for regular handling.
Supplies:
Cut the felt triangles
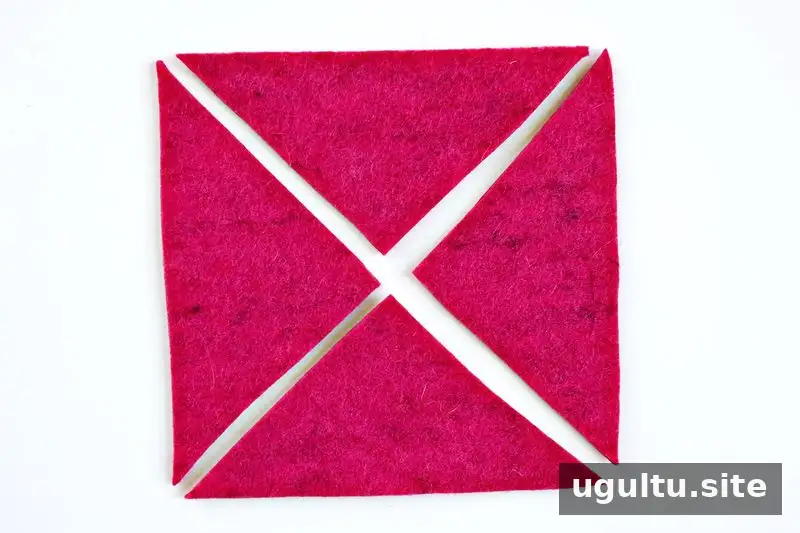
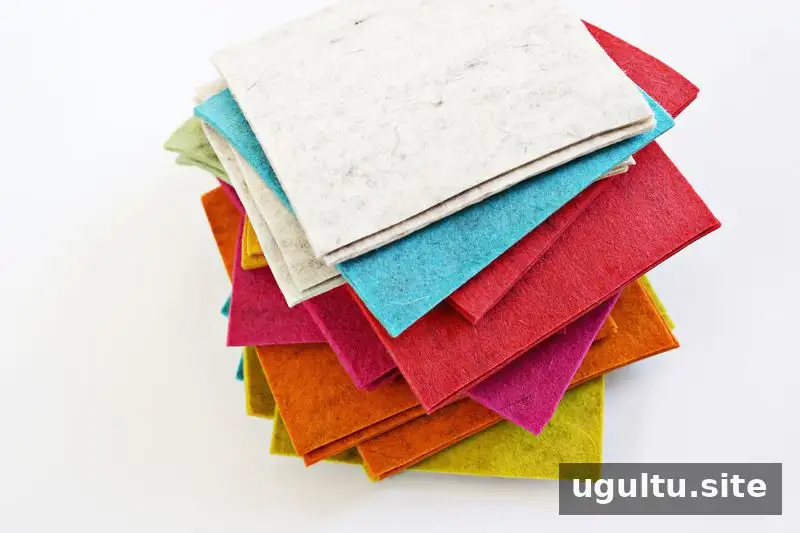
Measure and cut the felt into 3-inch by 3-inch squares. Cut each square along both diagonals to make four triangles. Keep the pieces grouped by color so it is easier to arrange the pattern later. Accurate cutting helps the edges line up more neatly when you sew.
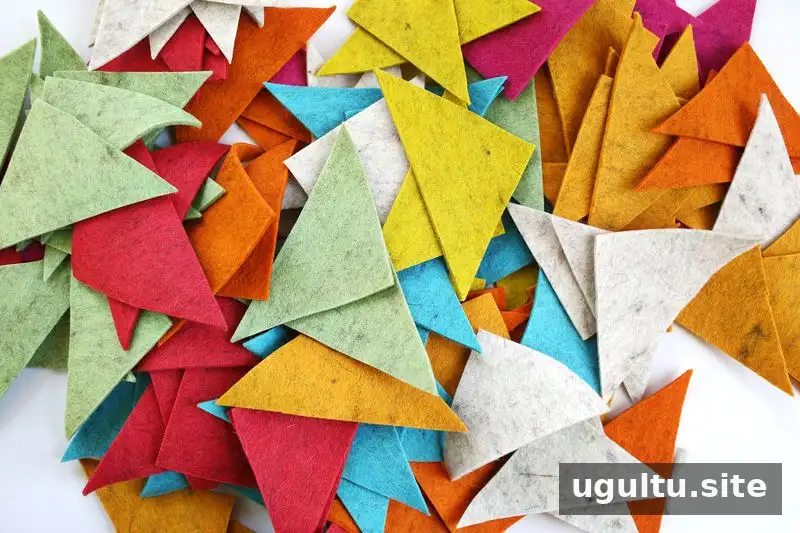
Arrange and attach the pillow design
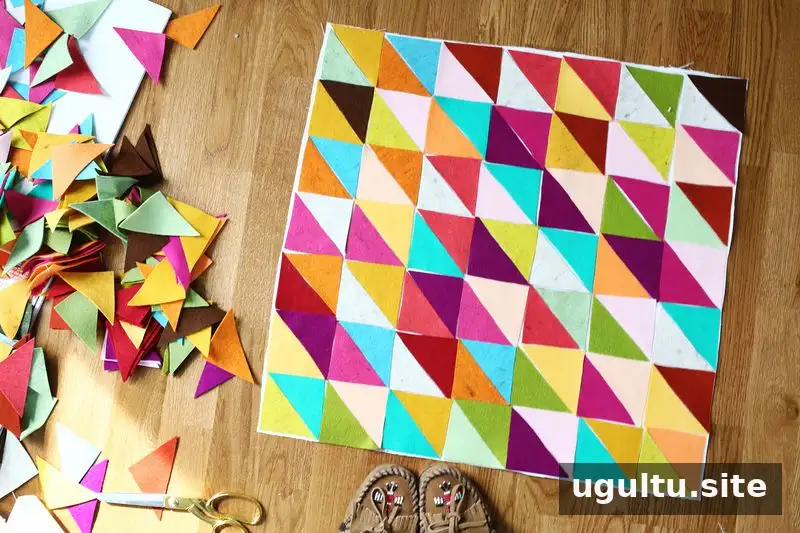
Lay out the triangles to plan the pillow top before stitching. Try different color combinations and patterns, and take a photo of the layout if you want a reference while sewing. The example pillow top is about 21 inches square, arranged with seven squares across and seven down.
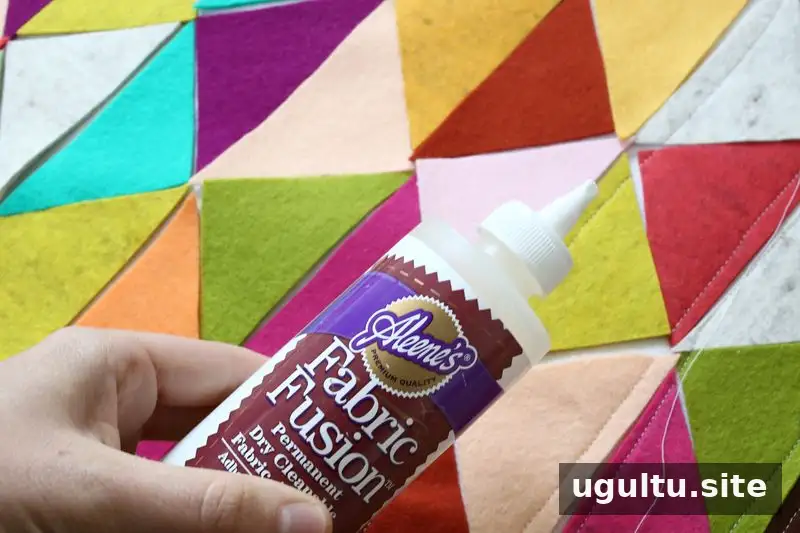
A small dab of fabric glue in the center of each triangle can help hold the pieces in place while you sew. Use only a little glue, and keep it away from the edges and stitching path to avoid making the fabric stiff or difficult to sew.
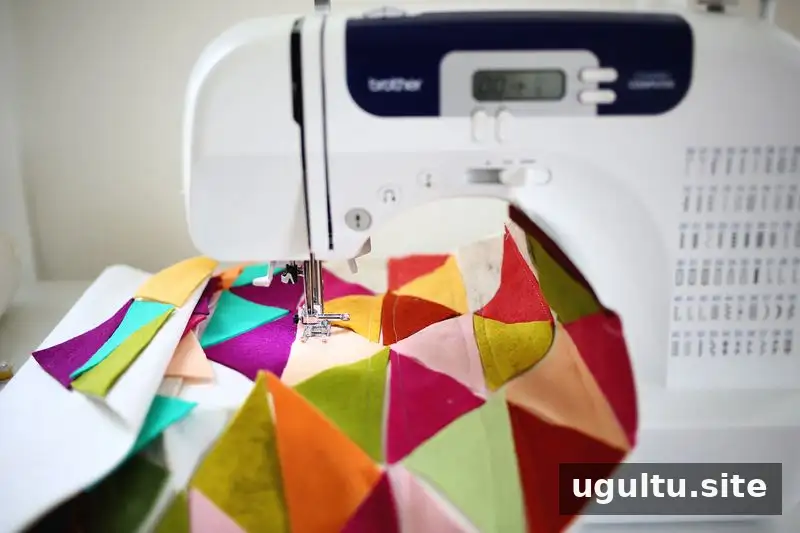
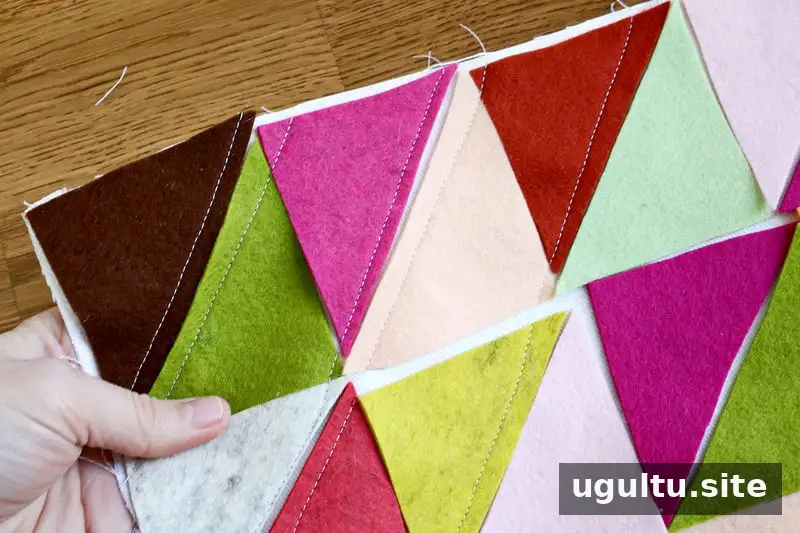
Stitch along the long edges of each triangle to secure the felt to the pillow front. Work carefully through the layout, checking that each piece stays flat and in position. A consistent seam line gives the finished design a tidy appearance.
Sew and stuff the pillow
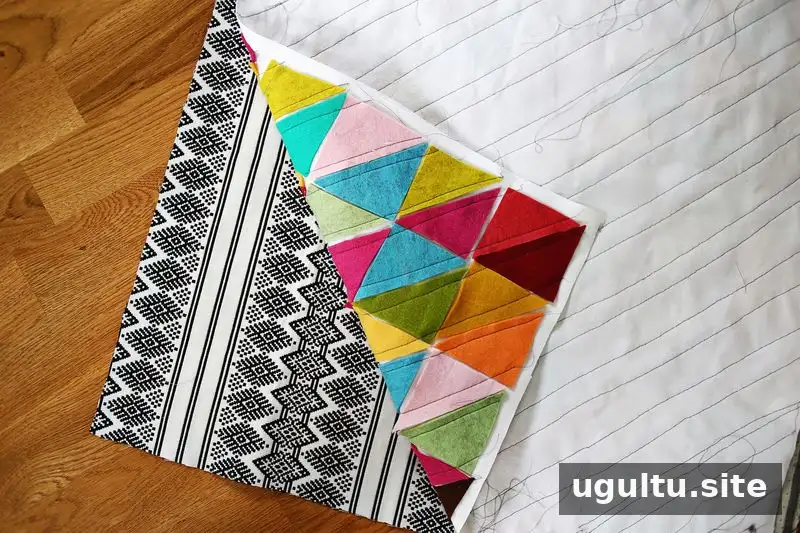
When all the triangles are attached, cut a second piece of fabric to match the pillow front. Place the front and back pieces together with the sides you want showing on the inside. Sew around the perimeter, leaving a 4-inch gap at the bottom center. This opening is needed to turn the cover right side out and add the stuffing.
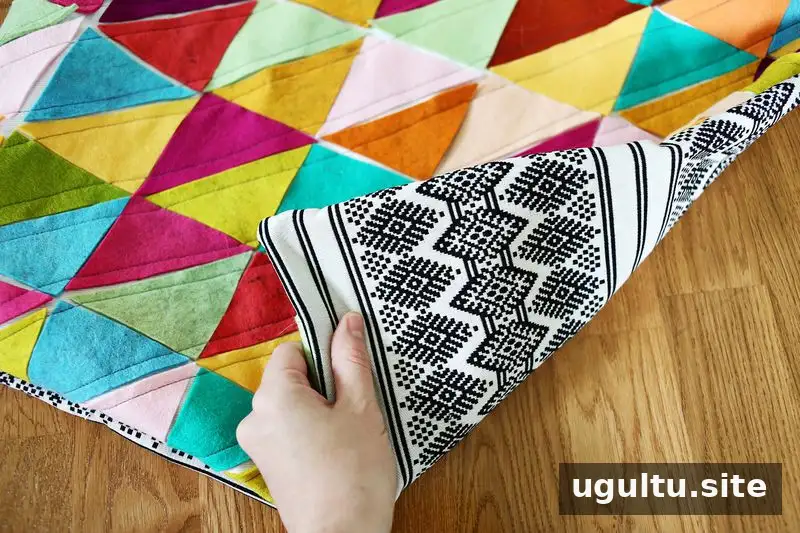
Turn the pillow through the gap so the finished sides face outward. Gently push out the corners, taking care not to pull on the felt stitching.
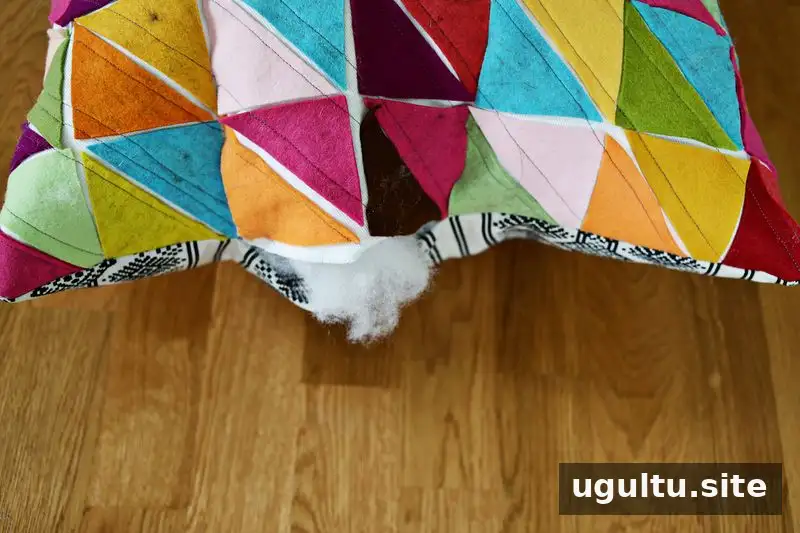
Add stuffing a little at a time, distributing it into the corners for an even shape. Slightly overfilling can help the pillow keep a full appearance, but avoid stretching the seams. Hand-stitch the 4-inch opening closed once the pillow is filled.
Finish your geometric wool felt pillows
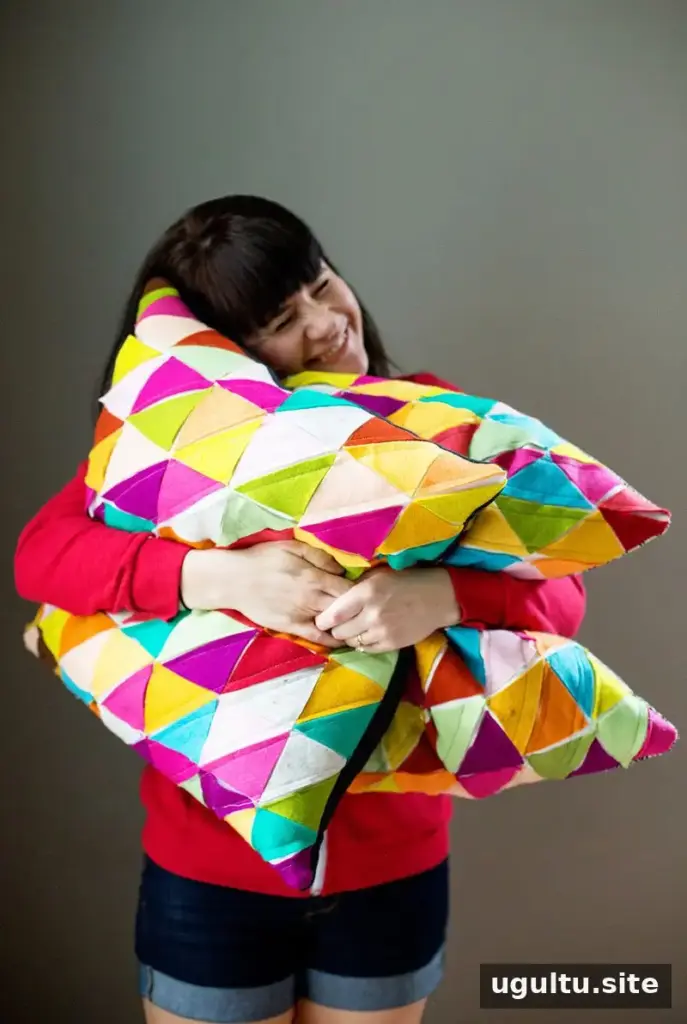
Check the seams and trim any loose threads. The finished pillow can bring a bright geometric accent to a neutral room or complement other colorful furnishings.
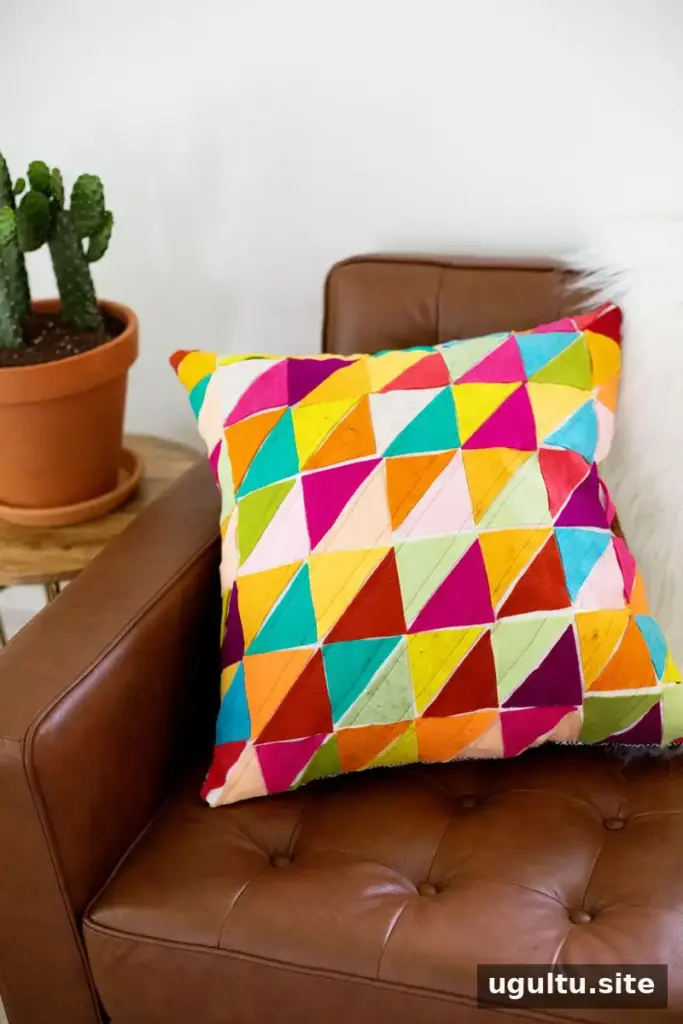
This project is a flexible way to use felt colors that suit your space. Adjust the palette while keeping the 3-inch squares and seven-by-seven layout for a pillow top of about 21 inches. Project by Elsie.


