
 admin
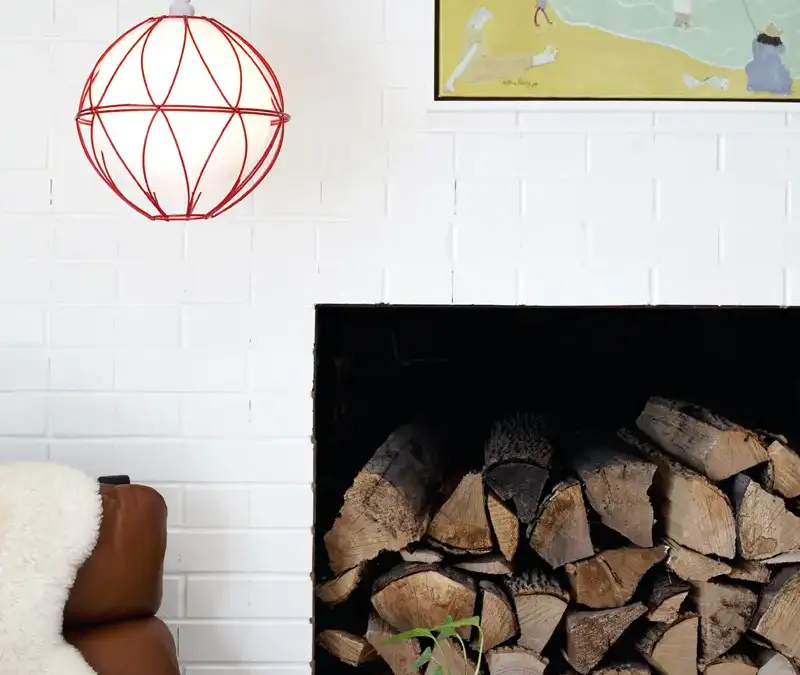
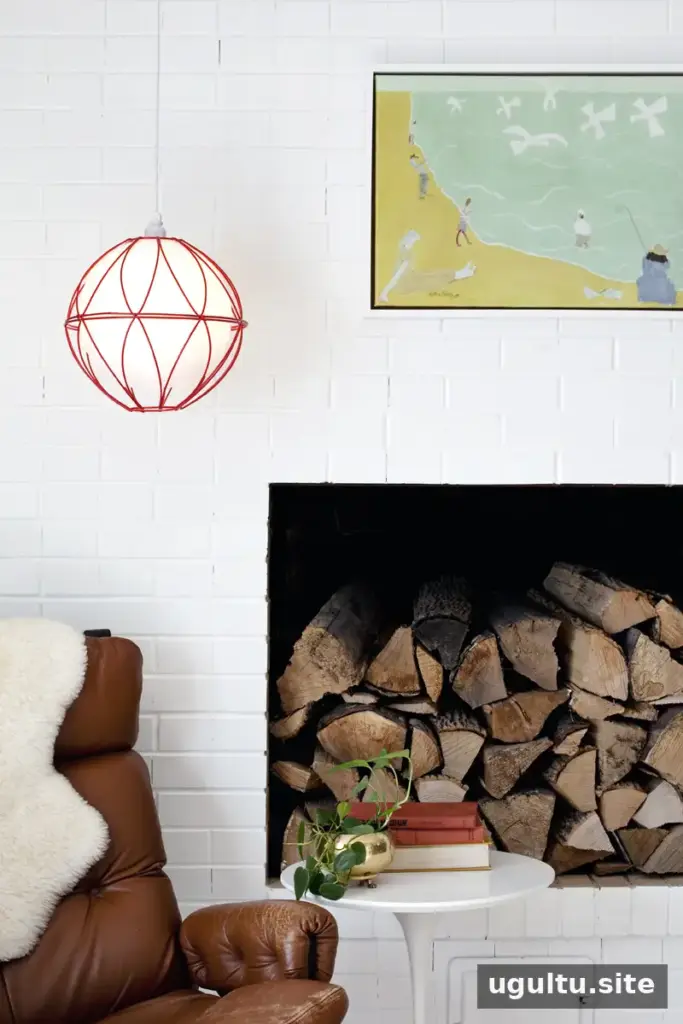
A Globe Pendant DIY project can turn two simple wire planter baskets and an acrylic globe into a distinctive pendant shade. The finished design gives a plain basket light a more contemporary look while covering the bulb. It also uses a pendant light kit, so the project does not require wiring a light fixture from scratch. Follow the kit’s instructions and check that its components are suitable for the bulb and location where you plan to use the light.
The shade comes together in three main steps. Before starting, work on a stable surface and handle the acrylic carefully to help prevent cracks while drilling.
Globe Pendant DIY: Materials and tools
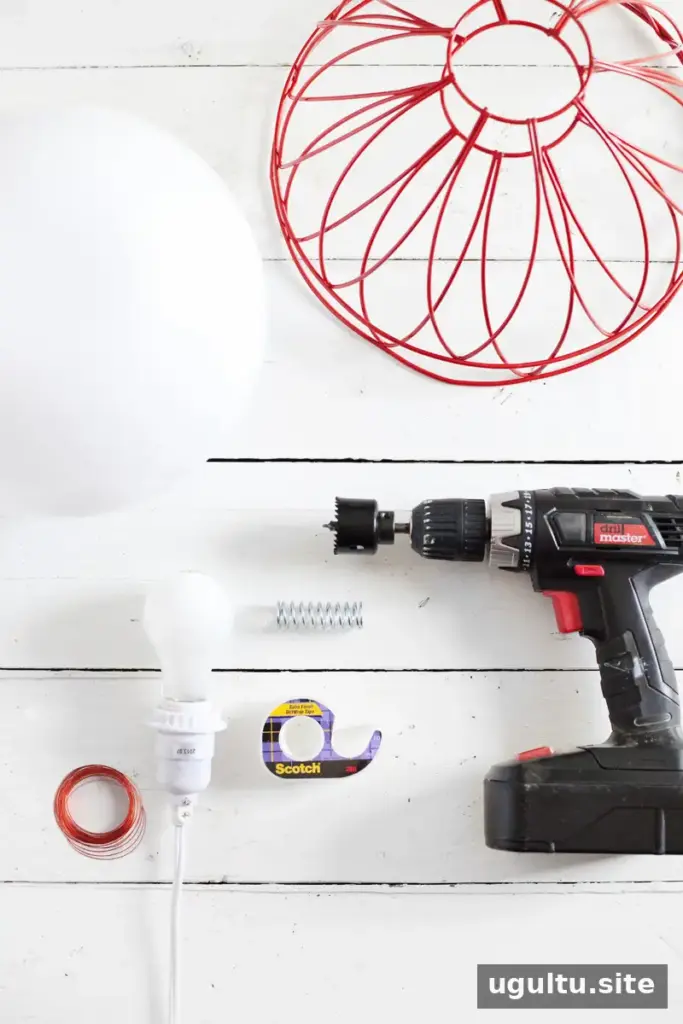
Gather these materials before assembling the shade:
- One acrylic globe; the example uses a 10-inch globe.
- Two hanging planter baskets.
- One pendant light kit.
- Clear tape.
- Coordinating wire, such as craft wire from the jewelry section of a craft store.
- Optional: a metal spring long enough to span the opening of the smaller basket.
You will also need a power drill and a 1 5/8-inch hole saw. A self-feeding hole saw is useful for keeping the cut centered. Wear appropriate eye protection and follow the tool manufacturer’s instructions when drilling.
How to make the globe pendant
Step 1: Make an opening in the globe
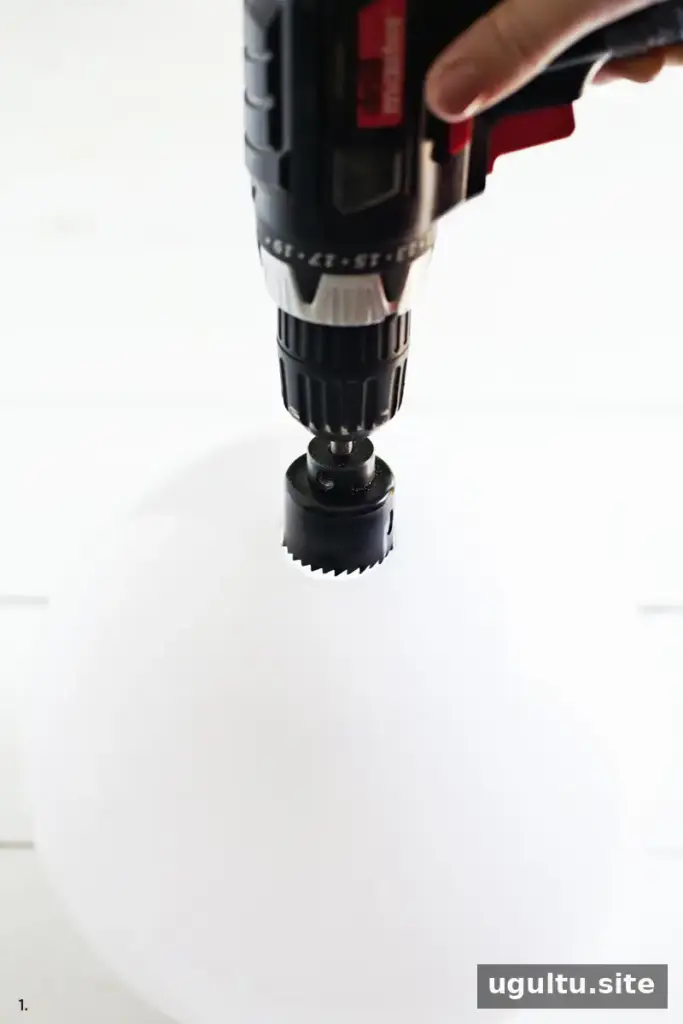
Drill a hole in the center of the acrylic globe. If the globe has a molded dimple, align the hole saw’s center point with it to help position the cut. Keep the globe steady and avoid forcing the drill, which may damage the acrylic.
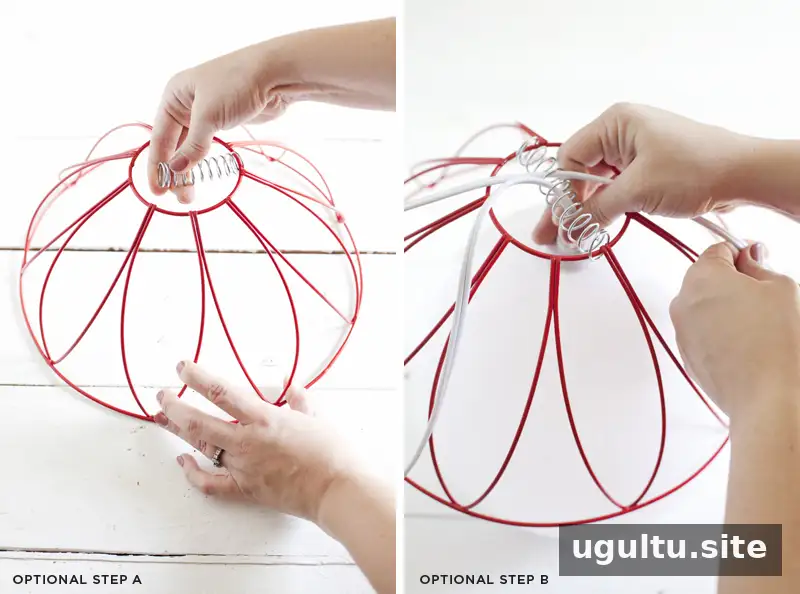
Optional: Add a spring for a smaller globe
If the globe is considerably smaller than the basket, a spring can help hold it at the desired height. Stretch a sturdy metal spring across the smaller basket’s opening. Thread the pendant light kit through the large factory opening, through the hole in the globe, and then through the spring. The spring helps keep the cord centered. A globe that fills most of the basket may not need this support.
Step 2: Align the baskets
Use clear tape to temporarily join the two baskets, placing one over the other. Check that the basket patterns line up before moving on; tape makes it easy to adjust the alignment.
Step 3: Secure the shade
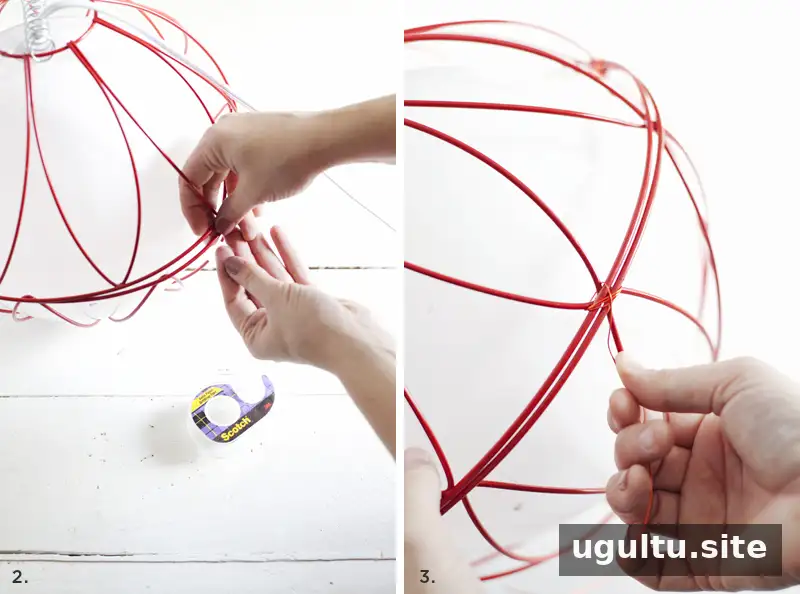
Wrap short pieces of coordinating wire around the baskets to connect them. Make several secure connections around the edges, then remove the temporary tape. Check that the baskets do not shift or separate before fitting the shade around the light kit.
Hanging and customizing the pendant
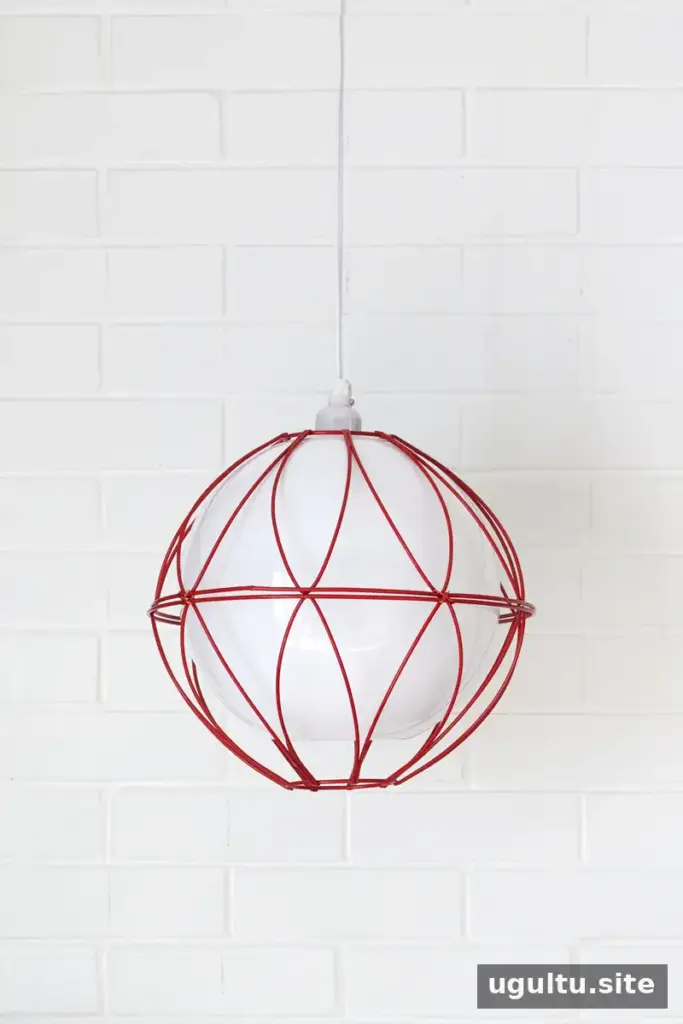
Use a ceiling hook or another suitable support to hang the pendant. The ceiling attachment must be appropriate for the fixture’s weight and installed according to its instructions. A hanging plant stand or lantern hook can also be used to create a floor-lamp arrangement.
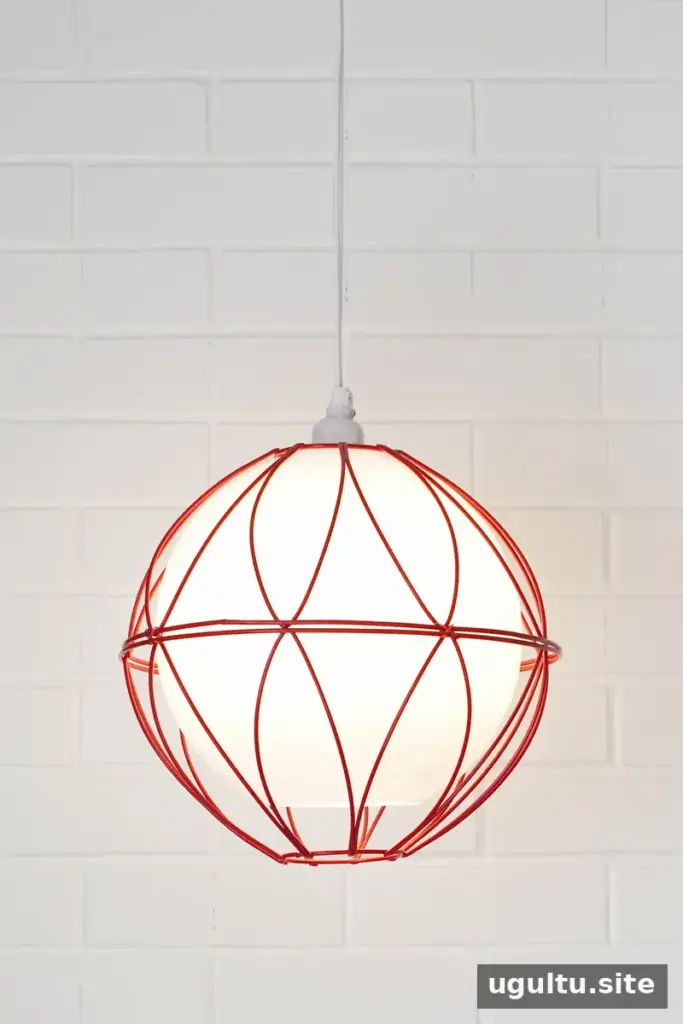
The globe size and basket style can be changed to create different proportions and finishes. For a practical lighting setup, confirm that the pendant kit and bulb are compatible with the shade, and keep the bulb from contacting the acrylic. An LED bulb that stays relatively cool is a sensible option, but always follow the kit and bulb manufacturers’ safety guidance. The design can also be repeated in pairs, such as above bedside tables. —Mandi


