
 admin


A gold foil sweatshirt DIY is a simple way to turn a plain garment into a personalized piece with a bright, brushed-looking design. This project uses a freezer-paper stencil and foil adhesive to apply a phrase of your choice. The foil finish has a different texture from iron-on vinyl, so it can be a good option when you want a slightly less uniform, handmade look. A coffee-themed phrase in French inspired this version, but you can choose wording and lettering that suit your style.
Supplies for a Gold Foil Sweatshirt DIY
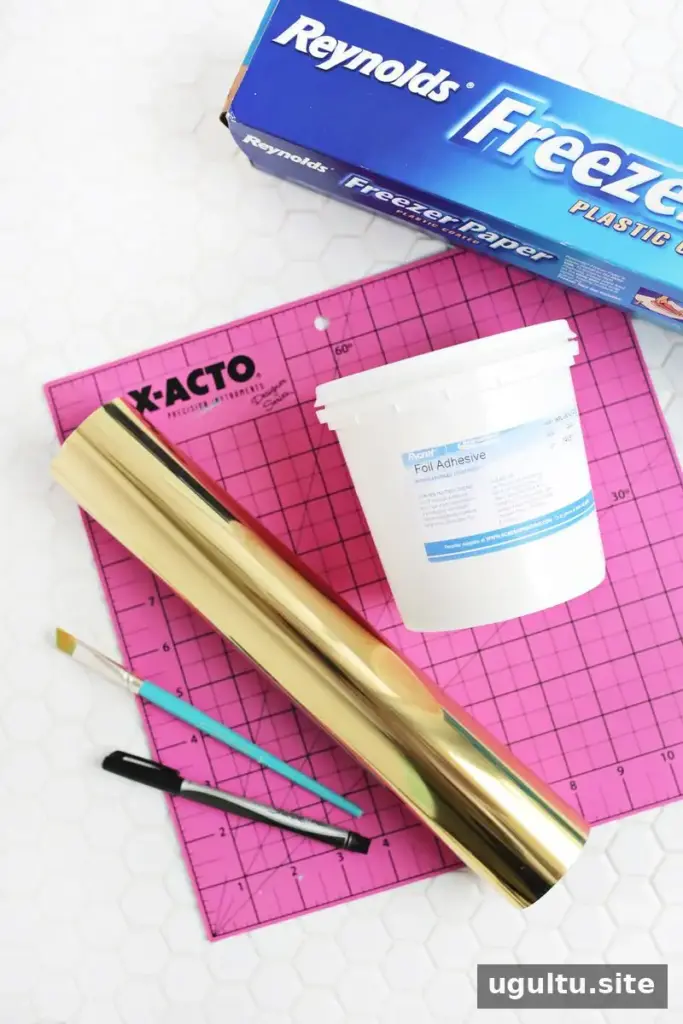
Gather the materials before you start so the adhesive can be applied without unnecessary delays:
- Gold foil roll
- Foil adhesive
- Paintbrush
- Freezer paper
- Parchment paper
- X-Acto knife, ruler, and cutting mat
- Plain sweatshirt
- Iron
Choose a sweatshirt with a smooth surface if possible, as an even fabric area makes it easier to position the stencil and press the foil consistently. Before beginning, check that the garment can tolerate the heat needed for the materials.
Prepare and Cut the Freezer-Paper Stencil
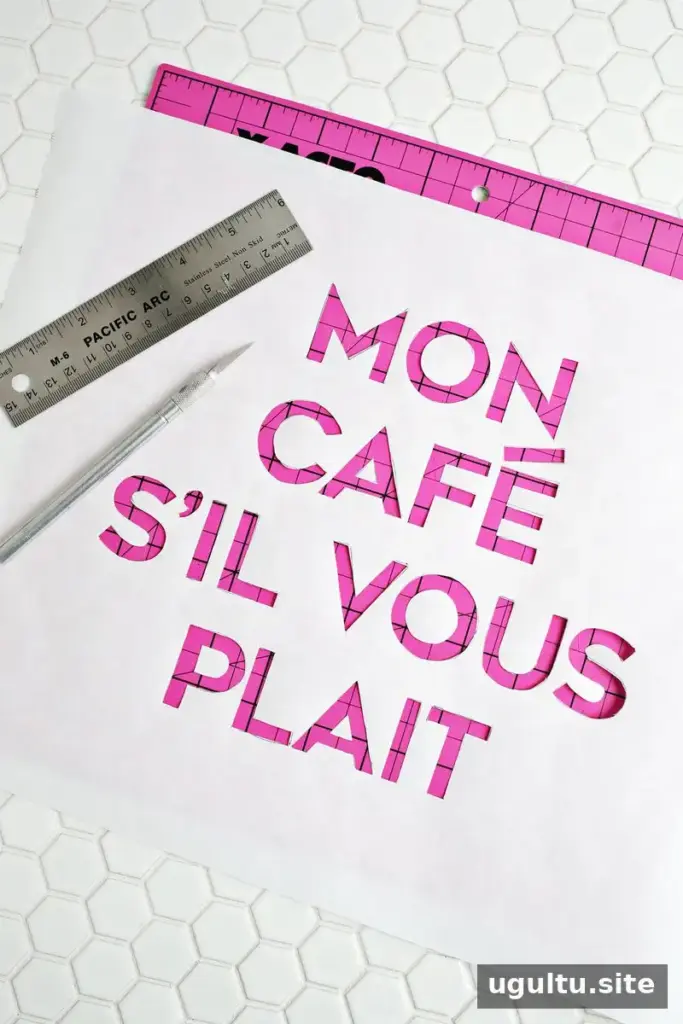
Print your phrase at the size you want on the sweatshirt. If the design is larger than an 8” x 10” sheet, print it across multiple pages and tape the sheets together to make one template.
Trace the phrase onto the non-waxy side of the freezer paper. Place the paper on a cutting mat and carefully cut out each letter with an X-Acto knife. Keep the small inner pieces from letters such as “O”; you will need them to preserve the shape of the stencil.
Position the freezer paper on the sweatshirt and iron it in place. In most areas, less than 30 seconds of ironing is enough to secure the stencil. Check that the edges are attached so adhesive is less likely to spread beyond the lettering.
Apply Adhesive and Gold Foil
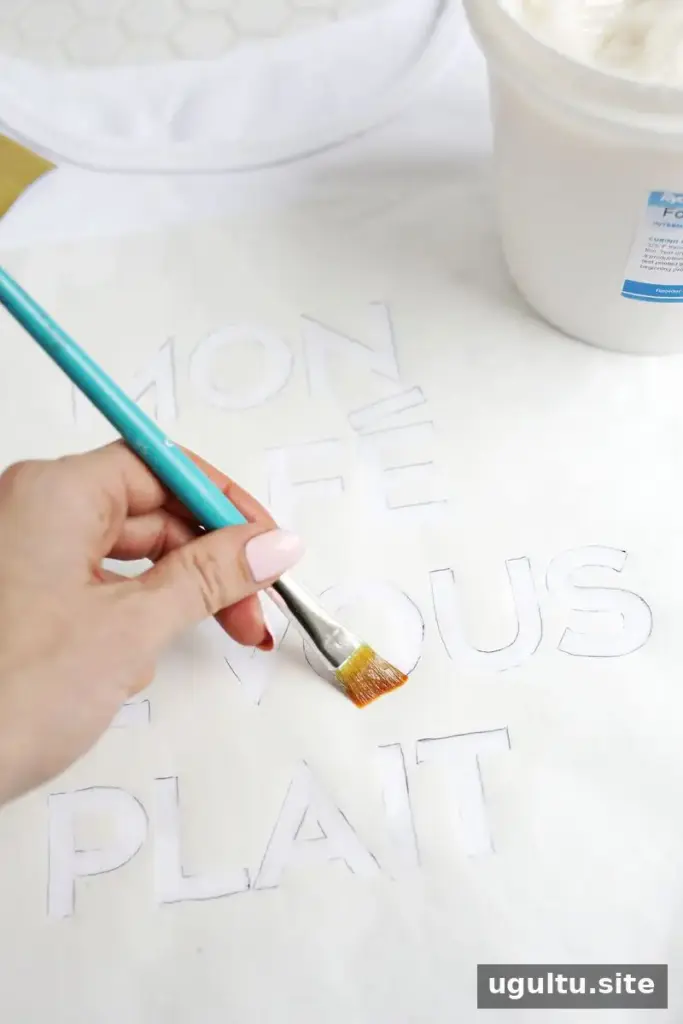
Brush an even layer of foil adhesive onto the sweatshirt fabric exposed through the stencil. Cover the letter shapes fully, but avoid leaving thick pools of adhesive. Work steadily across the design so the first areas are not left to dry while you finish the rest.
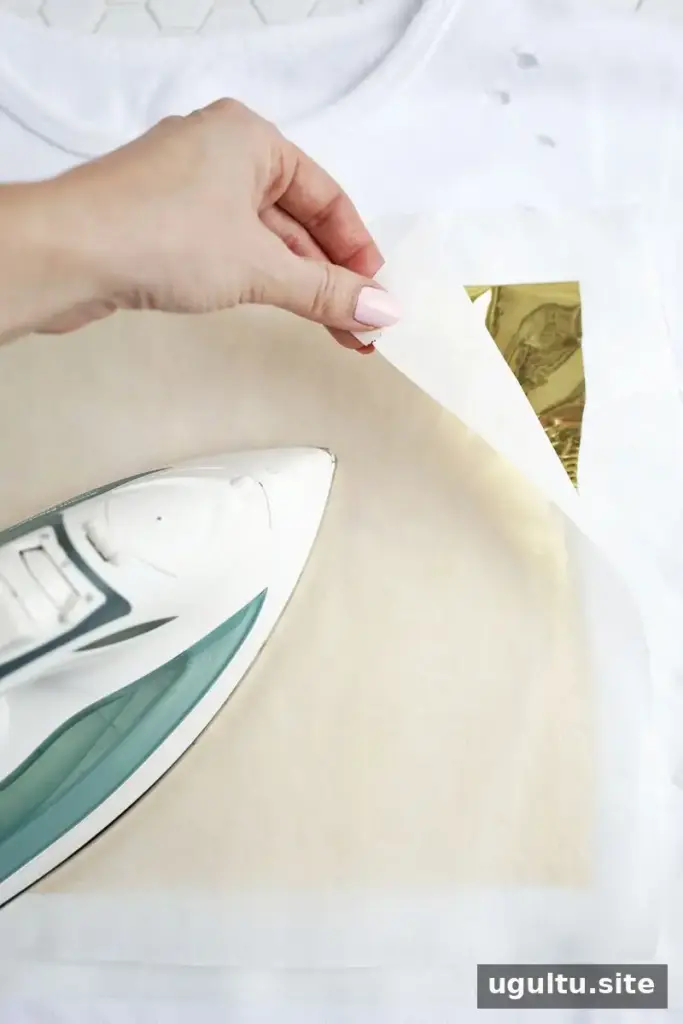
Cut a piece of gold foil slightly larger than the phrase, while keeping it smaller than the freezer-paper stencil. Lay the foil gold side up over the design. Cover it with parchment paper, then iron over the phrase on a medium/high setting. Pass over every section for about 30 seconds, making sure the design receives even warmth.
Reveal and Care for the Finished Sweatshirt
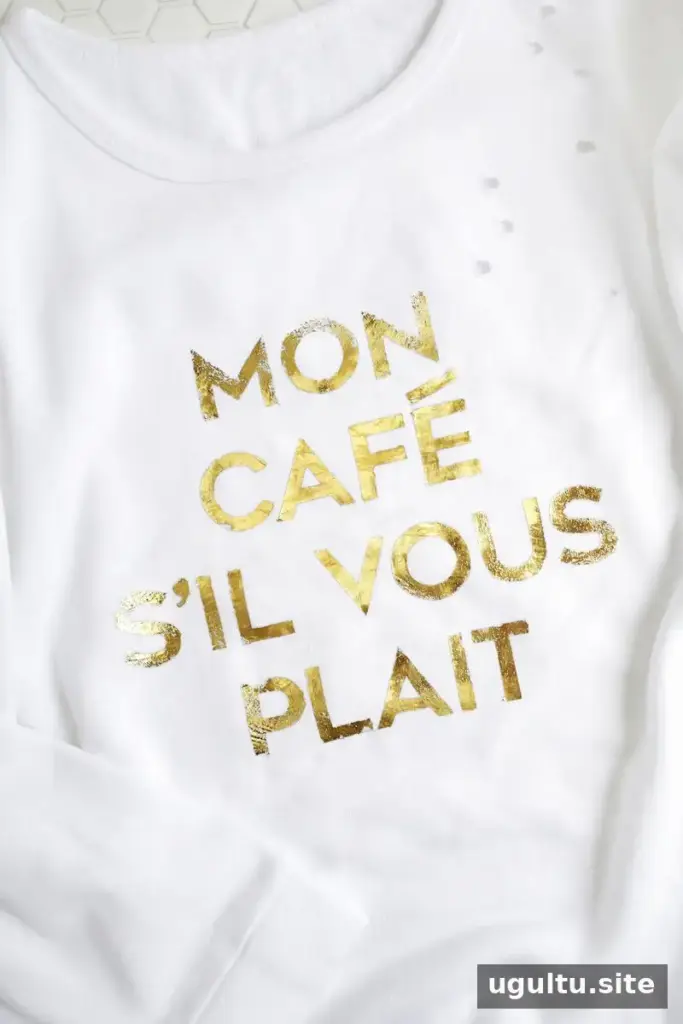
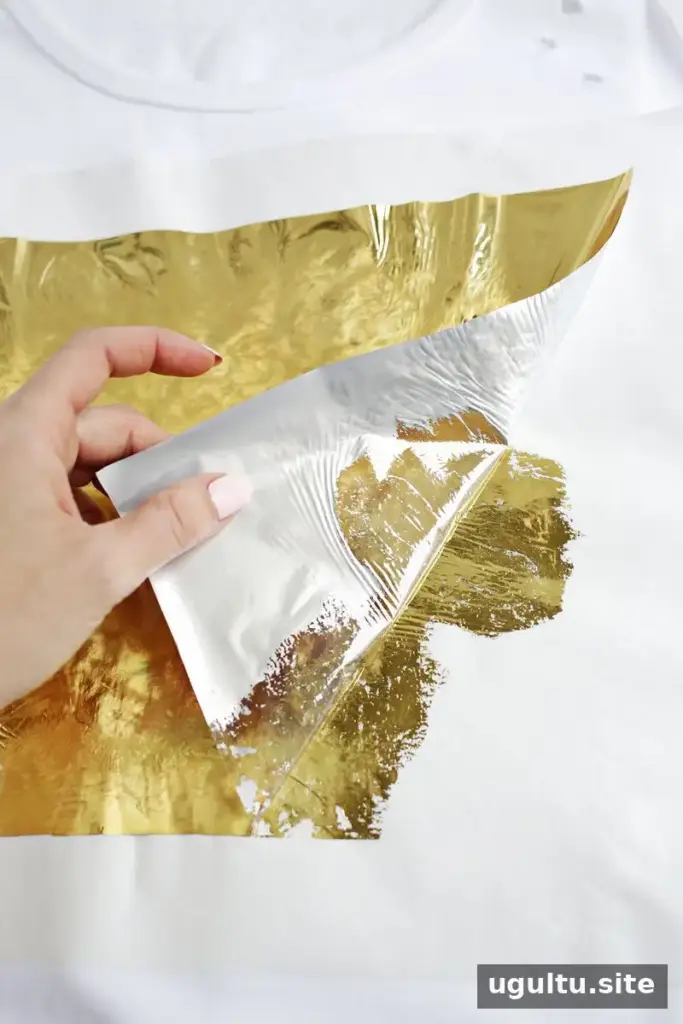
Remove the parchment paper and let the foil cool. Peel the foil back, then lift away the freezer-paper stencil to reveal the finished phrase. If any part has not transferred as expected, avoid pulling the stencil roughly; take a moment to check the material before continuing.

The foil gives the sweatshirt a shiny, store-bought-style appearance while still allowing you to customize the phrase and font. Gold can also contrast strongly with a black sweatshirt, making the design stand out. Because foil finishes can be delicate, hand-wash the garment in cold water to help preserve the design. A cold, gentle machine cycle is another option, though it may be less gentle on the foil. For best results, handle the finished area carefully during washing and drying.
This gold foil sweatshirt DIY can be adapted to different short phrases and lettering styles. Take care when cutting small letter details, apply adhesive evenly, and allow the foil to cool before peeling it away. Designed and written by Laura.


