
 admin


Gold leaf brooches add a subtle autumn detail to a jacket, sweater, or scarf. This project uses polymer clay and a leaf-shaped mold to create decorative pins with a gold finish. With a few adjustments, the finished leaves can also be used as pendants, magnets, or garland decorations. Choose a clay color that complements the gold, or paint the clay before applying the leaf sheets.
Before starting, check that your paint, sizing, adhesive, and sealant are suitable for polymer clay. Preparing compatible materials in advance can help protect the finish and make each step easier.
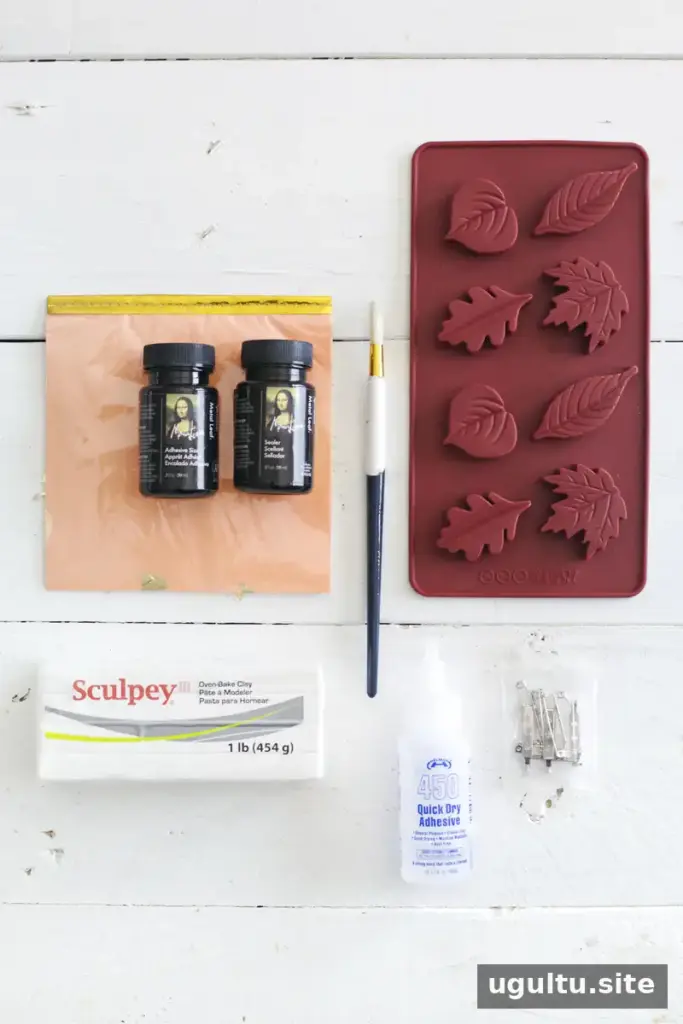
Supplies
- Polymer clay in a color of your choice
- Gold leaf sheets, water-based sizing, and a compatible water-based sealant
- Brooch pins
- Permanent adhesive
- Paint for the background color, if needed
Tools
- Silicone leaf mold
- Paintbrush
- Oven
How to Make Gold Leaf Brooches
1. Shape the clay
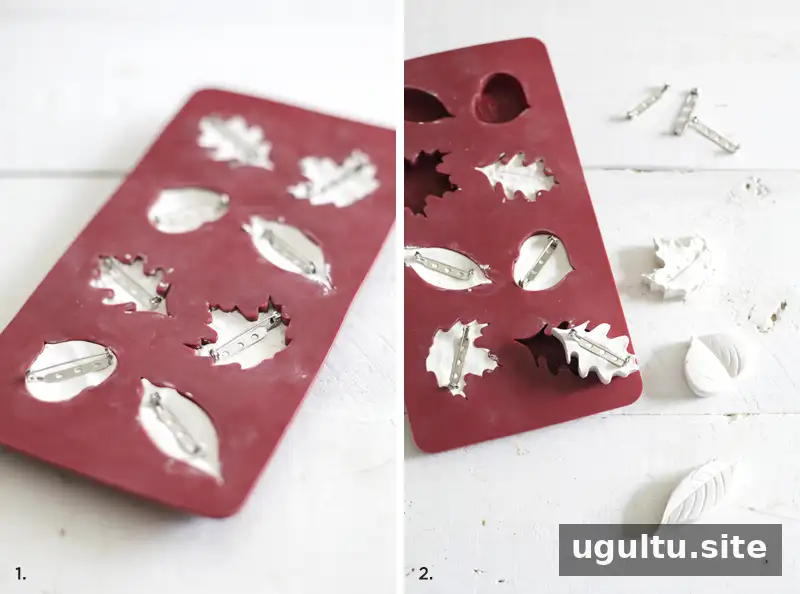
Warm the clay in your hands for a couple of minutes to make it easier to condition. Press it into the mold, filling each leaf shape evenly. Use less clay for thinner, lighter brooches, and check for large air pockets that could affect the shape. Smooth the surface gently while keeping the leaf details defined.
2. Mark the pin position and bake
Press each brooch pin into the back of the clay to mark its position, then remove it before baking. Follow the baking instructions on the clay packaging. The original project used 270°F for 30 minutes, based on 15 minutes for every 1/4 inch of clay thickness. Baking requirements can vary, so use the product directions for your specific clay. Let the pieces cool completely before removing them from the mold.
3. Add a background color
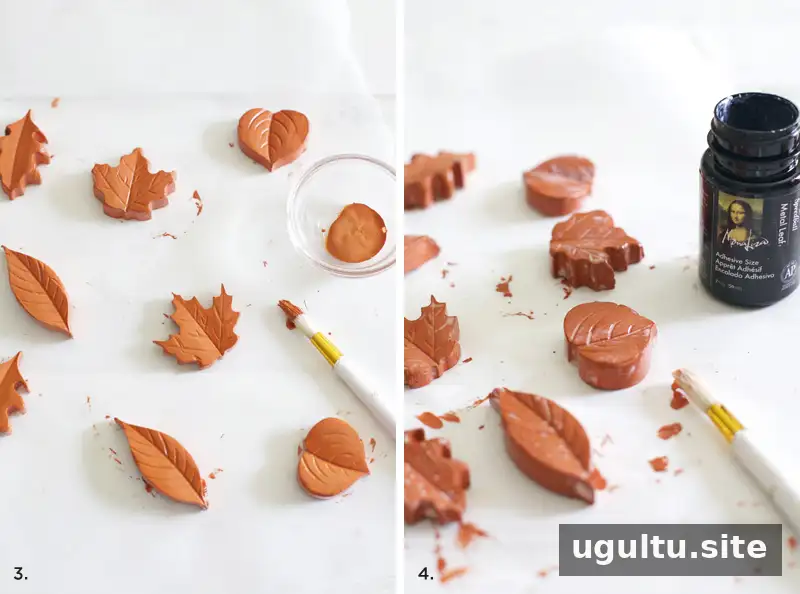
If the clay is not already the color you want beneath the gold, paint the leaves and allow them to dry. Two or three coats may be needed for even coverage. Use paint labeled as suitable for polymer clay, and let each coat dry as directed before applying sizing.
4. Apply the gold leaf
Brush a thin layer of water-based sizing over each leaf. Wait until it becomes tacky, following the product directions, then apply small pieces of gold leaf. Sizing included with a gold leaf kit may be used if it is compatible with your materials. A clean, soft brush can help press the leaf into the grooves without flattening the molded details.
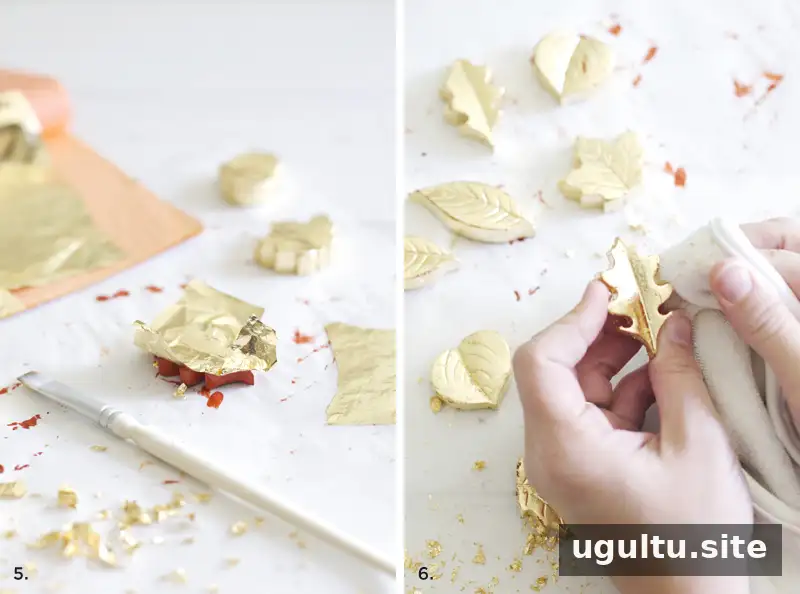
Work in small sections and handle the delicate leaf gently. This helps you cover recessed areas while reducing the chance of disturbing the sizing. If the leaf tears or overlaps, use the brush to position it carefully rather than pressing hard.
5. Burnish and refine the finish
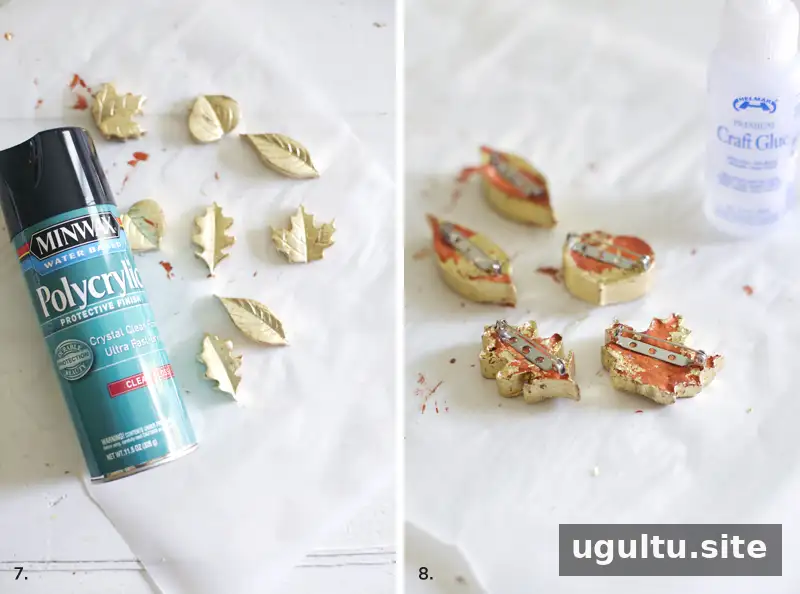
Smooth and burnish the gold leaf with a soft cloth. For a worn, textured effect, lightly rub the corners so some background color shows through. If you notice bare spots, apply a small amount of sizing and gold leaf to those areas, then smooth them again.
6. Seal the surface and attach the pins
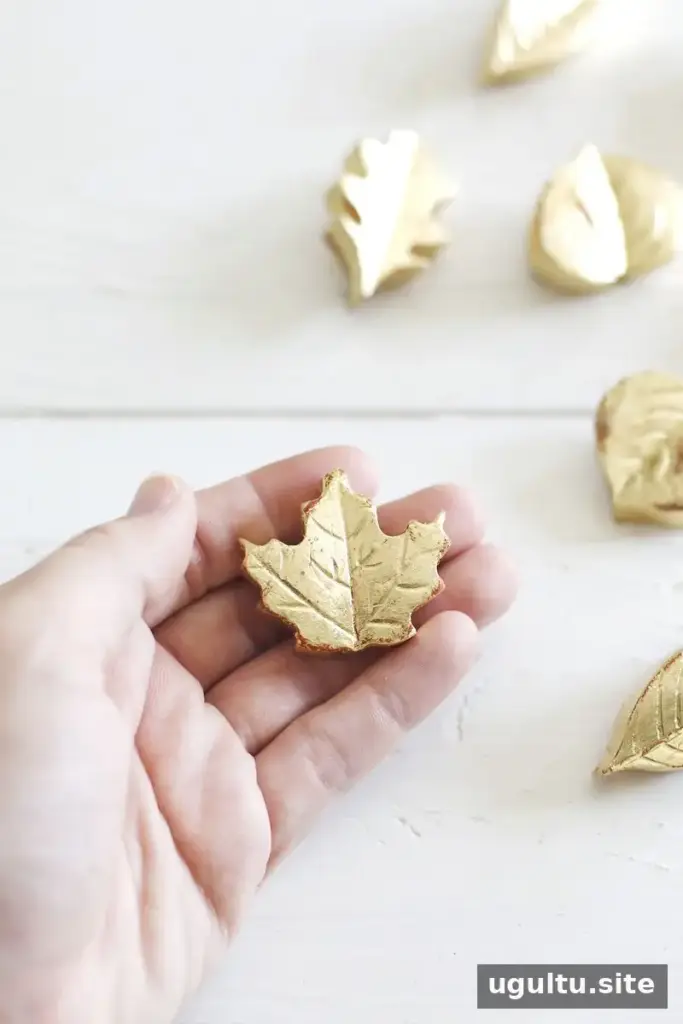
Apply a water-based varnish or sealant labeled as suitable for polymer clay and gold leaf. Allow it to cure fully according to the product directions before handling the leaves. Once dry, use permanent adhesive to secure each brooch pin in the indentation made before baking. Give the adhesive the recommended setting time before wearing the brooch.
Important: Choose polymer-clay-safe paint, sizing, adhesive, and sealant. Some products, including certain spray paints, nail polishes, and oil-based finishes, may react with polymer clay. Check product labels, and test materials on a small sample if compatibility is unclear.
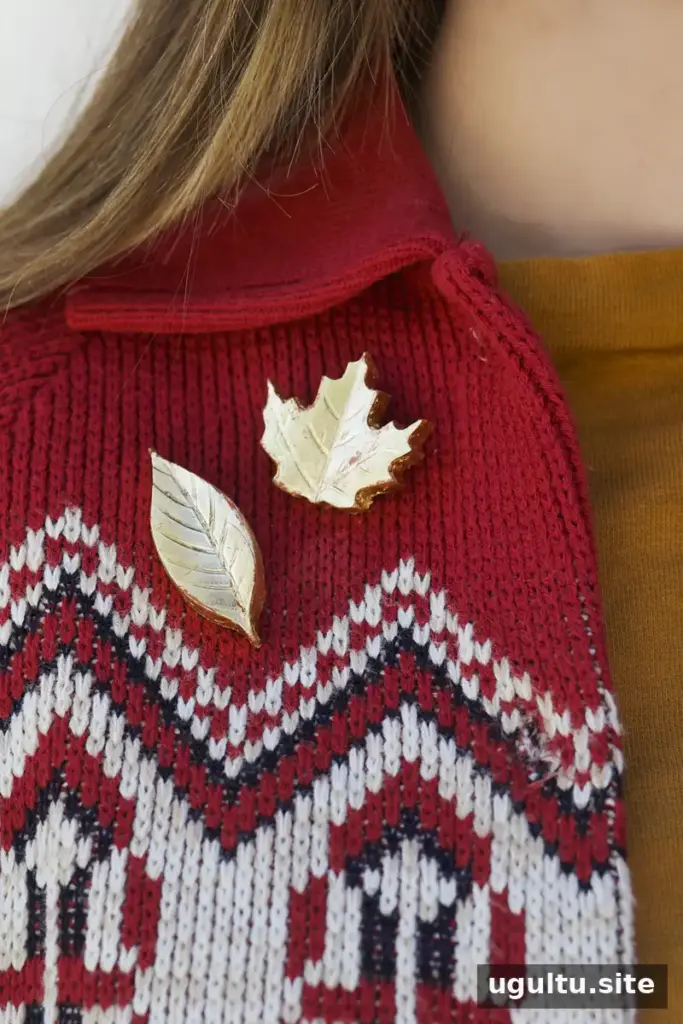
How to Wear and Store Gold Leaf Brooches
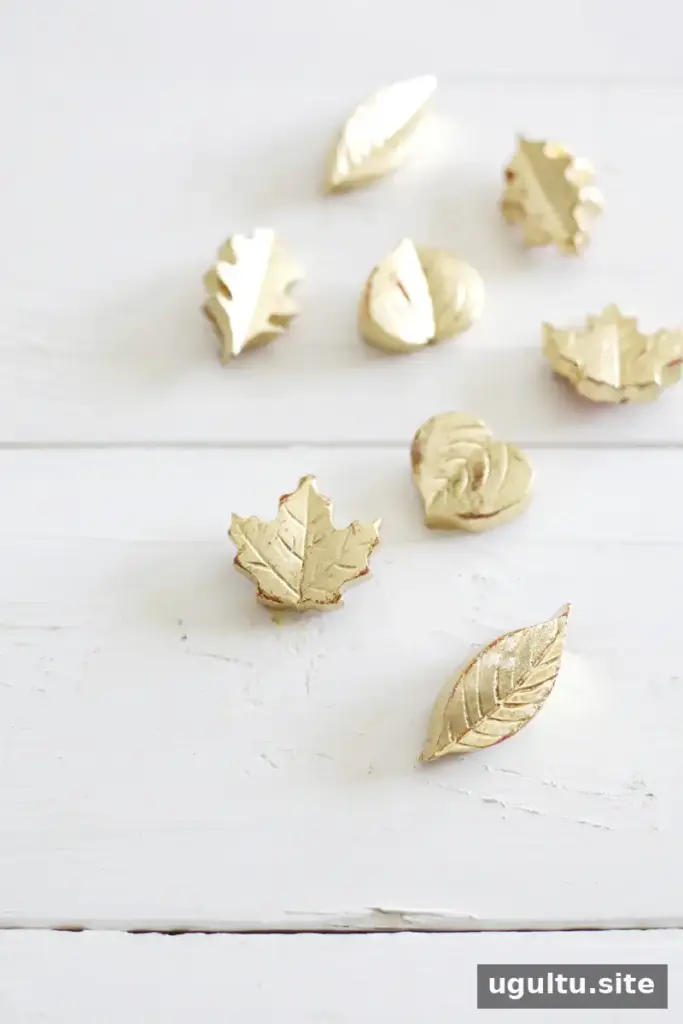
Gold leaf brooches make a small seasonal accent for a lapel, sweater, or scarf. You can also make several leaves in coordinating colors for a garland, or adapt the finished pieces as pendants or magnets. Keep the brooches dry and store them separately from other jewelry to help prevent scratches to the gold finish. When wearing one on delicate fabric, fasten the pin carefully to avoid snagging.
—Mandi


