
 admin
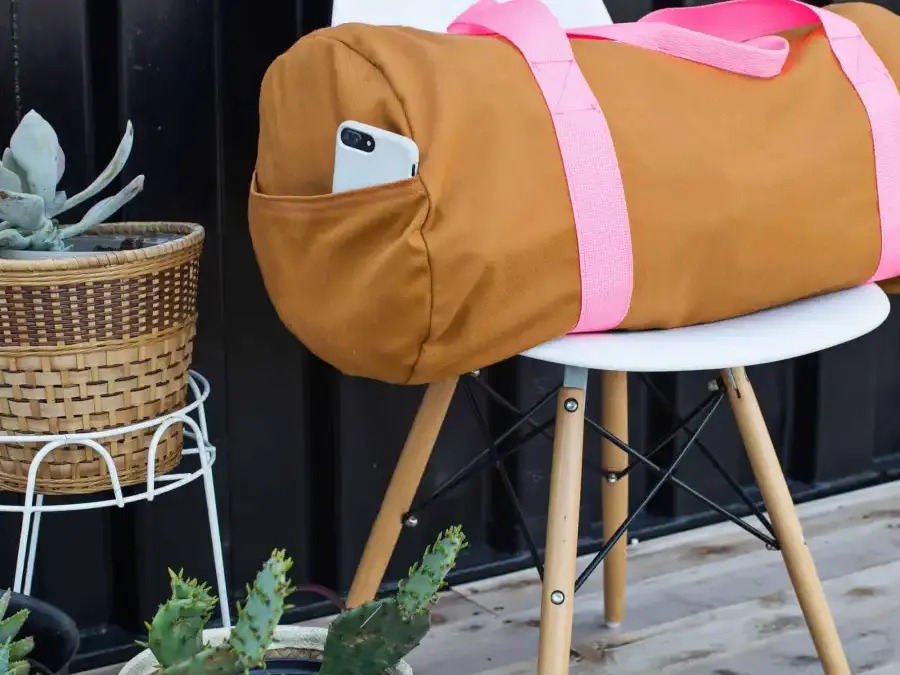
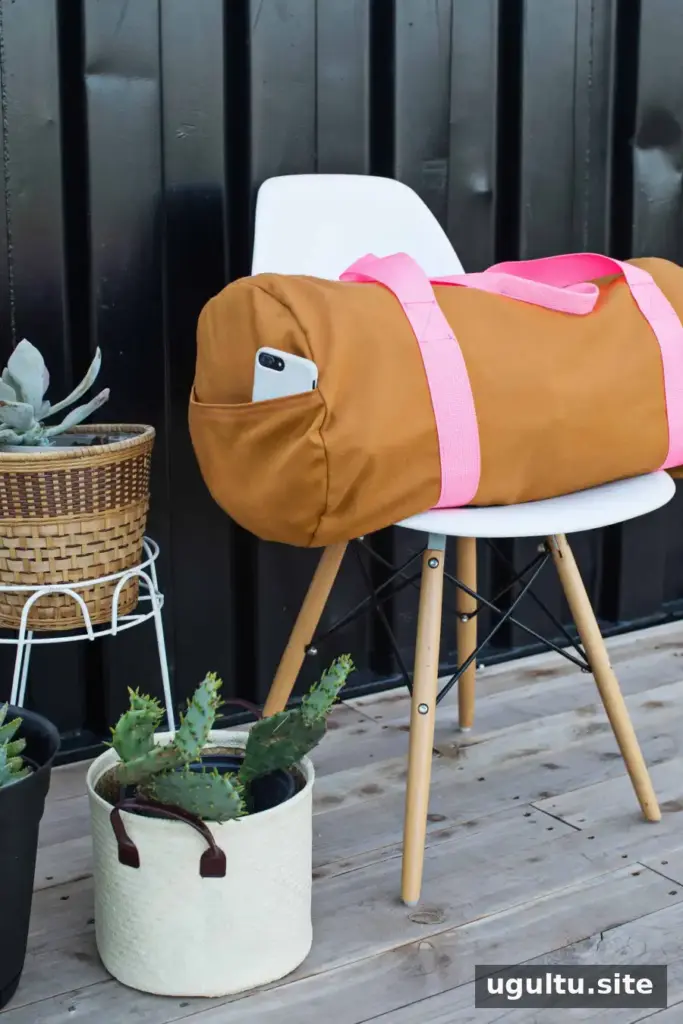
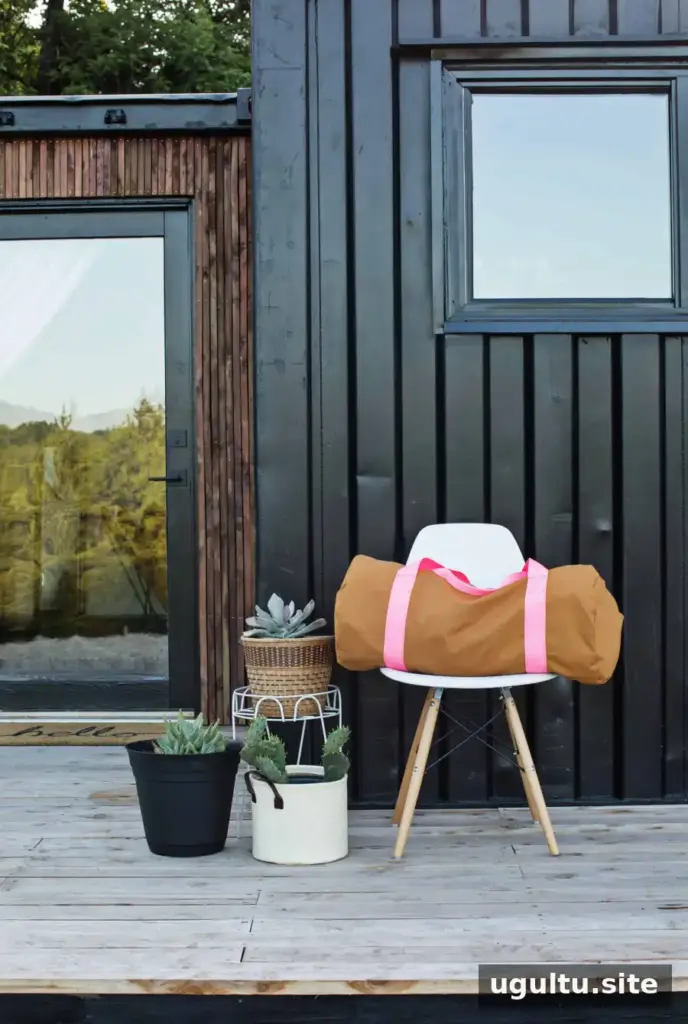
A DIY gym bag can be sized to carry workout essentials, swim towels, goggles, and a water bottle without being difficult to carry. This round-bottom design includes a zipper, sturdy webbing handles, and side pockets, making it useful for gym visits, swimming lessons, or a short weekend trip.
Choose a durable canvas, denim, or outdoor fabric that can handle regular use. Before cutting, check that your sewing machine and needle are suitable for the fabric thickness, especially where several layers of webbing meet.
DIY Gym Bag Supplies
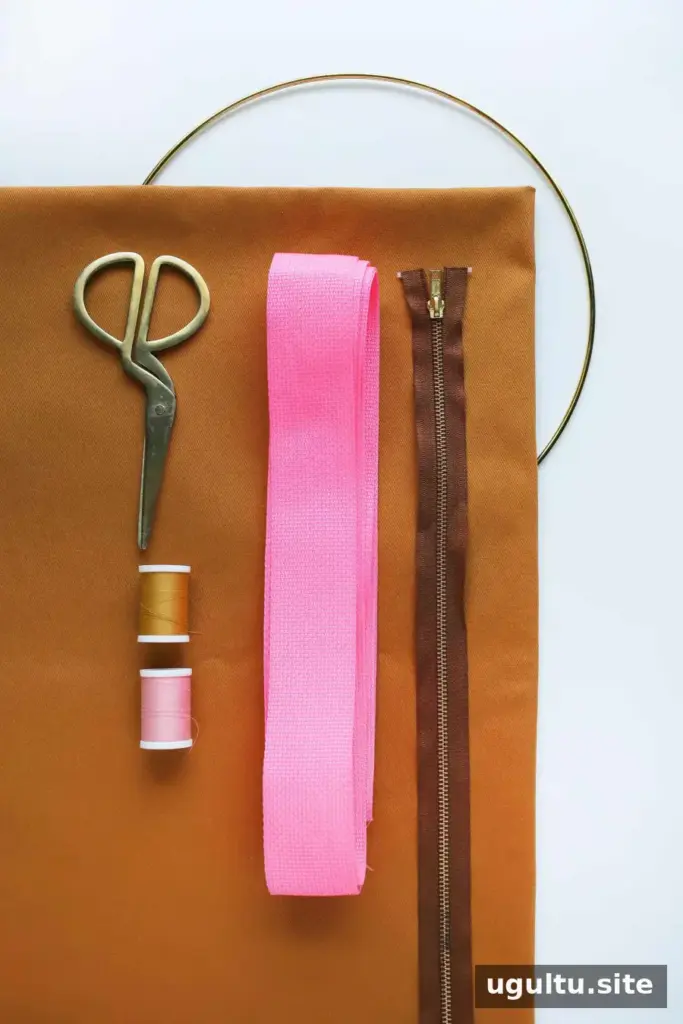
Gather the following materials and tools before you start:
- One yard of colored canvas, denim, or outdoor fabric (36″ x 60″)
- 3 yards of 2″ (38mm) nylon or cotton webbing for the handles
- One 22″ sport zipper in a coordinating color
- A 12″ brass hoop or wooden embroidery hoop to trace the circles
- Fabric scissors, straight pins, a sewing machine, and coordinating thread
- Chalk or a fabric pen, a yardstick, an iron, and an ironing board
Cut the Bag Fabric and Circular Ends
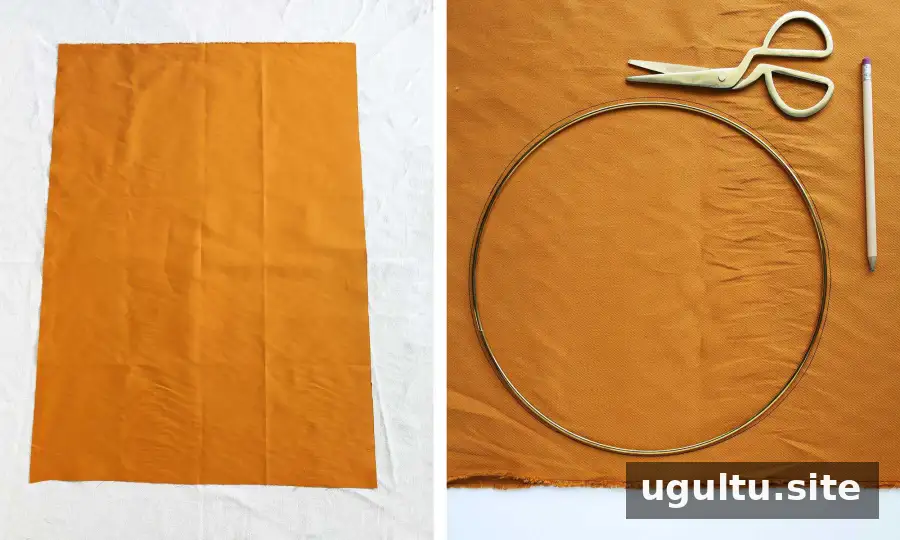
Cut one piece of fabric measuring 27″ wide by 40″ tall. Cut it in half to create two 27″ x 20″ panels for the bag body. Set them aside.
Use the remaining fabric to cut four circles. Fold the fabric in half twice to create four layers, trace around a 12″ hoop, and carefully cut through all four layers. Keep the circles together until you are ready to sew the bag ends.
Prepare the Zipper and Attach the Handles
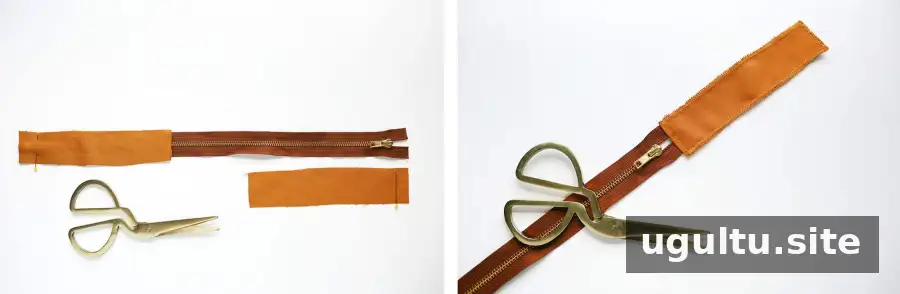
From scrap fabric, cut two tabs measuring about 1.25″ x 4″. Place one tab at each end of the zipper, with the right sides of the fabric and zipper facing each other. Stitch across each short end about 1/4″ from the edge. Fold the tabs open, press the seams, and stitch again about 1/4″ from each fold. Zigzag stitch around the remaining raw edges of the tabs to help prevent fraying.
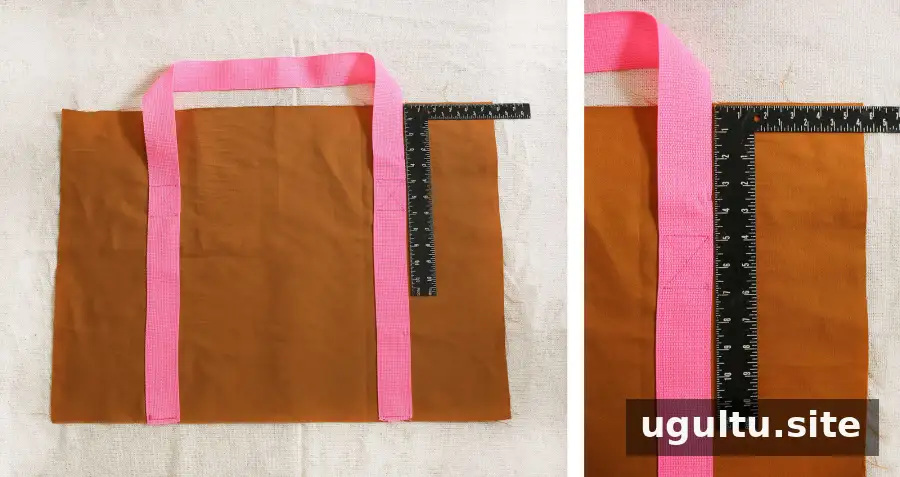
Cut the webbing into two equal pieces, each 1.5 yards long. Position one strap on a 27″ x 20″ panel, with each side 5.5″ in from the panel edges. Measure 5″ down from the top and mark the strap placement, then mark another point 2″ below it. Sew a reinforced square with an X between these marks. Continue stitching down the strap, across its lower end, and back up to the square. Repeat on the other side of the strap and on the second panel.
Assemble the Bag Body and Zipper
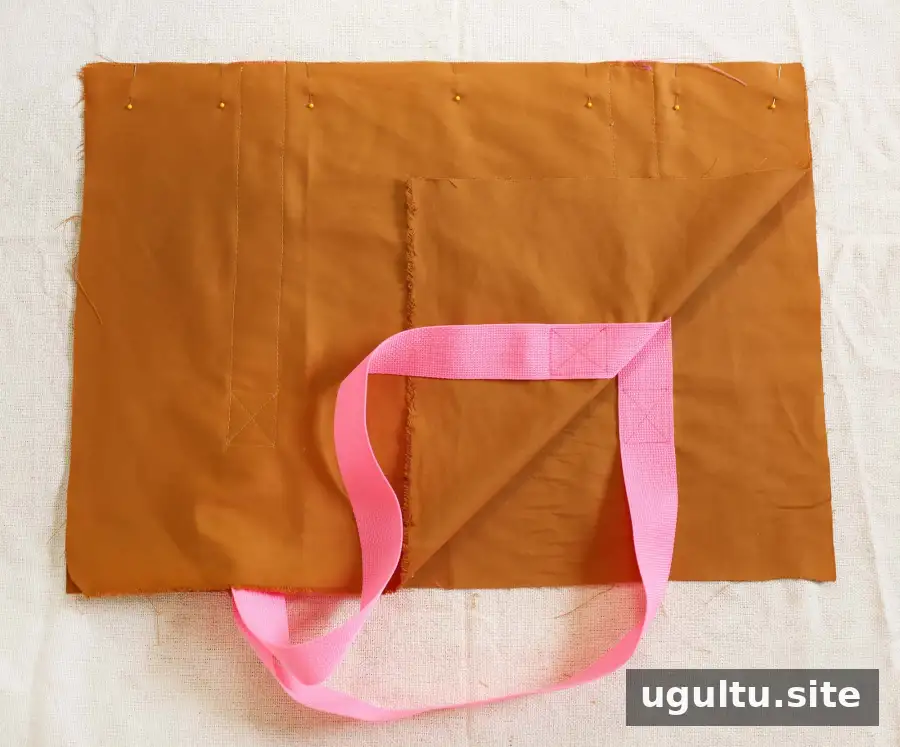
Place the panels right sides together, aligning the bottom edges of the straps. Pin and stitch along the joined edge, then zigzag near the raw edge to help control fraying.
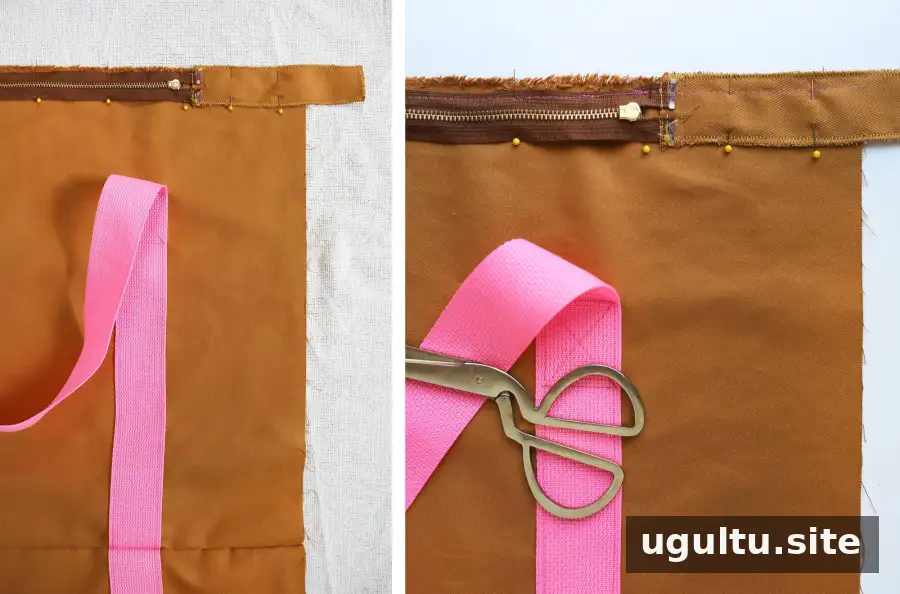
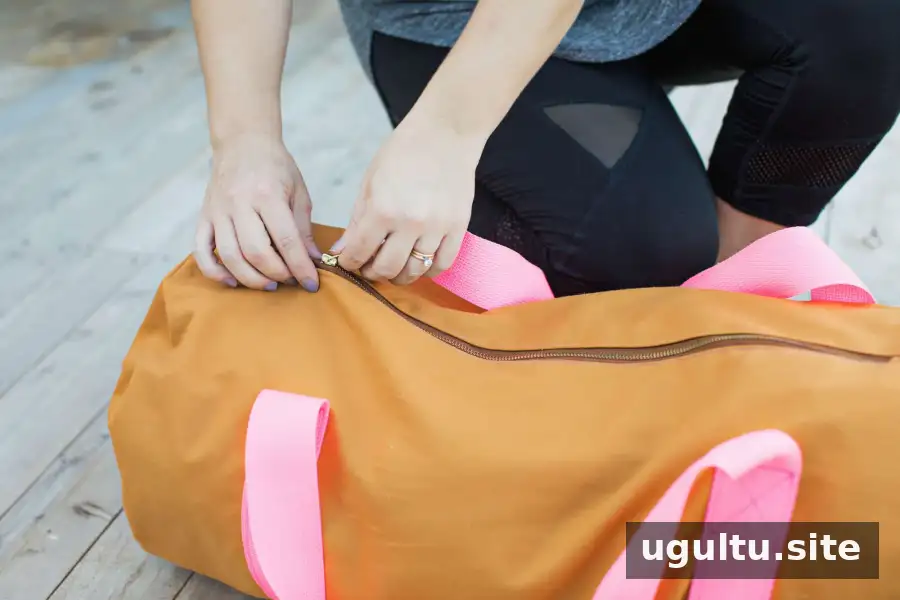
Turn the bag body so the right side faces out. Center the zipper along the top edge with its right side facing the bag, then pin it in place. Stitch along the edge, including the zipper end tab. Move carefully around the zipper slider; adjust the stitching path as needed rather than forcing the fabric through the machine.
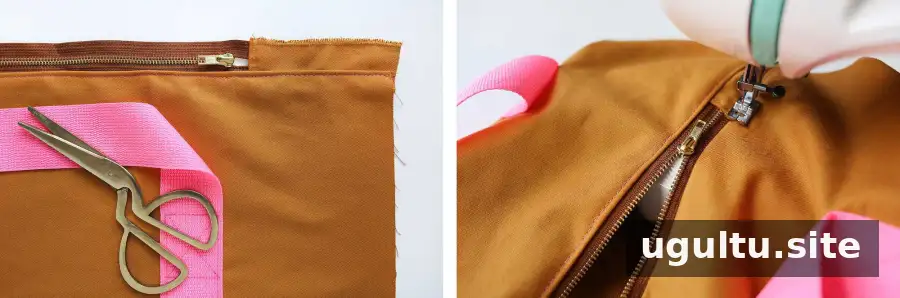
Fold the zipper outward so its right side shows, press the seam flat, and stitch close to the fold to secure it. Repeat on the other side of the zipper and bag opening. The joined fabric will form a tube. Open the zipper before finishing the second side, then turn the bag as needed to press and sew the seam neatly.
Make the Side Pockets and Finish
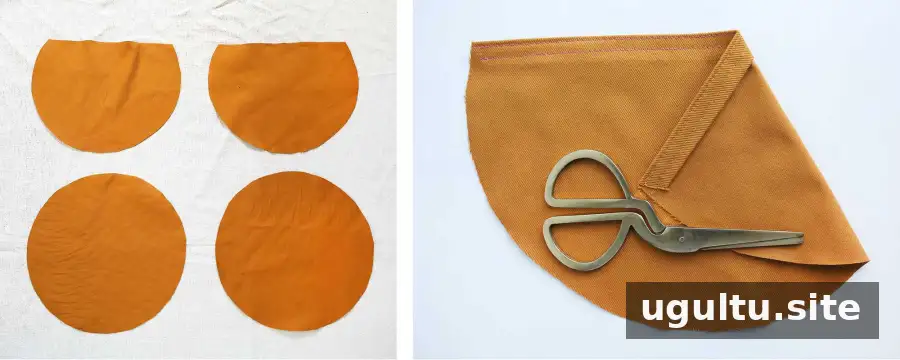
Cut the top third off two of the circles. Fold each cut edge over by 1/4″ and press, then fold it over another 1/2″ and press again. Pin the folds and sew two lines across each hem.
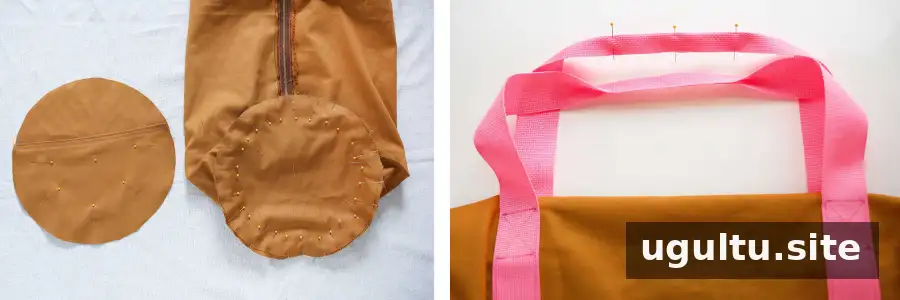
Place one hemmed circle over a full circle and pin the pieces together; repeat with the remaining pair. With the bag right side out, align a circle with an open end of the bag, keeping the pocket facing upward and starting near the zipper tab. Match the right sides of the fabric, pin around the curve about every 1/2″, and stitch about 1/4″ from the edge. Backstitch near the pocket hem for added strength, then zigzag the raw edge. Repeat at the other end.
To create comfortable handle sections, find the center of each strap and mark it with a pin. Mark another point about 3″ to either side, then stitch between those marks, backstitching at both ends. Trim loose threads and repeat on the second strap. Take care when sewing through thick layers and use a slower machine speed for better control.
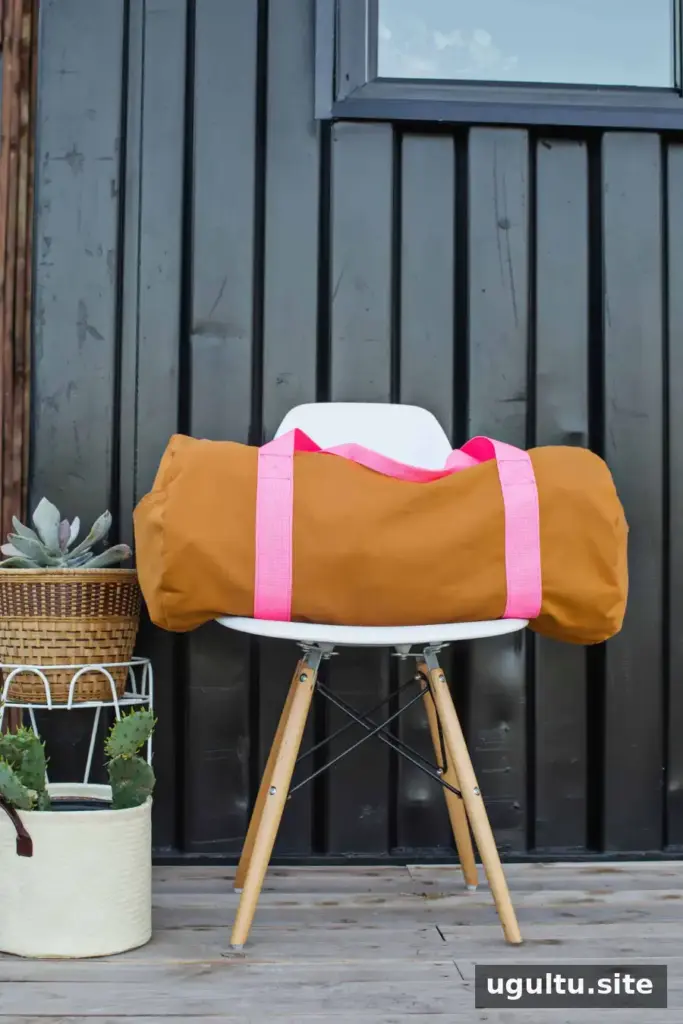
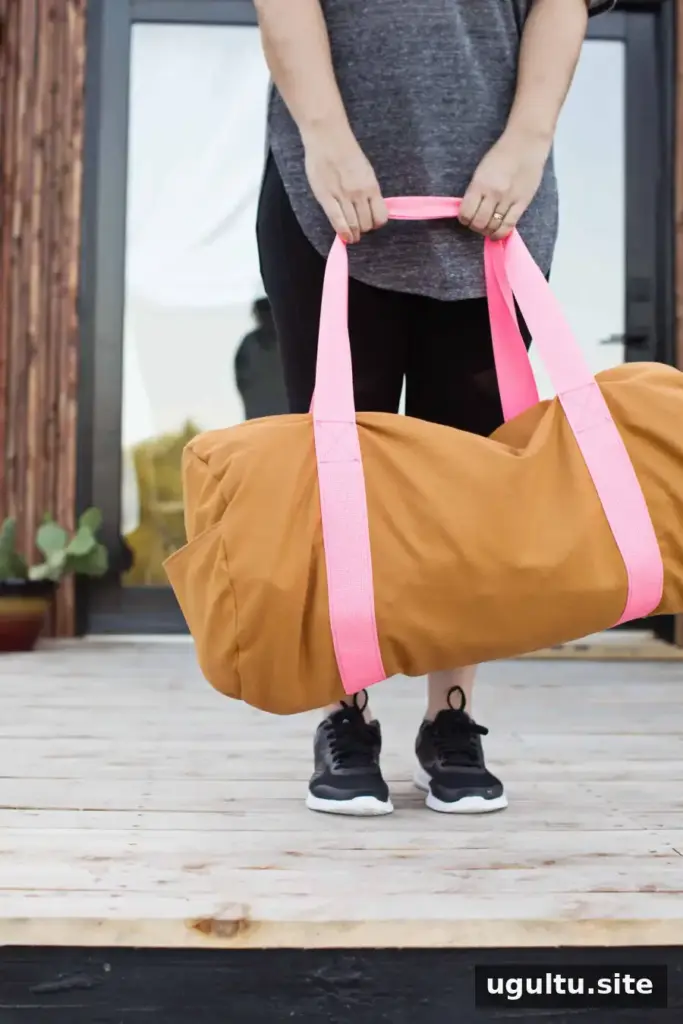
Your DIY gym bag is ready for workout clothes, swimming gear, or a few changes of clothes for a short trip. Before carrying it, check that the zipper moves freely and that the handle stitching feels secure. Then pack what you need and put the bag to use. –Rachel


