
 admin
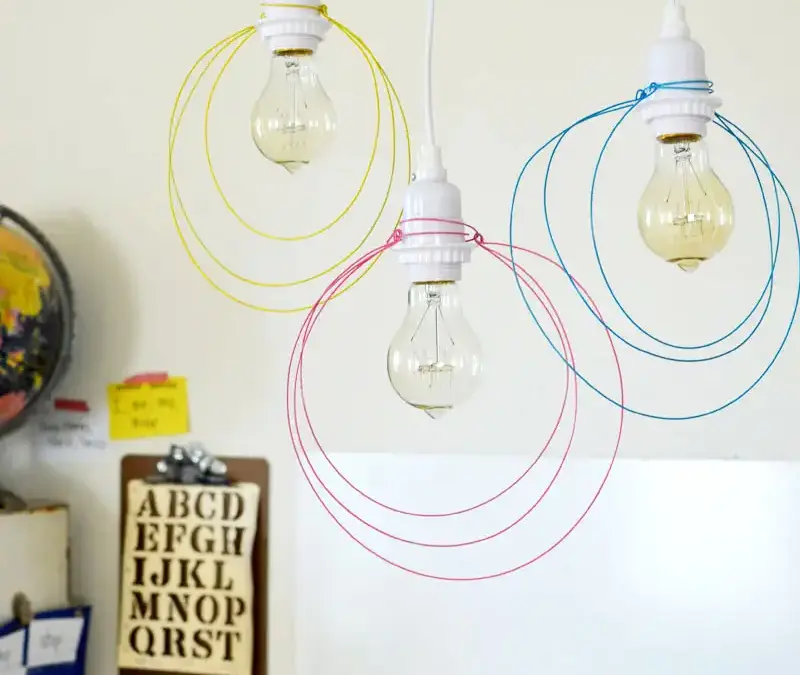
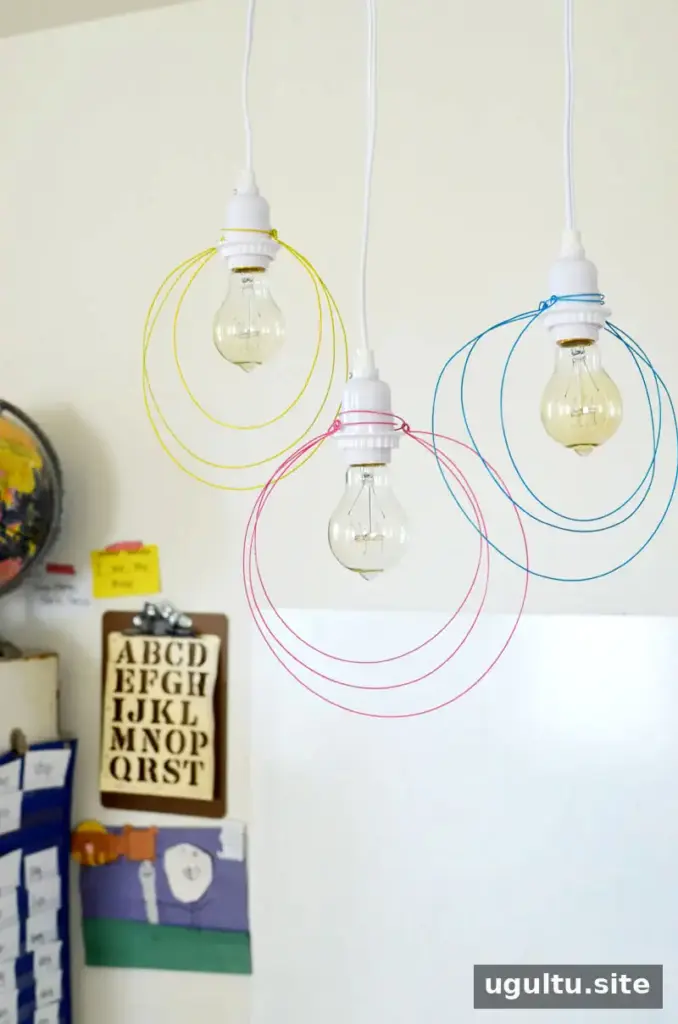
This Halo Pendant Light DIY adds a simple, sculptural wire shade to a hanging light. The design uses several circular wire hoops to create a halo effect, and you can make one pendant or a coordinated set. Project by Rubyellen.
Materials for the Halo Pendant Light DIY
Gather the following supplies before starting. A 110-foot pack of wire is more than enough for several pendants, though the amount needed depends on how many you make.
- 18-gauge galvanized steel wire
- Measuring tape or ruler
- Wire cutters
- Round-nose pliers
- White electrical cord swag kit
- Spray paint; a paint-and-primer combination can be used
- Newspapers or another protective covering
- Light bulb or bulbs compatible with the fixture
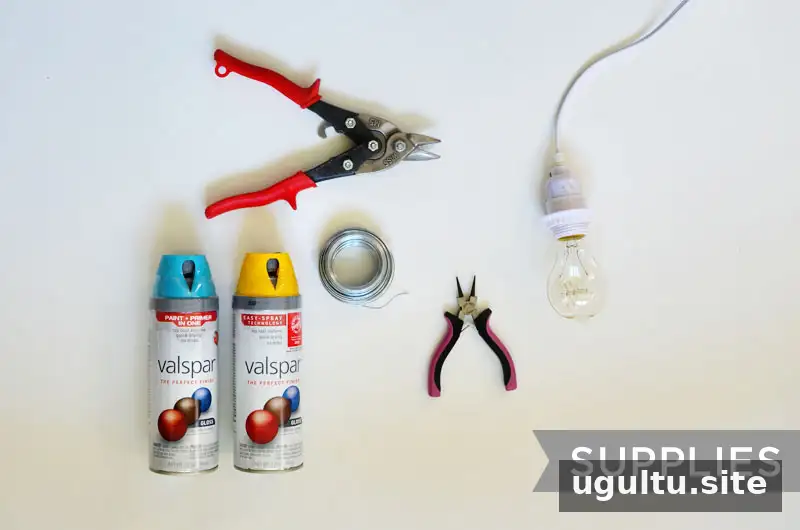
Before cutting, check that the cord kit and bulb are suitable for the intended location. Unplug the light kit while assembling the shade, and let the bulb cool before handling the fixture.
How to Make a Halo Pendant Light
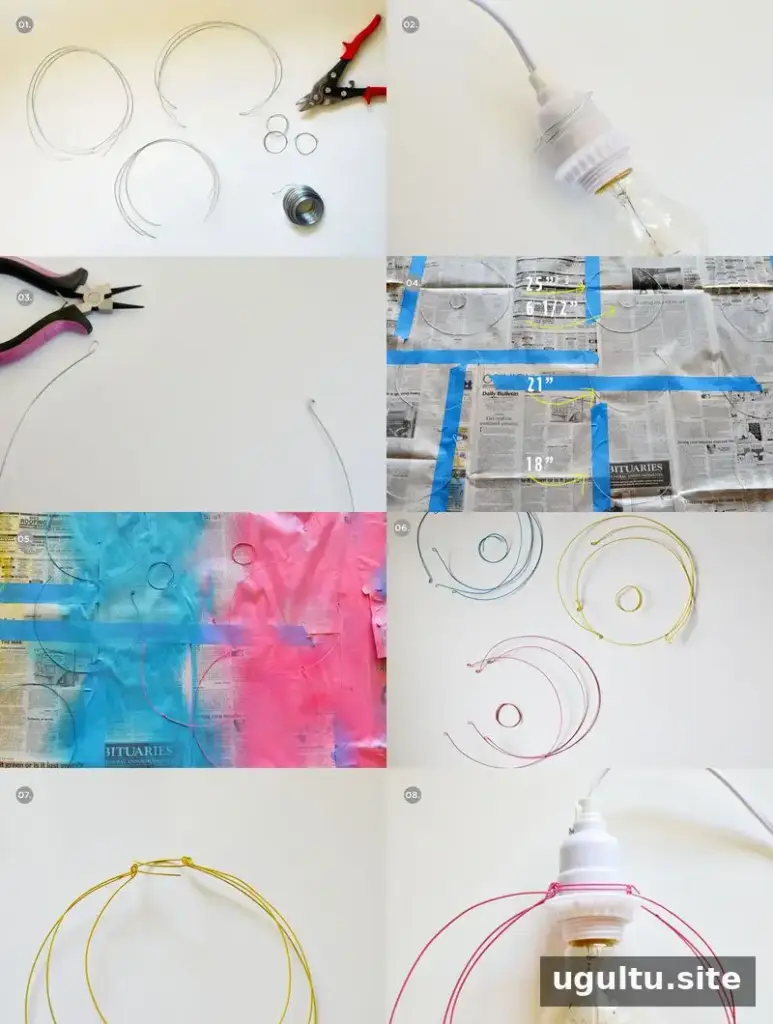
- Measure and cut the wire. For each light, cut pieces measuring 6 ½ inches, 18 inches, 21 inches, and 25 inches. If making several pendants, keep matching lengths together. Gently straighten the wire as needed so each piece can form a smooth circle.
- Make the top ring. Wrap the 6 ½-inch piece around the top of the light kit to form a snug ring. Adjust the fit without damaging or pinching the cord.
- Form the insert loops. With round-nose pliers, bend ¼ inch at both ends of the 18-, 21-, and 25-inch pieces outward. These small bends create loops for the ring to pass through. Do not bend the ends of the separate ring that sits around the light kit.
- Paint the wire. Cover the work area with newspapers and arrange the pieces by size. Spray each piece with the color you want for that halo. Apply about two to three coats, letting one side dry before turning the wire over. Allow all pieces to dry completely before assembly.
- Arrange the hoops. For each pendant, make sure you have one piece of each halo size. Place the hoops in order, with the 25-inch hoop first and the 18-inch hoop last. Align the insert loops on one side, keeping the same order on the other side.
- Join the hoops and ring. Slide one end of the ring through the aligned loops on one side, then guide it around and through the loops on the opposite side. Attach the ring to the top of the light kit and tighten it if needed. Check that the hoops hang evenly.
Finishing and Customizing Your Pendant
Once the wire is securely attached, install a compatible bulb and hang the light according to the instructions supplied with the cord kit. Make sure the wire shade is stable and does not interfere with the bulb or other parts of the fixture. If anything feels loose, unplug the light and adjust the ring before use.
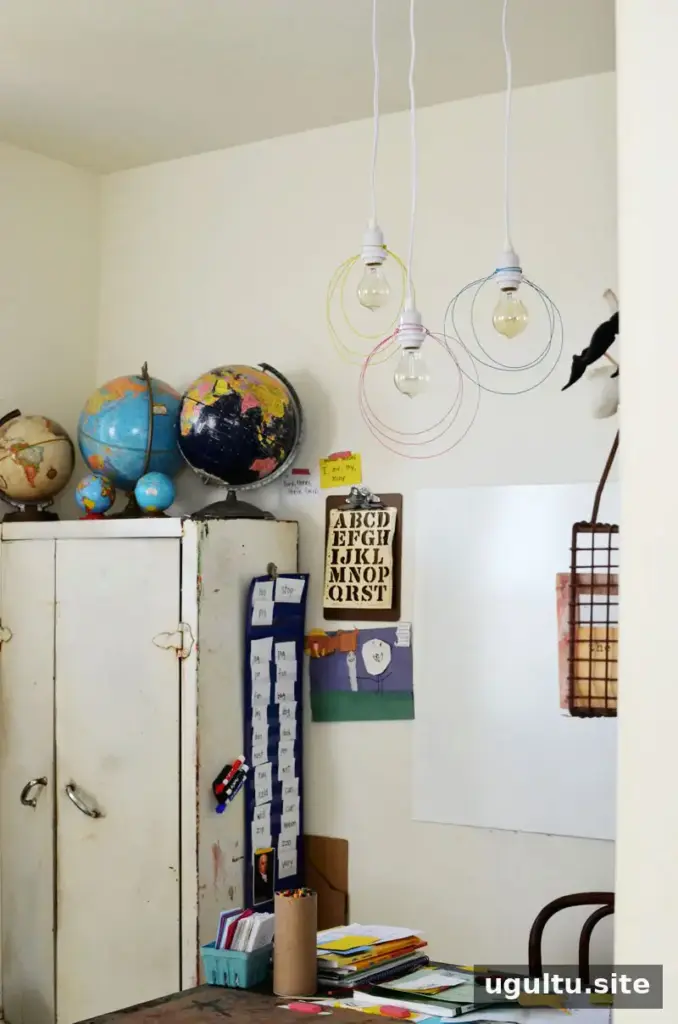
For a different look, paint the hoops gold or choose another color that suits the room. You can also use copper wire and skip the spray-painting step. To create a larger, more dramatic halo, add more hoops and increase their sizes gradually so the circles are layered from smaller to larger. For a multi-light arrangement, use a suitable fixture designed to hold multiple lights rather than joining separate cord kits in an improvised way.
Tips for a Neat, Balanced Result
- Measure each piece carefully so the hoops have an even, consistent shape.
- Keep the wire lengths grouped while painting and assembling, especially when making more than one pendant.
- Let the paint dry fully before sliding the ring through the loops to help prevent scratches.
- After assembly, check that each hoop is evenly spaced and that the pendant hangs straight.
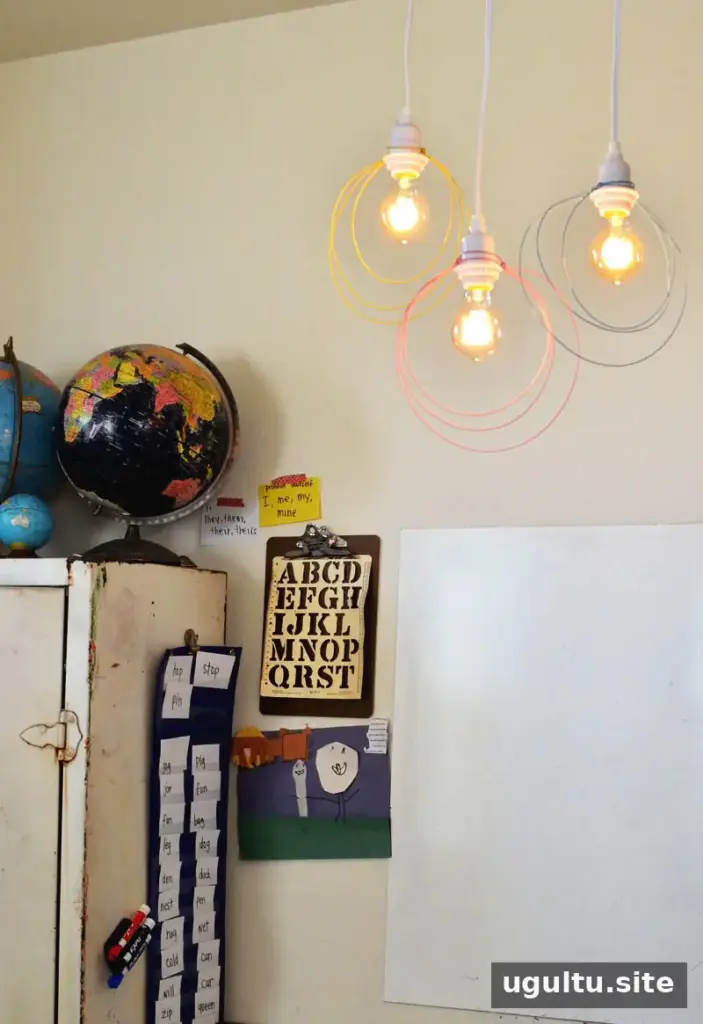
This Halo Pendant Light DIY is a straightforward way to add a custom wire detail to a hanging light, whether you make one shade or a matching group. Choose a finish, follow the measurements, and check the fixture’s stability and bulb clearance before using the completed pendant. Project by Rubyellen.


