
 admin
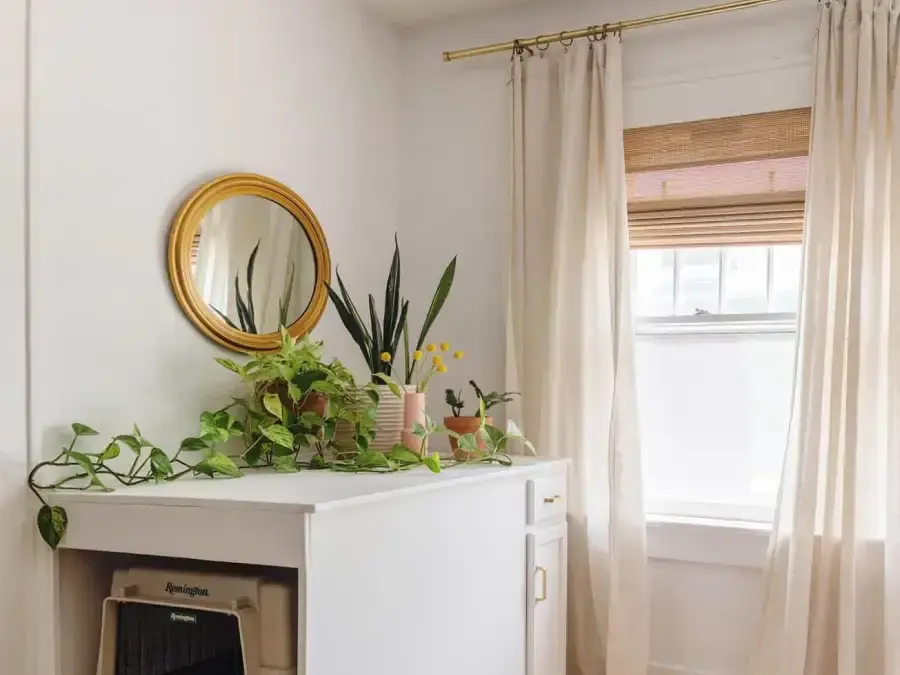
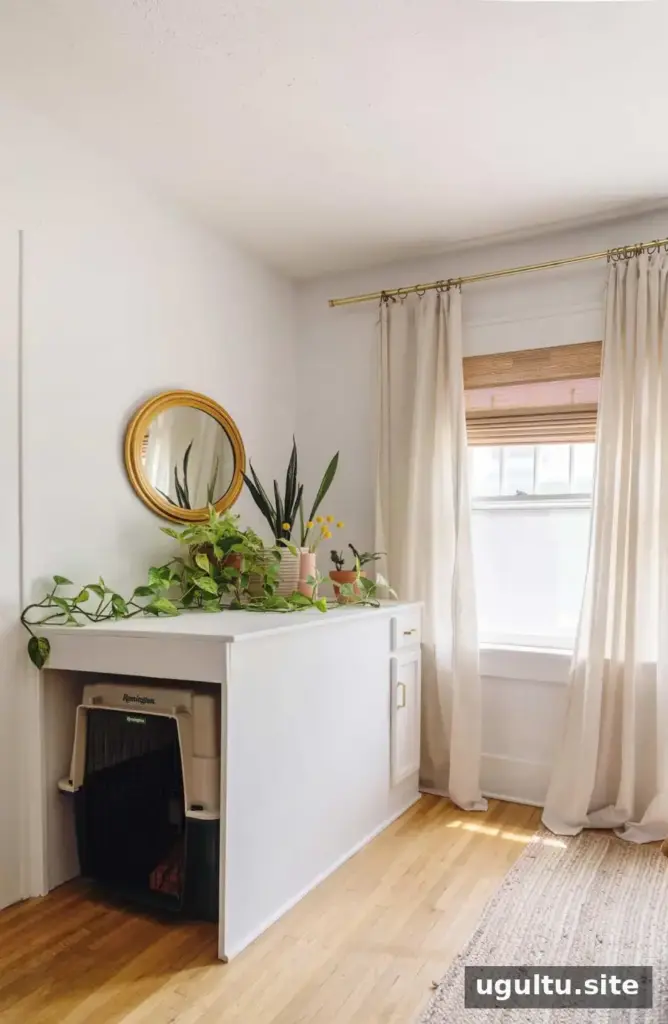
A hidden dog kennel can make a bedroom feel more organized while keeping a dog’s familiar resting place close by. For this room makeover, the goal was to create a built-in cabinet around Cooper’s existing kennel rather than replace it with a different design. That approach helped preserve a setup he already knew while making the kennel look like an intentional part of the room.
The cabinet was designed to keep the kennel accessible so Cooper could go in and out when the door was open. Before planning a similar project, measure both the kennel and the available space carefully. Leave enough room for the kennel to fit comfortably, and make sure the finished design won’t block the dog’s entry or exit.
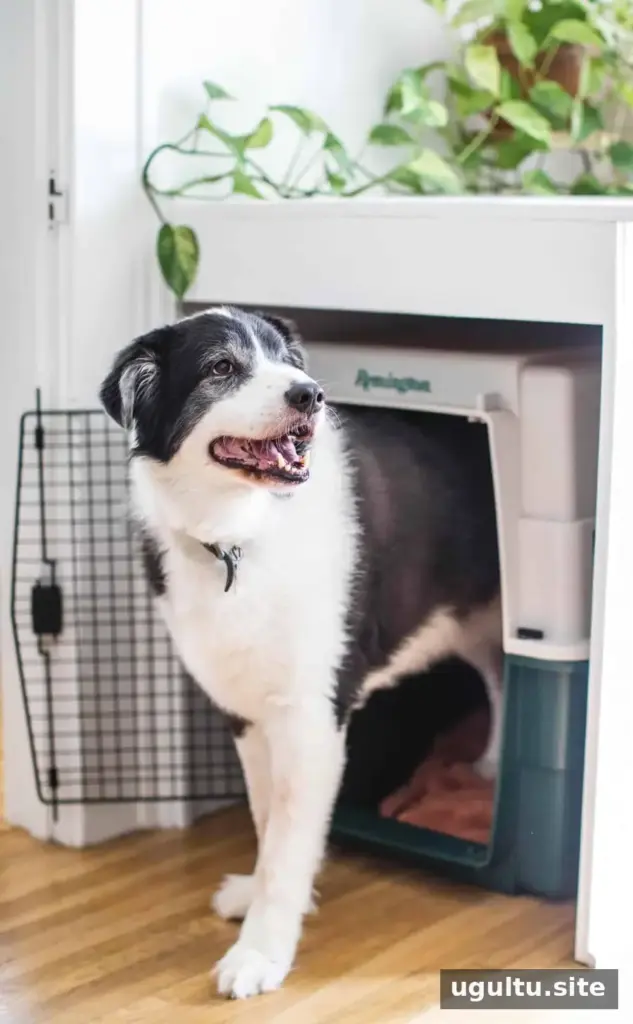
Planning a hidden dog kennel cabinet
Instead of searching for a replacement kennel, the project used a custom cabinet to conceal the existing one. A pre-built vanity provided a starting point, with additional panels and a countertop built around the kennel and the dimensions of the room. This kind of design can be adjusted to suit different kennel sizes, but the measurements should be finalized before cutting materials.
A curtain could be added to cover a more visible side, although it may interfere with a dog’s access. In this room, the curtain was left out so Cooper could use the kennel without an obstruction.
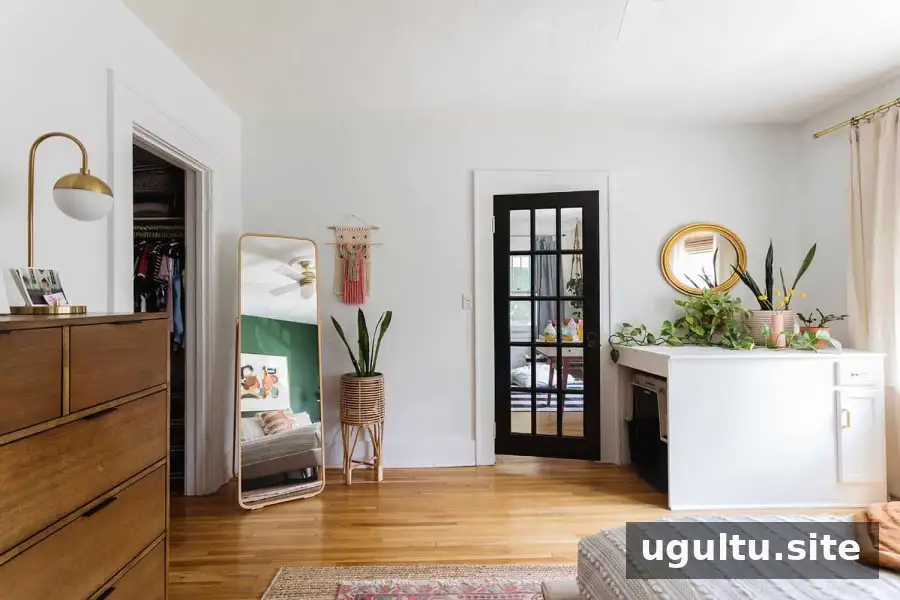
The project details below are from Ethan, who built the cabinet. The materials and construction choices reflect the painted finish and the layout of this particular space.
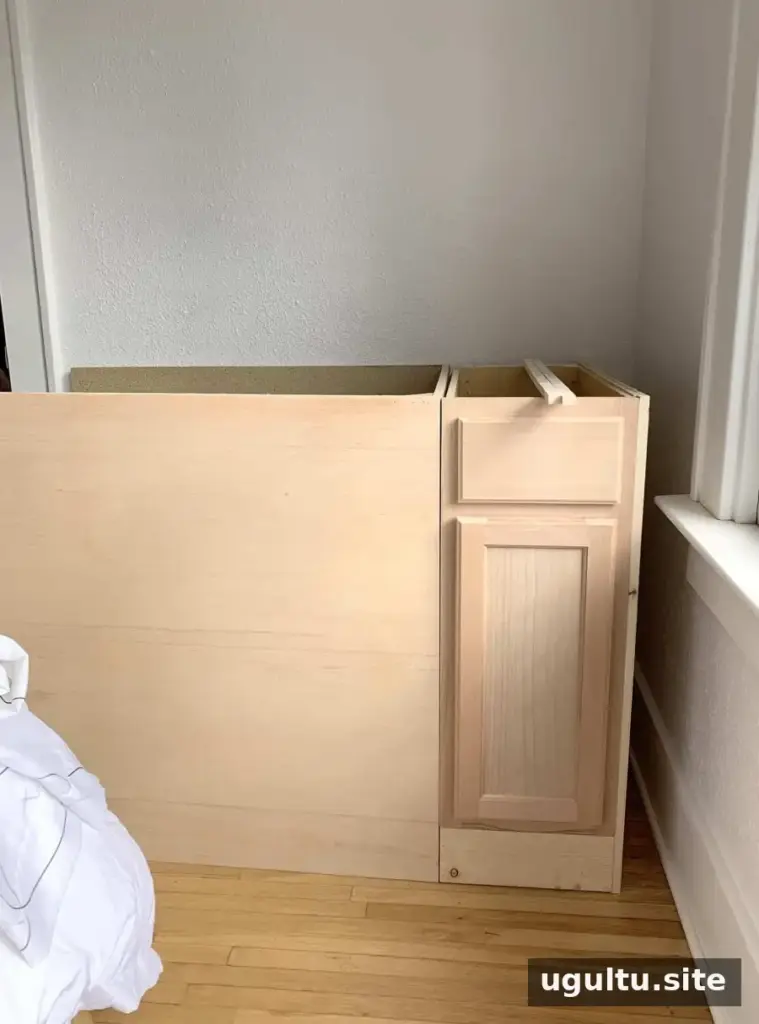
Materials and cabinet construction
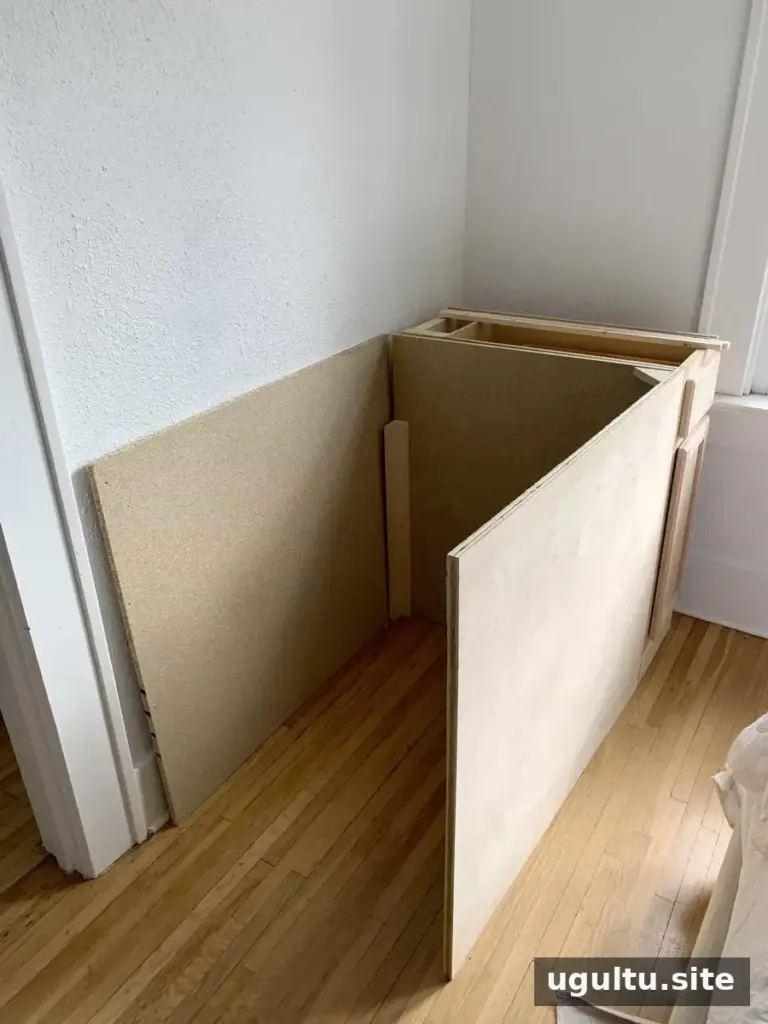
The first challenge was deciding how to begin, since there was no existing design to copy. Because the cabinet needed both a drawer and storage space, the project started with a pre-built bathroom vanity. After measuring the room and the kennel, Ethan used 4-foot-by-8-foot sheets of MDF and birch plywood.
Birch plywood was chosen for the visible side because its smooth surface suited a painted finish. MDF was used on the side facing the wall and vanity. As Ethan noted, MDF can help resist cracking and warping under stress and humidity. Choose materials based on the surfaces that will be visible and the conditions where the cabinet will sit.
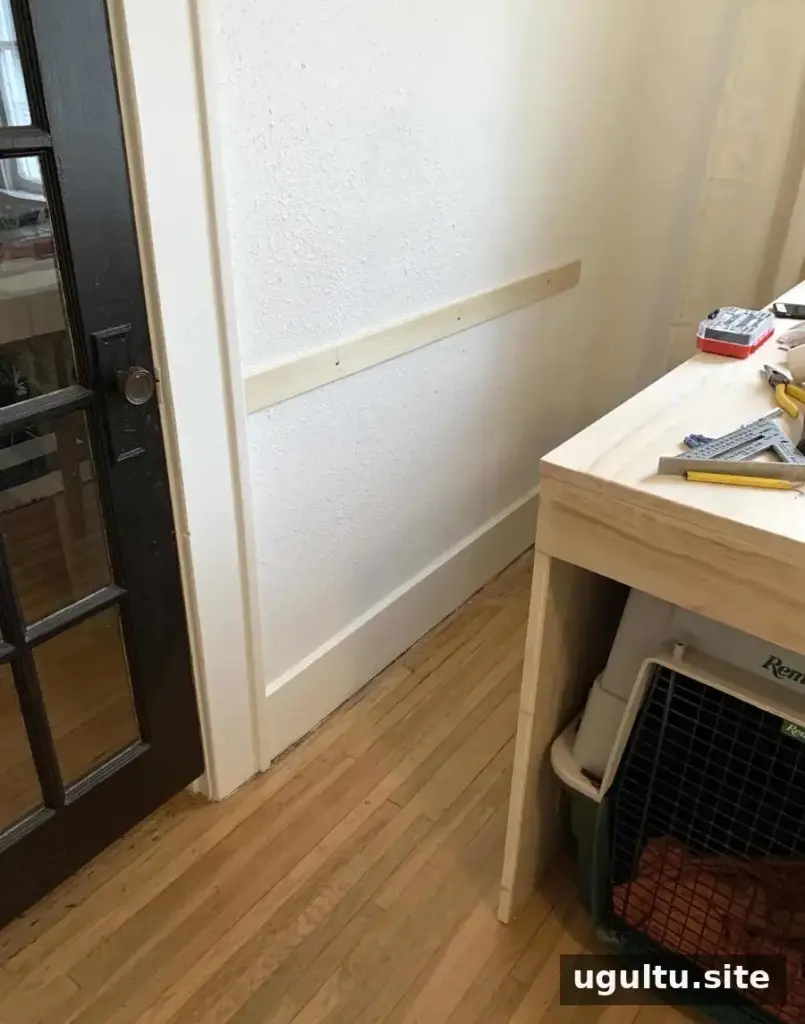
To join the sides, Ethan glued and nailed 1-by-4-inch pine strips in an L shape to create corner supports. Triangular supports were added along the tops of the walls, providing a surface for attaching the countertop. Because the kennel required the cabinet to sit away from the wall, a small box made from 1-by-4-inch boards filled the gap behind the vanity and supported the countertop.
A trim piece was fitted across the front to create the desired kennel opening. The countertop was made from No. 1 grade pine boards, selected for their higher quality and fewer knots, then attached with glue and nails. A 1-by-4-inch ledger strip gave the cabinet a point of attachment to the wall and allowed it to sit flush without removing the existing trim. Quarter-round molding was added where the cabinet met the wall for a neater finish.
Finishing and using the cabinet
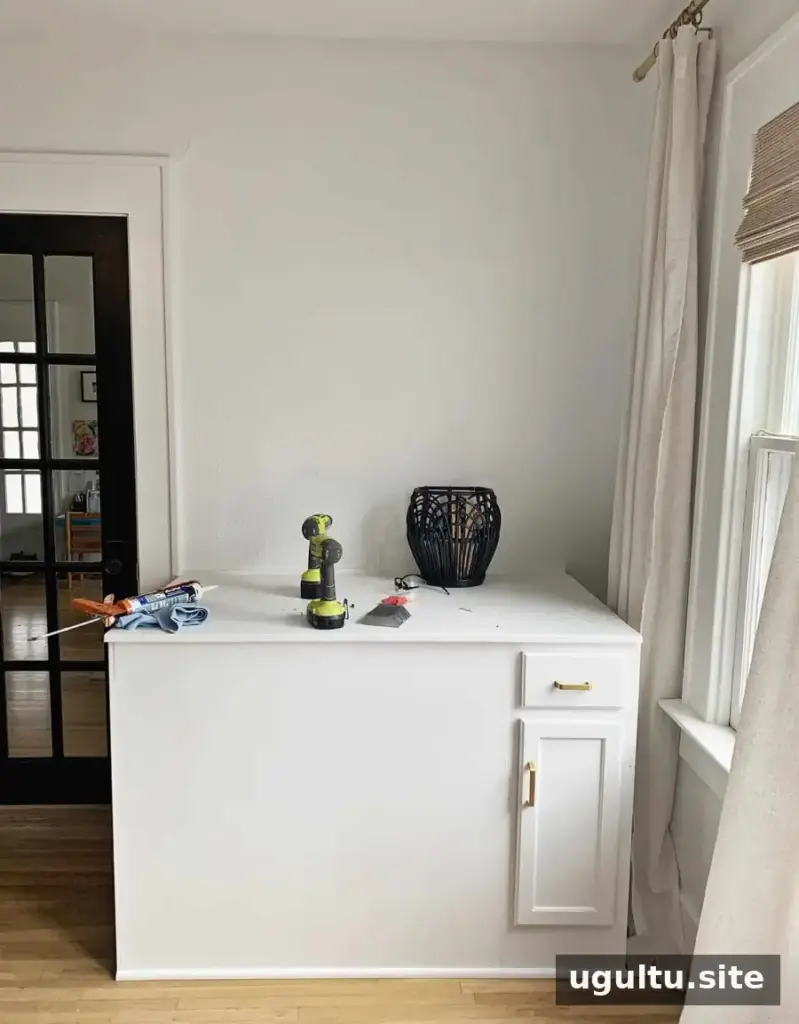
After assembly, the surfaces were sanded and gaps filled before painting. Drawer hardware was installed once the paintwork was complete. The finished cabinet also provides a place to display plants, making the structure useful beyond concealing the kennel.
When adapting this hidden dog kennel design, check that the opening remains unobstructed and that the kennel fits without being forced into place. Secure the cabinet appropriately, and consider your dog’s comfort and access before adding doors, curtains, or other coverings. With careful measuring and a design tailored to the room, a custom cabinet can make a kennel feel more integrated with the surrounding furniture.
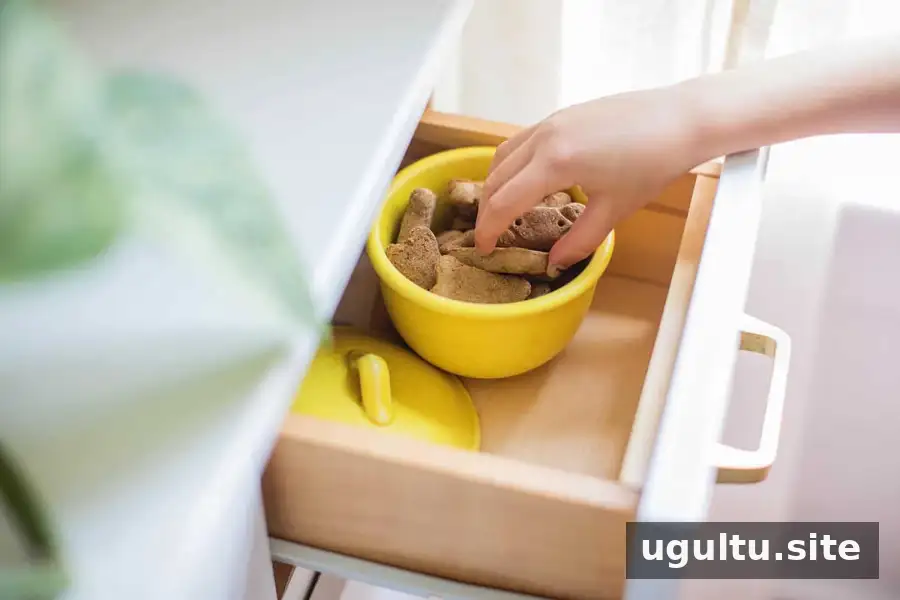
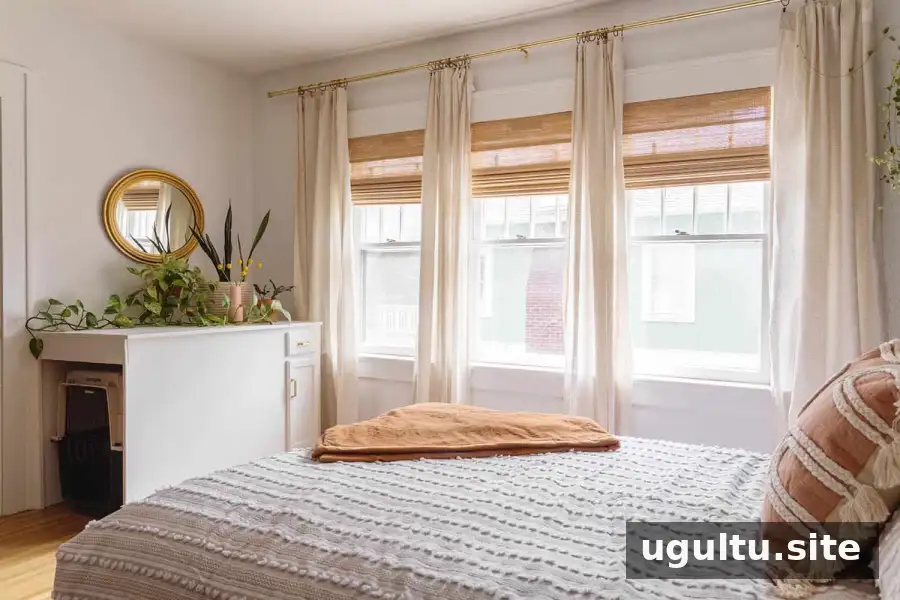
Once the cabinet was painted and the drawer hardware was added, the project was complete. It now combines kennel space, drawer storage, and room for plants. —Emma


