admin
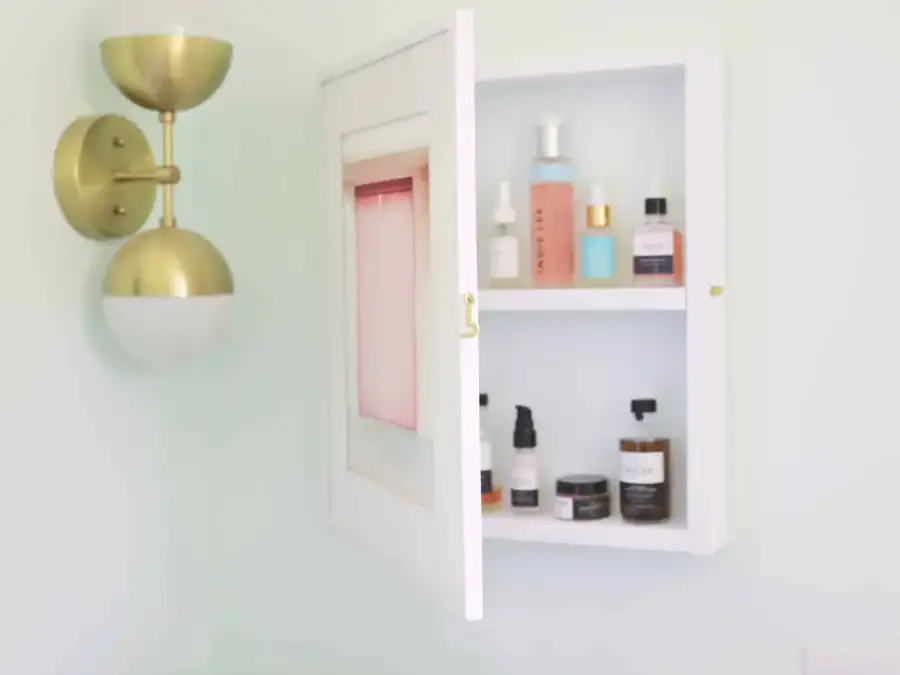
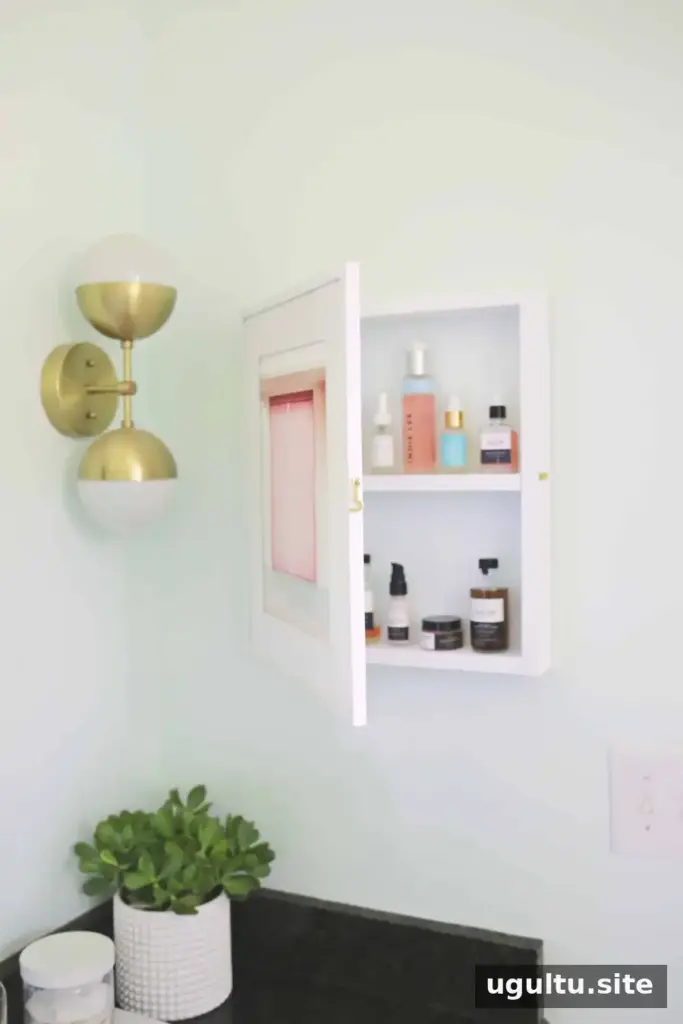
A hidden medicine cabinet DIY project can add useful bathroom storage without replacing a mirror you already like. This simple wall-mounted cabinet uses a photo frame as its door, so everyday items such as skincare products stay close at hand while the storage blends in with your wall décor. It can also help clear space from a crowded bathroom counter.
Materials and tools for a hidden medicine cabinet DIY
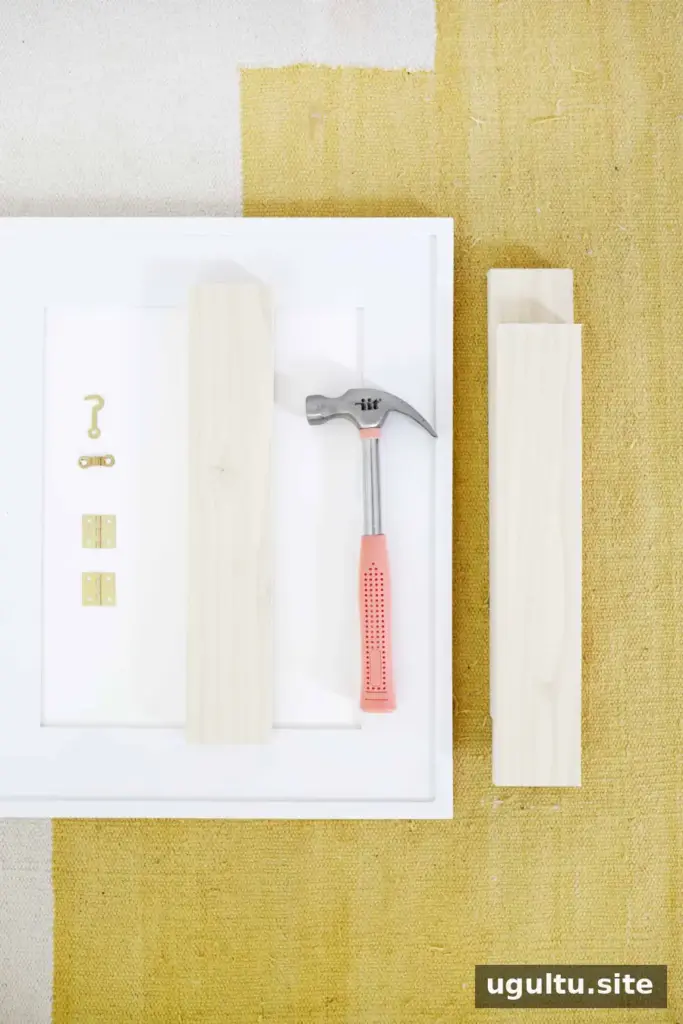
Gather the following supplies before you start. Measure your frame first so you can plan the cabinet depth and shelf spacing around the items you intend to store.
- 3/4-inch x 2.5-inch boards
- Two D-rings for hanging
- 1 1/2-inch nails or screws
- Wood glue
- Paint that matches the frame
- Small hinges
- A cabinet closure that fits the frame and cabinet
- A wood or MDF frame; a hollow plastic frame may not provide a suitable surface for attaching hinges
- A jigsaw or miter saw. You can also ask whether the home improvement store can cut the boards when you purchase them.
Use eye protection when cutting or sanding wood, and work in a well-ventilated area when painting. Check that the frame is sturdy enough to support the door hardware.
Build the cabinet frame and shelves
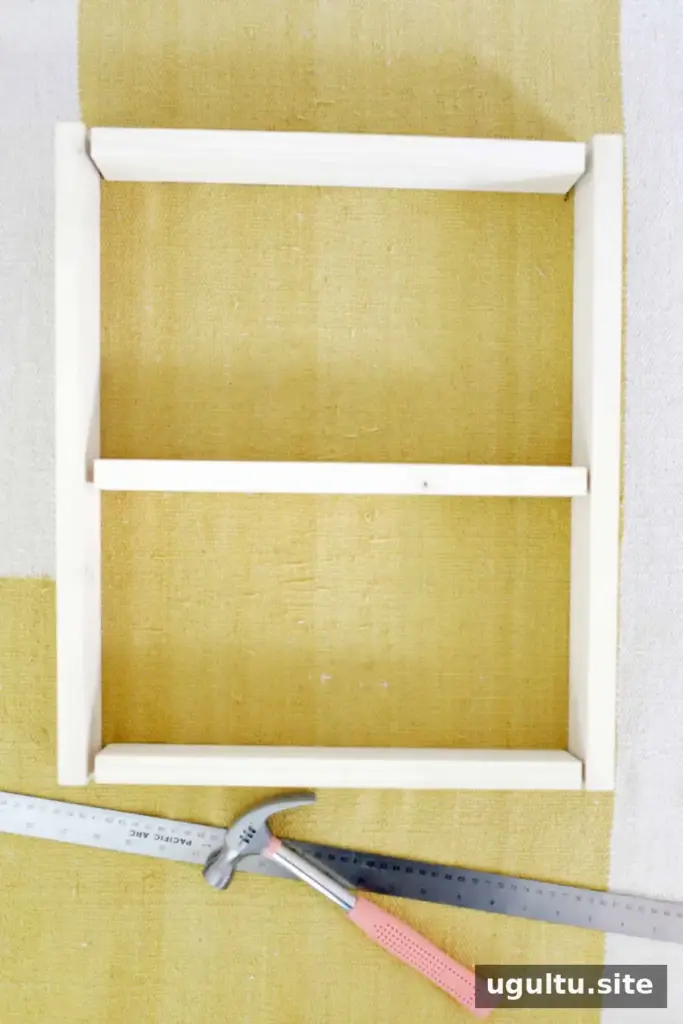
Cut two boards to the vertical height of the photo frame. Then cut at least three boards for the horizontal pieces. Each horizontal board should fit between the two vertical boards and match the frame’s width. The top and bottom pieces form the cabinet’s outer edges, while the third piece creates one shelf. Add another horizontal board if you want an additional shelf, allowing enough clearance for the products you plan to store.
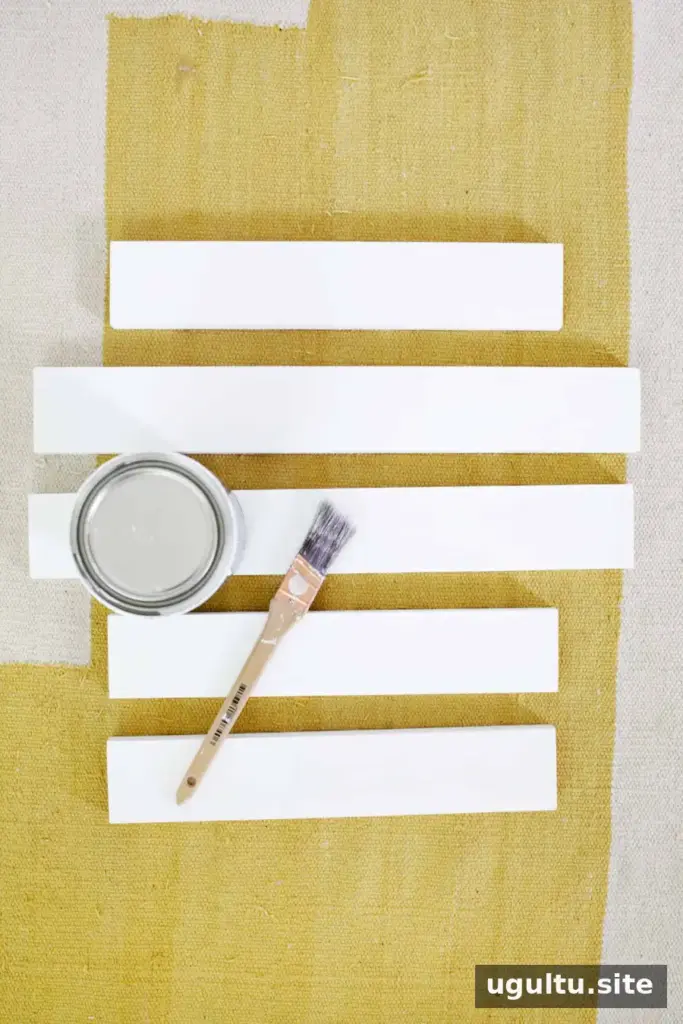
Paint the boards to match the photo frame and allow the paint to dry before assembly. Matching the finish helps the cabinet look more like a framed picture than a separate storage unit.
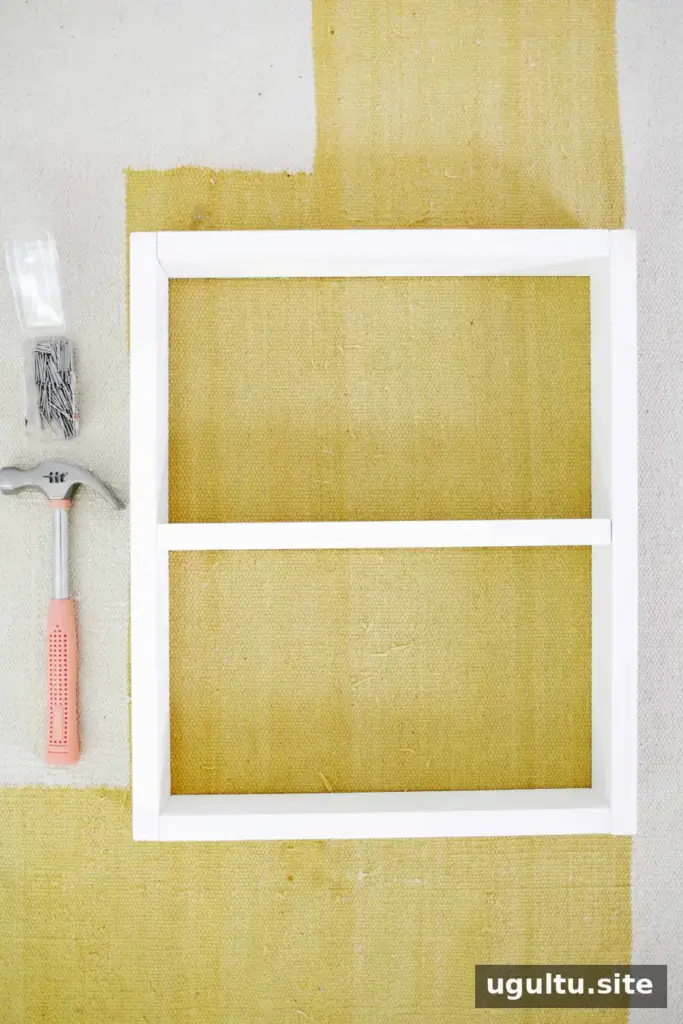
Position the horizontal boards between the vertical boards to form the top, bottom, and shelf. Apply wood glue at the joints, then secure the boards with nails or screws. For a neater finish, set nail heads below the surface with a nail setter or countersink screw heads with a countersink drill bit. Fill the recesses with wood filler, let it dry, sand smooth, and touch up with paint.
Attach the frame door and hanging hardware
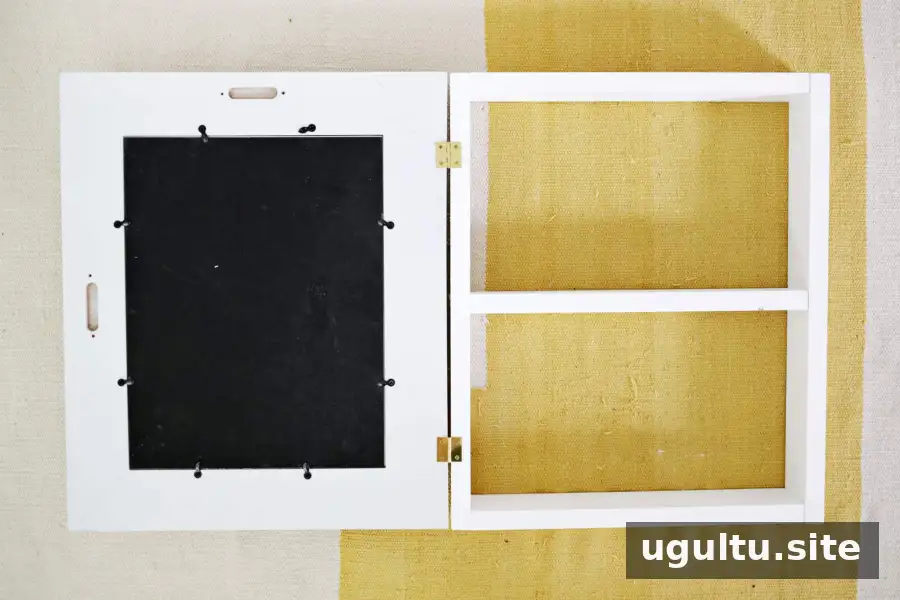
Once the cabinet is assembled, attach the photo frame to one side with the small hinges. Decide which way you want the door to swing before fastening the hinges, and check that it opens freely without hitting nearby fixtures.
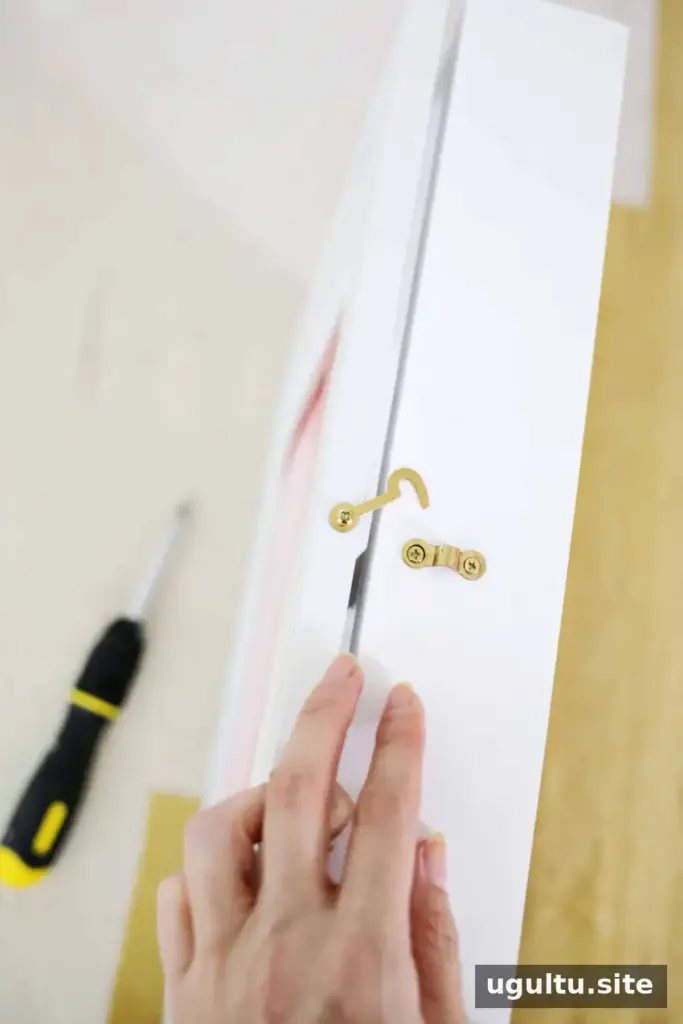
Close the frame door and install the cabinet closure so it stays shut when not in use. Choose a closure that is compatible with the frame and cabinet, and test the fit before loading the shelves.
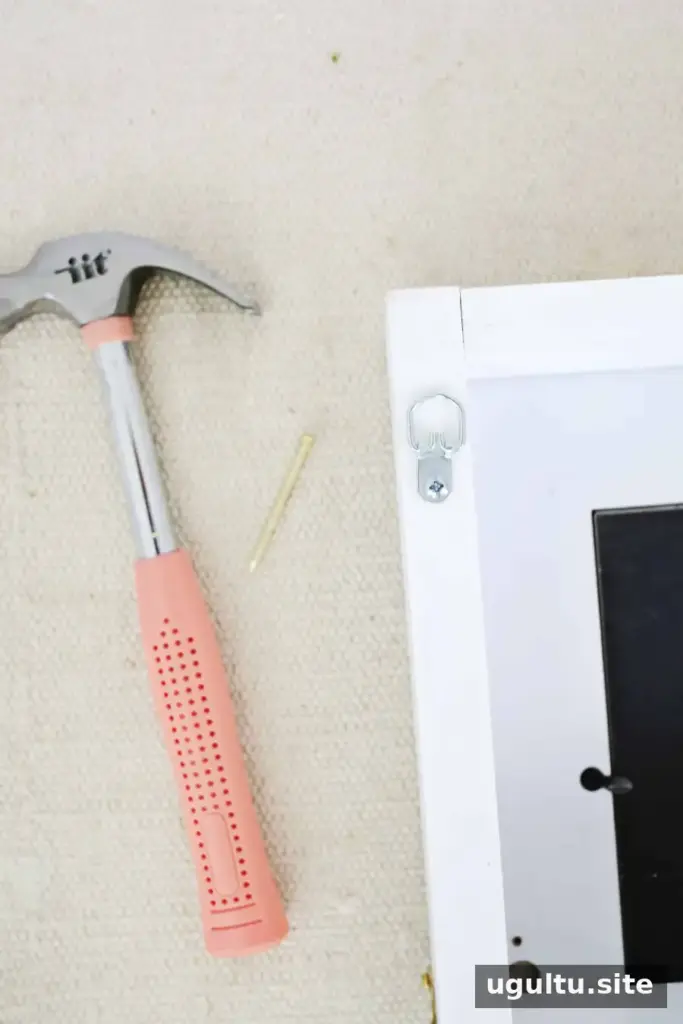
Attach two D-rings to the backs of the cabinet’s side boards, 2 inches from the top. Add a photo or print to the frame, then hang the cabinet. Use wall fasteners suitable for your wall type and the cabinet’s loaded weight; do not rely on picture hardware alone if it is not rated for the load.
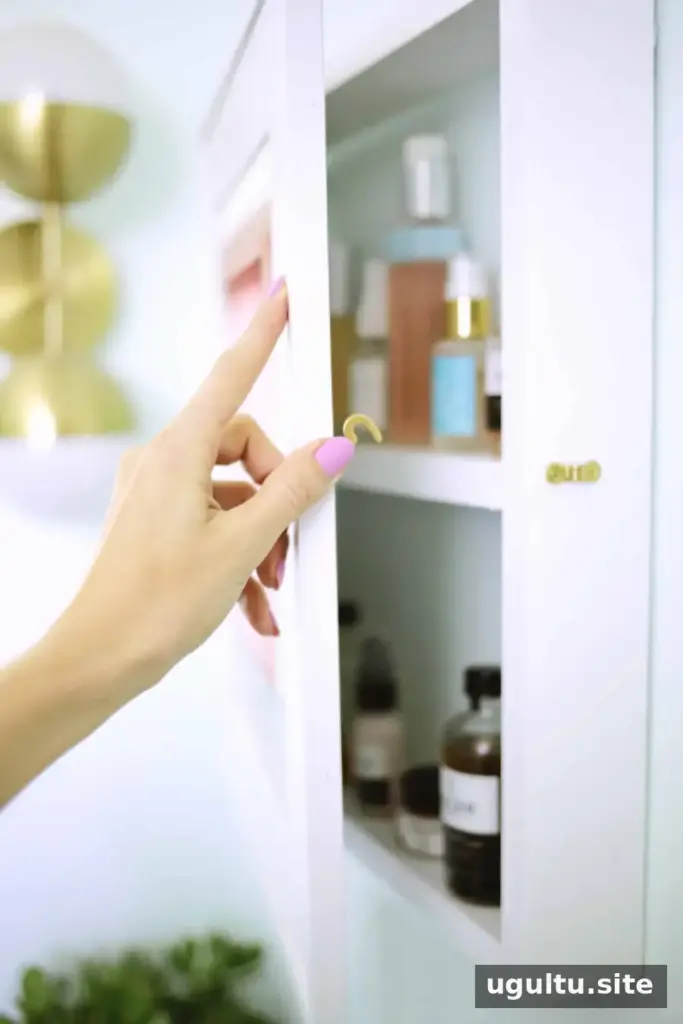
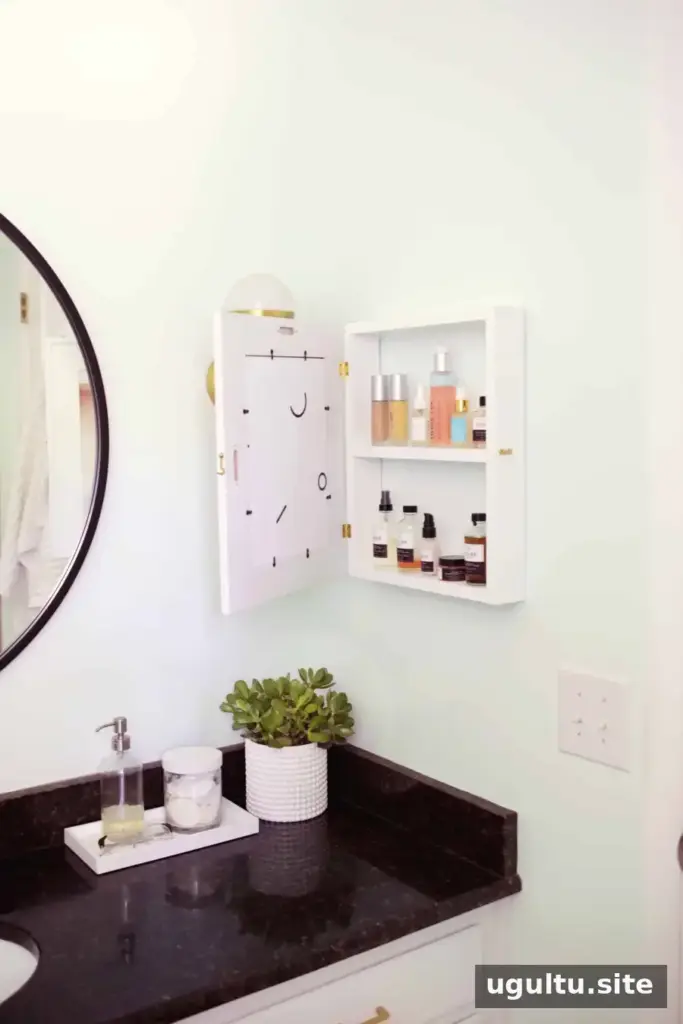
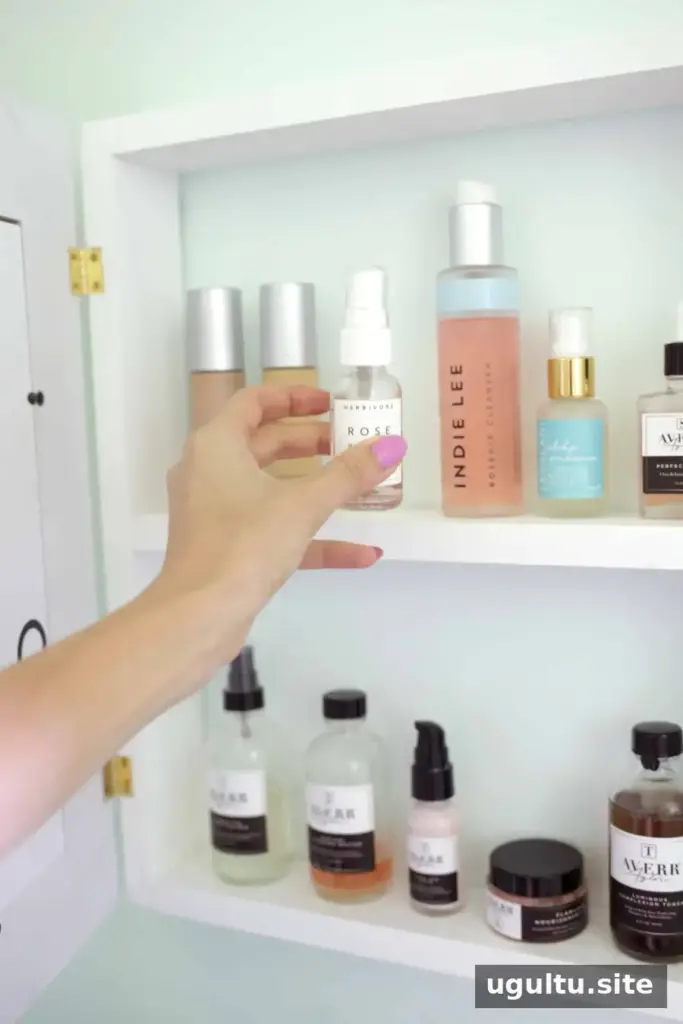
Finishing touches and everyday use
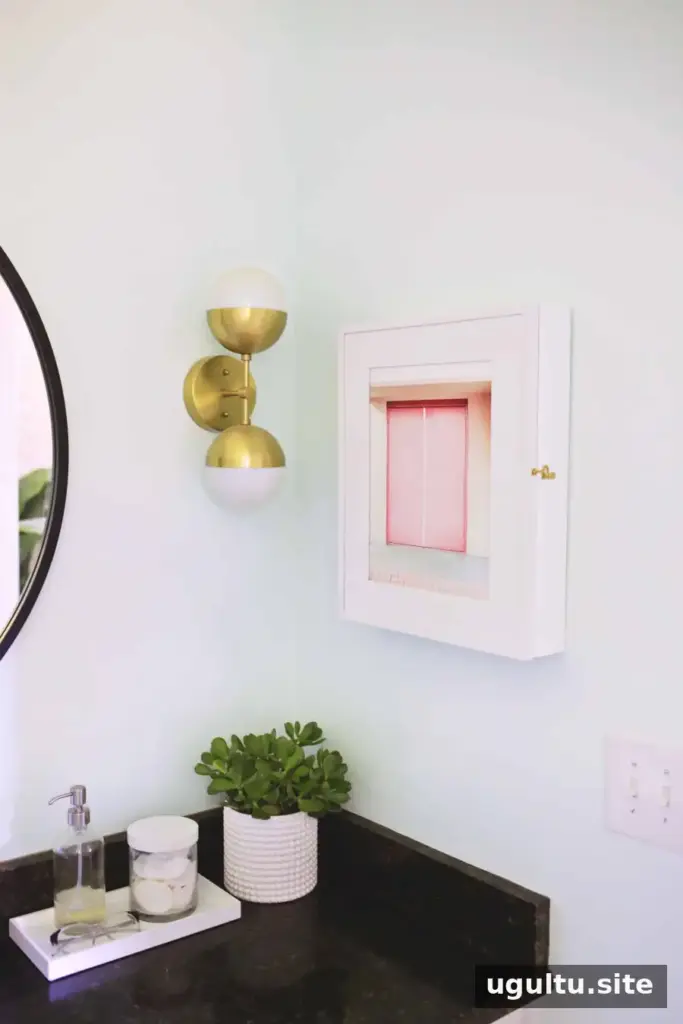
A framed cabinet can blend into the room while keeping frequently used items within easy reach. If the frame’s back panel does not match your décor, cover it with removable wallpaper, paint it, or attach decorative paper with decoupage medium. Make sure any added material does not prevent the door from closing properly.
Store lightweight, everyday bathroom products on the shelves and avoid overloading the cabinet. Bathroom humidity can affect wood and finishes, so keep the cabinet away from direct water exposure and check the wall mounting occasionally. The print can be changed whenever you want a fresh look. This hidden medicine cabinet DIY offers a practical way to gain storage while keeping a picture-frame finish on the wall.
Project by Laura.