admin
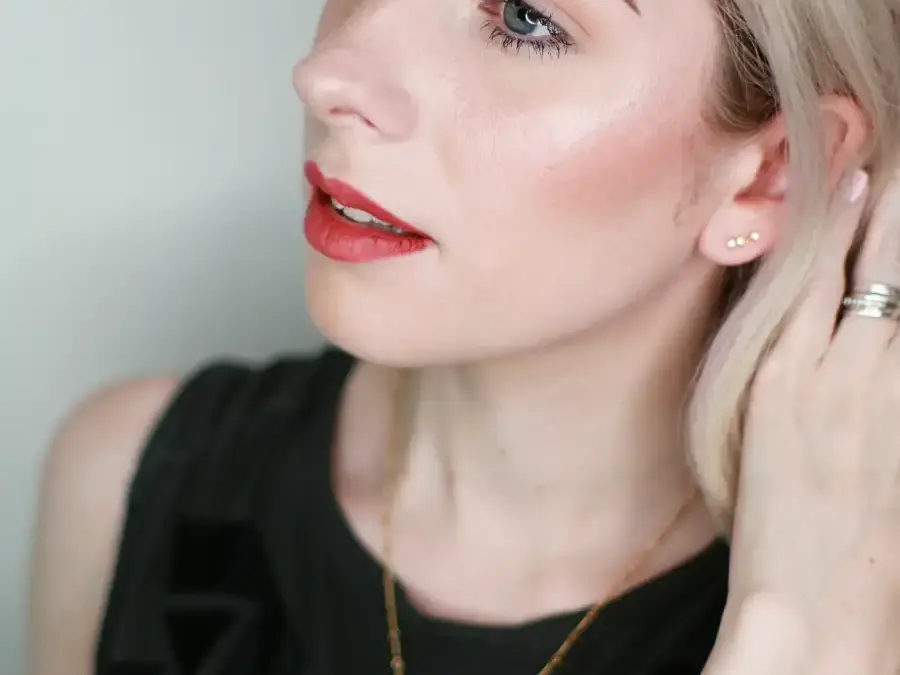
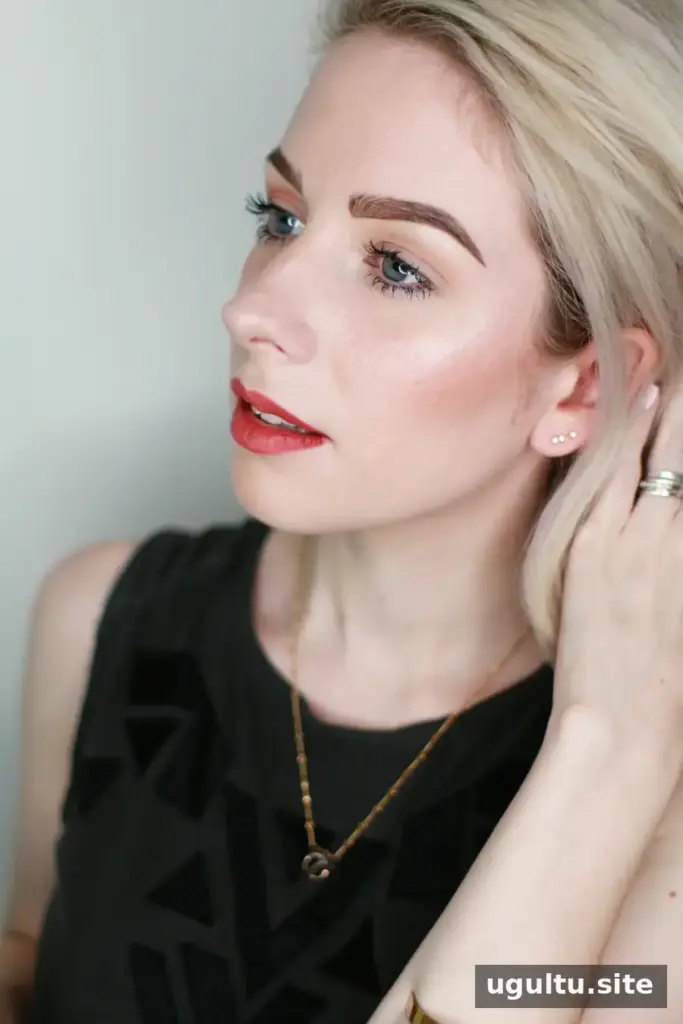
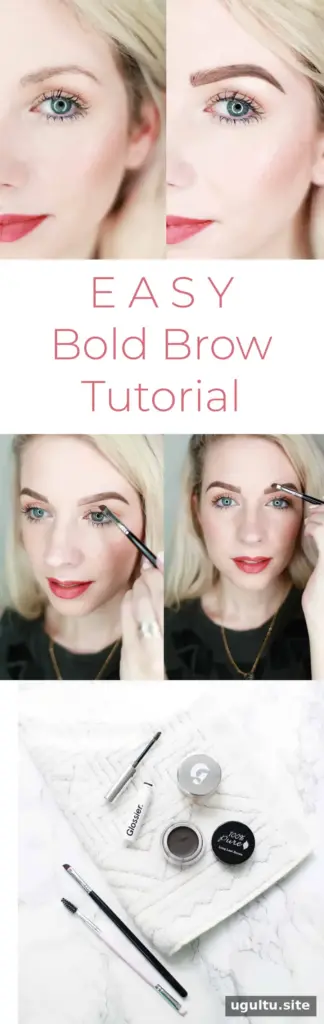
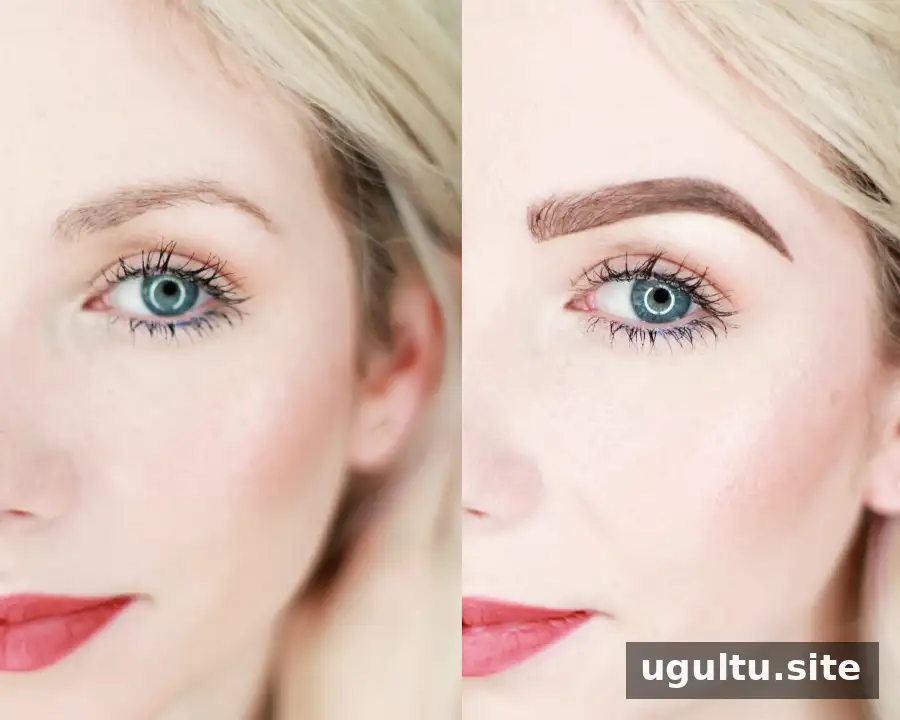
Bold brows can frame the face while still looking soft and natural. A gradual approach helps create a fuller shape without making the brows look overly drawn on. With a spoolie, an angled brush, brow pomade, brow gel, and concealer, you can build definition in manageable steps.
For a longer-lasting result, use a brow product made for filling in brows rather than eyeshadow, which may smudge. Apply a small amount at a time and check both brows as you go.
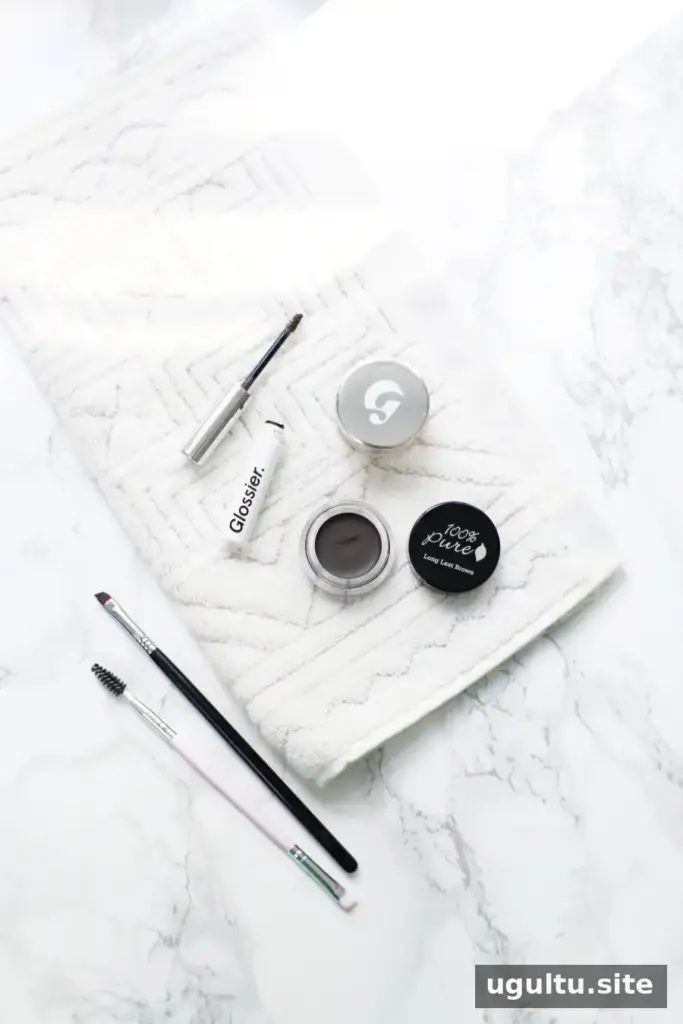
What You’ll Need:
- 100% Pure Long Last Brows Pomade
- Glossier Boy Brow
- Glossier Stretch Concealer
- Sigma Angled Brush
- A spoolie brush and tweezers
How to Create Bold Brows
Step 1: Prepare and groom your brows
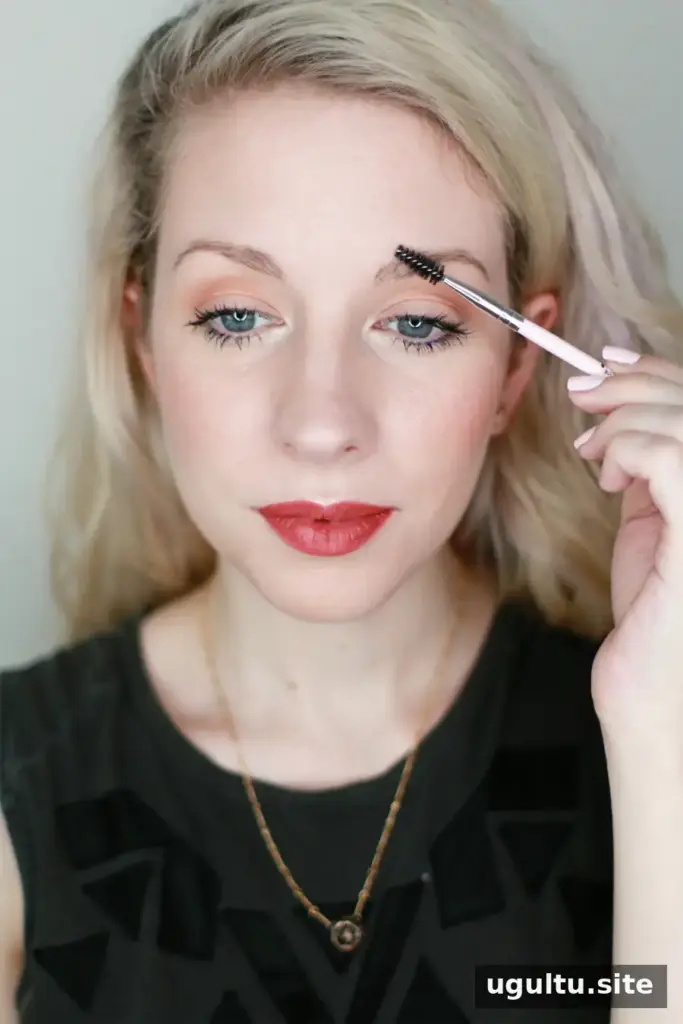
Brush the brow hairs upward with a spoolie. If some hairs are noticeably longer, trim them carefully. Tweeze only obvious stray hairs if needed; removing too much can make brows appear thinner. Comb the hairs into place before applying product.
Step 2: Apply a small amount of pomade
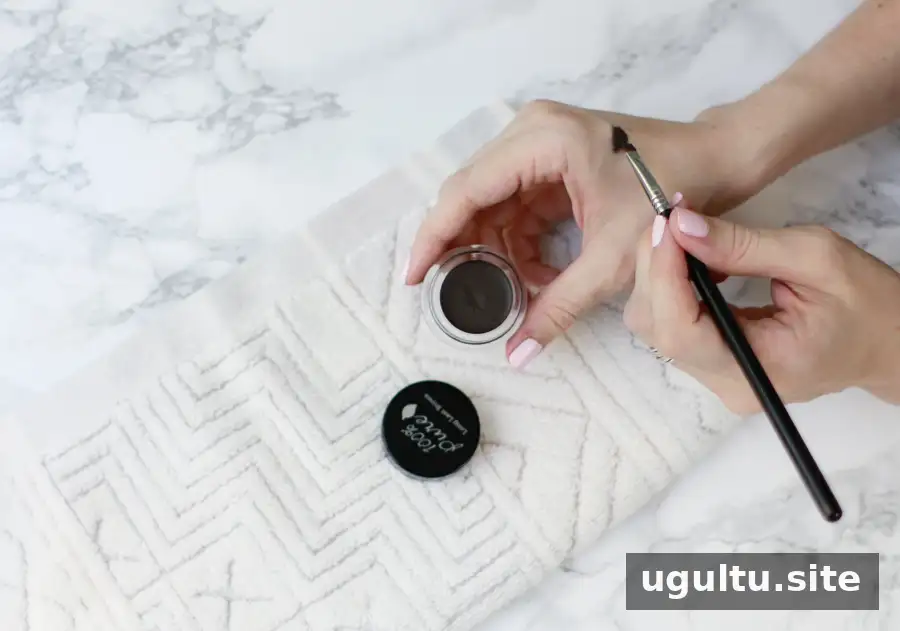
Pick up a little Long Last Brows Pomade with an angled brush and distribute it evenly across the brush. You can first place the product on the back of your hand to control how much you use. Working with a small amount makes it easier to build color gradually and achieve a more natural finish.
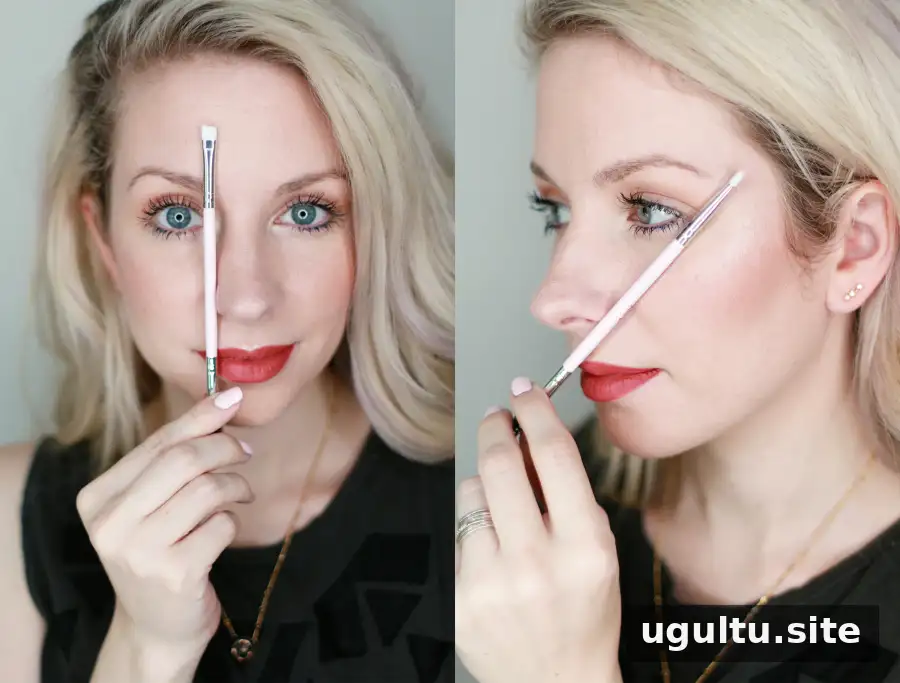
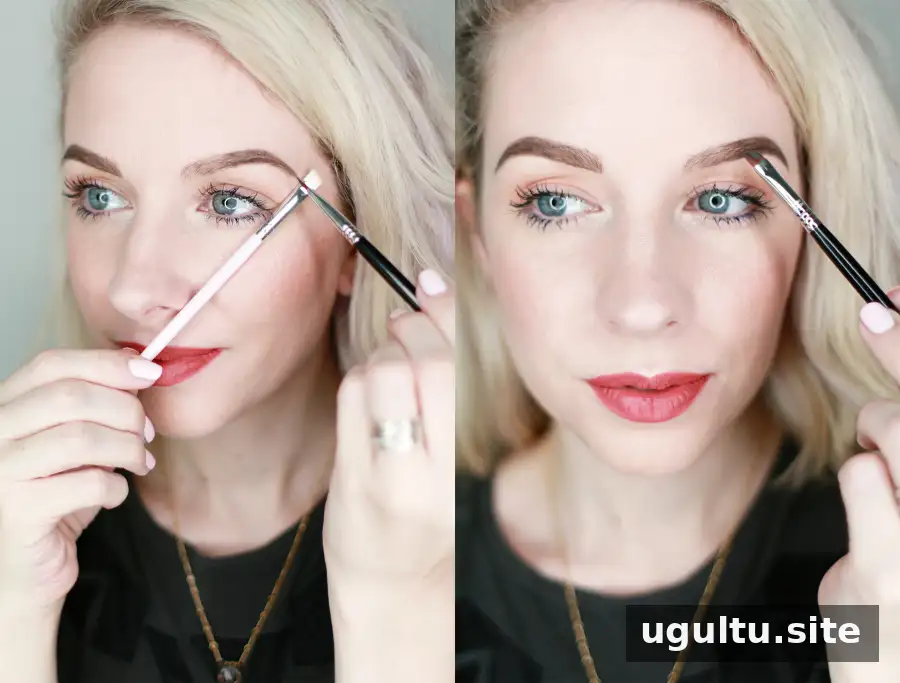
Shaping tip: Hold a makeup brush against the side of your nose to help estimate where the brow begins and where its tail should end. Use this as a guide rather than a strict rule, since natural brow shapes vary.
Step 3: Define the arch
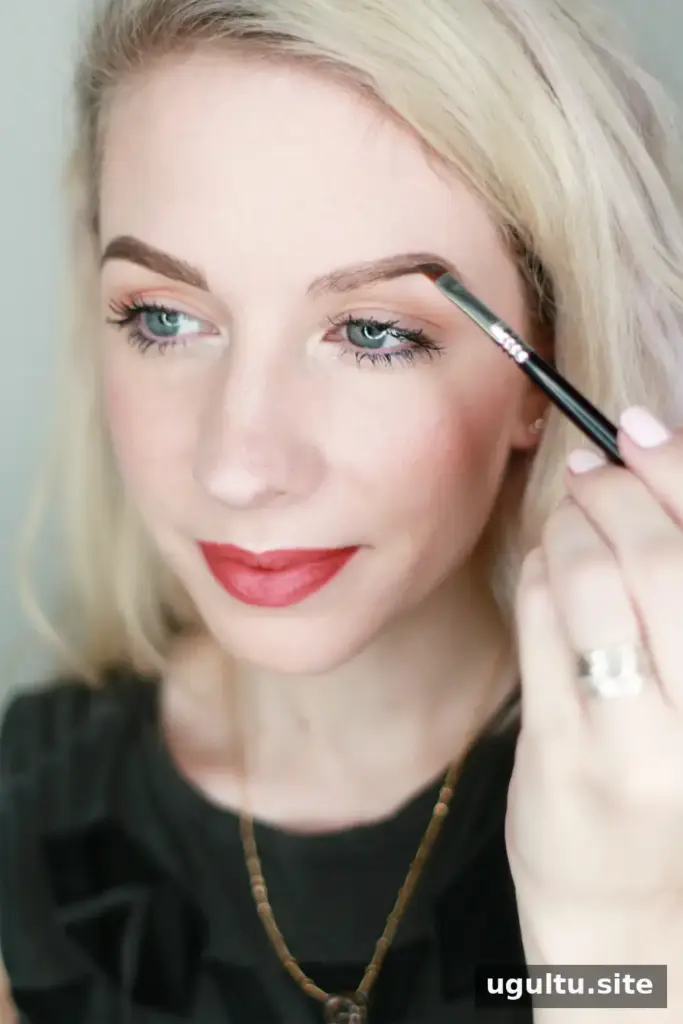
Begin around the arch and use short, light strokes to define the lower edge. Then softly shape the upper edge. Small strokes mimic the appearance of brow hairs. Start with less product than you think you need; you can add more for extra definition.
Step 4: Fill the middle
Fill the central part of the brow with gentle, hair-like strokes. Keep your pressure light to avoid a solid, harsh-looking block of color. Leave the front section mostly untouched for now so it can be finished with a softer effect.
Step 5: Shape the tail
Define the lower edge of the tail first, then the upper edge, and fill between them. Take your time as you approach the end of the brow, keeping the point soft and avoiding a tail that looks too thick.
Step 6: Add a soft finish to the front
Lightly draw along the lower edge from the beginning of the brow toward the arch. Turn the angled brush upright and add tiny strokes to fill sparse areas. Use less product at the front than elsewhere to create a gradual, softer look. Brush the front hairs upward for a fuller appearance.
Check both brows and add product only where the shape looks sparse. They do not need to match exactly; natural brows often have small differences.
Step 7: Set the hairs
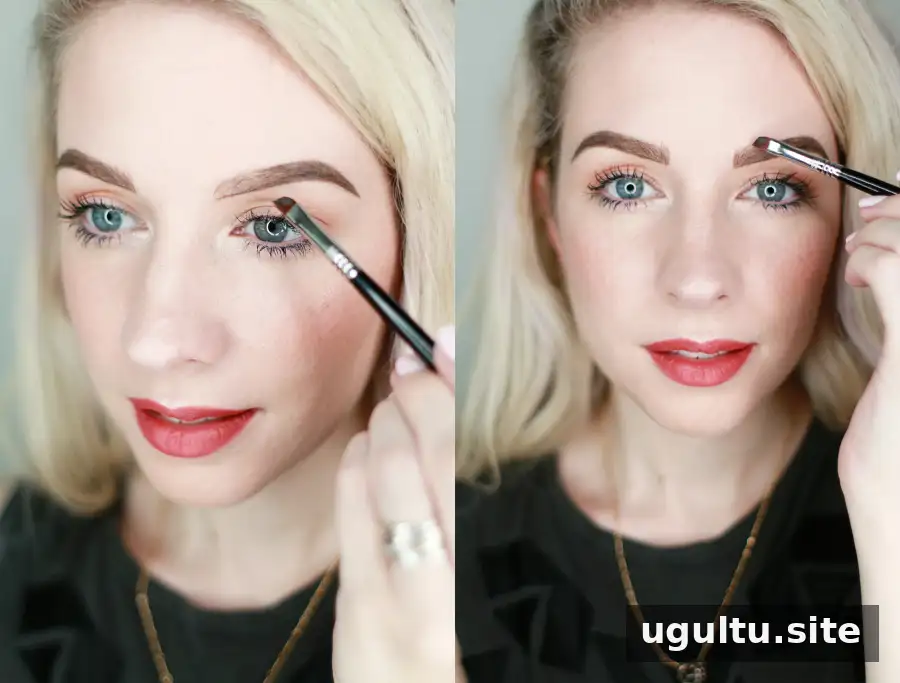
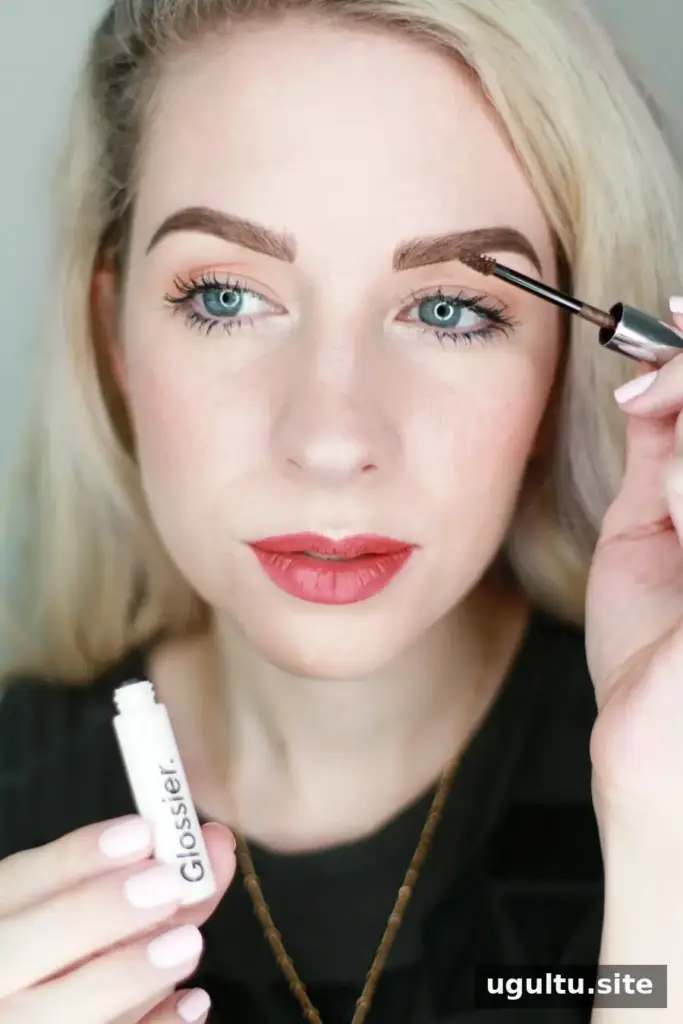
Brush Glossier Boy Brow through the hairs to add texture and help keep them in place. Used on its own, brow gel can also provide a quick, less-defined look when you want light grooming rather than a fully shaped brow.
Step 8: Comb through
Use the spoolie to gently blend the product through the brows. This softens visible makeup and helps the filled areas blend with your natural hairs.
Step 9: Clean up the edges
Apply Glossier Stretch Concealer beneath the brows with an angled brush, following the lower edge from the front to the tail. Blend the concealer downward so there is no visible line. If desired, add a small amount of highlighter beneath the arch.
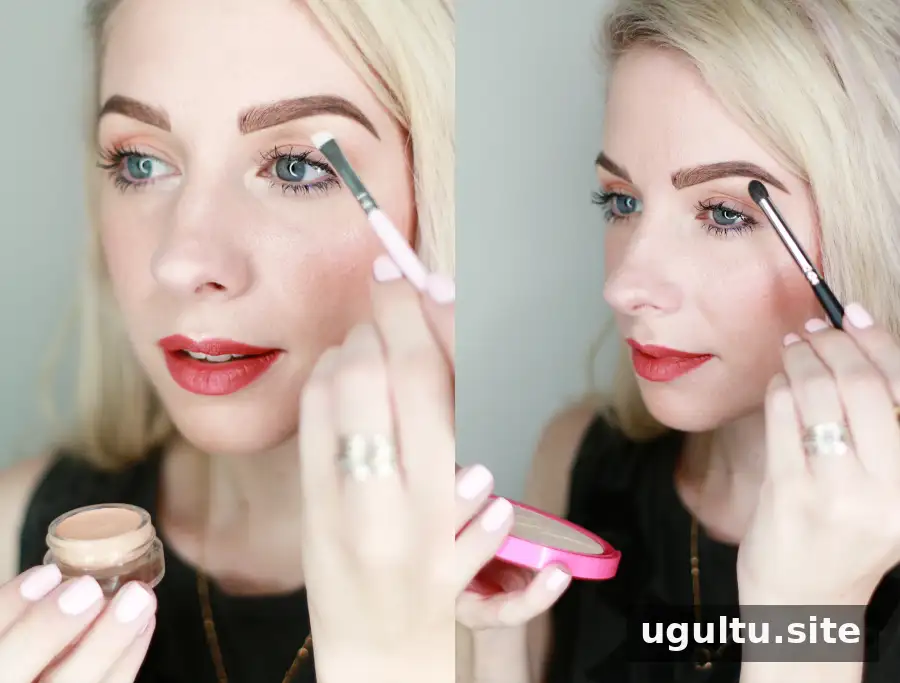
The key to balanced bold brows is building the shape slowly and using a light hand. If the result looks too strong, brush through the hairs with a spoolie to soften the product before adding anything else.
Final Tips for Bold Brows
Take a moment to view both brows in natural light, and make small adjustments only where needed. Brows can complement one another without being identical, so focus on an even overall shape rather than perfect symmetry.
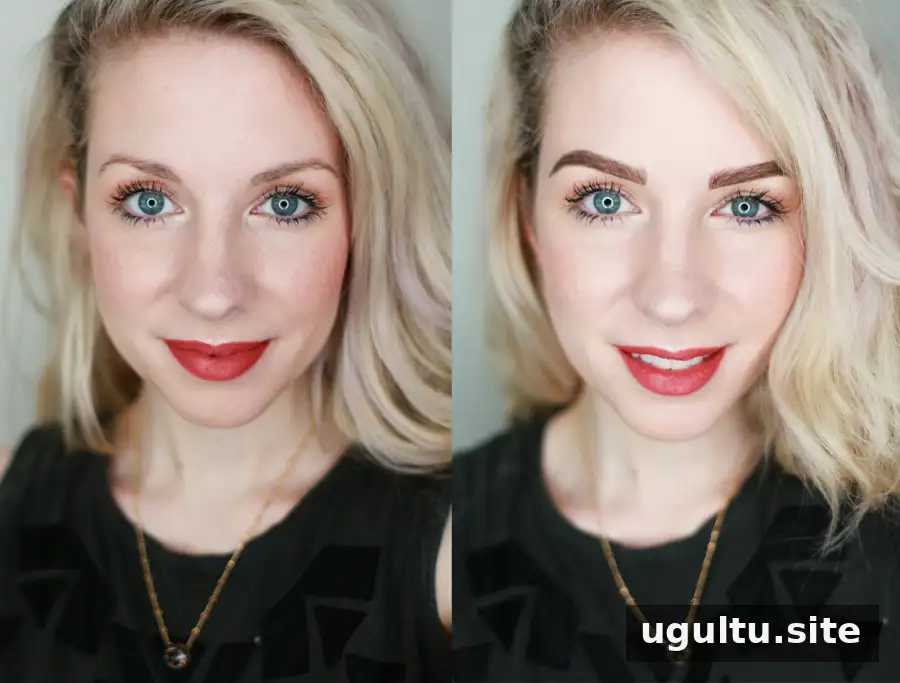
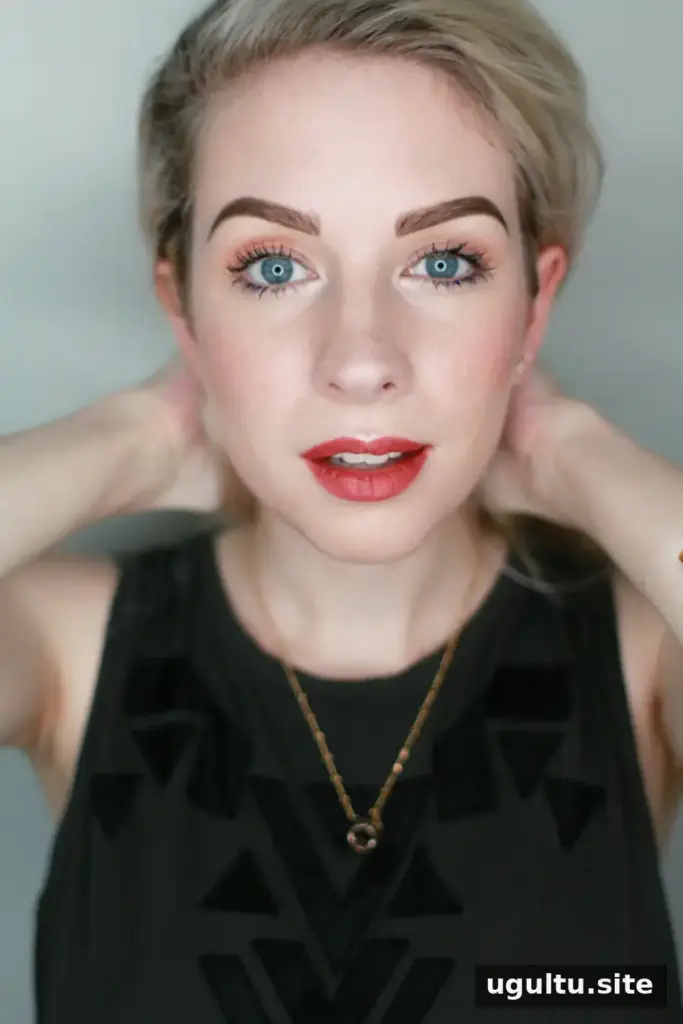
With a little practice and gradual application, bold brows can look defined, soft, and natural.