
 admin
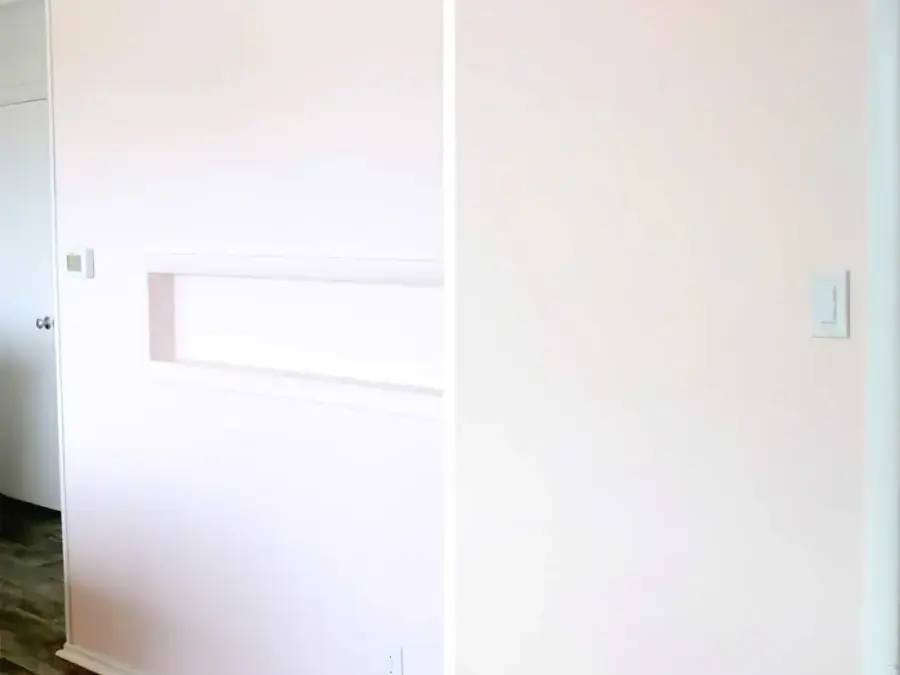
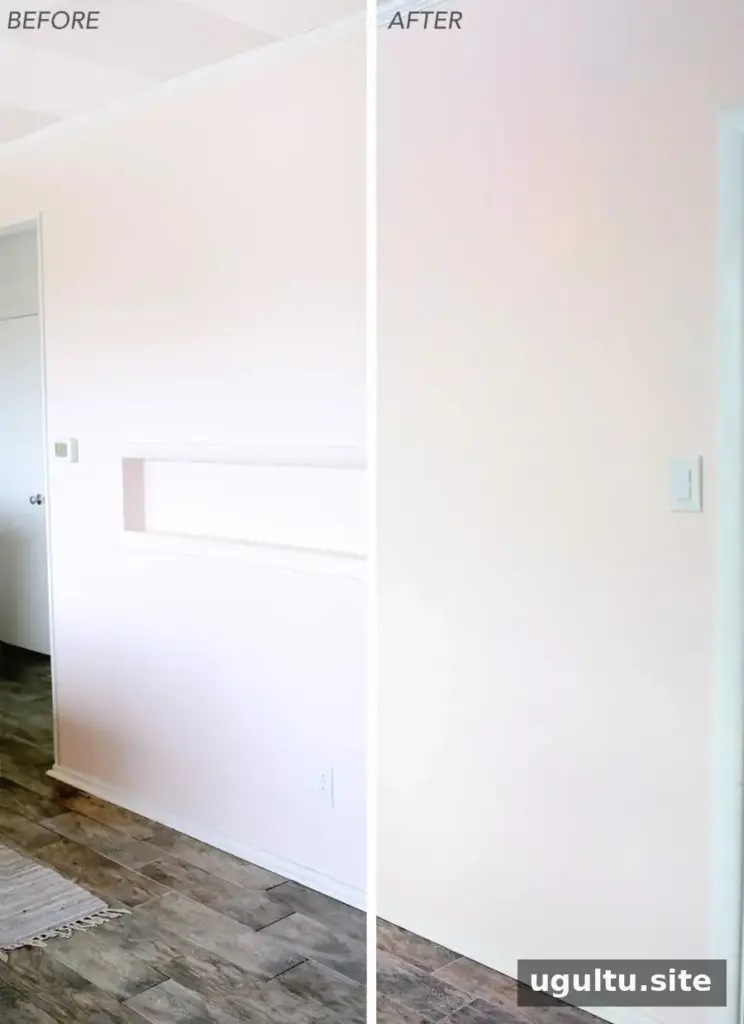
To fill in a recessed wall niche, remove any trim and old box, add support for the new drywall, then tape, finish, sand, prime, and paint the surface. The right approach depends on what is behind the opening and whether it already has a suitable frame. This guide explains the process and key measurements for turning an unused niche into a smooth wall.
How to fill in a recessed wall niche
Before starting, inspect the opening and check for wiring, plumbing, or other services in the wall. If you are unsure what is behind it, pause and consult a qualified professional before cutting or removing materials. Wear eye protection and a suitable dust mask when cutting or sanding, and keep the work area clear.
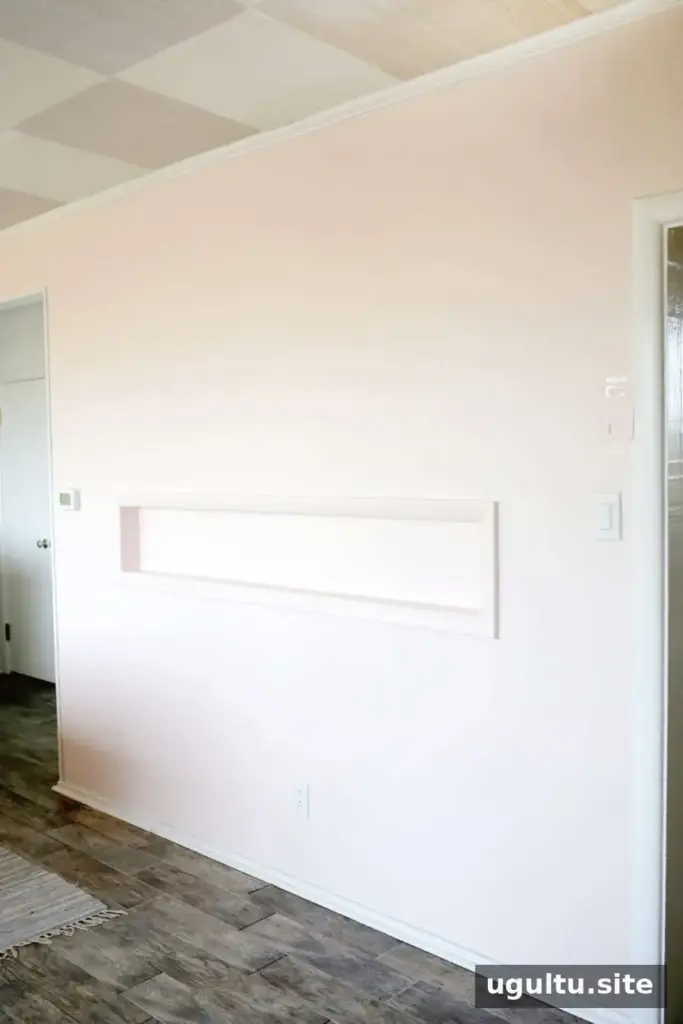
Remove the trim and niche box
Score the paint or caulk along the trim edges with a utility knife. Carefully ease the trim away from the wall with a small pry bar to limit damage to the surrounding surface. Once the trim is removed, assess how the box is secured.
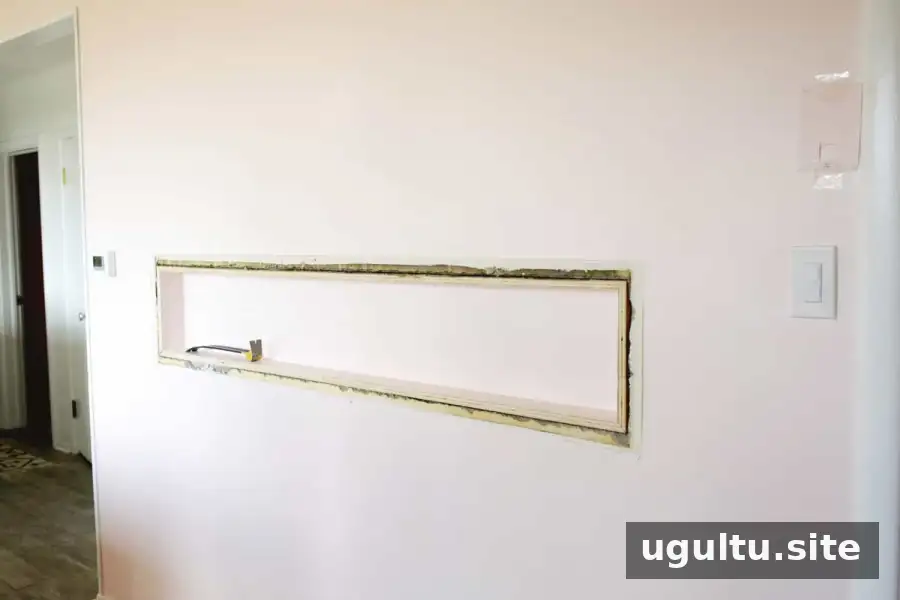
A box fastened with nails or screws may need to be removed in sections. Use an appropriate cutting tool to separate the box and its fasteners, taking care not to damage the wall framing or any concealed services. Remove debris before installing new supports.
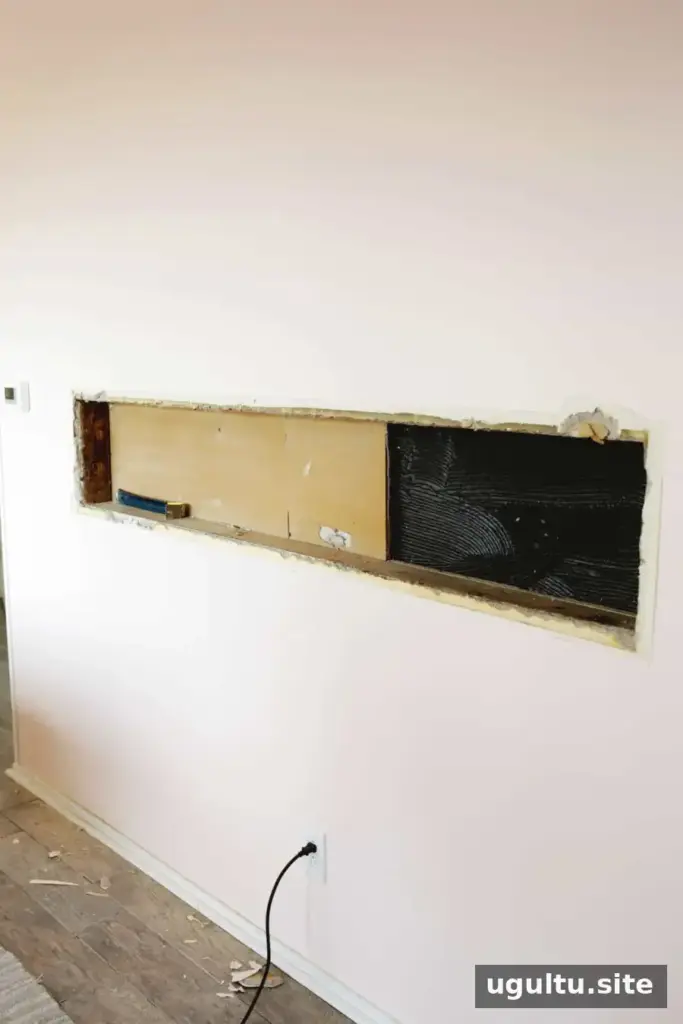
Check the framing and install supports
Drywall needs a secure backing at its edges and across the opening. If a sound frame already surrounds the niche, you may be able to use it. Otherwise, build an outer frame with 2″x4″ boards fitted to the opening, then add vertical studs within it. Wall interiors vary, so check the framing and adapt the layout to the actual opening.
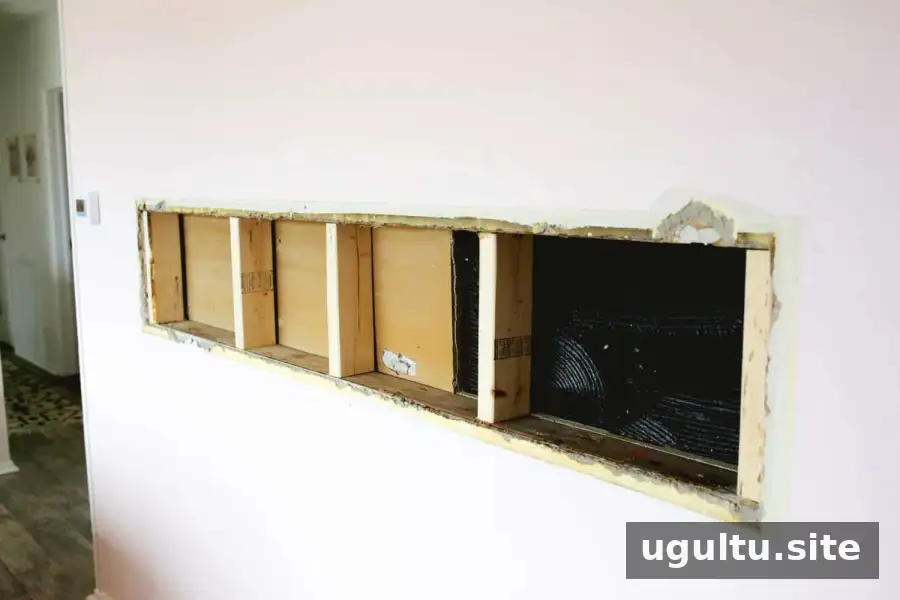
For a 70″ opening, five vertical studs were used. In general, studs are commonly spaced 16″–24″ apart, with supports near both sides. Position the framing so the face of the 1/2″ drywall will sit flush with the surrounding wall. A scrap piece of drywall can help check the inset before you fasten the supports.
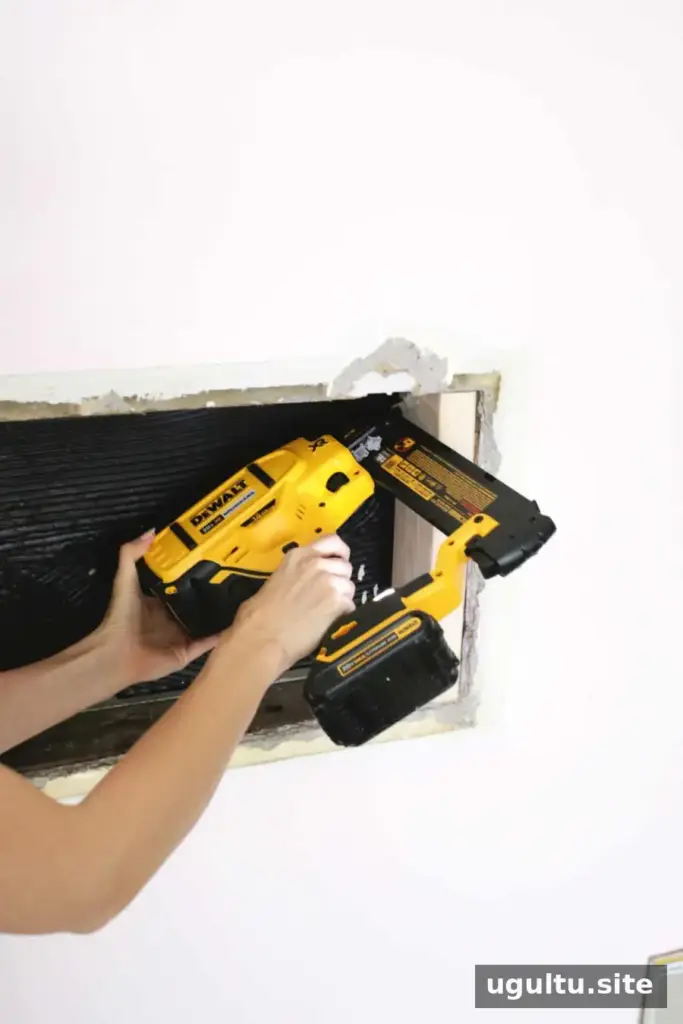
If the niche is too shallow for full-depth 2″x4″ lumber, the boards need to be cut down to fit while still allowing room for the drywall. Use suitable tools and follow their safety instructions. Fasten the studs securely at the top and bottom with angled nails or wood screws.
Measure and attach the drywall
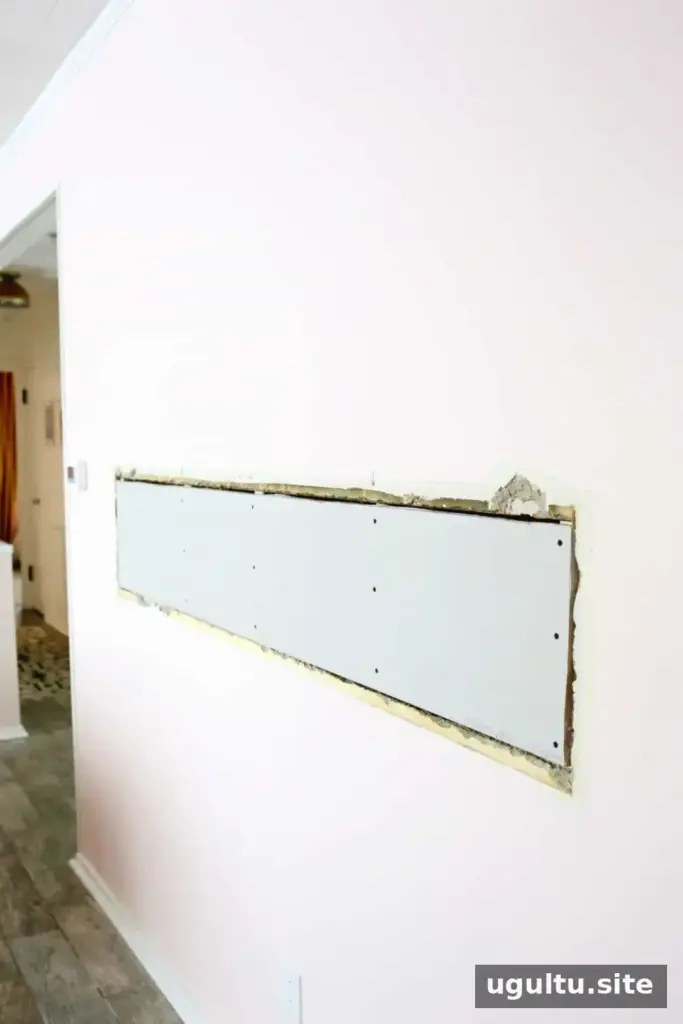
Measure the opening and mark the drywall panel. Score the surface with a utility knife, then snap the board along the cut. Check the fit before fastening it to the studs with drywall screws.
Set screw heads just below the surface without tearing the paper facing. Driving screws too deeply can weaken the board and make finishing more difficult. If needed, finish tightening by hand for better control.
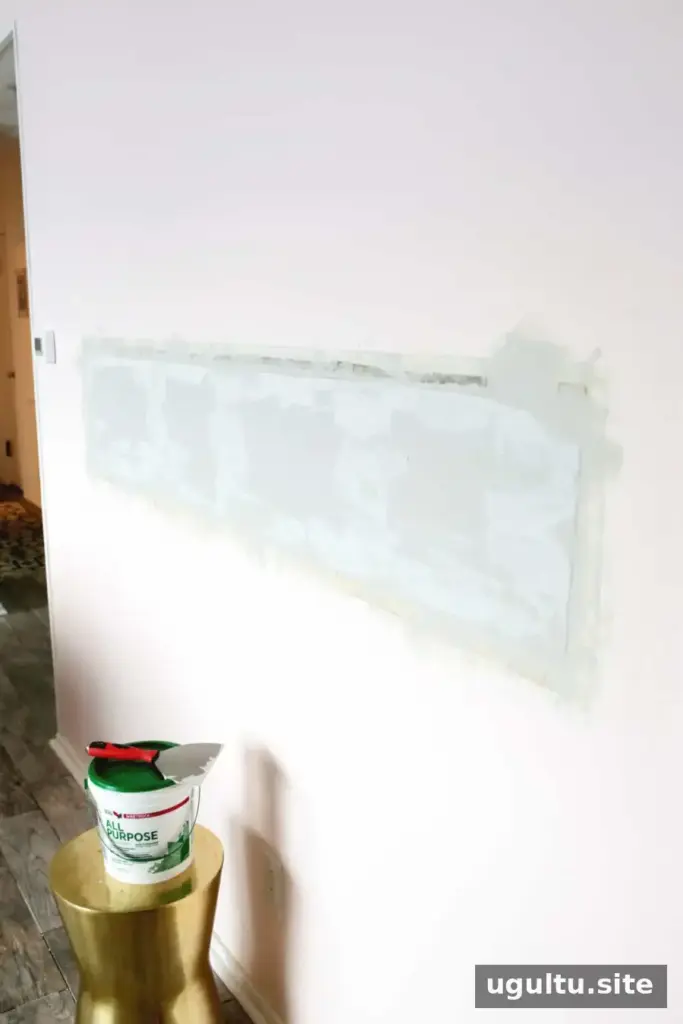
Tape the seams and apply joint compound
If the surrounding wall has large gaps or damaged areas, first use all-purpose joint compound to fill those deeper spots and the screw holes. This initial coat provides a base; it does not need to create the final smooth finish. Allow it to dry according to the product instructions.
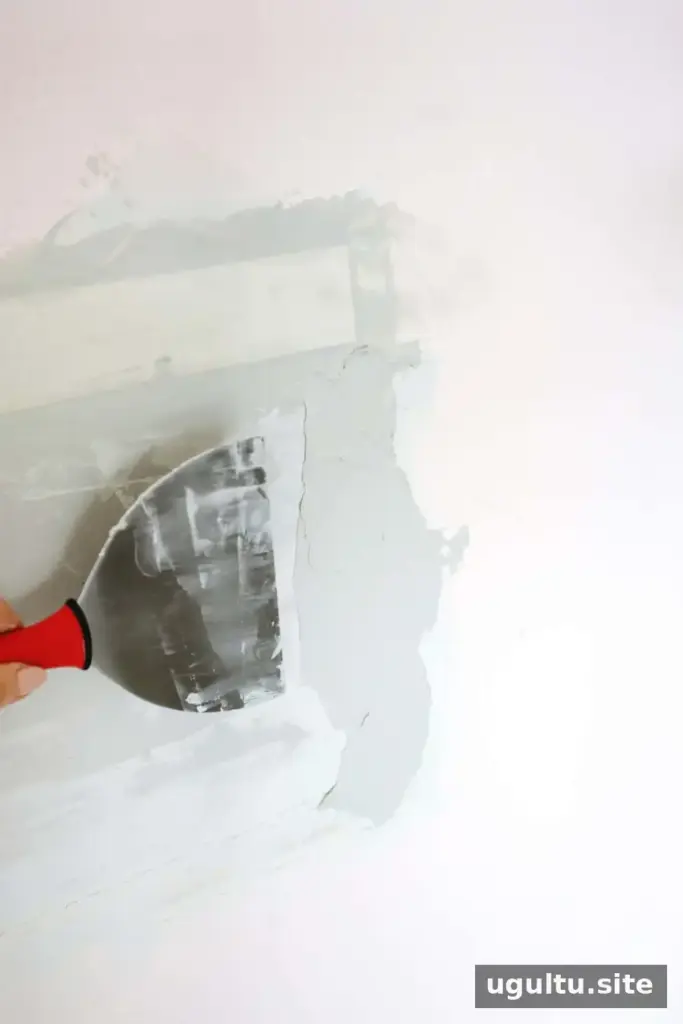
For the seams, mix the compound until it is smooth and slightly loosened, but not runny. Spread an even layer over a joint with a 6″ knife, dampen the paper tape, and press it into the compound. Smooth the tape with the knife, working gently from the center outward to remove excess compound and wrinkles. Repeat for all four sides.
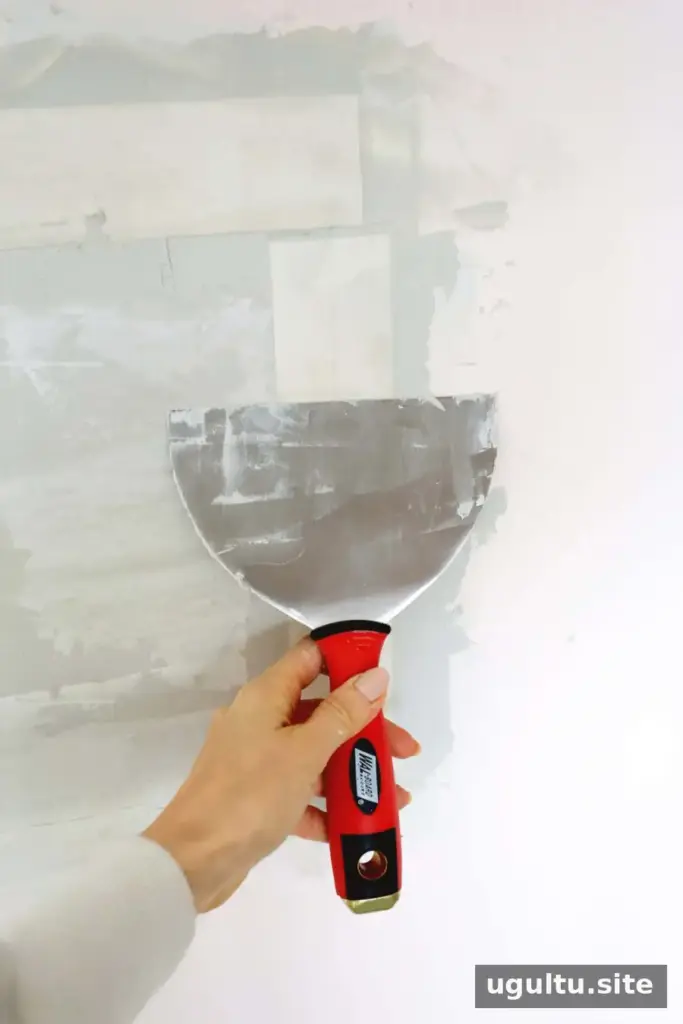
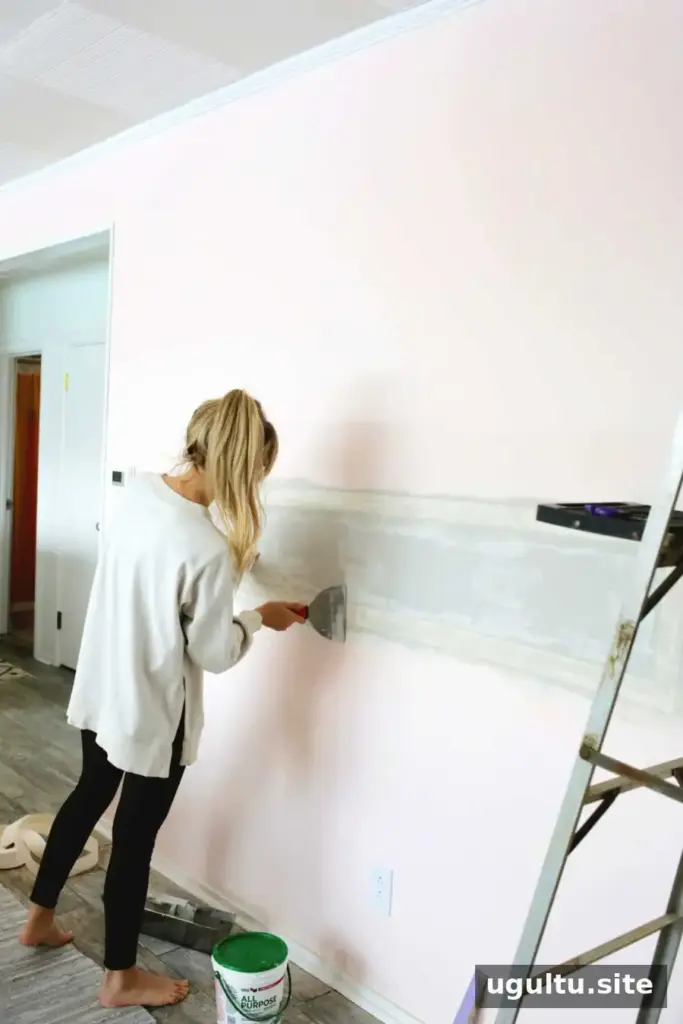
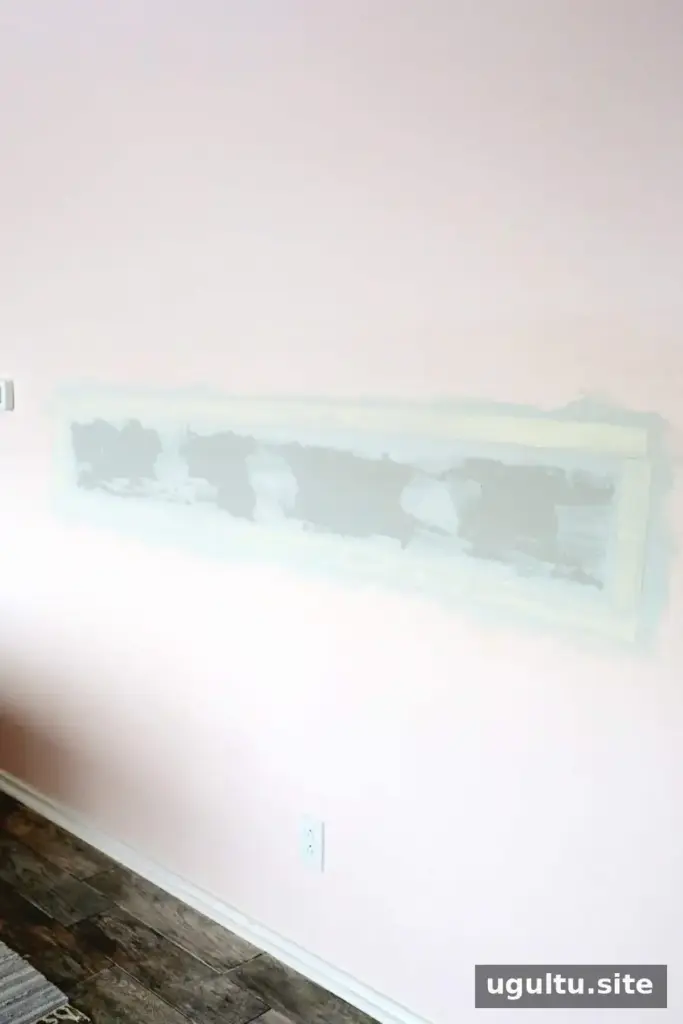
Let the tape dry fully, then check for hollow-sounding areas that may indicate air bubbles. Carefully cut away any loose or bubbled tape. Fill the small recess with compound during the next coat.
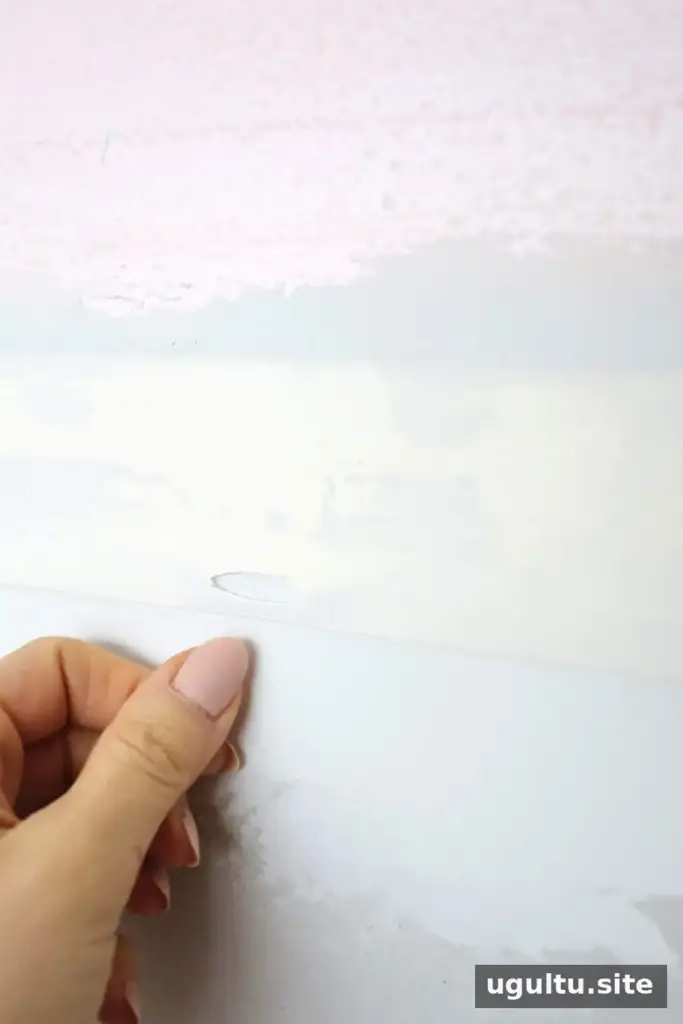
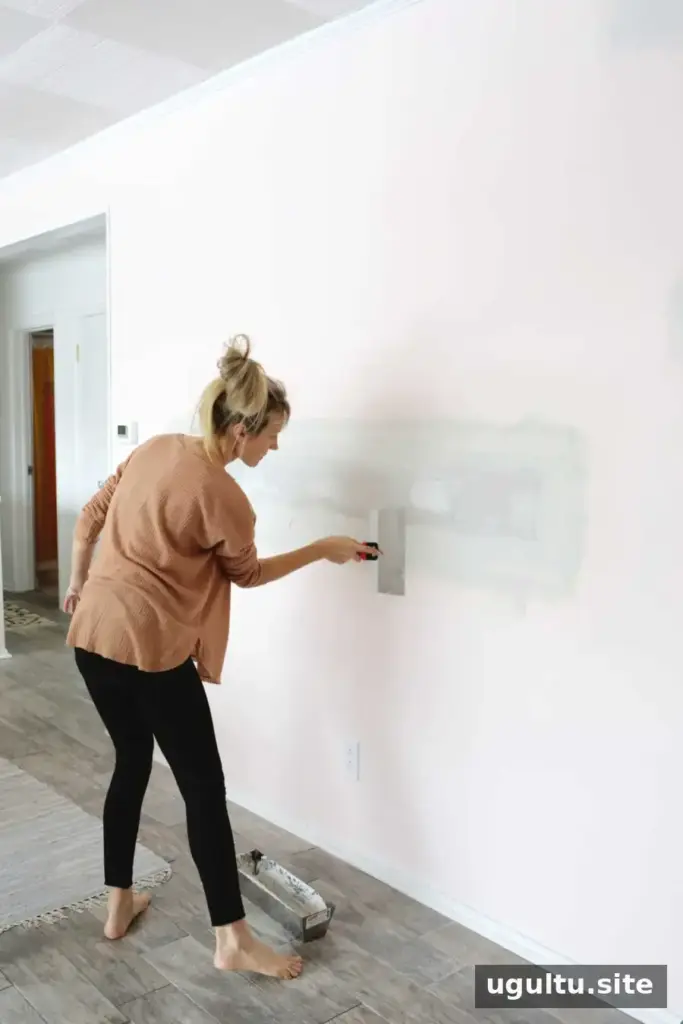
Apply a wider coat of joint compound over the taped seams, feathering the edges so they blend into the wall. A 10″ knife can spread the first finishing coat; once it is dry, use a 12″ knife for a wider second coat. Keep the knife clean between passes to reduce ridges. For a niche that is only 10″ tall, the top and bottom seam areas may be close enough that coating the central area helps create a continuous finish.
Allow each coat to dry fully before adding another. Drying time varies with the product and room conditions, so follow the compound label rather than relying on a fixed schedule.
Sand, prime, and paint
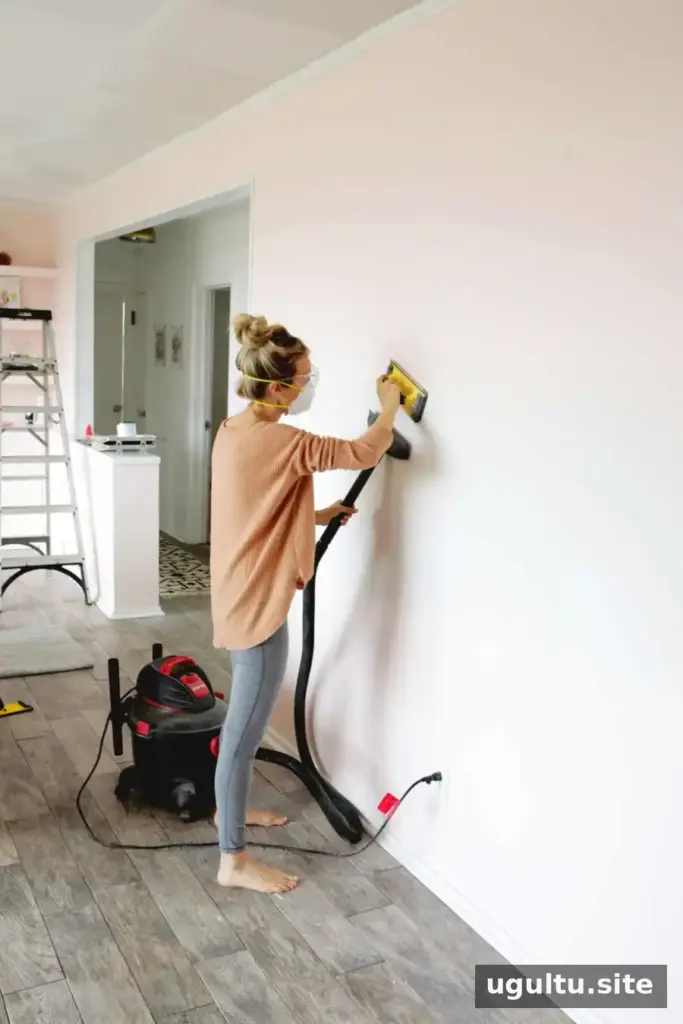
When the final coat is dry, sand the surface until the transitions and compound feel smooth. Sanding creates fine dust, so wear eye protection and an N95 mask and use dust collection or ventilation where practical. A hand sander or pole sander can help, while a sanding sponge is useful for corners and small areas.
Check the surface by touch and look for ridges, pits, or tiny bubble marks. Fill small imperfections with a thin layer of spackle, let it dry, and sand gently. Avoid sanding through the drywall tape or paper facing.
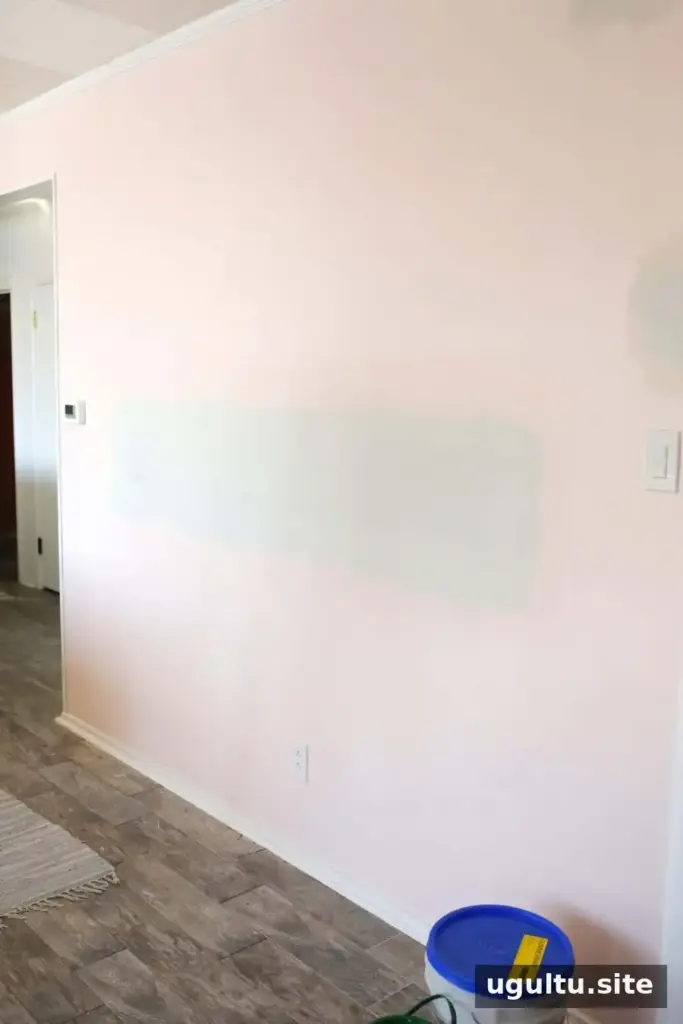
Once the surface is smooth and dust-free, apply primer before painting. A roller with a nap suited to the surrounding wall can help the new area match its texture. Let the primer dry as directed, then apply the finish paint.
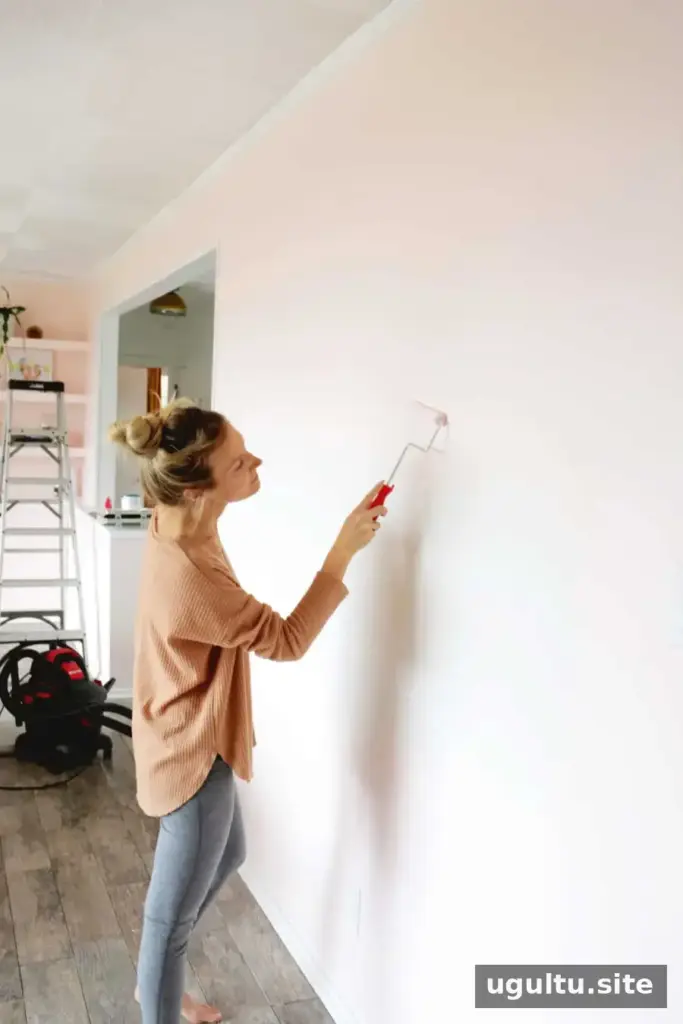
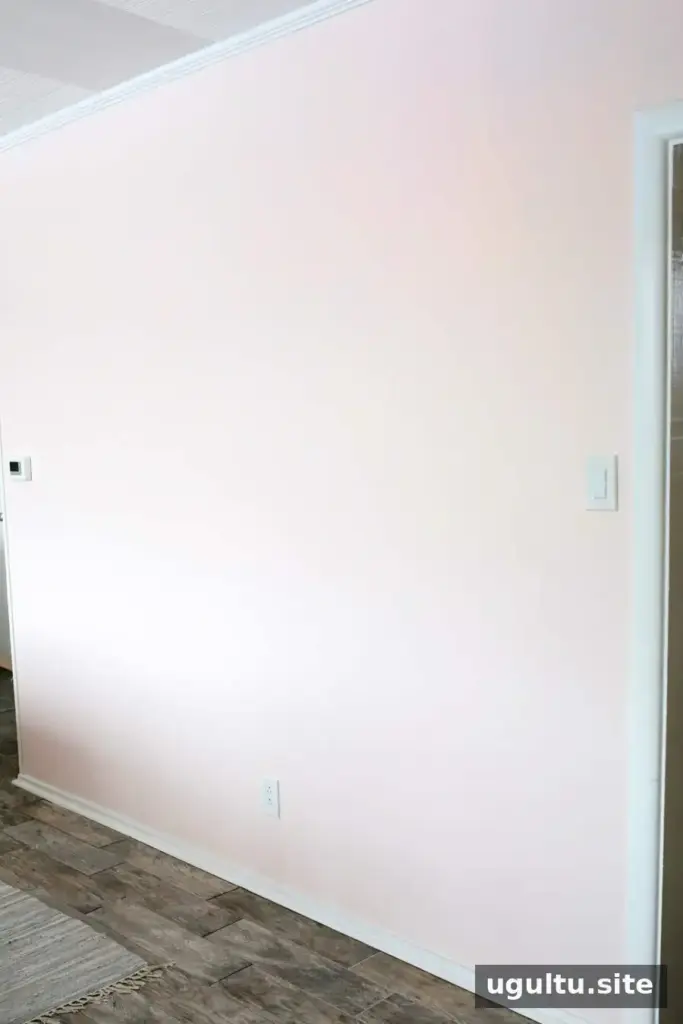
Final checks when you fill in a recessed wall niche
To fill in a recessed wall niche successfully, make sure the framing supports the entire drywall panel, set the board flush with the existing wall, and allow each compound layer to dry before continuing. Careful taping, feathering, and sanding make the biggest difference to the finished appearance. Project by Laura.


