admin
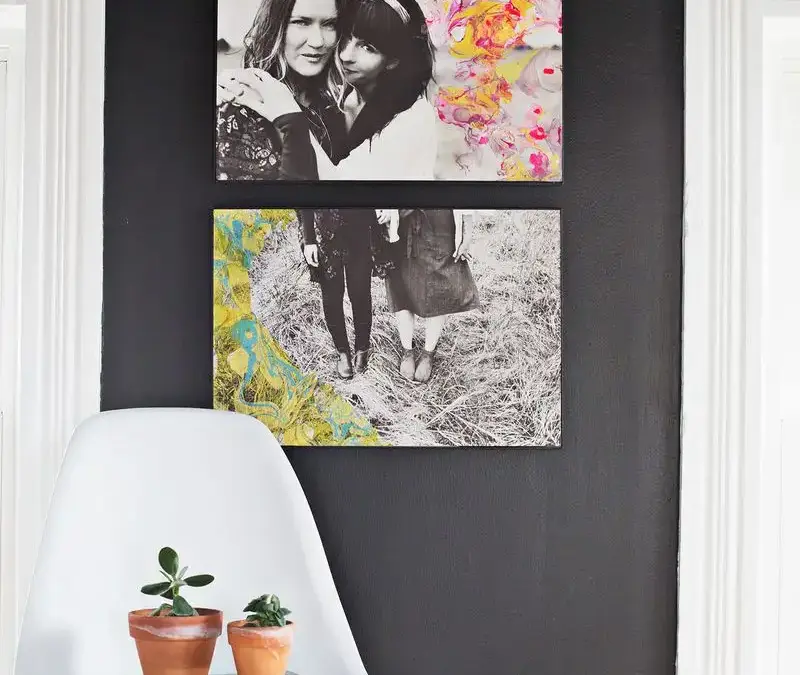
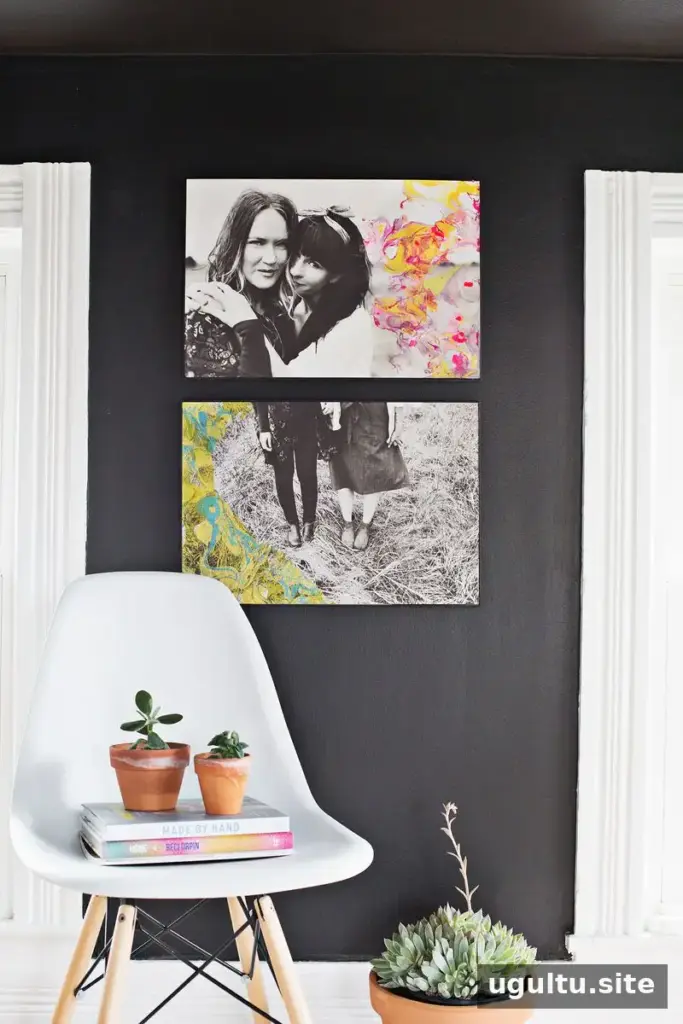
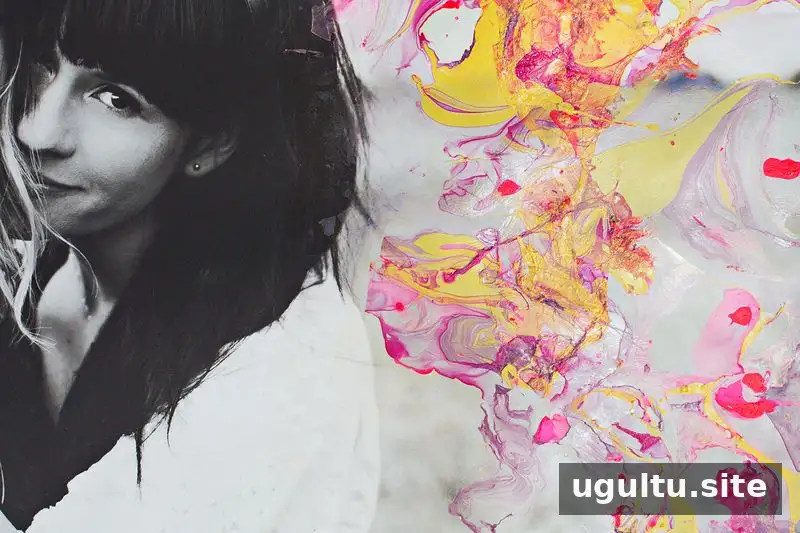
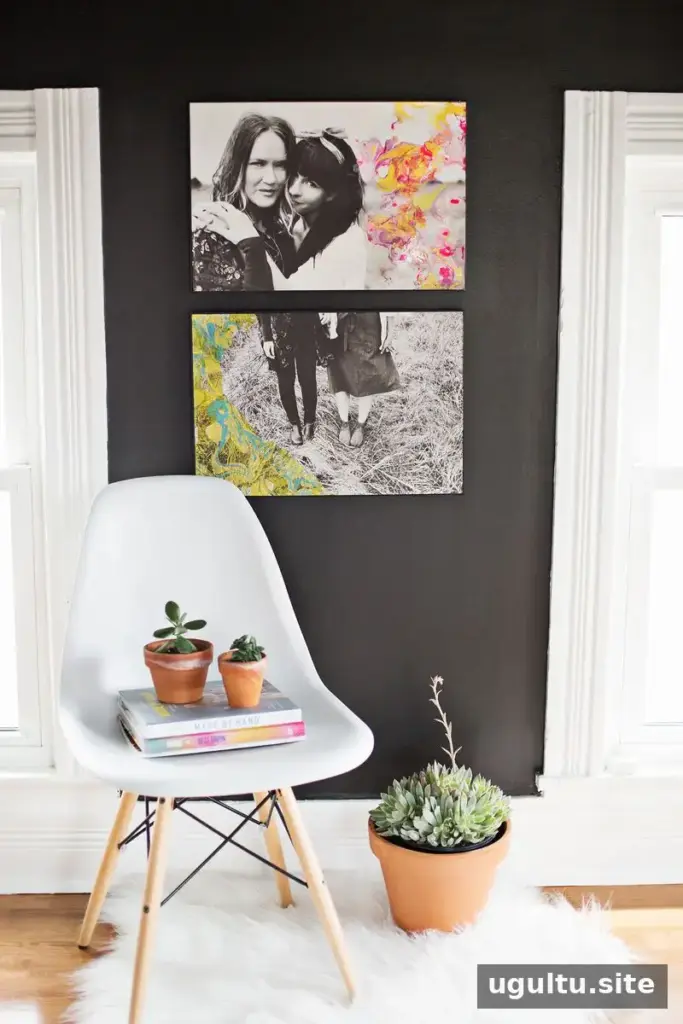
Marbling with nail polish is a simple way to add colorful, swirling patterns to photos and other craft surfaces. The technique uses polish floating on water, so you can create a one-of-a-kind design with just a few supplies. It works especially well on paper with open areas where the pattern can stand out without covering important details.
How Marbling with Nail Polish Works
Nail polish spreads across the surface of water and forms a thin layer of color. By gently drawing a stick through the colors, you can make a marbled pattern before transferring it to an object. The polish begins to set quickly, so prepare your work area and have the item ready before you start.
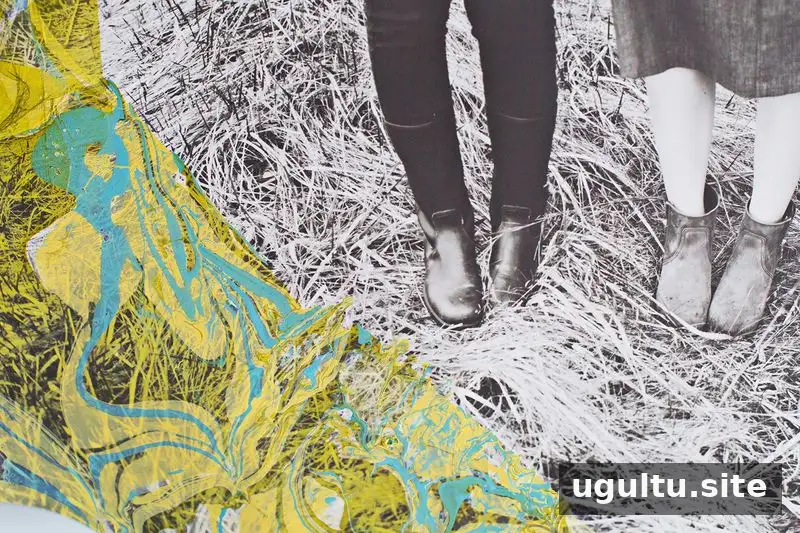
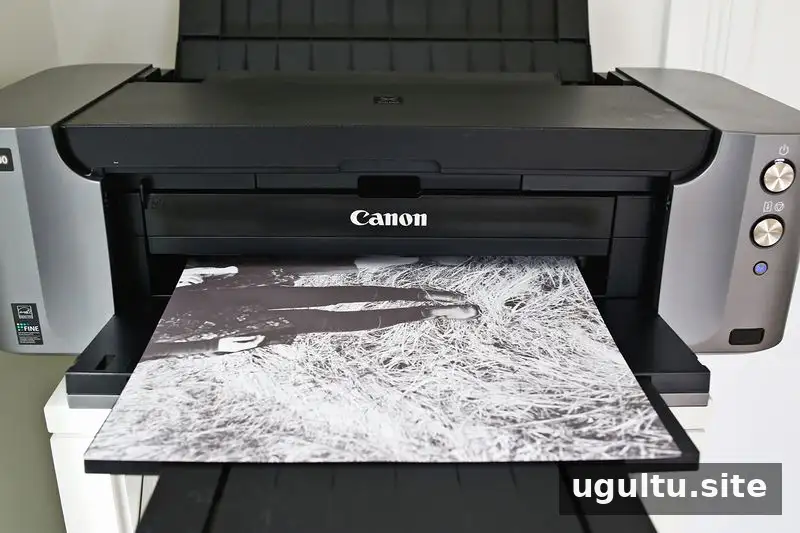
For a photo project, choose an image with plenty of white space. This gives the colorful pattern room to show while helping you avoid covering faces or other important parts of the picture. Fine-art paper such as “Photo Rag” was used for this project and worked better than traditional photo paper.
Supplies
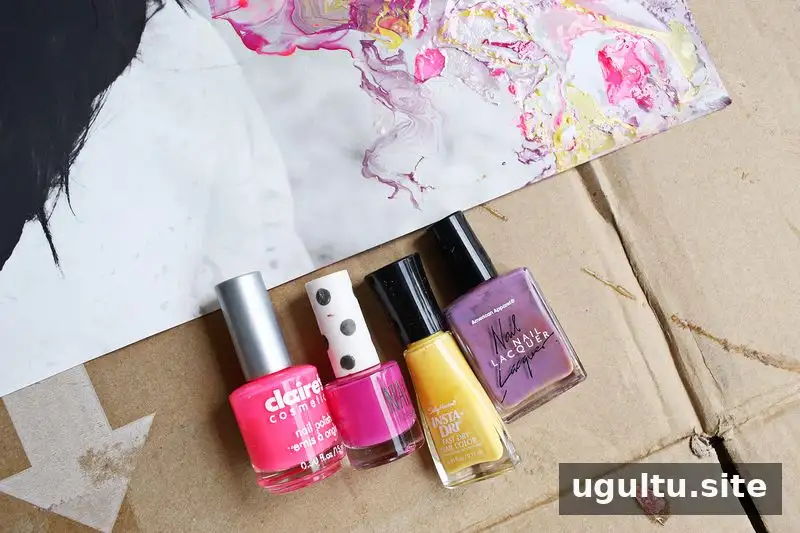
- Nail polish in several shades; avoid quick-dry formulas if possible.
- A disposable container, such as a paint liner.
- A disposable stick for moving the polish across the water.
- Fine-art paper, such as “Photo Rag,” if decorating a printed photo.
- Plastic gloves to help protect your hands.
- Water and a prepared photo or other suitable object.
Using partly used polish is a practical option, but check that it still pours smoothly. Work in a well-ventilated area, keep polish away from flames, and protect your work surface from drips.
Steps for Making a Nail Polish Marbled Photo
1. Print and prepare the photo
Print a photo with some open, light-colored space where the pattern can be added. Use paper that can tolerate brief contact with water, and let the print dry fully before beginning. If you are decorating another object, make sure it is clean and can be safely dipped or touched to the water’s surface.
2. Add water to a disposable container
Pour a few inches of water into the container. A shallow amount is enough for an item that only needs to touch the surface. For an object that must be submerged, choose a container deep and wide enough to hold it comfortably.
3. Add and swirl the polish
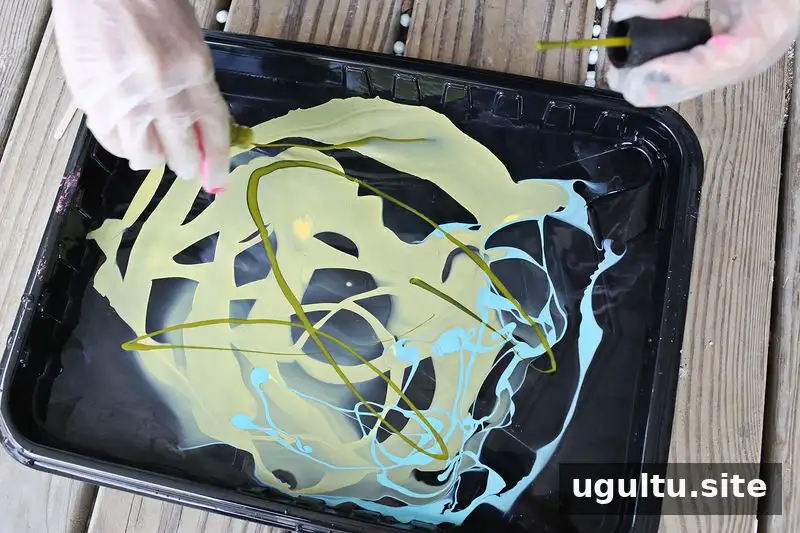
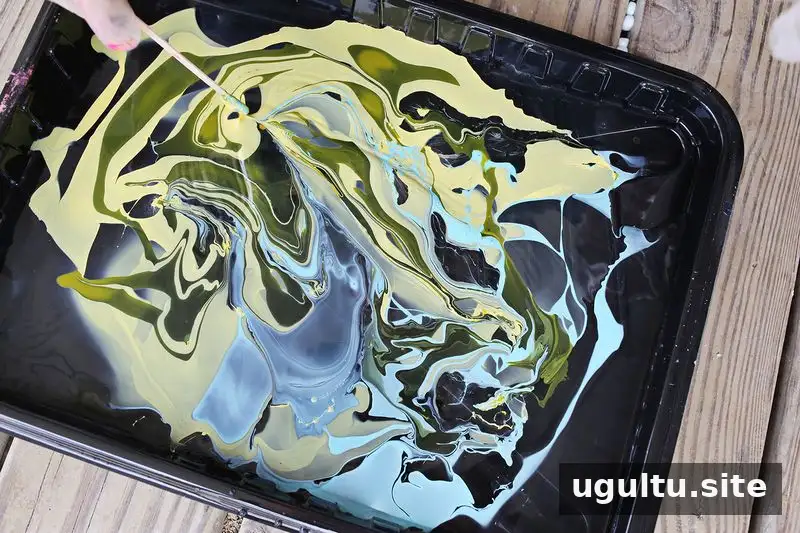
Open the polish bottles before you begin and set them within easy reach. Add one color at a time to different points on the water’s surface. Use the stick to draw the colors together until you like the pattern. Keep the movement gentle; too much stirring can blend the shades rather than leave distinct swirls.
Move quickly once the polish is on the water. It can start to form a skin, making it harder to transfer a clean design. Having another person help pour the colors can make this step easier.
4. Transfer the pattern and let it dry
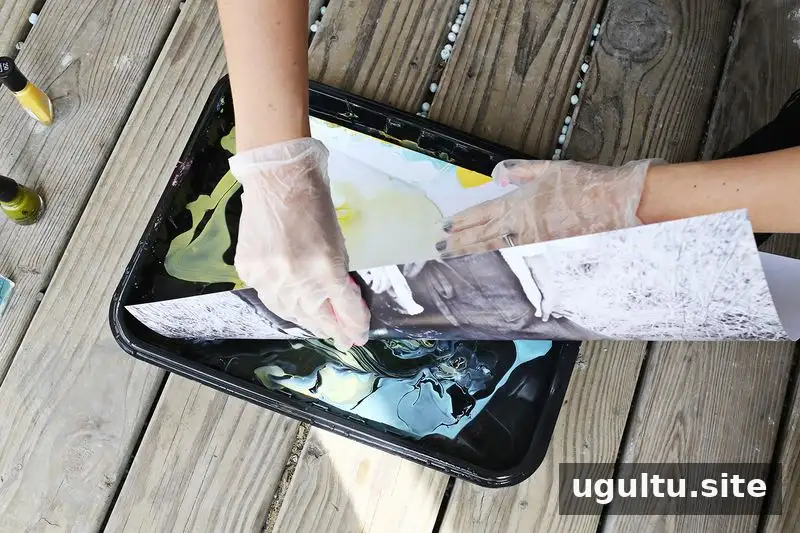
When the design is ready, lower the photo carefully onto the area of the water with the pattern you want. Lift it straight back out, then place it flat to dry. If some areas are missed, you can dip those parts again where polish remains. For a fresh pattern, replace the water and start with new polish rather than adding more colors to a used surface.
Tips for Better Results
- Test the technique on scrap paper before decorating a finished photo.
- Work in a ventilated space and wear gloves if you want to avoid polish on your hands.
- Use a disposable container, and follow local guidance for disposing of polish-contaminated water; do not pour it down a drain.
- Let the finished piece dry completely on a flat surface before framing or handling it.
Marbling with nail polish can add a bright, fluid accent to photos, paper, wood, and other suitable surfaces. Choose a pattern that complements the item, work promptly, and allow plenty of drying time for a cleaner finish.
—Elsie