admin
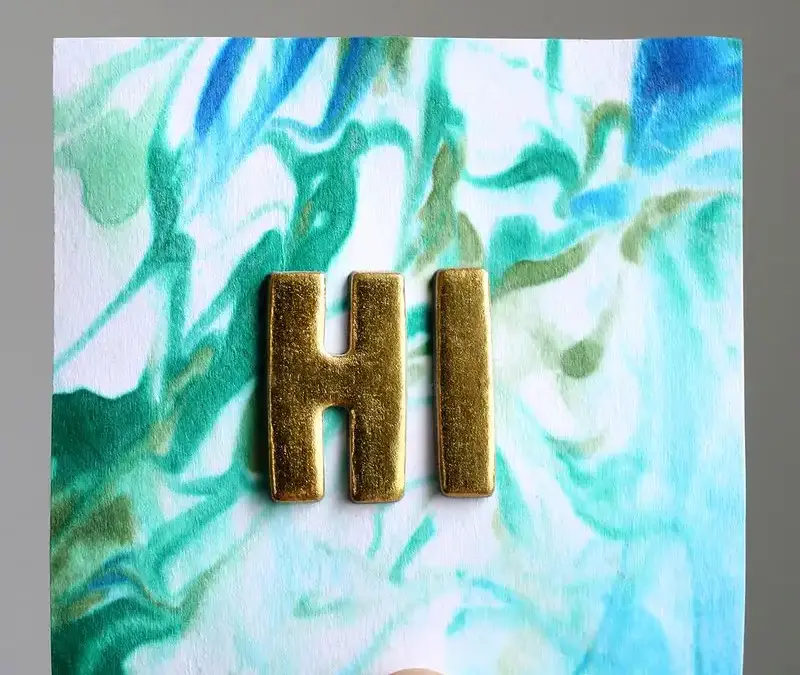
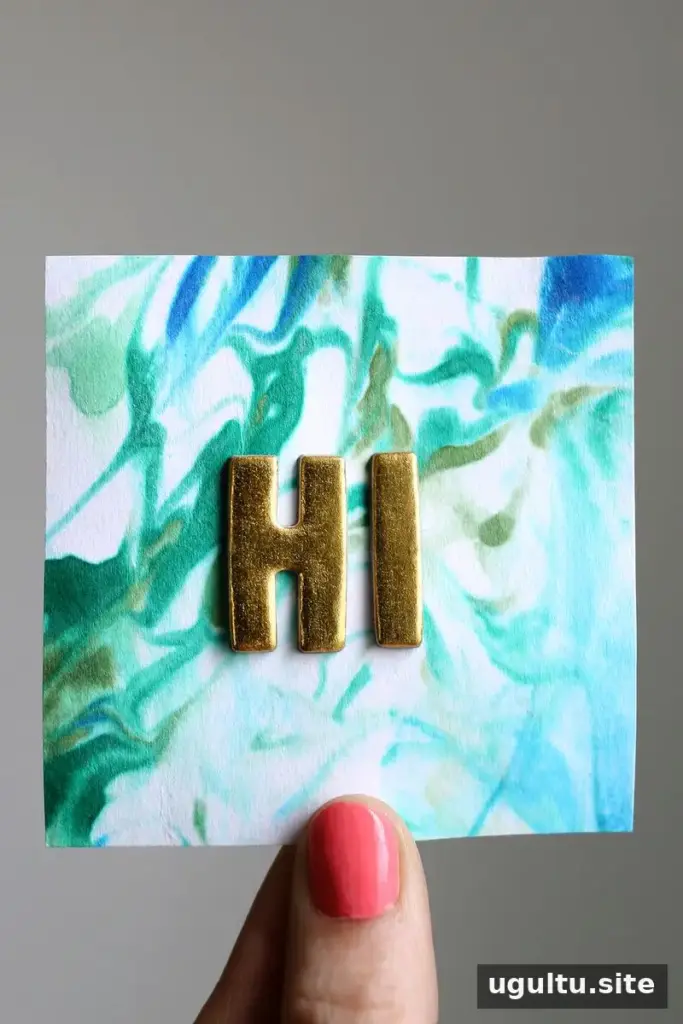
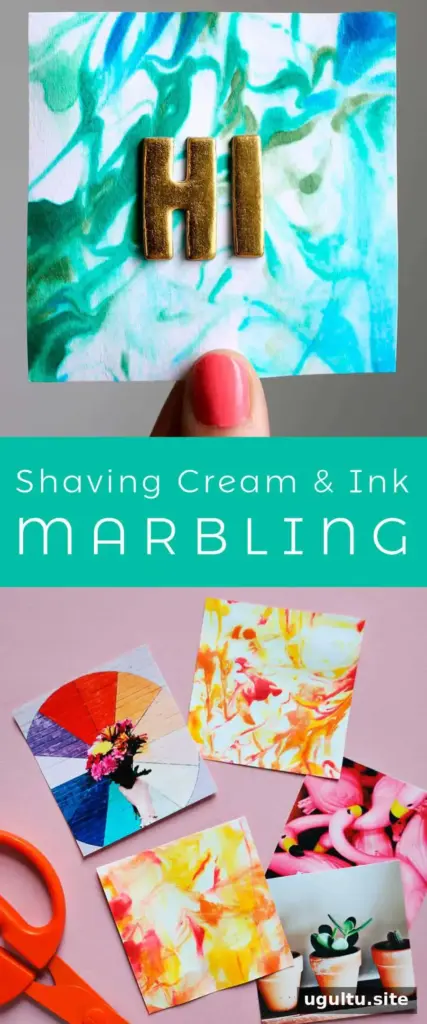
Shaving cream marbling with ink is a simple way to create colorful, one-of-a-kind patterns on paper. Unlike some water-based marbling methods, this technique gives you time to swirl the colors before pressing the design onto a sheet. The process is easy to adjust: change the ink colors or the direction of your toothpick strokes to make each print look different.
This guide uses plain white card stock and bottled ink. Set up on a washable work surface, and consider wearing gloves: ink can stain skin for up to 24 hours.
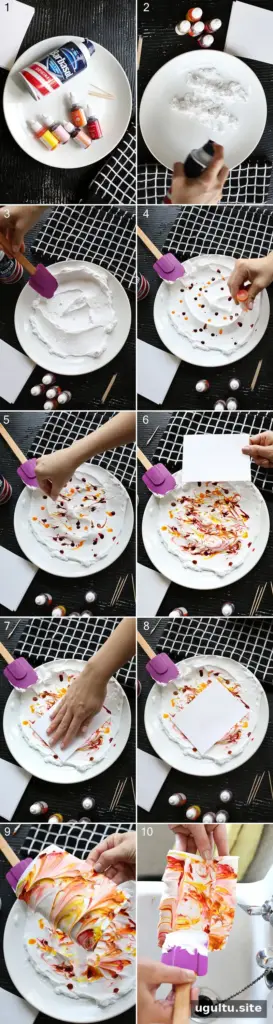
Supplies
- Shaving cream
- Bottled ink
- A toothpick
- A flat tool, such as a spatula
- Plain white card stock
- Rubber gloves, optional but recommended
- A large plate or small baking dish
How to make shaving cream marbling with ink
- Prepare the work area. Place a large plate or small baking dish on a protected surface. Choose a dish wider than the card stock so the paper can be pressed into the shaving cream evenly.
- Add the shaving cream. Spray a layer of shaving cream onto the dish, making it larger than the sheet of paper you plan to decorate.
- Flatten the surface. Use a spatula to gently shape the cream into a semi-flat layer. A level surface helps the paper make contact across the print.
- Add ink drops. Place drops of ink across the shaving cream. Use one color or several, depending on the pattern you want.
- Swirl the colors. Draw random lines through the ink and shaving cream with a toothpick. Avoid overworking the design if you want distinct swirls of color.
- Press on the card stock. Lay the paper on top of the design and press it down firmly so it contacts the shaving cream. Work carefully to keep the sheet as flat as possible.
- Lift the paper. Remove the card stock from the cream. Some shaving cream will remain on its surface, which is expected.
- Scrape away the excess. Over a sink or trash can, use the spatula to remove the shaving cream from the paper. Do not rinse the paper under water, as this can lighten the ink. Leave it to dry.
Tips for better marbled paper
Use gloves if you want to avoid stained hands, and keep a spatula nearby for both smoothing the shaving cream and removing it afterward. For more control over the finished pattern, add ink in small drops and make a few deliberate toothpick strokes before pressing the paper. Each print will vary, so consider making several sheets while the materials are set up.
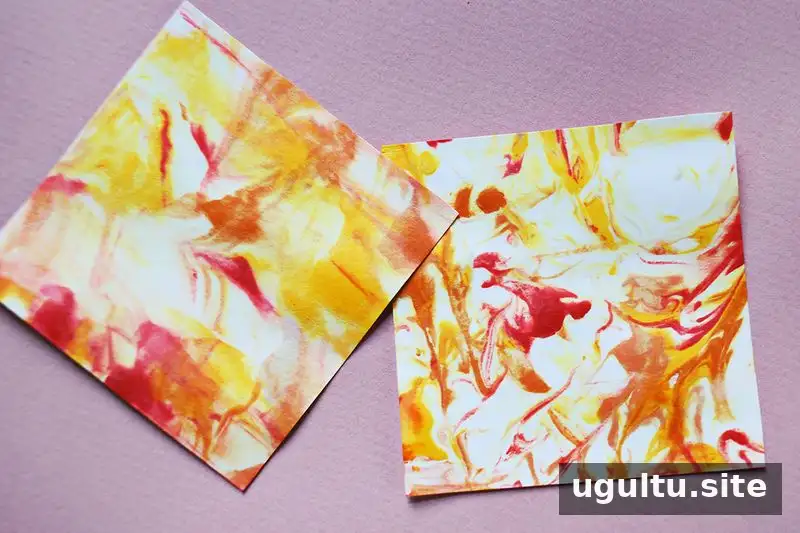
Once dry, the marbled card stock can be cut into smaller pieces. The finished papers in this project were made into 3 × 3-inch cards. The method also makes it easy to explore different color combinations on paper; allow each piece to dry fully before using it in another craft project.
Conclusion
Shaving cream marbling with ink is a practical craft for turning plain white card stock into distinctive patterned paper. With a dish, shaving cream, bottled ink, and a few simple tools, you can experiment with colors and swirls without needing a complicated setup. Remember to scrape off the cream instead of rinsing the print, then let the paper dry. Project by Elsie.