admin
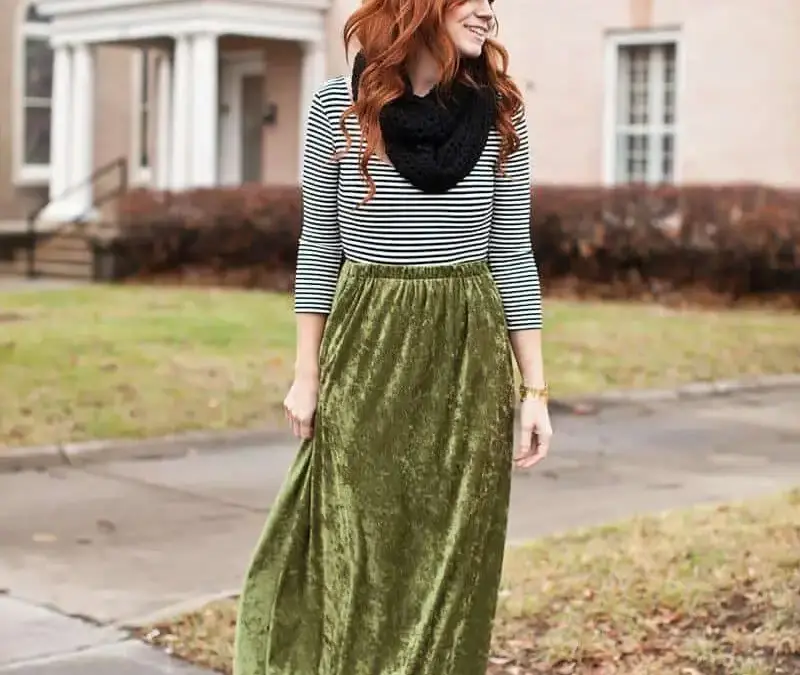
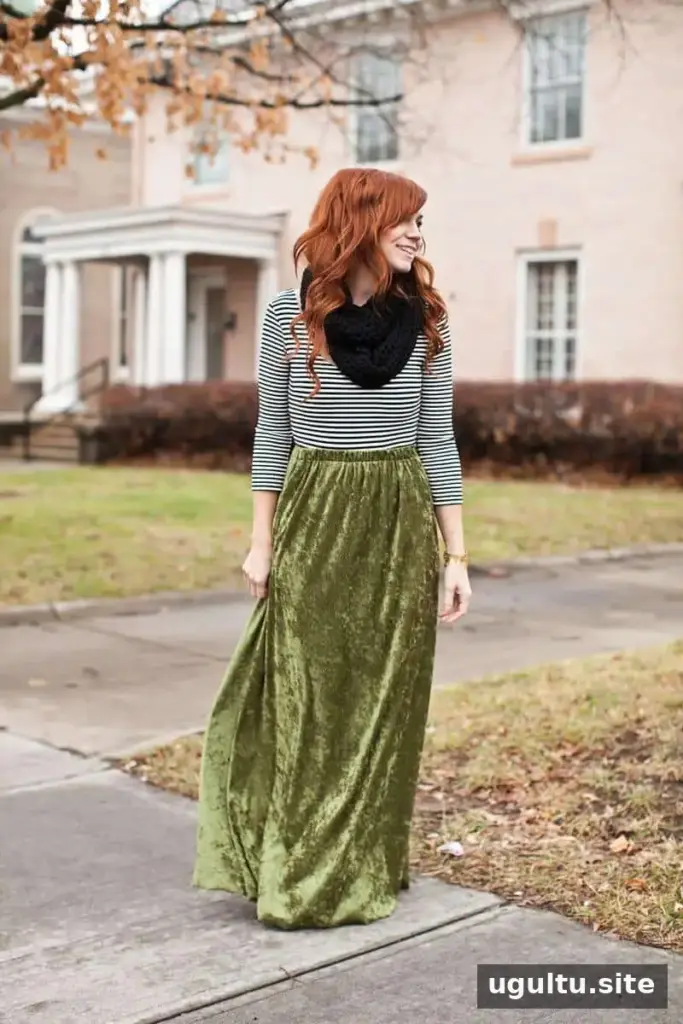
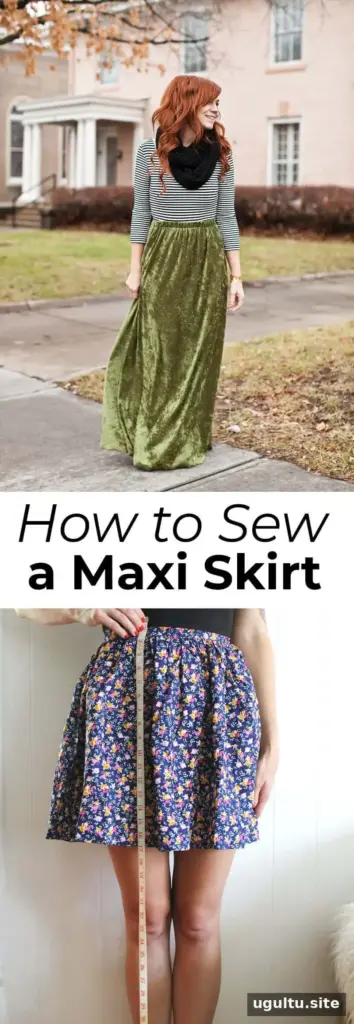
A maxi skirt is easier to get the right length when you make it yourself. This guide explains how to sew a maxi skirt with an elastic waist, using your own measurements to shape the skirt and position the hem. Medium-weight cotton or limited-stretch velvet is a beginner-friendly fabric choice because it is generally easier to handle than highly stretchy material.
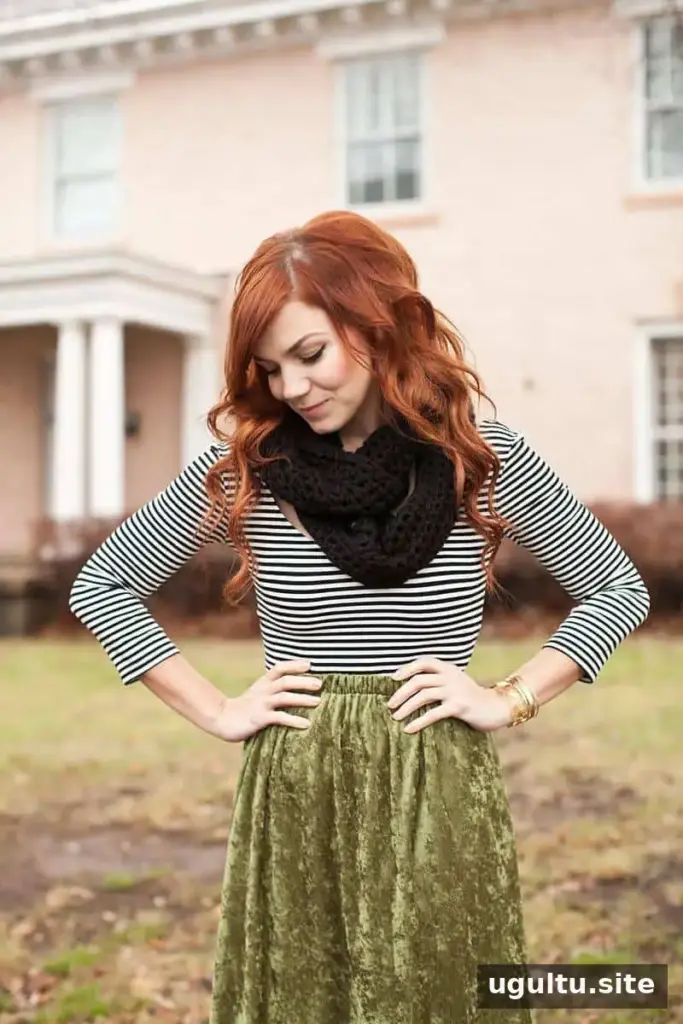
Materials for an elastic-waist maxi skirt
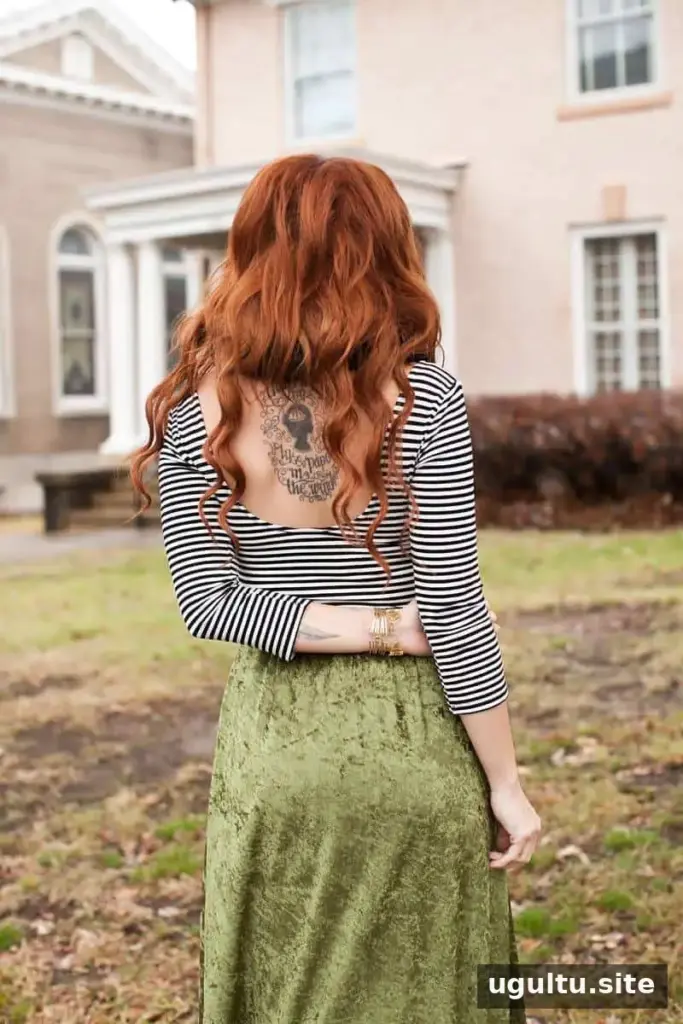
Choose fabric that drapes comfortably and is manageable to sew. The project calls for 2 yards of fabric; the amount you need can depend on your measurements and the fabric width, so check that your planned pattern pieces fit before cutting.
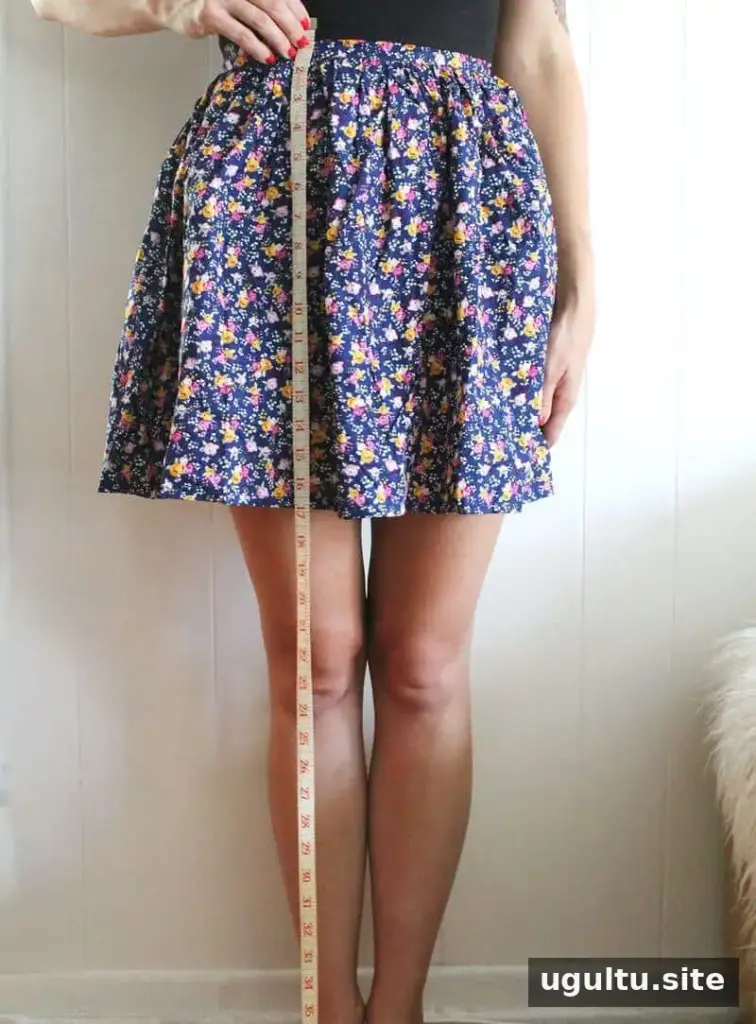
Supplies:
- 2 yards of fabric of your choice
- Elastic
- Scissors and pins
- Pinking shears, optional
- Safety pin
- Measuring tape
- Sewing machine
- Graph paper, optional but recommended
- Pattern paper and a marker
How to sew a maxi skirt: measurements and pattern
Step 1: Take your measurements
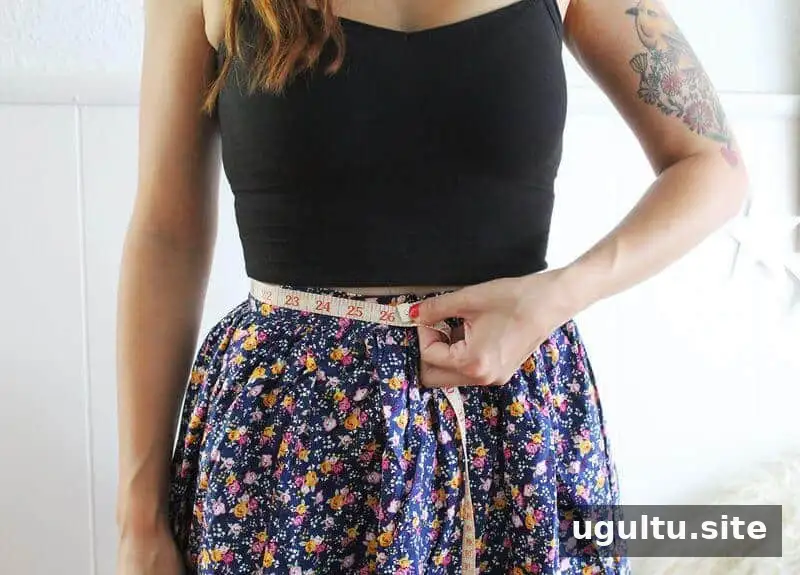
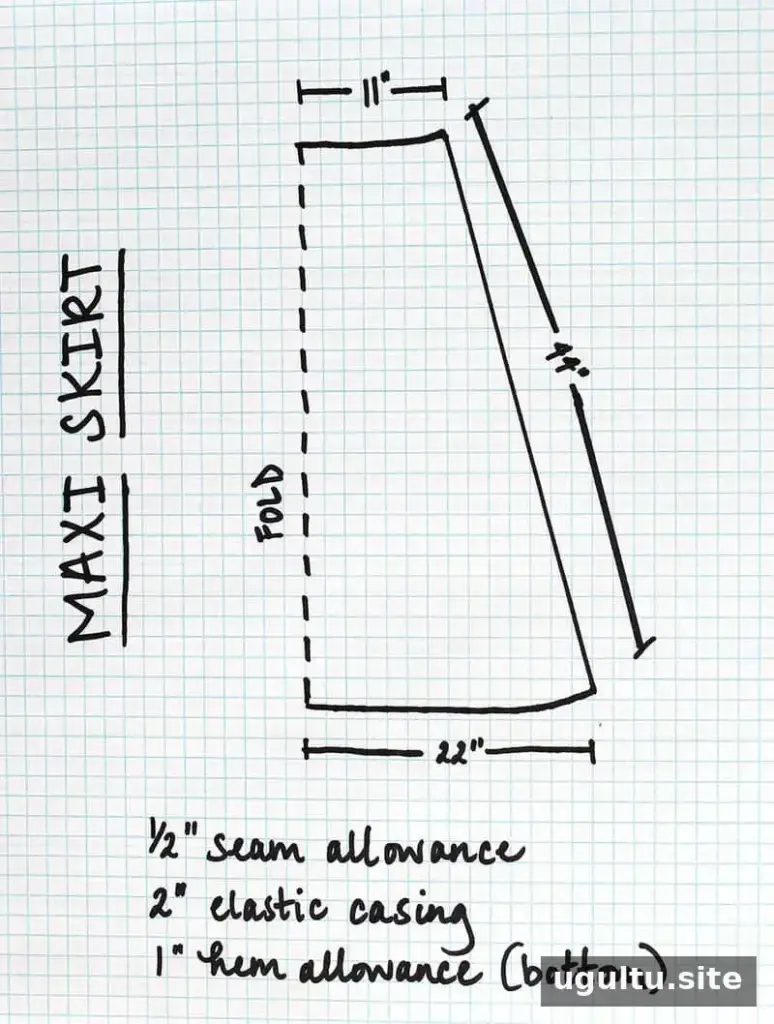
Measure your waist and the distance from your waist to the floor, then write down both measurements. Decide how wide you want the skirt hem to be; the example uses a 44-inch hem width. For this design, the waist width is calculated as half the hem width, creating an A-line shape with room for gathers at the elastic waist. Adjust the proportions to suit your preferred fit and amount of fullness.
If you have a maxi skirt with a shape and length you like, use it as a reference. Measure it and adjust the dimensions where needed before drafting the new pattern.
Step 2: Add seam and hem allowances
Sketch the measurements before drafting the full pattern. Since each fabric piece is cut on the fold, divide the waist and hem widths by two for the pattern. Add a 1/2-inch seam allowance on each side, 2 inches at the top for the elastic casing, and 1 inch at the bottom for the hem.
Step 3: Draft and cut the fabric
Draw the pattern on pattern paper using the adjusted measurements. A paper pattern can help keep the fabric from shifting and reduce the risk of cutting errors. Cut one front piece and one back piece from the fabric, placing each piece on the fold.
Sew the skirt and waistband
Step 4: Sew the side seams
Lay the pieces flat with their right sides together and pin the side edges. Sew the seams with a straight stitch. To help prevent fraying, finish the raw edges with a zigzag stitch; optional pinking shears are another finishing tool listed for this project.
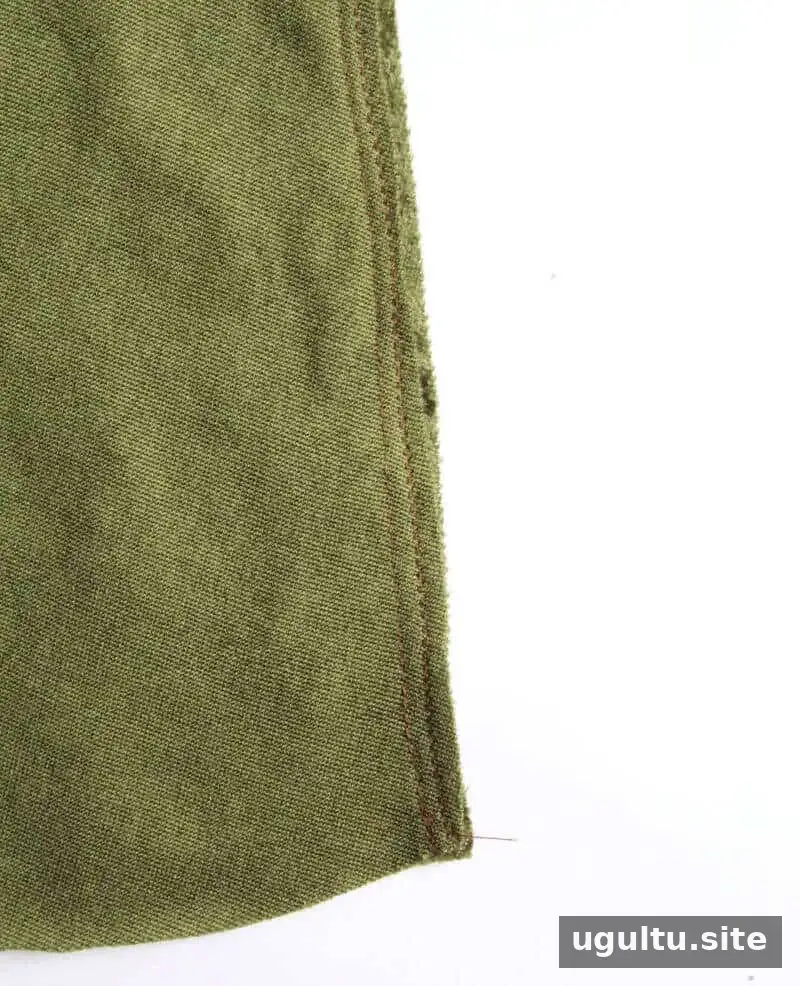
A zigzag stitch beside the seam edge can help keep the fabric from fraying. Test your stitch on a scrap first, especially if the fabric is delicate or has stretch.
Step 5: Make the elastic casing
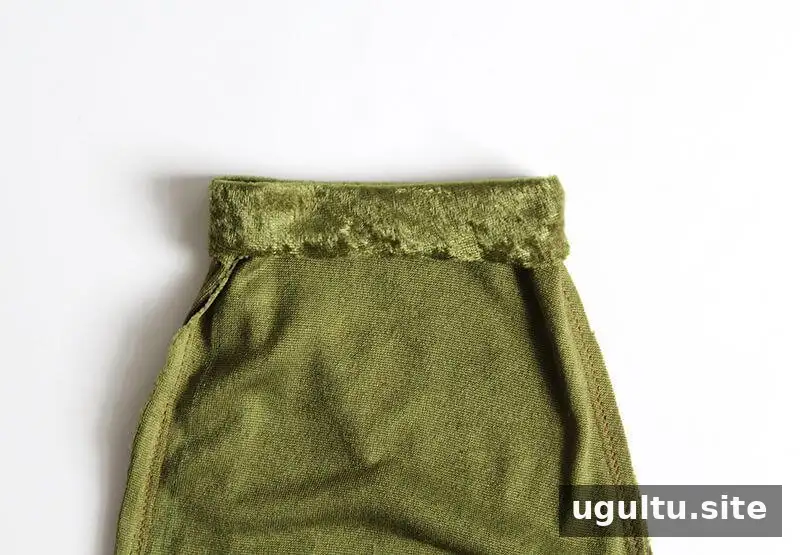
Fold the top edge down by 2 inches, or by the amount included in your pattern, and pin it in place. Stitch around the folded edge to form a casing, leaving an opening large enough to feed the elastic through. The casing needs to accommodate the elastic you plan to use.
For limited-stretch velvet, a universal-point needle may be suitable. If you choose a stretchier fabric, use a ballpoint or stretch needle. Check your sewing machine manual or test on a fabric scrap if you are unsure.
Step 6: Thread and secure the elastic
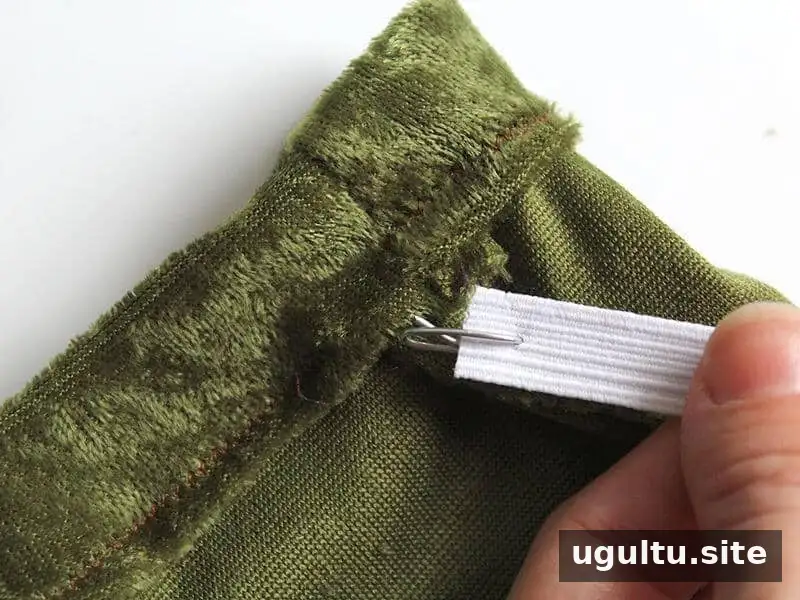
Attach a safety pin to one end of the elastic and guide it through the casing. Keep hold of the other end so it does not disappear inside the fabric. Once the elastic is through, join its ends with stitching, then sew the casing opening closed.
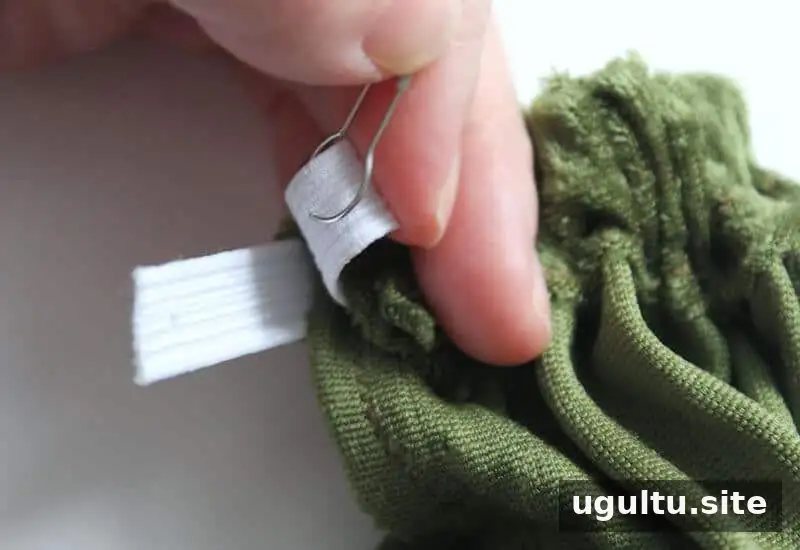
Before closing the opening, check that the elastic lies flat inside the casing. If the elastic twists while the skirt is being worn, a zigzag stitch can tack it in place; stretch the elastic gently as you sew.
Hem and finish your maxi skirt
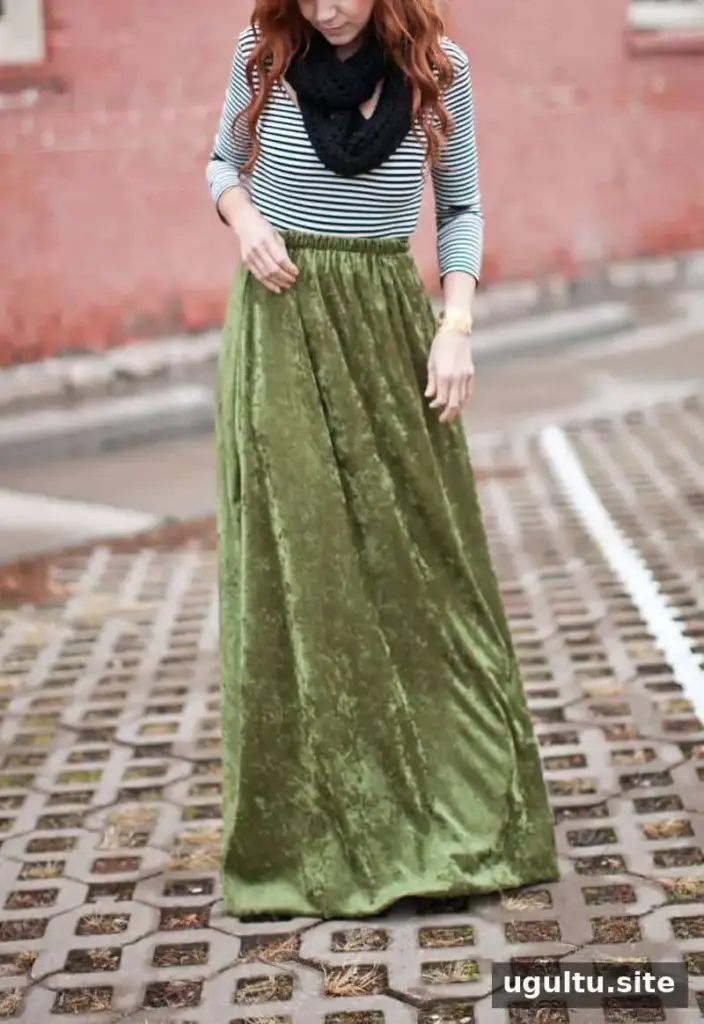
Try on the skirt before hemming to check the length while wearing the shoes you expect to pair with it. Adjust the hem if needed, then fold and sew the bottom edge using the 1-inch hem allowance. A final fitting helps confirm the skirt falls comfortably and does not drag on the floor.
The finished skirt can be customized by changing the hem width or length while keeping the same basic construction. When planning another version, recheck the measurements and pattern allowances before cutting. — Katie