
 admin
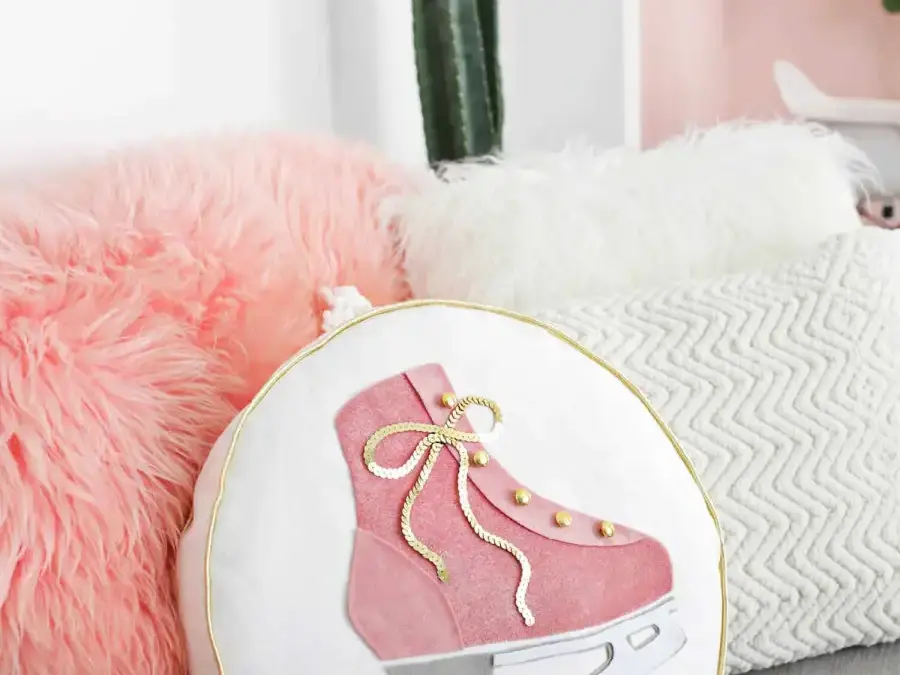
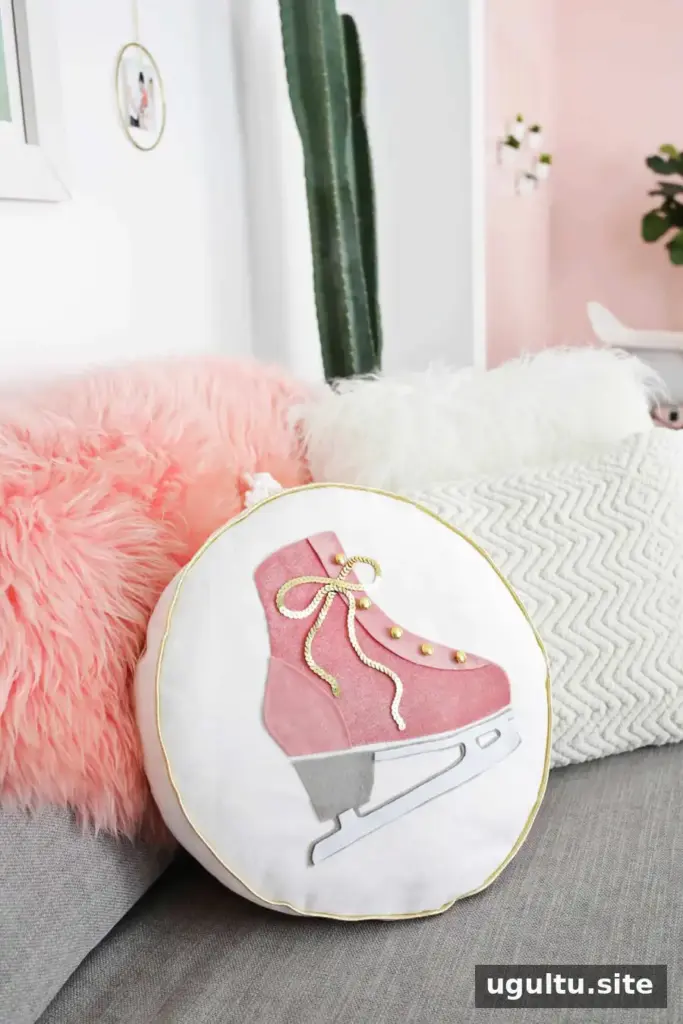
This ice skate pillow DIY creates a winter-themed accent that can stay on display throughout the season. Velvet, felt, gold piping, and a sequin bow give the finished pillow a mix of soft texture and festive detail. The design combines appliqué with basic pillow construction, making it a practical project for anyone comfortable with cutting fabric and sewing straight seams.
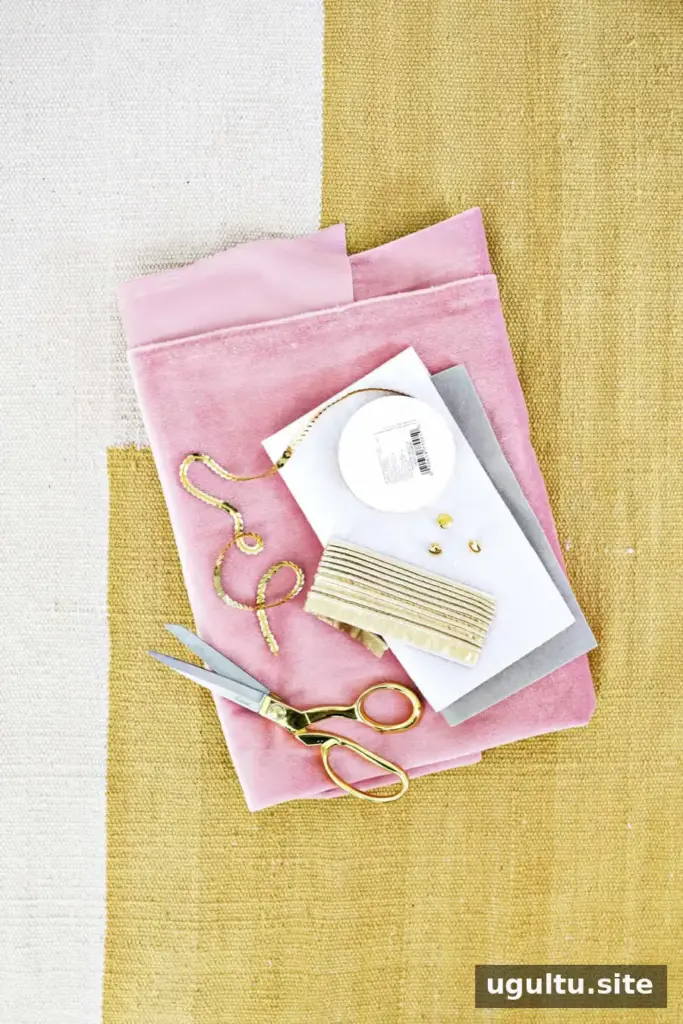
Supplies for the Ice Skate Pillow DIY
Gather the materials before cutting so you can check that you have enough fabric and trim for each part of the pillow:
- A small piece of pink velvet upholstery fabric, or another color of your choice. Upholstery fabric is thicker and can work well for the boot.
- Small pieces of white and grey felt
- 1/2 yard of white fabric
- Fabric scissors
- 5 gold dome buttons
- Sequin trim
- Fabric glue
- Pillow stuffing
- Gold piping trim: two pieces, each 50 inches long
- An ice skate pillow template
Use fabric scissors for cleaner edges, especially when cutting the felt and velvet shapes. Before applying glue, arrange the pieces on the pillow front to check their placement.
Cut the Pillow Fabric and Skate Shapes
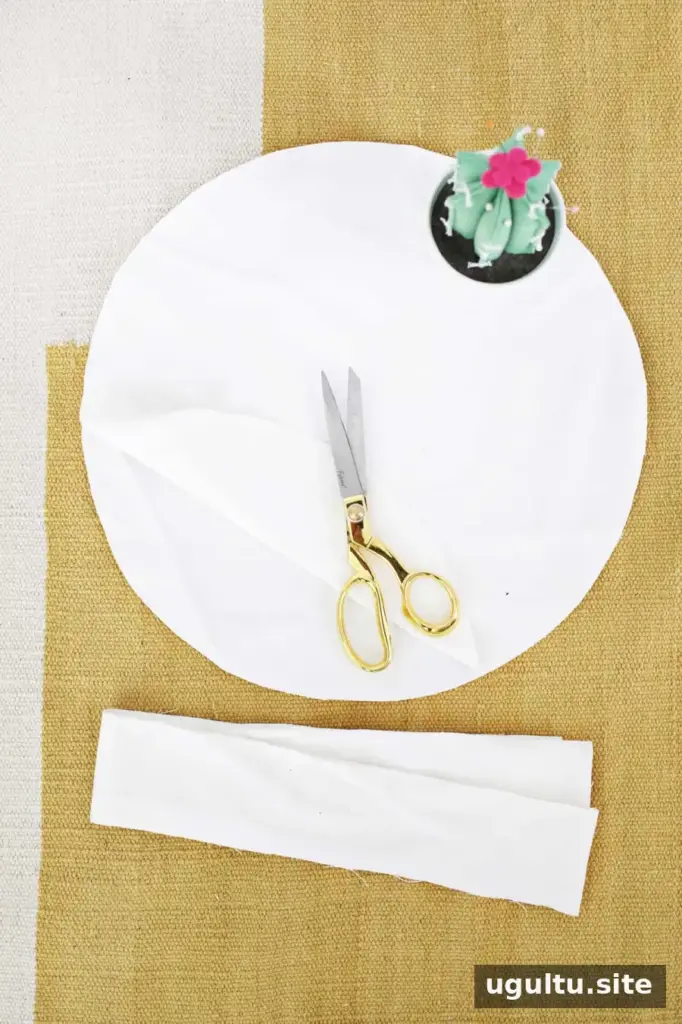
Cut two 16-inch circles from the white cotton fabric. To mark a large circle without a template, use a measuring method that lets you draw an even curve before cutting. Then cut one strip of fabric 3 inches wide and at least 54 inches long. This strip will form the sides of the pillow.
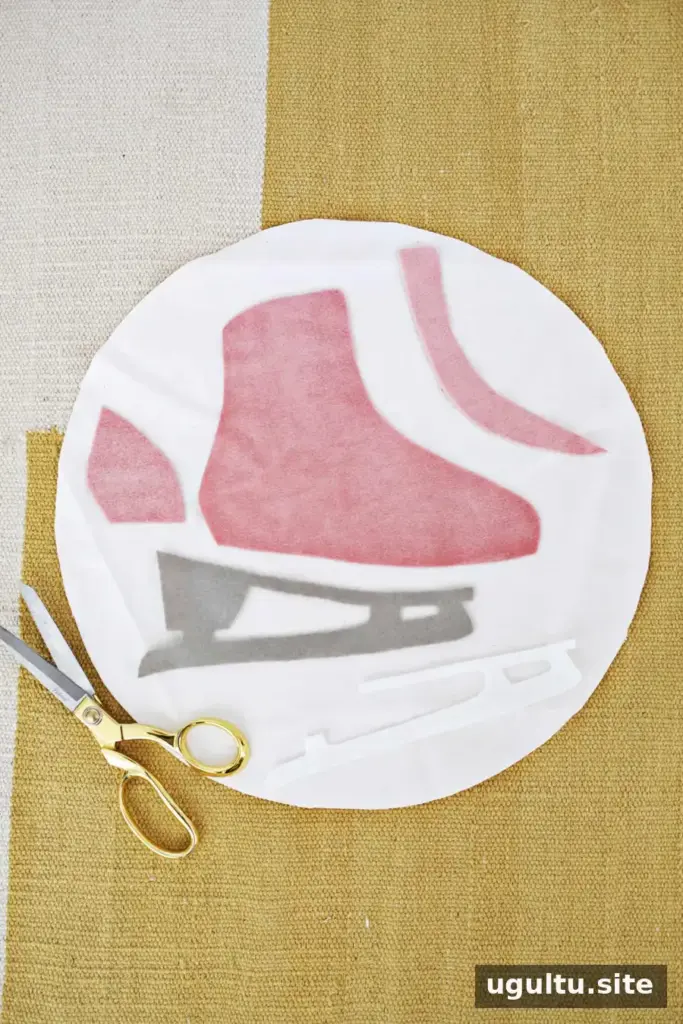
Use the ice skate template to cut three boot pieces from the velvet and the skate shapes from the grey and white felt. For the two smaller velvet accent pieces, try cutting them in a different grain direction from the main boot. The change in the velvet nap can make the accents look distinct without adding another color.
Assemble the Appliqué
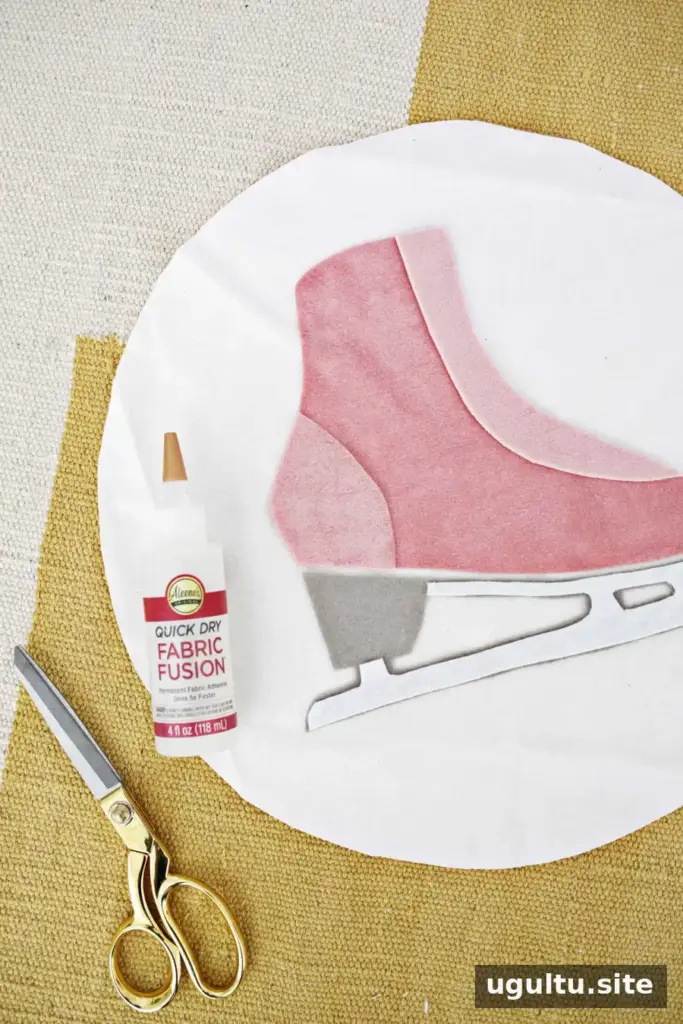
Center the skate design on one of the cotton circles. Use fabric glue to secure the pieces, leaving a small gap between the bottom of the boot and the skate. Follow the glue’s drying instructions before handling the decorated circle further.
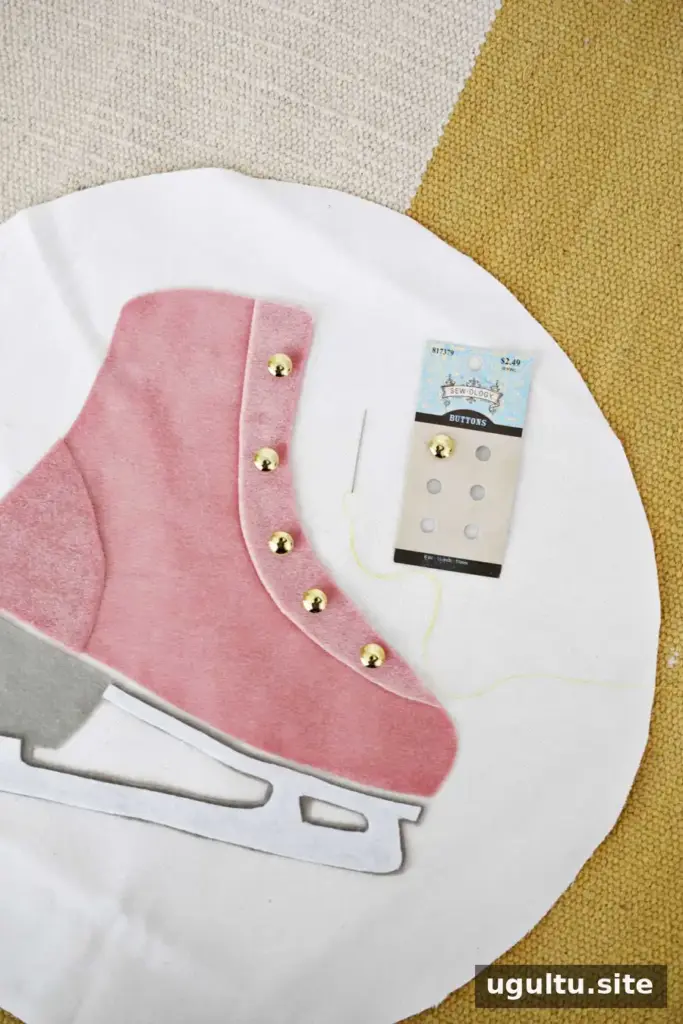
Use a needle and thread to sew the 5 gold dome buttons evenly along the boot’s lace-up area. Stitching the buttons in place helps keep them secure on the finished pillow.
Sew the Pillow Sides and Add Piping
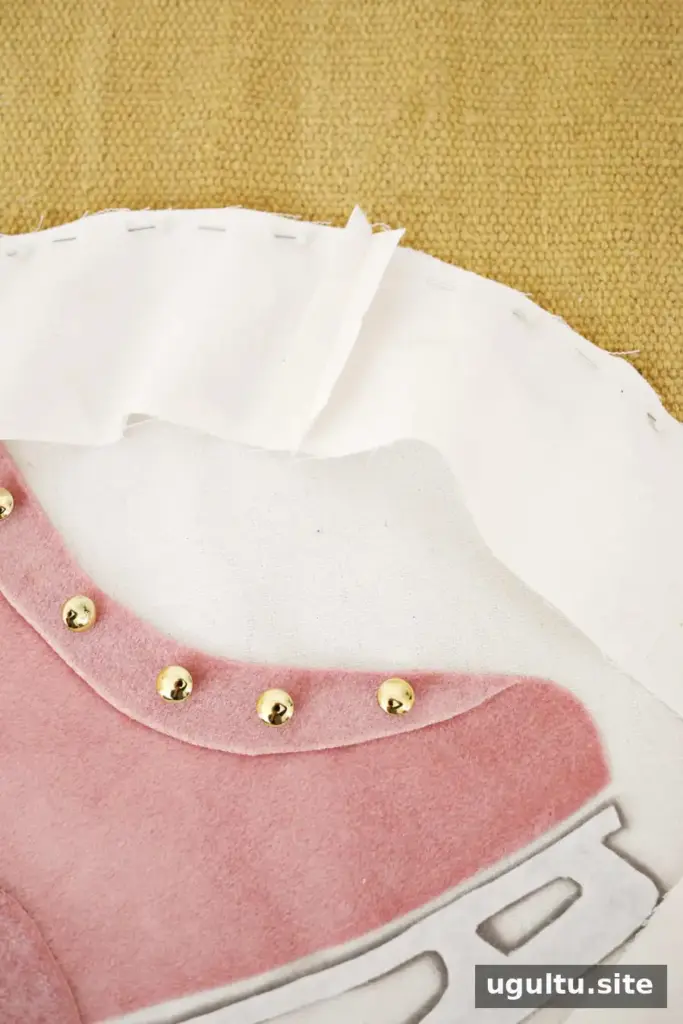
The finished pillow will be about 15 inches across: the 16-inch circles include a 1/2-inch seam allowance around the edge. To estimate the side strip’s finished length, multiply the finished diameter by 3.14. For this pillow, 15 × 3.14 is about 47 inches.
Sew the ends of the side strip together to make a loop about 47 inches long. Pin it around the decorated circle with the right sides of the fabric facing each other, and check that the loop fits before sewing.
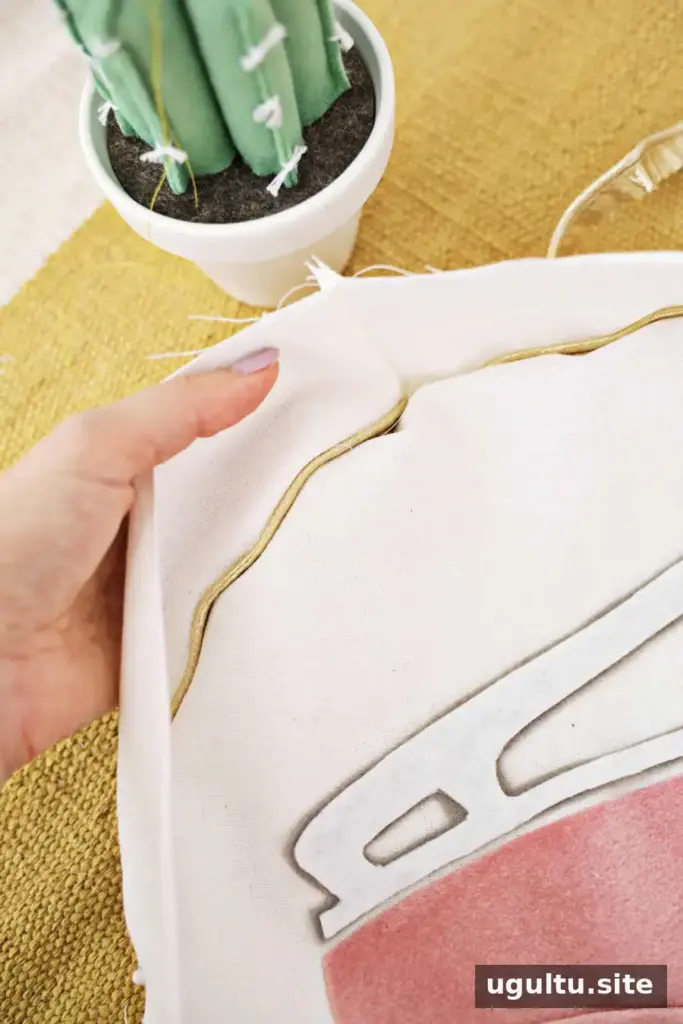
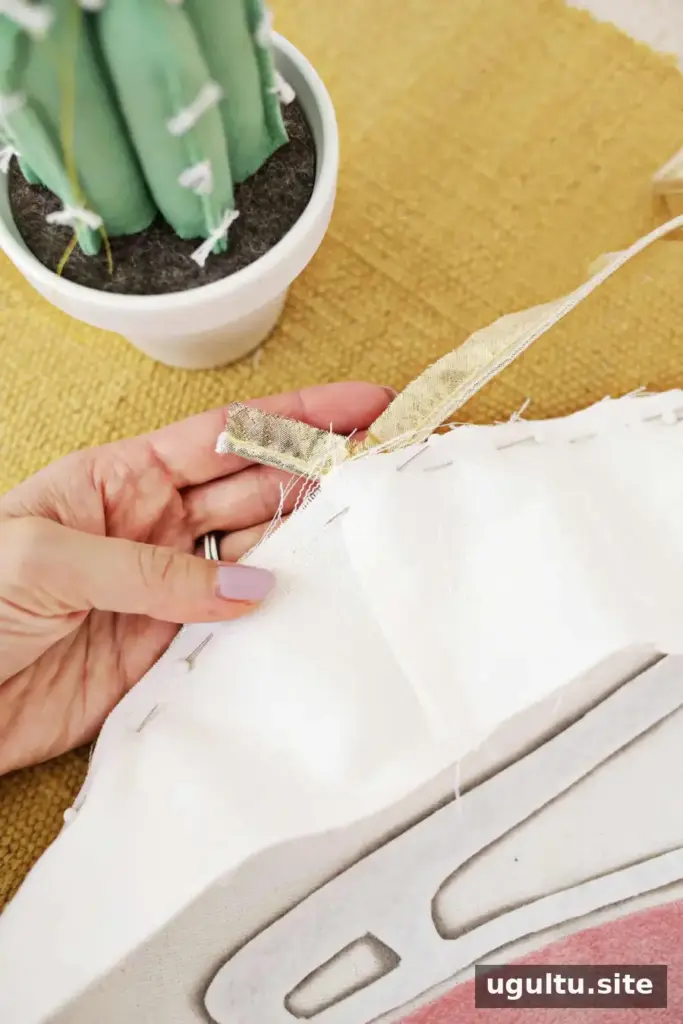
Remove the pins, then pin the side loop to the front again. Starting at the bottom of the pillow, place the piping between the layers, with its rounded edge facing toward the center. Pin just outside the piping so it stays in position as you sew. To join the piping ends, overlap the end over the beginning; sewing across the overlap helps create a continuous-looking finish.
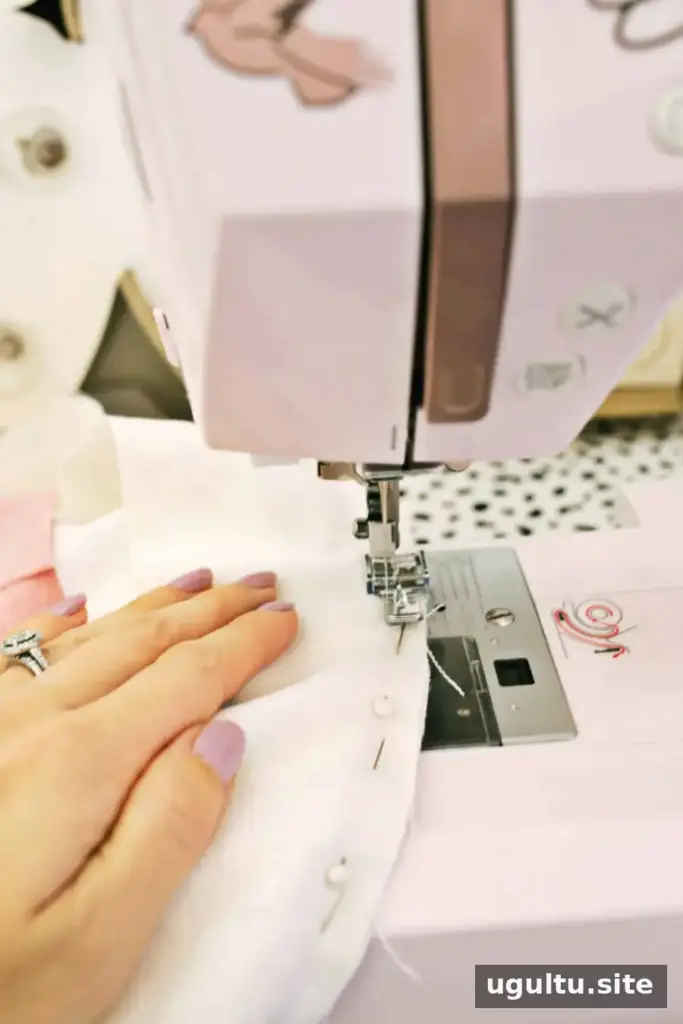
Sew around the pillow front with a 1/2-inch seam allowance. A zipper foot can help you stitch close to the piping while keeping the seam even.
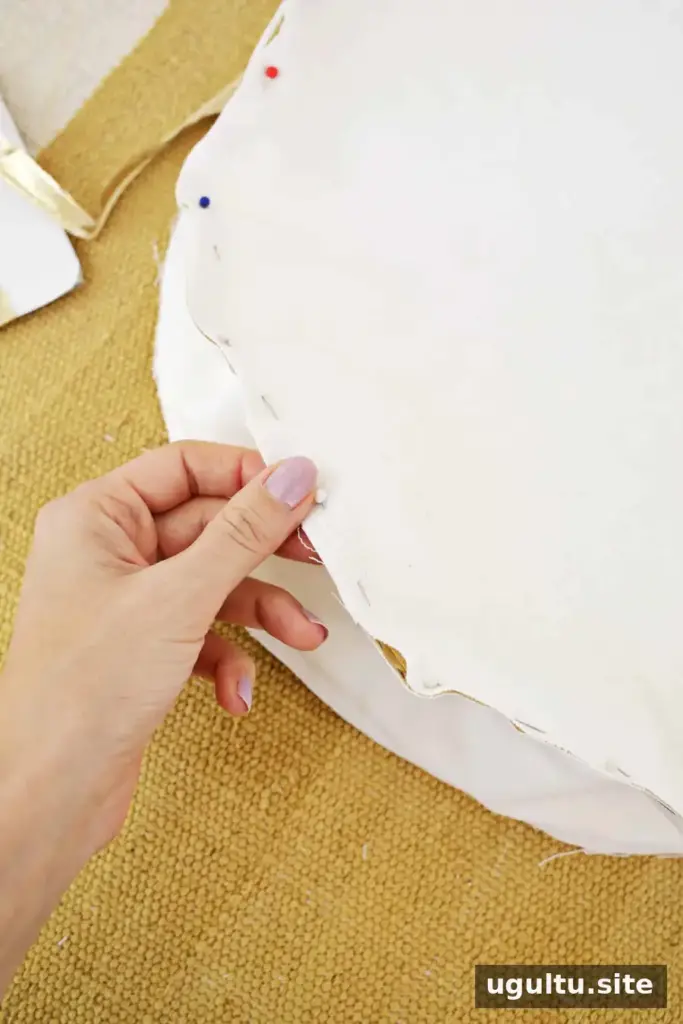
Pin the back circle to the other edge of the side loop, right sides together, with the second piece of gold piping between the layers. Sew around the circle using a 1/2-inch seam allowance, leaving a 2–3-inch opening for turning and stuffing.
Finish and Stuff the Ice Skate Pillow
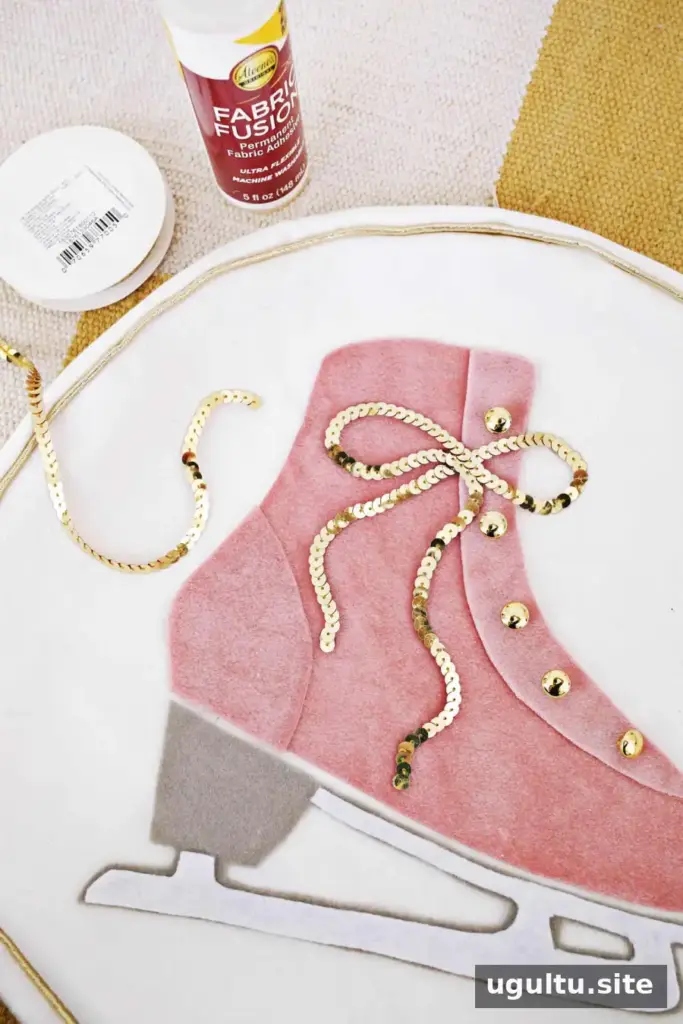
Turn the pillow right side out through the opening. Use fabric glue to shape the sequin trim into a bow at the top of the skate boot. Allow the glue to dry before adding the stuffing.
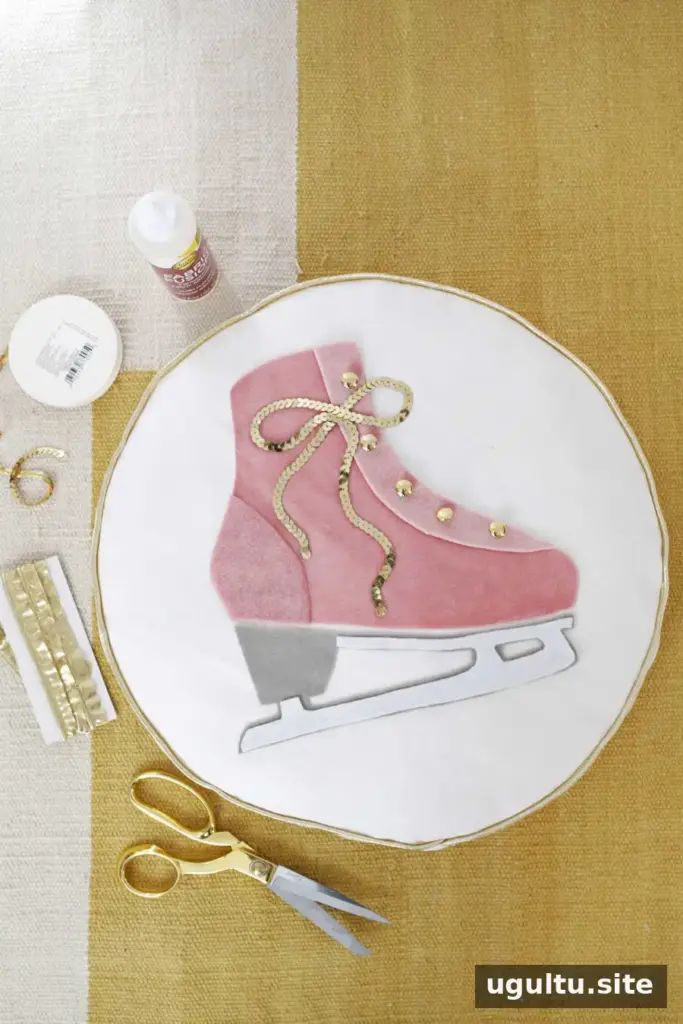
Fill the pillow with stuffing, distributing it evenly so the shape looks balanced. Close the opening with a hidden stitch.
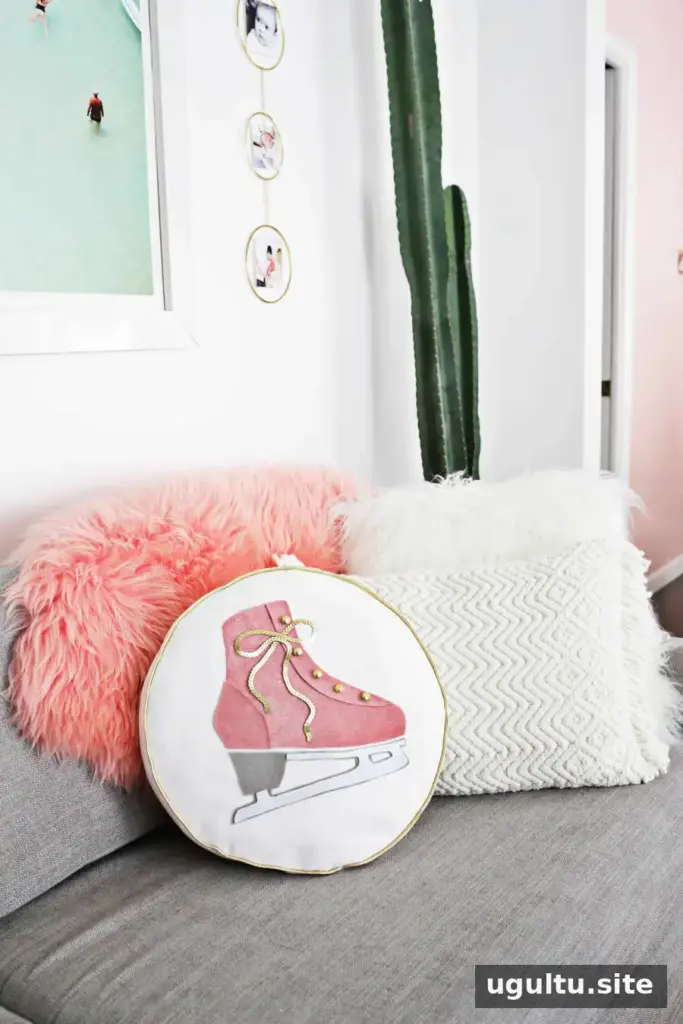
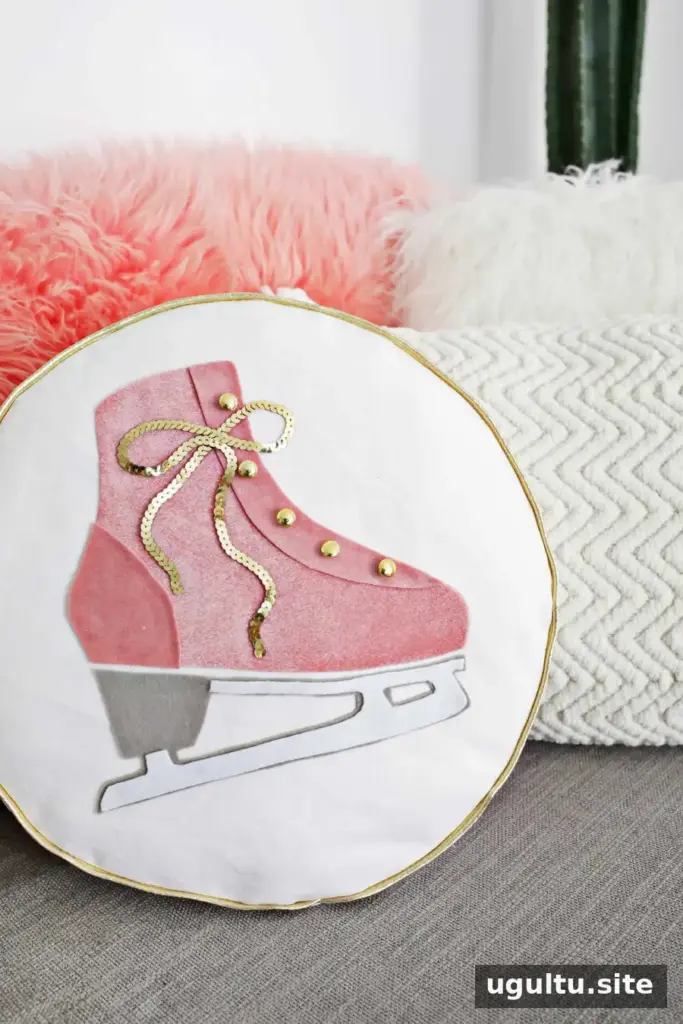
The completed ice skate pillow adds a small pop of color and texture to winter décor. Its white fabric can coordinate with other cushions, while the velvet and gold details give the skate design a decorative finish. As a seasonal accent that can be displayed all winter, this ice skate pillow DIY is a useful project for refreshing a living room or bedroom. — Laura


