
 admin
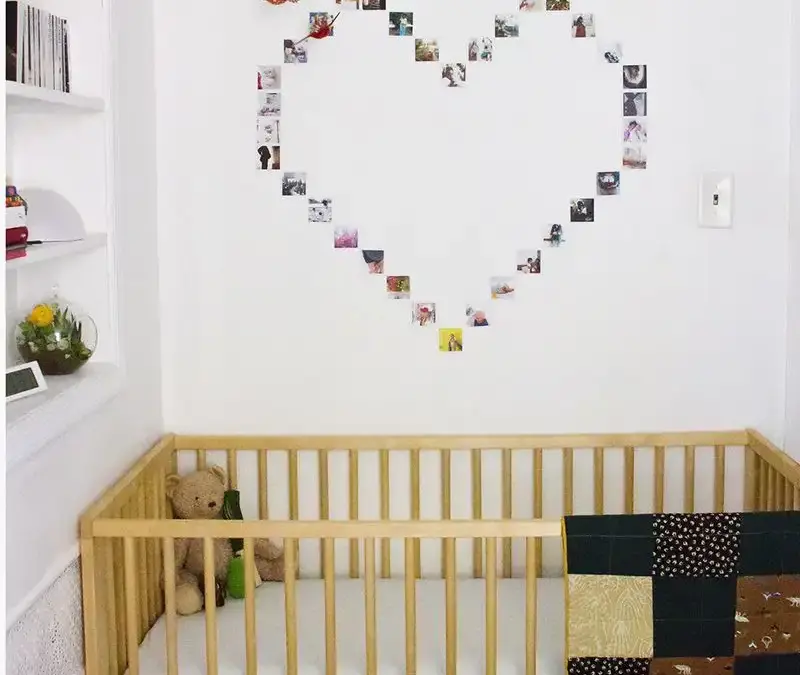
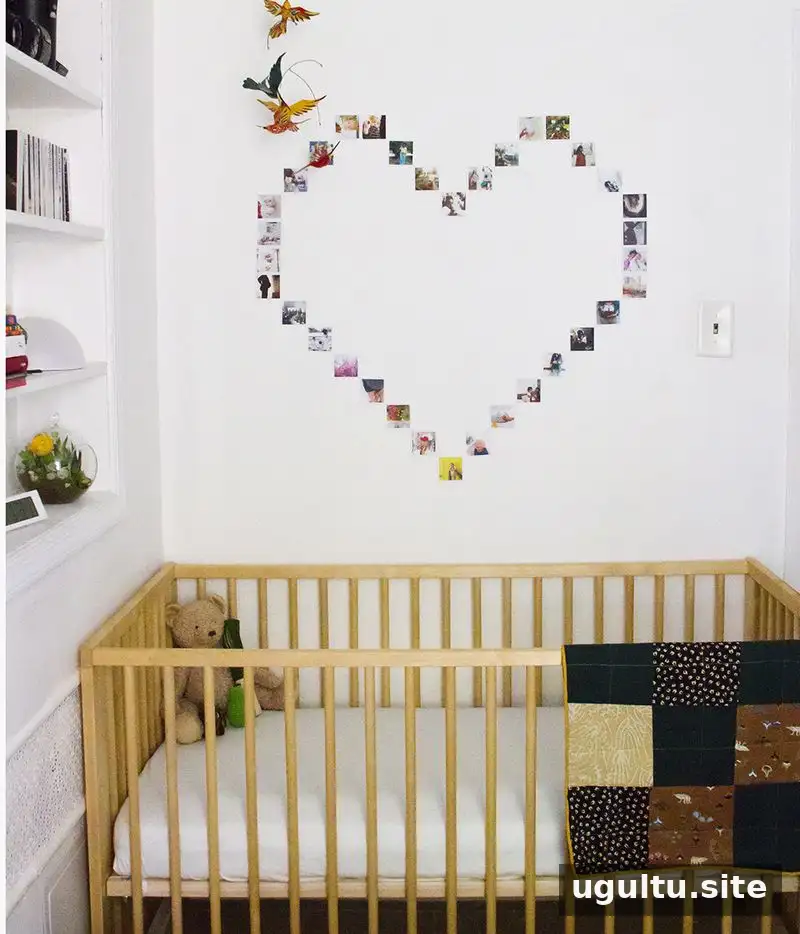
An Instagram picture heart display turns favorite square prints into a personal feature wall. It is a simple home DIY that can be planned in advance, adjusted as you work, and updated with new photos over time. The project is also easy to share with children: they can help choose the pictures and decide where each one belongs.
Printed mini square photos work well for this design because their consistent shape makes it easier to build a recognizable outline. Before ordering or printing, decide how much wall space you want to use and sketch the design so you can estimate how many prints are needed.
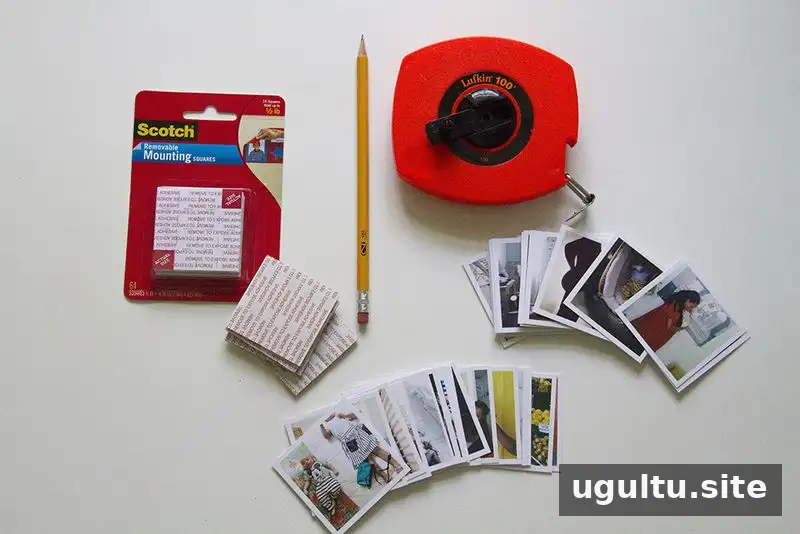
Materials for an Instagram Picture Heart Display
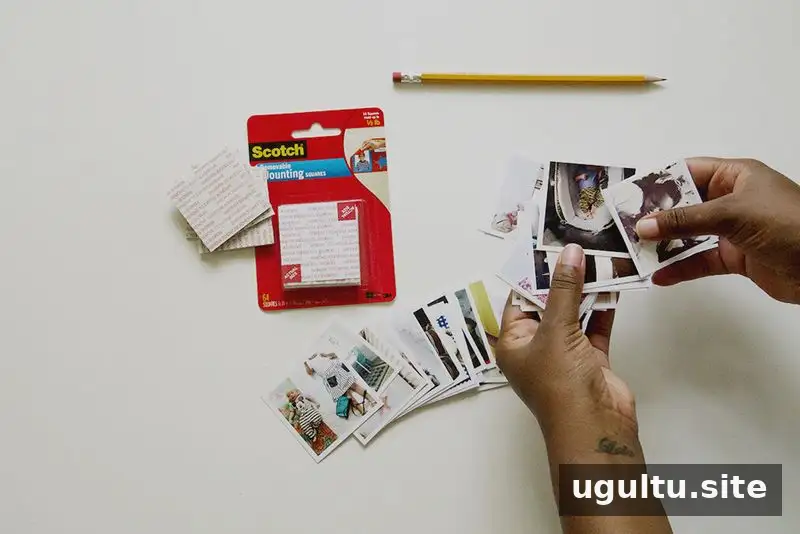
Gather the supplies before you begin. Having a sketch, photos, and mounting tape ready helps the layout come together with fewer interruptions.
- Printed Instagram mini square photos. Prints are available in groups of 48, so there may be extras for future updates.
- Removable mounting tape. The original project used two packs of 64 and applied two pieces to each photo.
- A pencil for marking the wall lightly.
- A tape measure for finding the center and checking the available width.
For best results, check that the wall surface is suitable for the tape and follow its removal instructions. If the paint or finish is delicate, test a small, inconspicuous area first.
How to Arrange the Photo Heart
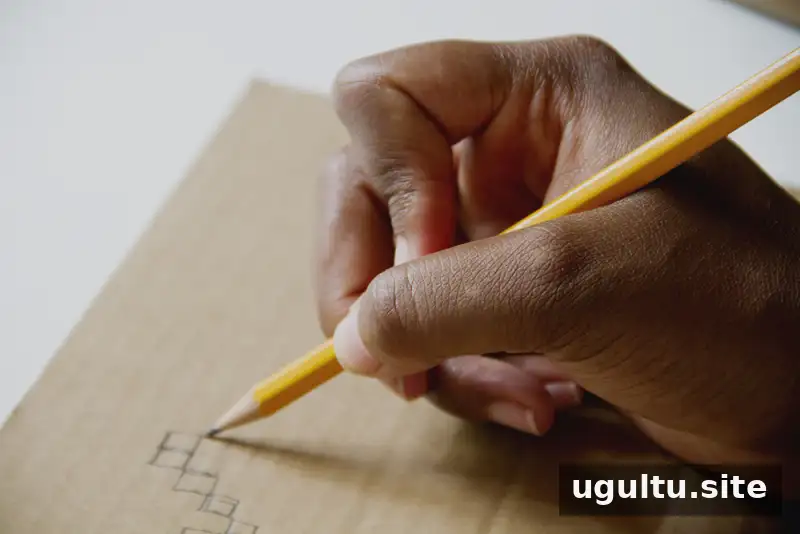
1. Sketch the design
Draw the heart or other shape you want to create before putting anything on the wall. A sketch gives you a guide for the outline, helps estimate the number of prints, and makes it easier to plan the spacing. Keep the drawing simple enough to follow while placing the photos.
2. Choose the photos
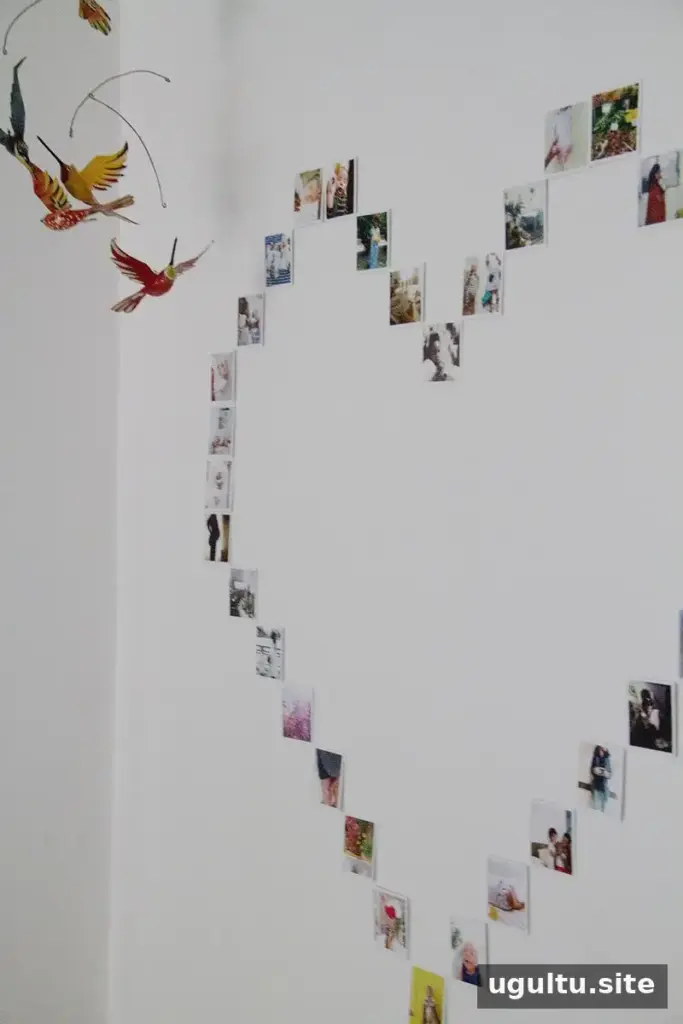
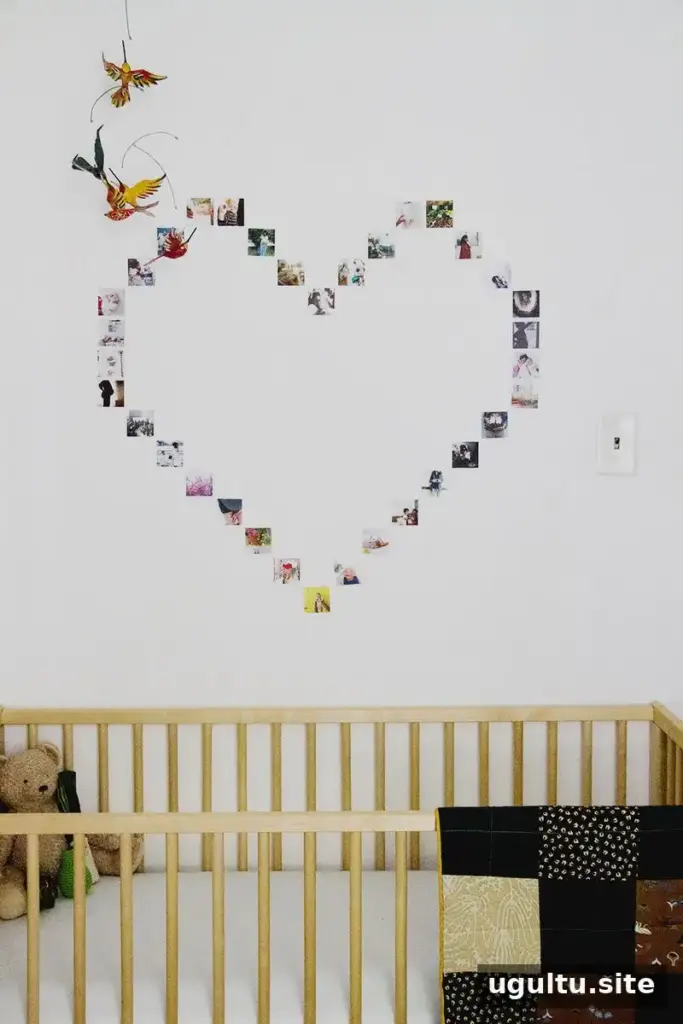
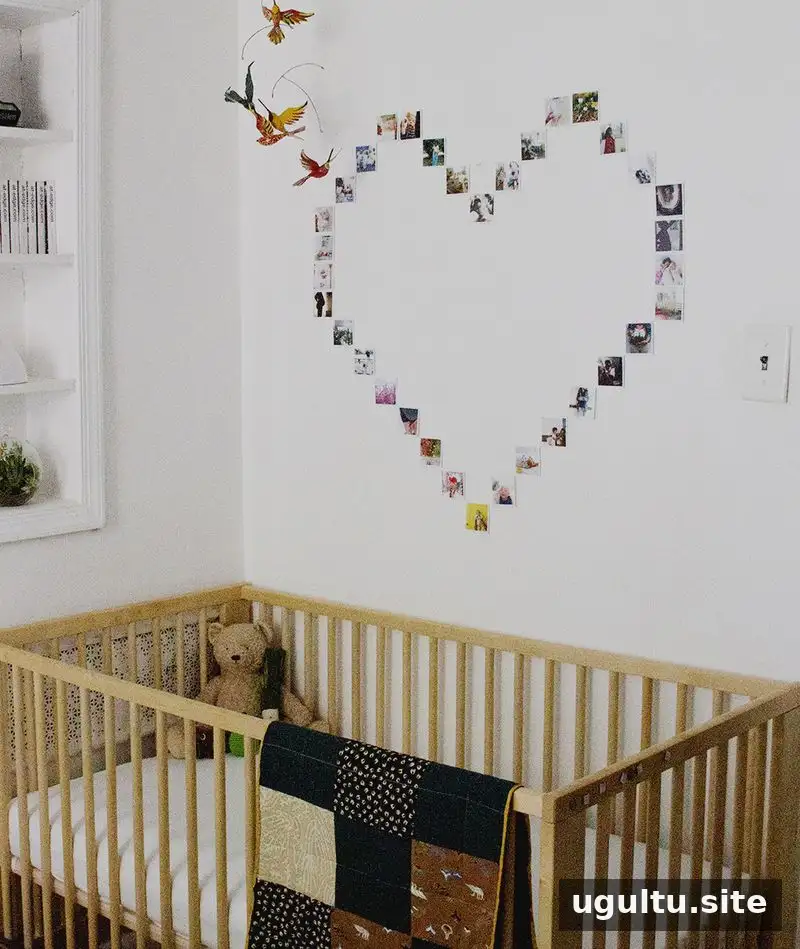
Select images that fit your layout. For the heart shown in this project, 34 photos were used from a set of 48. Lay the chosen prints out on a flat surface first and try a few arrangements. This lets you balance colors and subjects before attaching them.
3. Mark the wall’s center
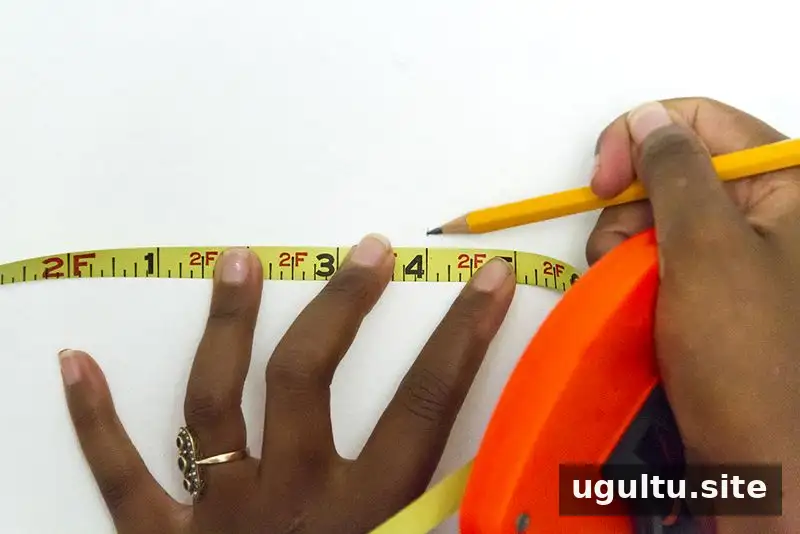
Measure the width of the wall area you plan to use, then mark its center lightly with a pencil. Starting from this reference point can help keep the design balanced. Make sure the planned heart will fit the available space before applying any tape.
4. Prepare the prints
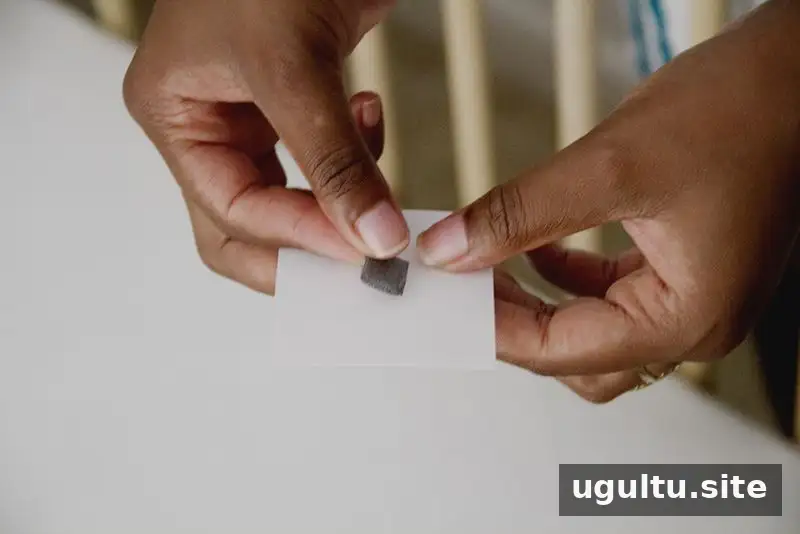
Apply removable mounting tape to the back of each mini square. Two pieces per photo were used in this project to help hold the prints in place. Keep the tape away from the visible edges so it does not show once the photo is mounted.
5. Place and adjust the photos
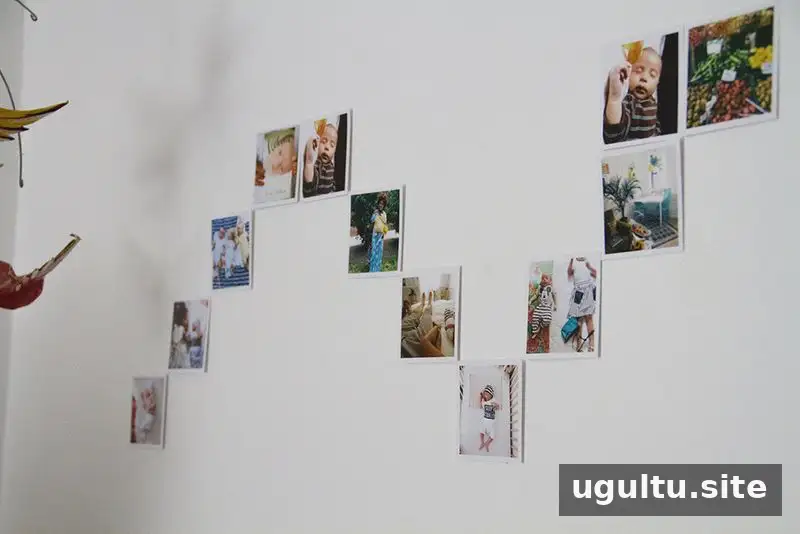
Position a photo at the center mark, then follow your sketch to build the rest of the shape. Step back regularly to check the overall outline and spacing; a layout can look different from across the room than it does up close. Removable tape makes it easier to reposition prints while you refine the arrangement.
Other Shapes and Ways to Update the Display
A heart is only one option. The same approach can create a word or another simple shape. A previous arrangement used the word Eat above a dining area. Choose a design that suits the room, and use a sketch to work out the spacing before attaching the photos.
Conclusion
An Instagram picture heart display is an inexpensive way to bring favorite moments into a room and create a photo feature that can grow over time. Plan the shape, select the prints, measure the wall, and adjust the layout as needed. Keep extra photos handy so the heart can be refreshed with new memories.
—LaTonya


