
 admin
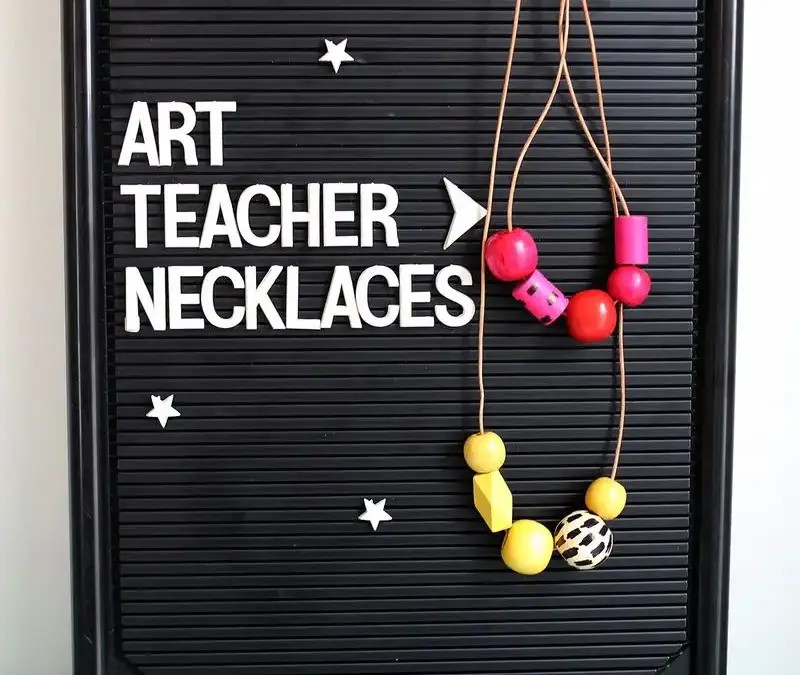
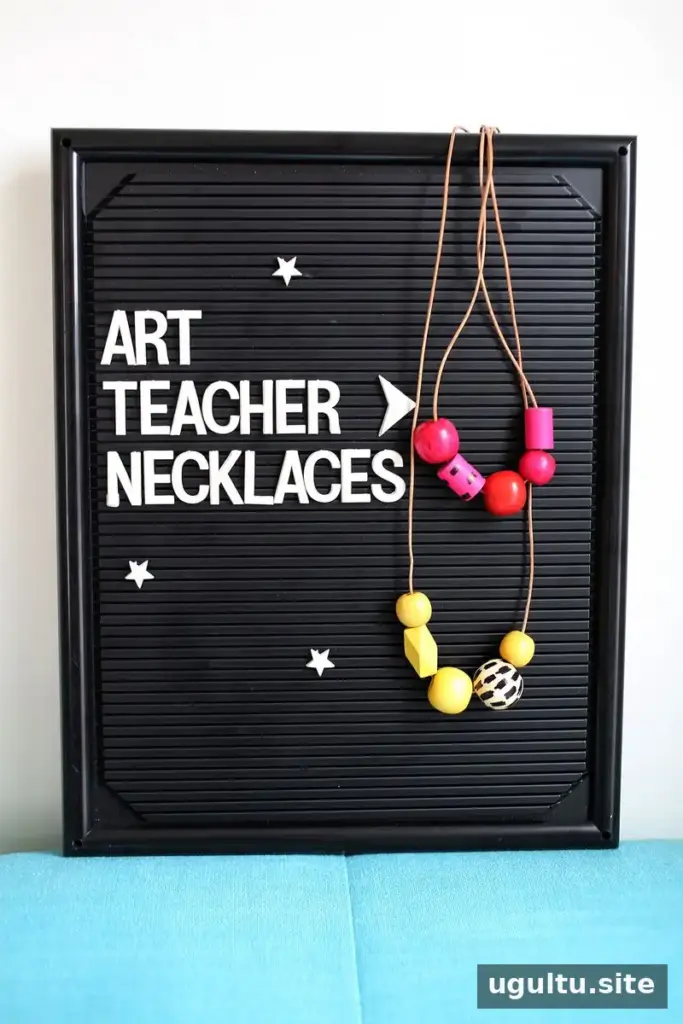
This Art Teacher Necklace DIY turns wooden beads and cord into a colorful, easy-to-wear accessory. The look mixes natural materials with bold shapes and playful details, so each necklace can be customized to suit your style. It is also a straightforward craft for a relaxed afternoon at home.
The name comes from the creative, relaxed style often associated with art teachers: comfortable clothes, handmade details, and chunky jewelry. Use a coordinated color palette for a subtle result, or combine bright colors and patterns for a more expressive necklace.
Supplies for an Art Teacher Necklace DIY
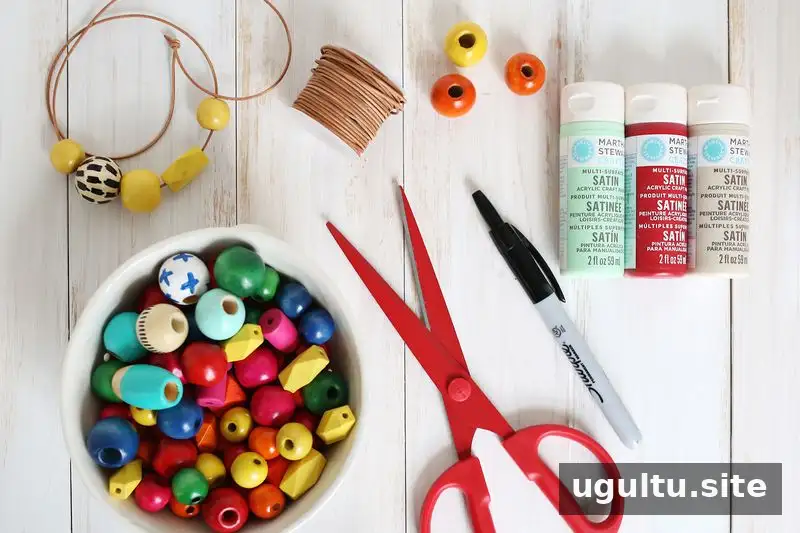
Gather these basic materials before you begin:
- Leather cord or jute string
- Wooden beads, including plain or pre-colored beads
- Scissors
- A permanent marker
- Acrylic or craft paint, optional
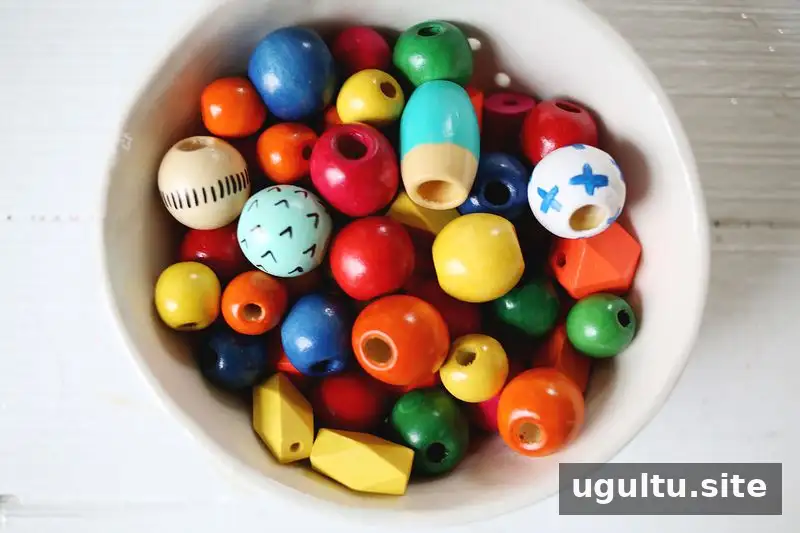
Wooden beads are available in many craft shops and come in a range of sizes and shapes. Combining plain beads with colored ones adds contrast without requiring every bead to be painted. If you choose beads with geometric shapes, check that their holes are wide enough for your cord before you start.
How to Make the Necklace
1. Add color and patterns to the beads
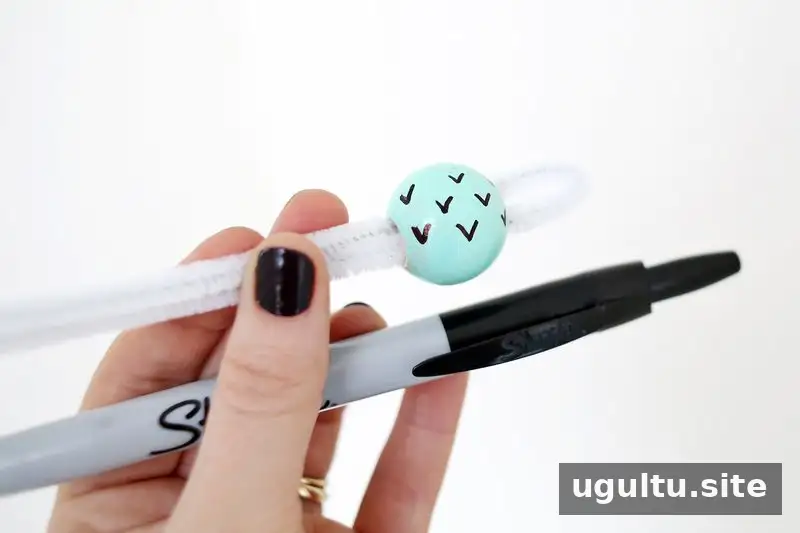
If you want a specific color scheme, apply acrylic or craft paint to plain wooden beads. Let the paint dry fully before handling or threading them; this helps prevent smudges. For a quicker decoration, use a permanent marker to draw dots, stripes, or other simple patterns.
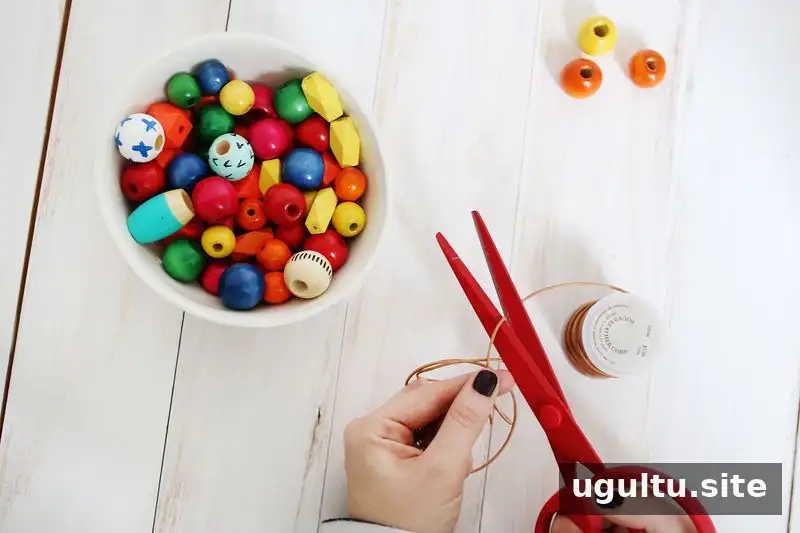
Try decorating a few beads first and arrange them together to see how the colors work as a group. Keep some beads unpainted if you want the natural wood to balance brighter details. Work on a protected surface, and follow the paint or marker’s product instructions.
2. Thread the beads and secure the cord
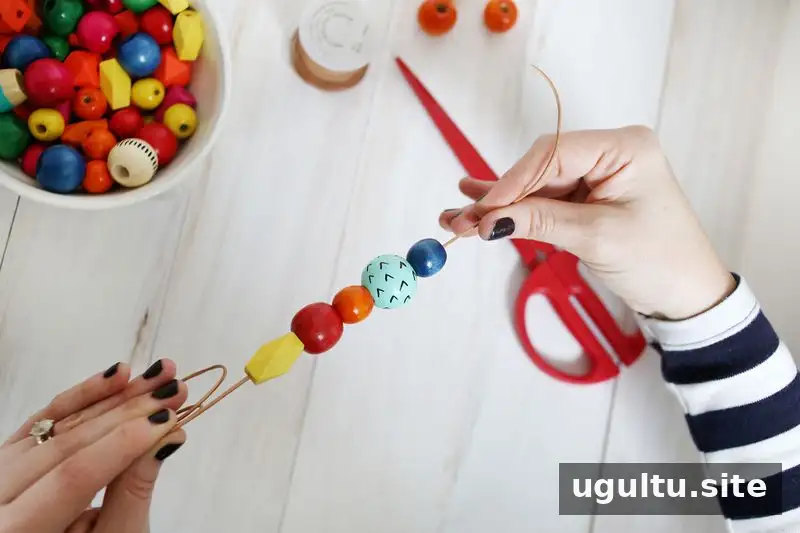
Cut a length of cord that will fit comfortably over your head. Before tying it, arrange the beads in order and check the necklace length by holding the ends together around your neck. Leave enough cord at both ends to make a secure knot.
Thread the beads onto the cord, then knot the ends firmly to make a permanent necklace. Check that the knot is large and secure enough to keep the beads from slipping off. Trim any excess cord carefully, leaving a small tail beyond the knot.
Finishing Tips
- Choose beads with holes that match the thickness of your cord.
- Lay out the design before threading so you can adjust the color balance easily.
- Allow painted beads to dry completely before assembling the necklace.
- For a comfortable fit, test the cord length before tying a permanent knot.
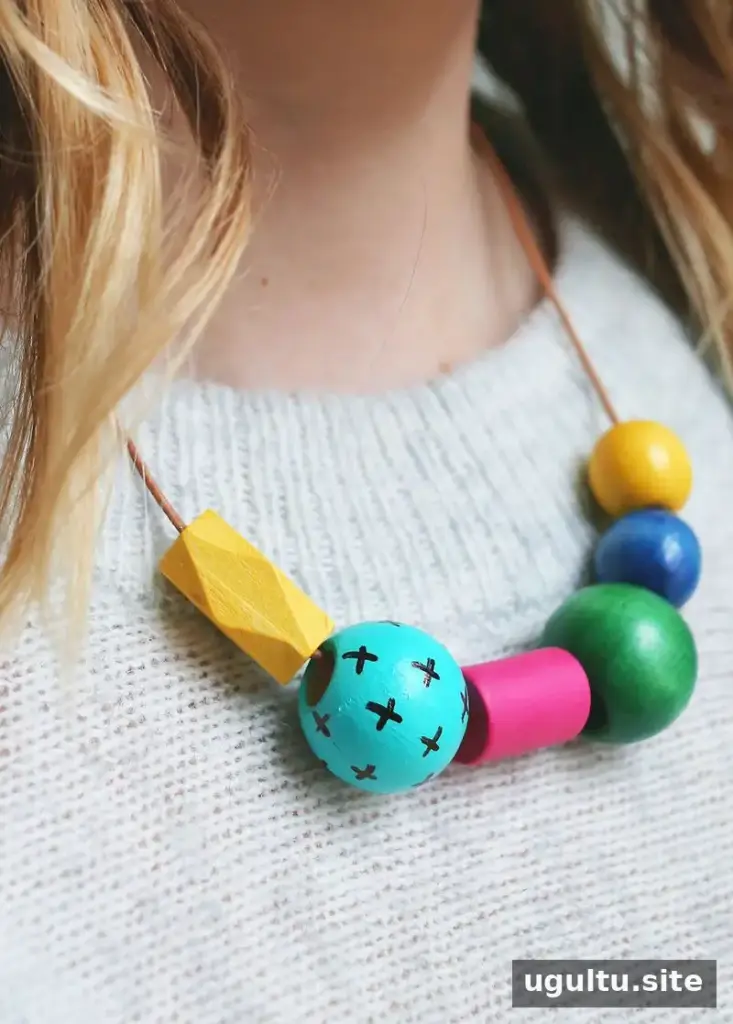
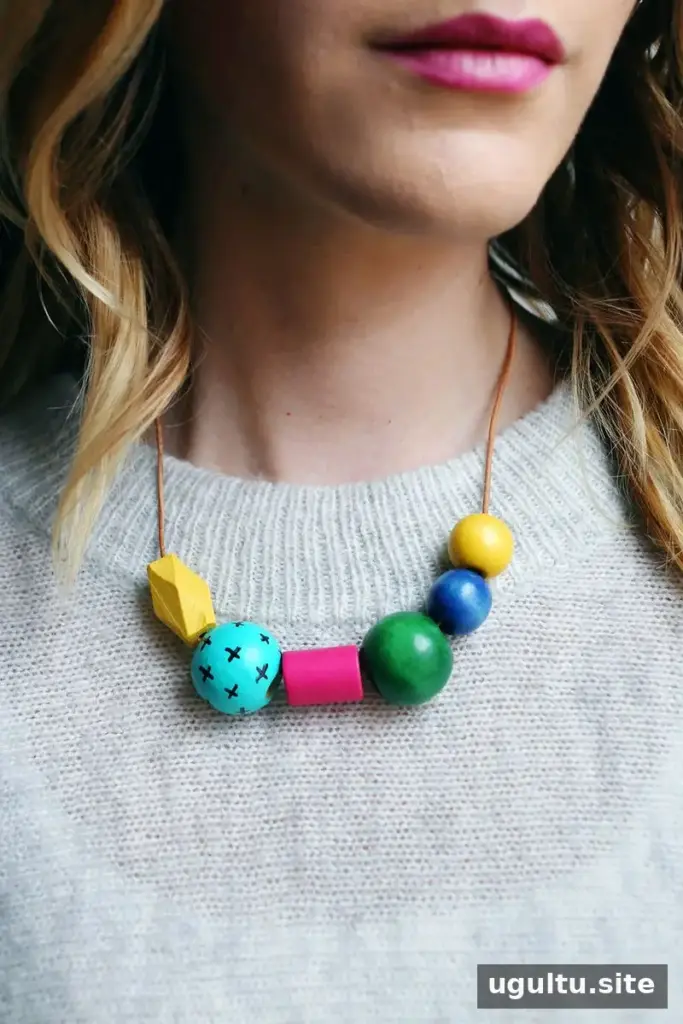
This Art Teacher Necklace DIY is easy to adapt: change the bead shapes, colors, or patterns to create a piece that feels personal. Gather your materials, plan a simple design, and enjoy making a handmade necklace at your own pace.
— Elsie


