
 admin
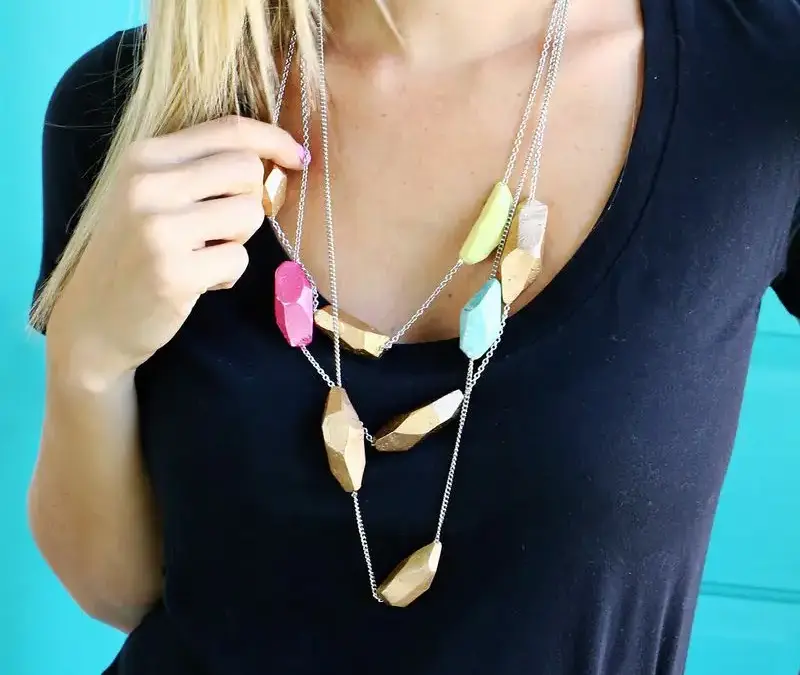
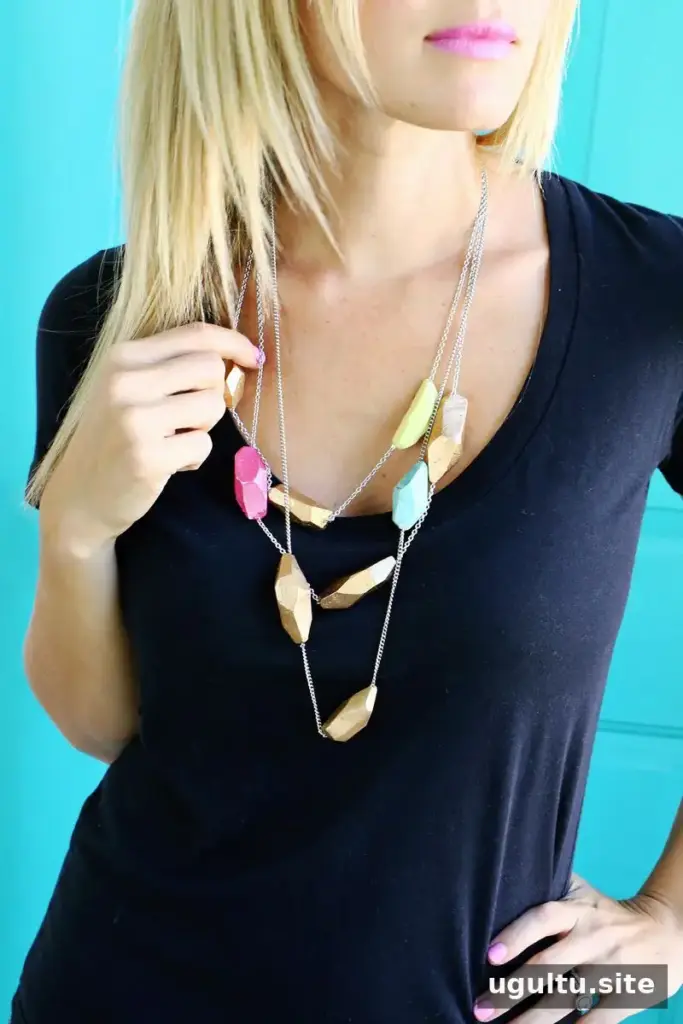
A clay geometric necklace is a simple project that lets you create a piece of jewelry in a style and color combination that suits you. Polymer clay can be shaped around a chain, baked, carved into flat facets, and painted for a custom finish. The shapes and spacing are flexible, so you can adapt the design for yourself or make it as a gift.
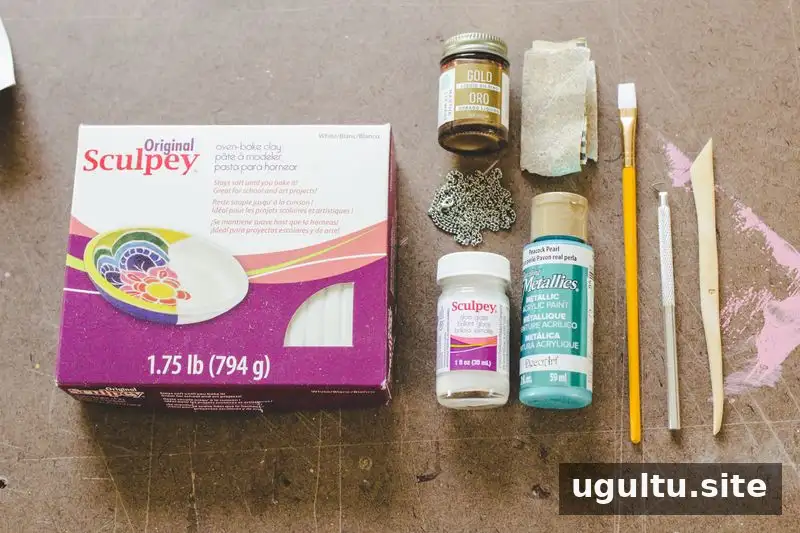
Materials and tools for a clay geometric necklace
Gather your supplies before you begin. A longer chain can be made by joining two shorter chains, or you can use a single chain at your preferred length.
- Polymer clay
- Necklace chain; two 18-inch chains can be joined to make a longer necklace
- Metallic paint, gold paint, or gloss glaze
- An X-Acto knife or another suitable craft blade
- Sandpaper, 320 grit or finer
- Paintbrush
Use a work surface and tools intended for crafts, and check the clay packaging for its baking directions. Baking temperatures and times can vary by product.
How to make a clay geometric necklace
Step 1: Shape and bake the clay
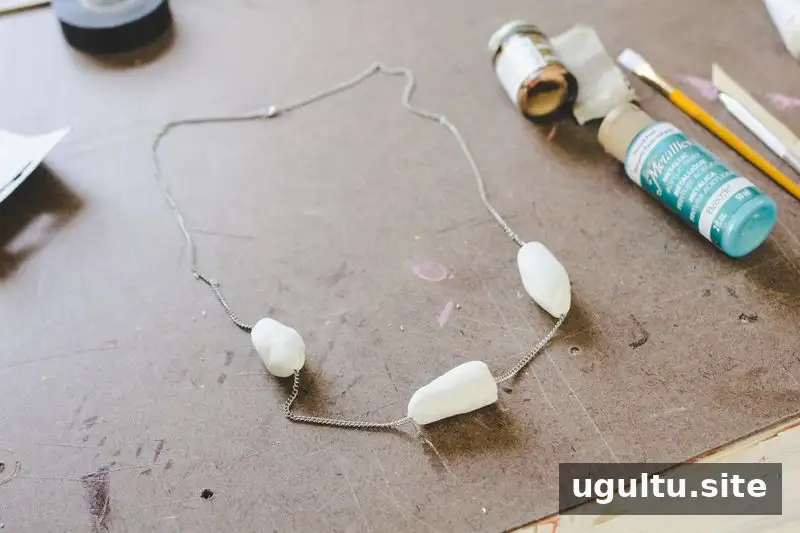
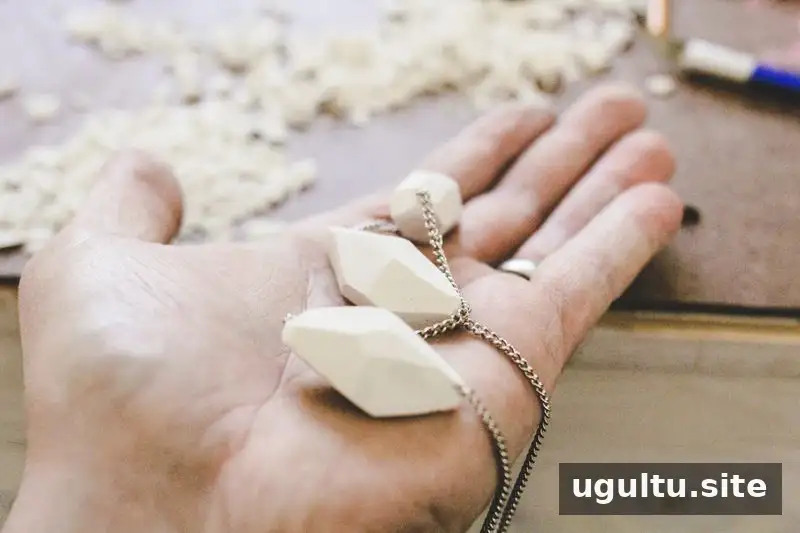
If you are joining two chains, connect them before adding the clay. Form several clay pieces around the chain, spacing them by eye to create a layout you like. Pieces a little smaller than a golf ball were used for this design, with extra material left for carving. You can change their size, but keep in mind that the finished clay shapes need to sit securely on the chain and support their own weight.
When you are happy with the arrangement, bake the necklace according to the clay manufacturer’s instructions. In this project, the stated guideline is 275°F (130°C) for 15 minutes per 1/4 inch (6 mm) of thickness. Let the clay cool before handling or carving it.
Step 2: Carve and smooth the facets
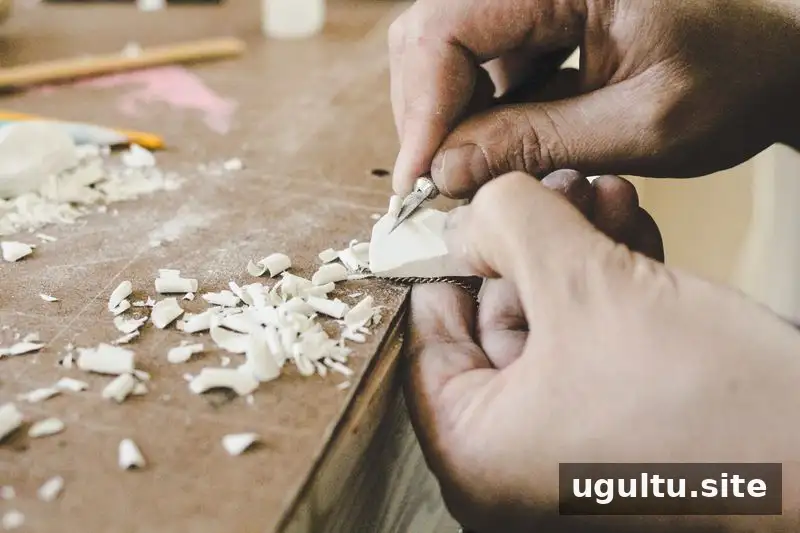
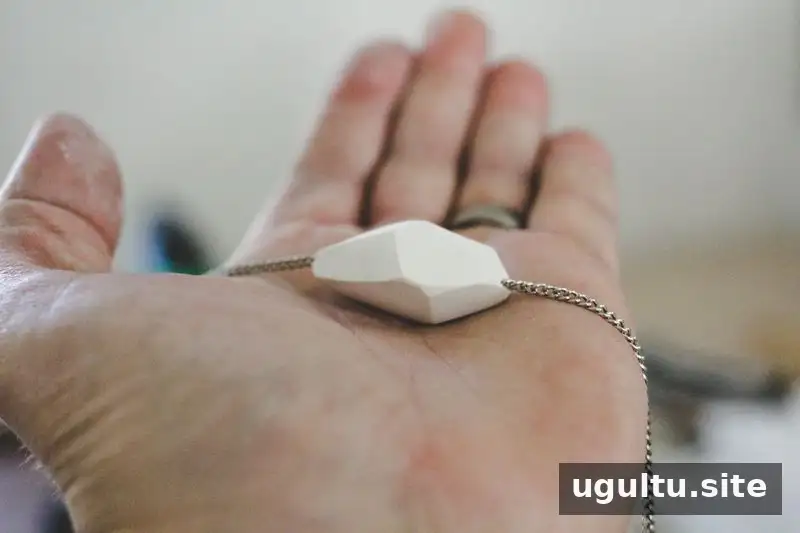
Once the clay is cool enough to handle, use a craft knife to carve flat surfaces into each piece. Work slowly, trimming a small area at a time and moving around the shape until the facets connect into a geometric form. A patient approach makes it easier to control the shape and keep the faces even.
Lightly sand each flat surface with 320-grit or finer sandpaper, keeping the piece as level as possible. This smooths the clay and sharpens the edges. Use care with the blade, and keep your fingers clear of its cutting path.
Step 3: Add color and finish
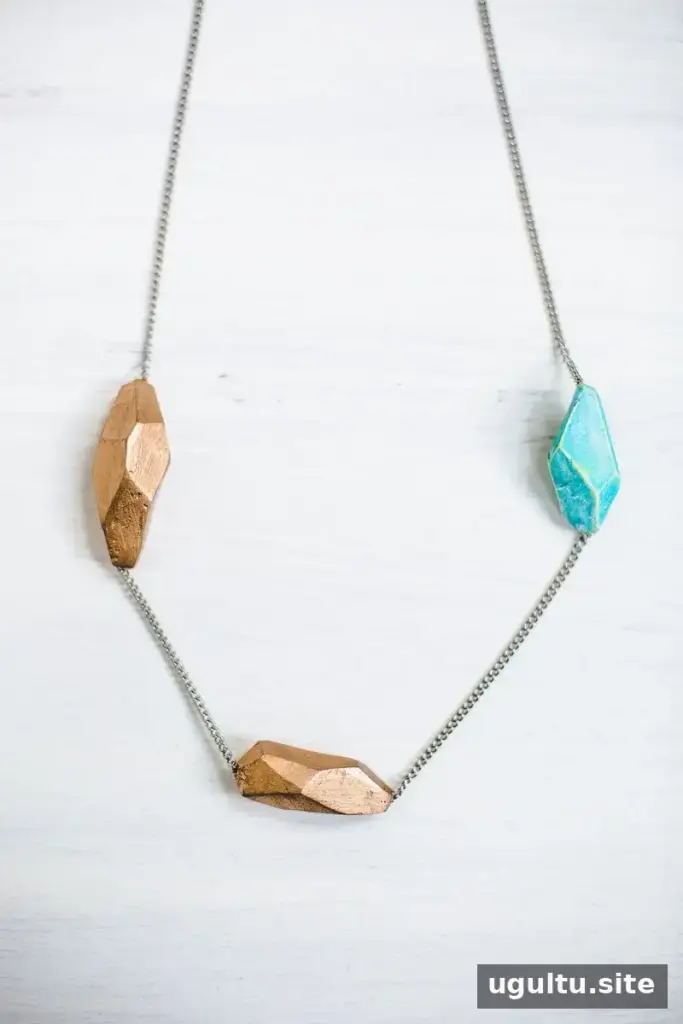
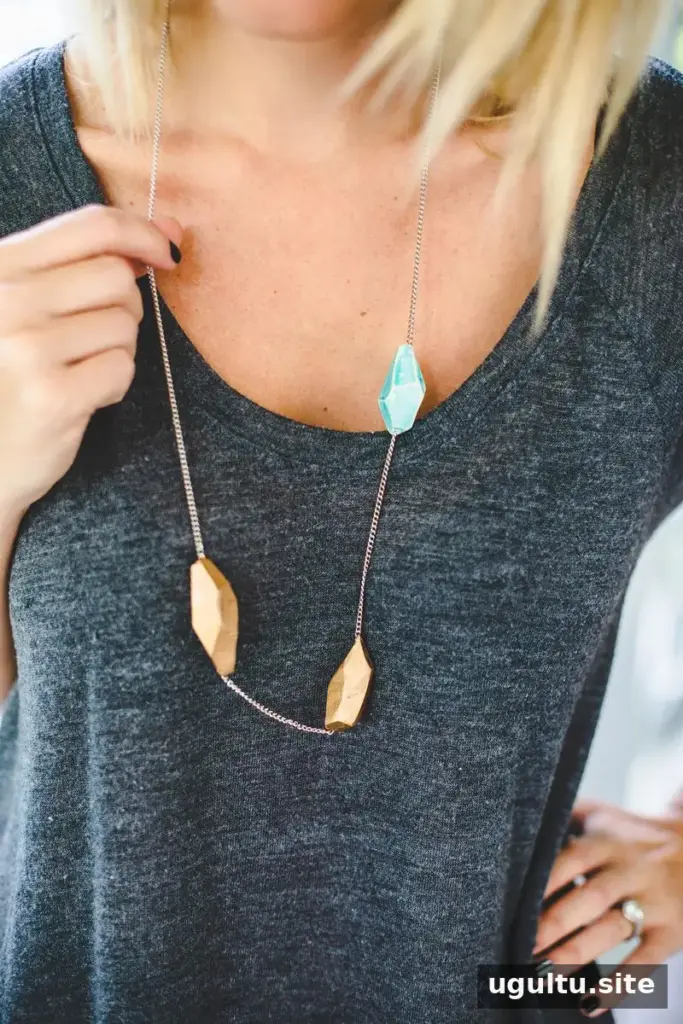
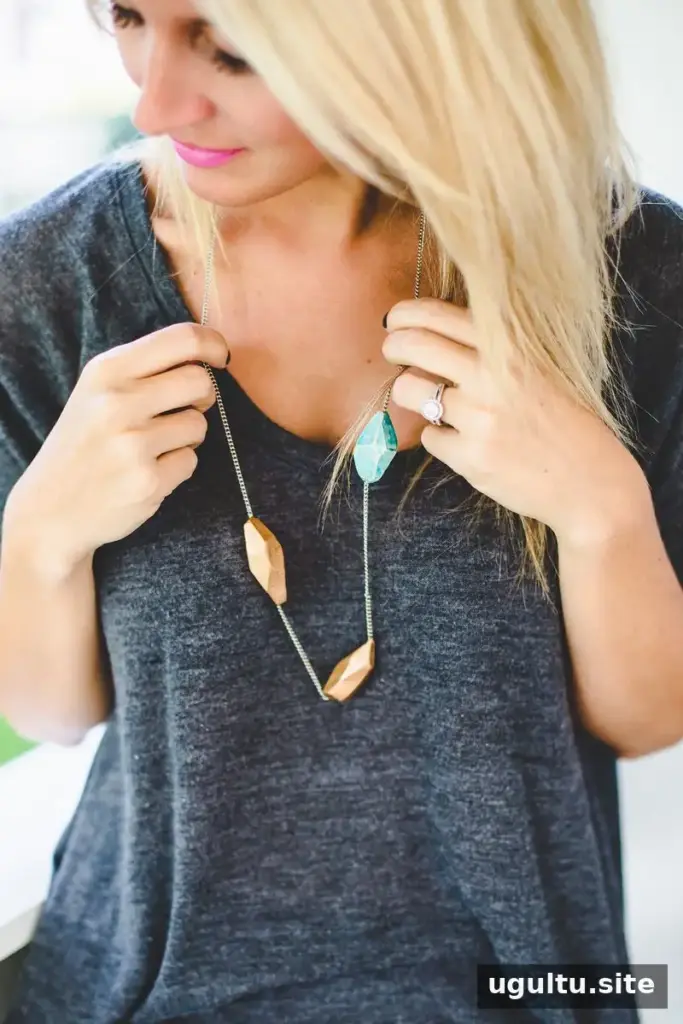
Paint the shapes once you are satisfied with their form. For this example, two pieces were painted gold and the accent piece was painted metallic peacock pearl. Allow the paint to dry. To soften the appearance of the accent color, gently wipe its surface with a damp cloth. If you use a glaze, follow its product directions and allow it to cure fully before wearing the necklace.
Customize your finished necklace
Try changing the number, size, spacing, or colors of the clay shapes to make the design your own. Before wearing the necklace, check that each piece is firmly attached to the chain and that the paint or finish is completely dry. With careful shaping and a little patience, this clay geometric necklace can become a personalized accessory or a handmade gift.
— Josh


