
 admin
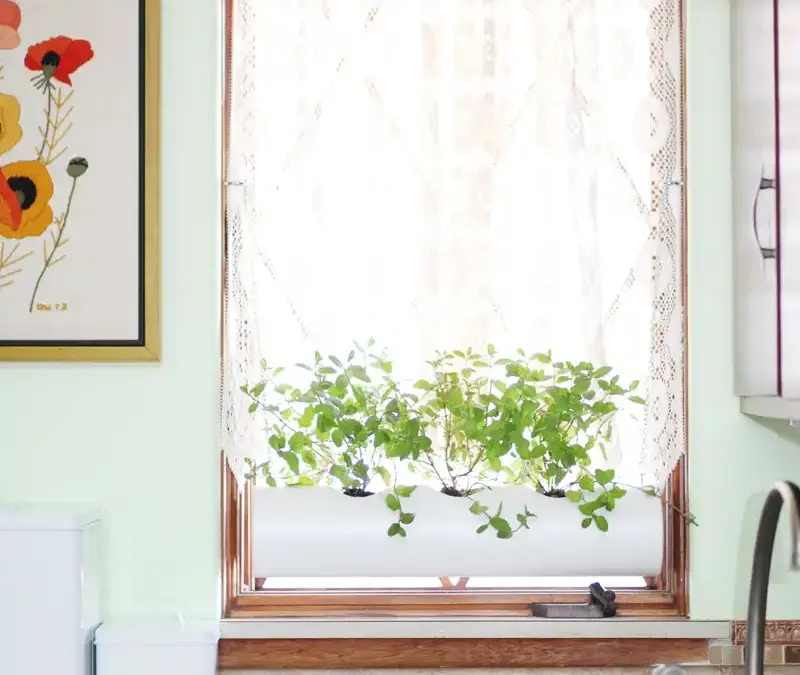
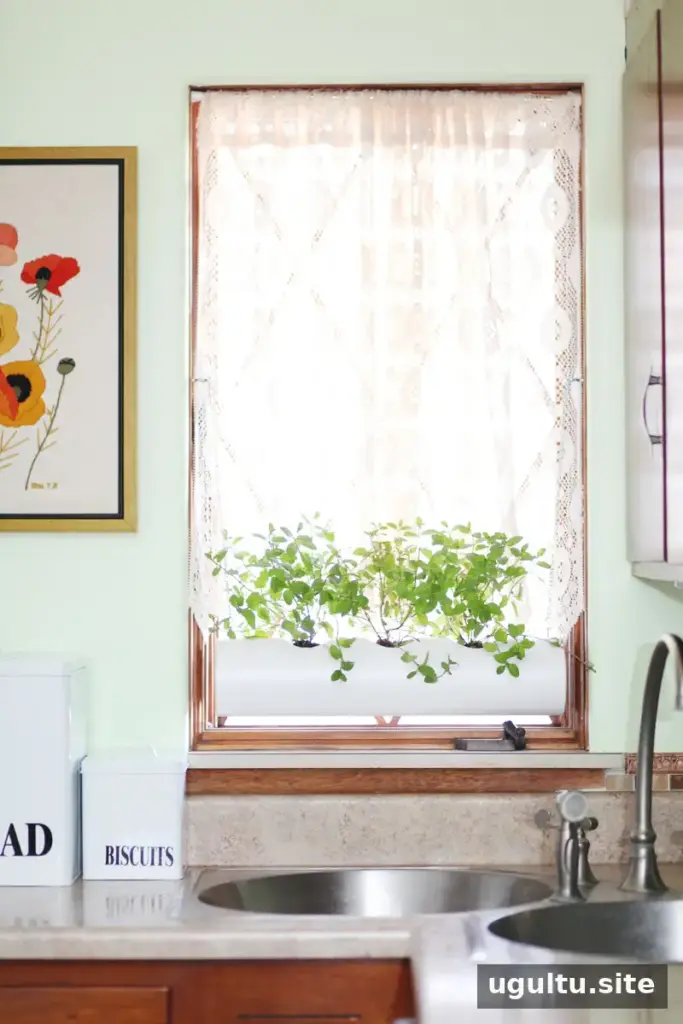
A floating PVC window planter is a practical way to grow herbs when a windowsill is too narrow for pots. This DIY design suspends a section of 4-inch PVC pipe near the window, with openings for plants and hooks for hanging. The example below makes a 2-foot planter and uses mint, a hardy herb that can grow well in a range of indoor conditions.
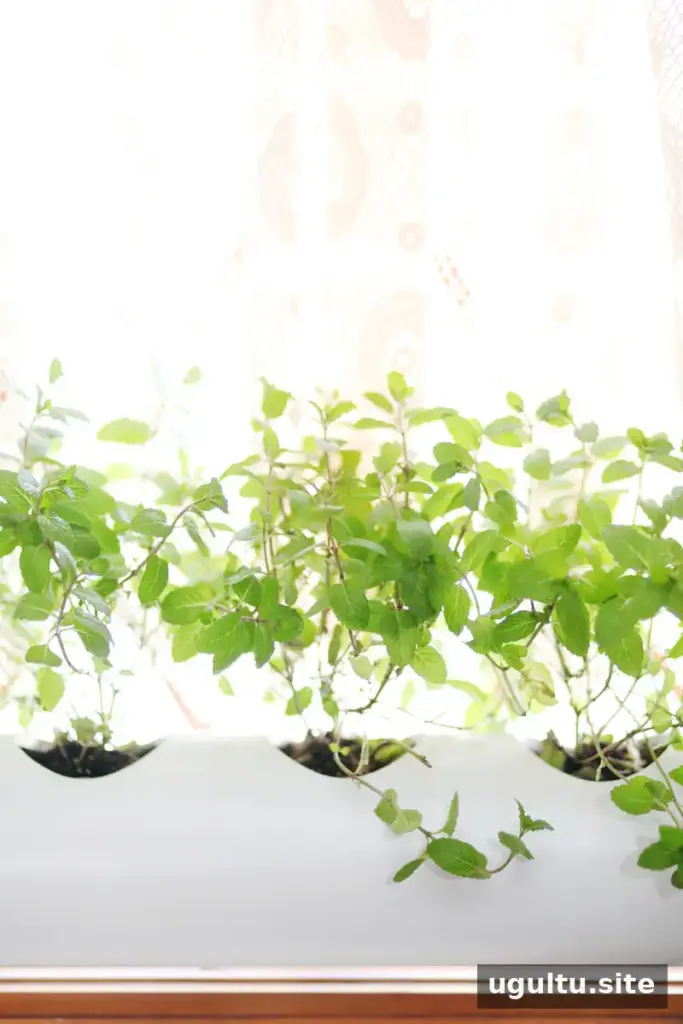
Choosing herbs and a suitable location
Consider the light available before choosing what to plant. The example kitchen window receives limited light, so sun-loving herbs such as basil and rosemary are kept near brighter, south-facing windows instead. Mint is used in the hanging planter because it is relatively hardy and prefers moist soil.
Mint can spread aggressively and crowd nearby plants. To keep it from taking over, grow it in a small plastic pot set inside the planter rather than planting it directly alongside other herbs. Check the window’s light throughout the day and avoid overwatering, especially because this pipe design has no separate drainage holes.
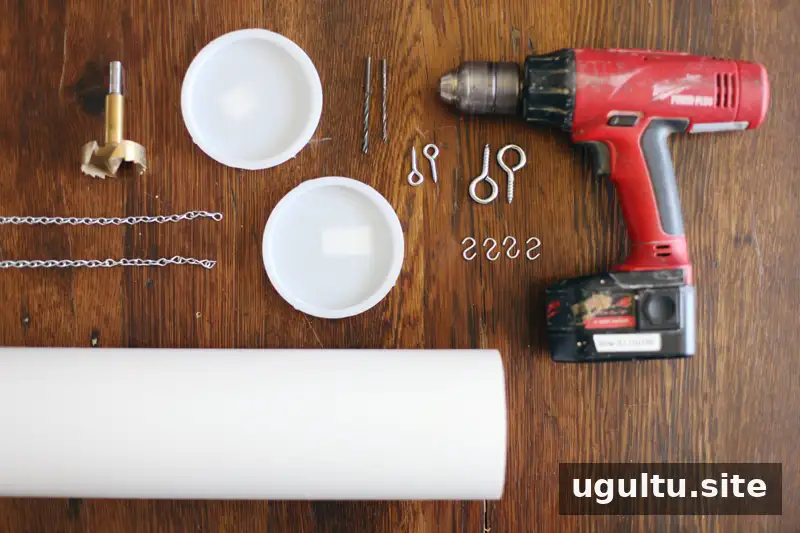
Materials and tools for a floating PVC window planter
Materials:
- 4-inch PVC pipe — $2 per foot
- Two 4-inch knock-out plugs — $2
- Two small eye hooks — $1 for a pack of two
- Two larger eye hooks — $1.20 for a pack of two
- Four small S-hooks — $1 per pack of five
- Two 12-inch lengths of #16 chain — about $0.50 per foot
Total supply cost for a 2-foot planter: $9.70. Pipe is often sold in longer lengths. A 5-foot piece of 4-inch PVC costs about $10, even if only 2 feet are needed, so consider making a second planter or sharing the leftover pipe.
Tools: power drill, drill bits slightly smaller than the eye hooks, and a 3-inch hole saw. Wear appropriate eye protection while drilling, and support the pipe so it cannot roll.
How to make the floating PVC window planter
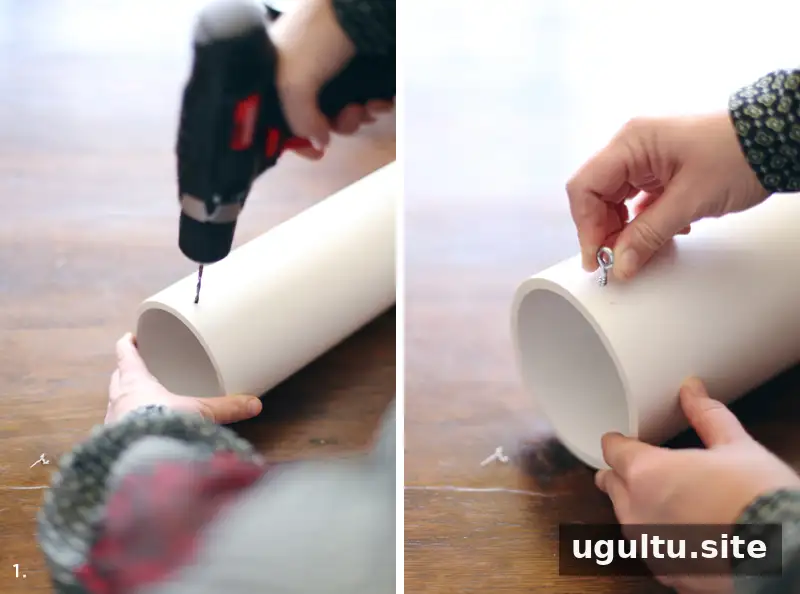
1. Attach the small eye hooks
Drill pilot holes 3/4 inch from each end of the pipe, positioned directly opposite one another. Screw a small eye hook into each hole. Keeping the hooks aligned helps the planter hang level.
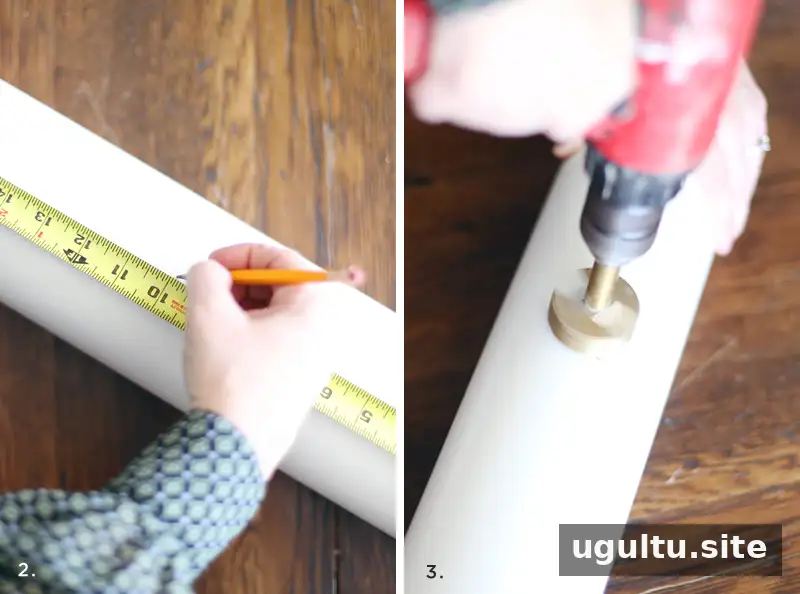
2. Mark and cut the planting openings
Mark the center of each plant opening in line with the hooks. In this example, the marks are spaced 4.75 inches apart. Adjust the spacing to suit the plants, while leaving enough pipe between openings for support.
Use a 3-inch hole saw to cut the openings. A Forstner bit was tried on the curved pipe but did not work well, so a hole saw is the recommended option for this project. Smooth any rough edges with sandpaper, then clear the PVC dust from inside the pipe.
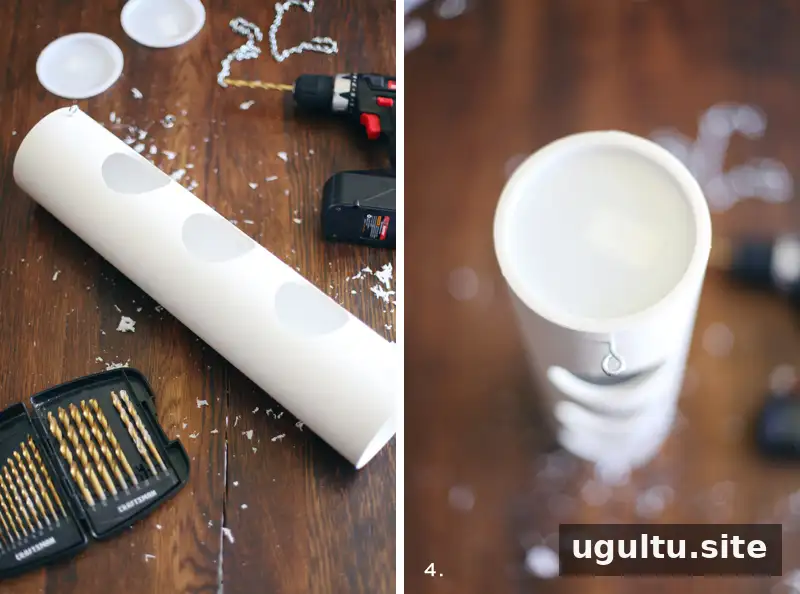
3. Close the ends and add plants
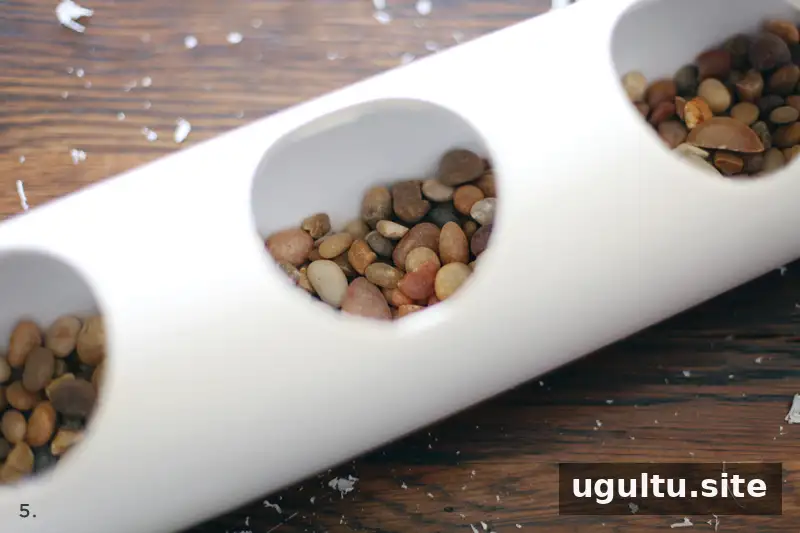
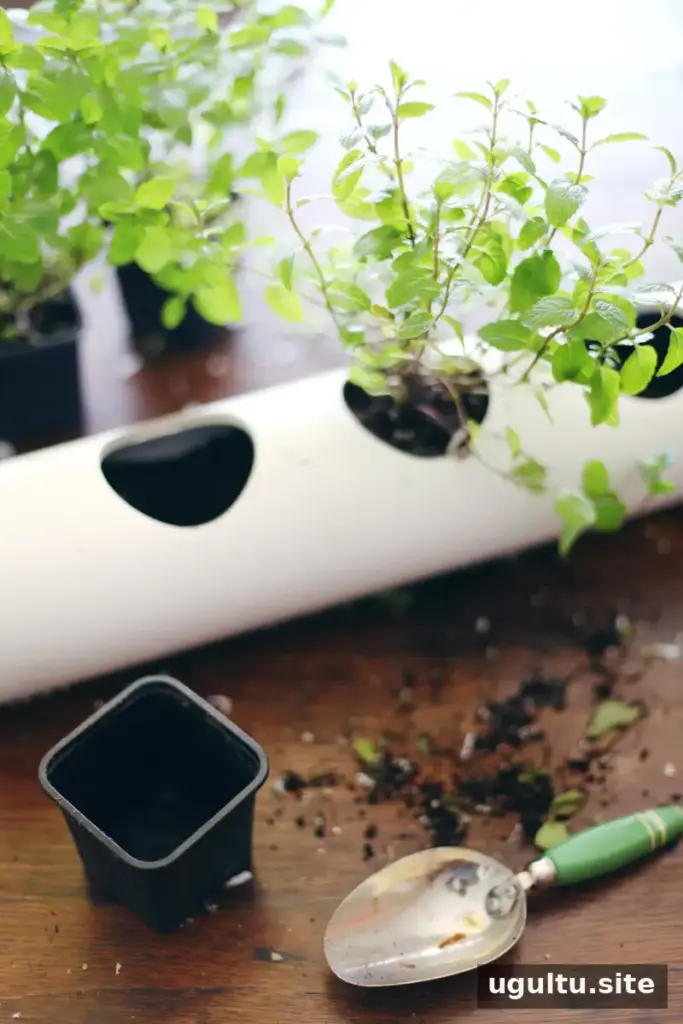
Press a 4-inch knock-out plug into each end. The plugs fit tightly and help keep soil and water inside the planter. Add a small layer of rocks, then put in potting soil, filling the ends and the spaces between the openings.
Set each plant into an opening and gently pack soil around its roots. Use care not to compress the soil too firmly. Since excess water may collect inside the pipe, water sparingly and check the soil before adding more.
4. Install the hanging hooks
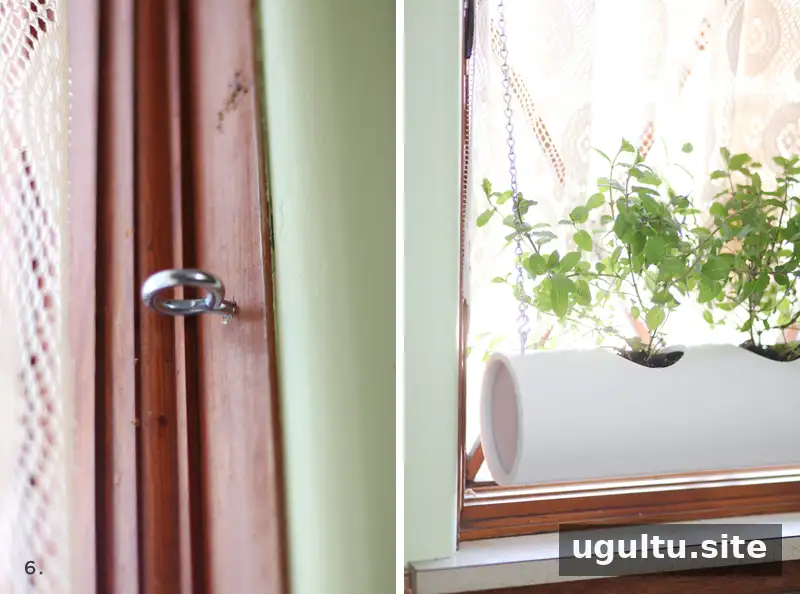
Measure the height of the pipe, chain, and hooks, then decide how far above the windowsill the planter should hang. The example places it a couple of inches above the sill. Measure upward from the sill on both sides so the hooks are level.
Drill pilot holes and install the larger eye hooks in the window millwork. Before hanging the planter, confirm that the hooks are firmly secured and that the surrounding trim can support the filled planter’s weight.
Final tips for your floating PVC window planter
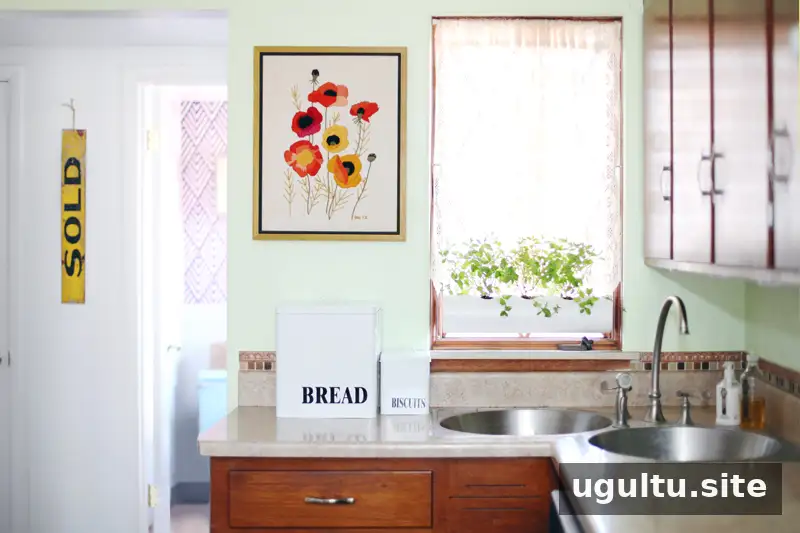
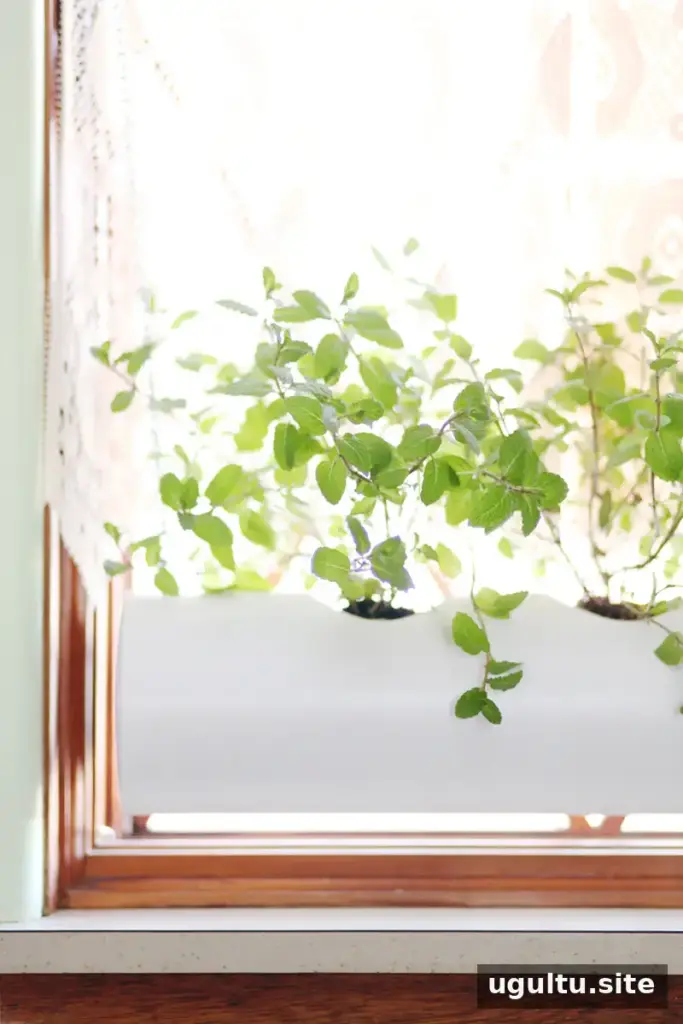
A floating PVC window planter makes use of vertical space and keeps fresh herbs close at hand. Choose plants to match the available light, keep spreading mint contained, and water carefully to prevent soggy soil. With the pipe, hooks, and planting openings prepared, the planter can turn an otherwise unused window area into a compact herb garden.
—Mandi


