
 admin
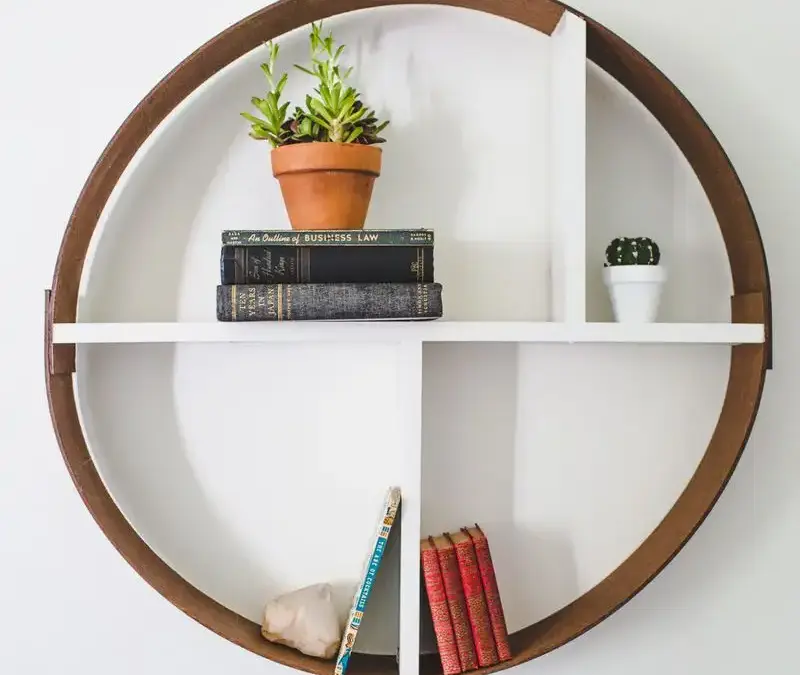
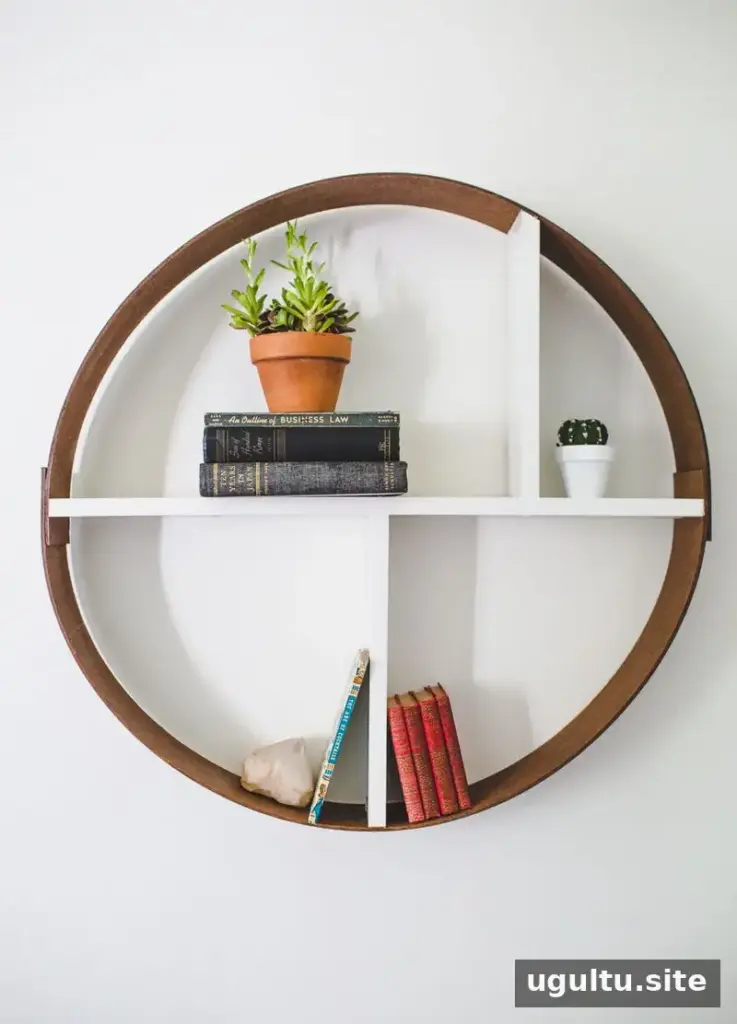
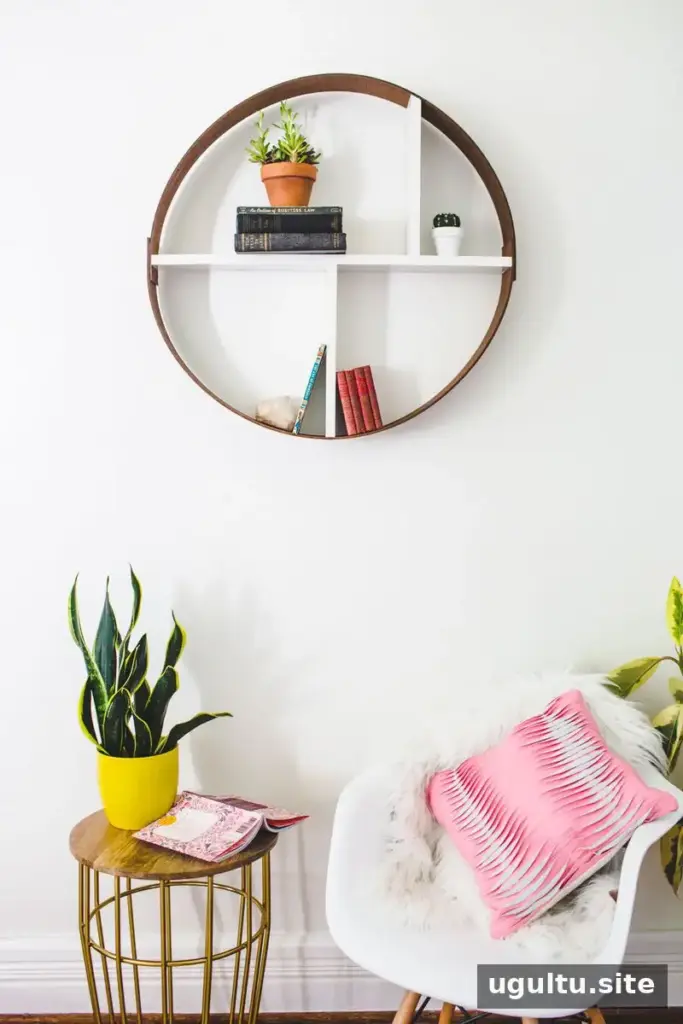
A DIY hoop shelf adds a rounded, decorative feature to a room without requiring specialized woodworking equipment. This project uses two flexible DPI board strips to form the circular frame, with pine boards creating the shelves and supports. The listed materials cost less than $20, and the dimensions can be adjusted if you want a larger hoop.
Materials and tools for a DIY hoop shelf
Gather the following before you begin. Check that your boards are straight and free of damage, and make sure your work area has enough room to bend and clamp the frame.
Materials
- One sheet of DPI board
- One 1 x 6 x 8 pine board
- 10 wood screws
- Paint and polyurethane
- Sawtooth picture hangers, optional
Tools
- Table saw, or a hand saw
- Drill
- Square
- Two clamps, or a helper
Cut the hoop and shelf pieces
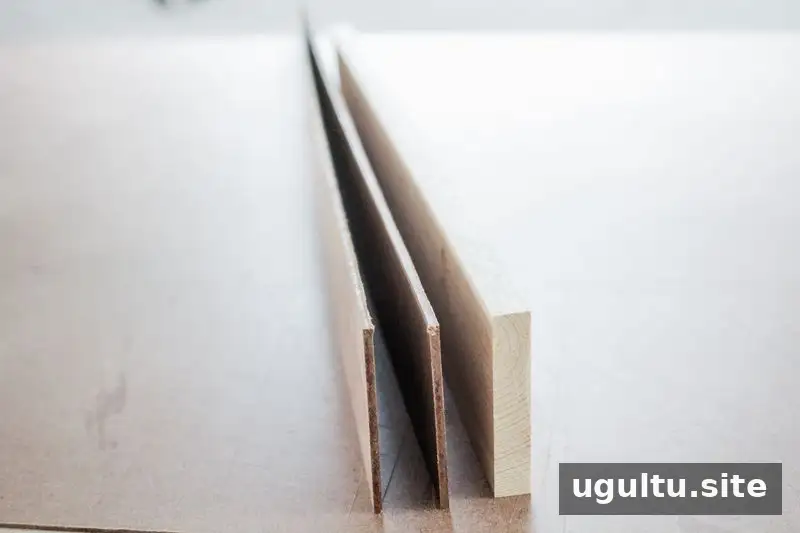
Cut two DPI board strips, each measuring 6 inches by 48 inches. Cut one pine board to 6 inches by 28 11/16 inches for the middle shelf. Mark a point 3 inches in from both ends of each DPI strip; these marks indicate where the ends will overlap.
The measurements are based on a 90-inch hoop circumference: the two 48-inch strips total 96 inches, and the 3-inch overlap at each end reduces that by 6 inches. Dividing the circumference by π gives an estimated diameter of about 2.39 feet, or approximately 28 11/16 inches. The 7.5-foot circumference is intended to keep the bend gentle; a larger hoop may also work. Measure carefully if changing the size so the shelf piece fits the finished frame.
Form the circular frame
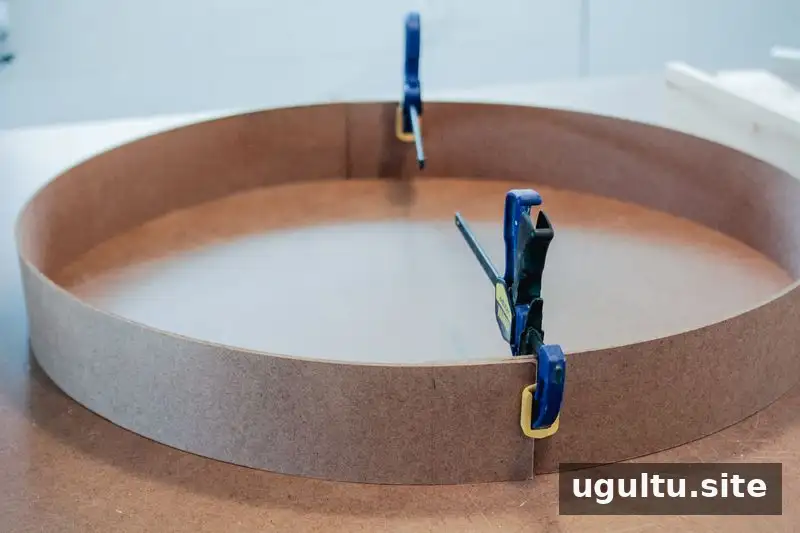
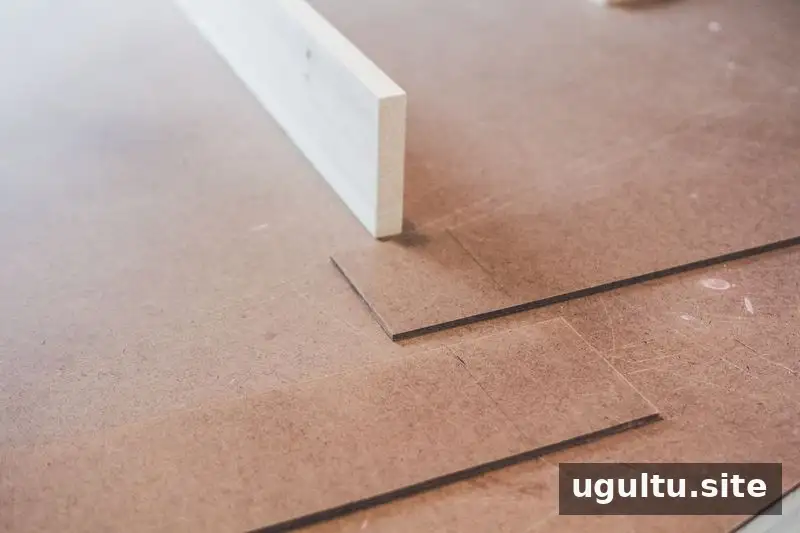
Overlap one end of each DPI strip by 3 inches and clamp the joined ends. Keep the clamps near the ends, leaving enough room to attach the middle shelf with screws. If one side of the board has a shiny finish, position that side outward.
Slowly bend the unclamped ends around until they overlap by 3 inches, then clamp them together. DPI board can bend, but putting too much force on one small area may cause it to snap. Work gradually and keep the curve as even as possible.
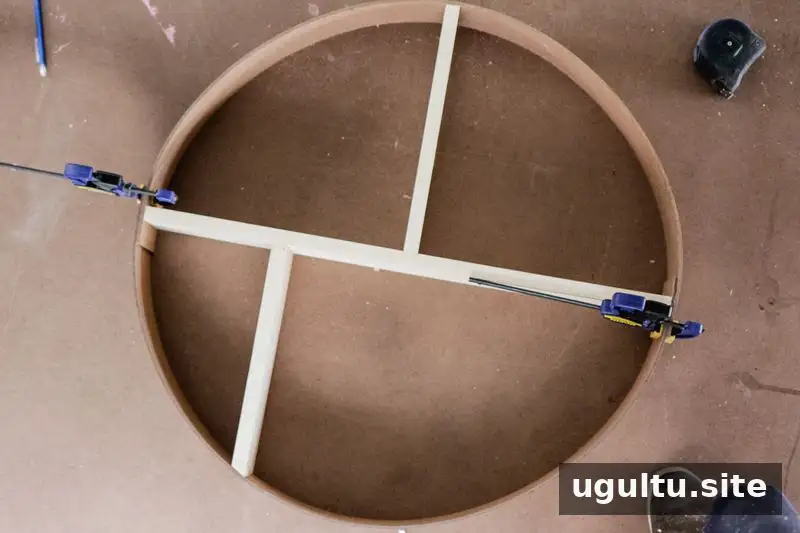
Fit and attach the shelves
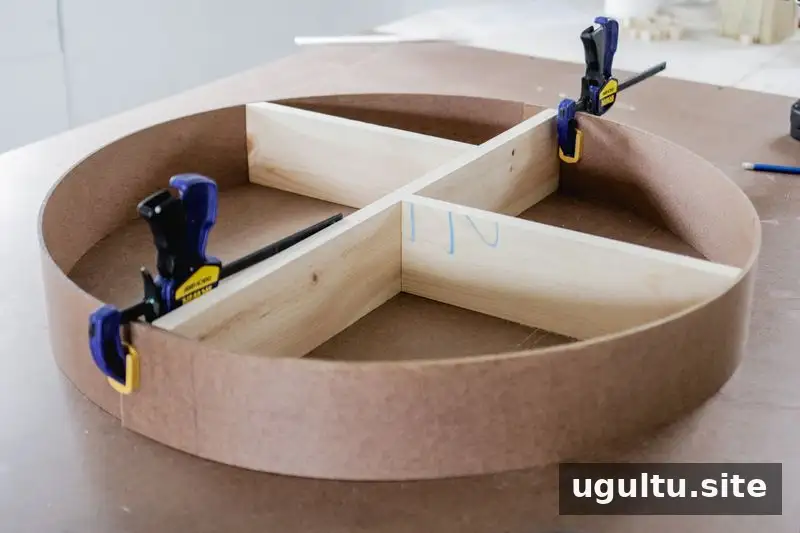
Once the hoop is formed, check that the middle shelf fits between the sides. Hold the additional shelf boards in the positions you prefer, mark their lengths against the frame, and cut them to fit. Positioning the supports away from the center can create an asymmetrical look. In this project, one vertical support was placed off-center and cut at a 30-degree angle; the angle will depend on where the support is located.
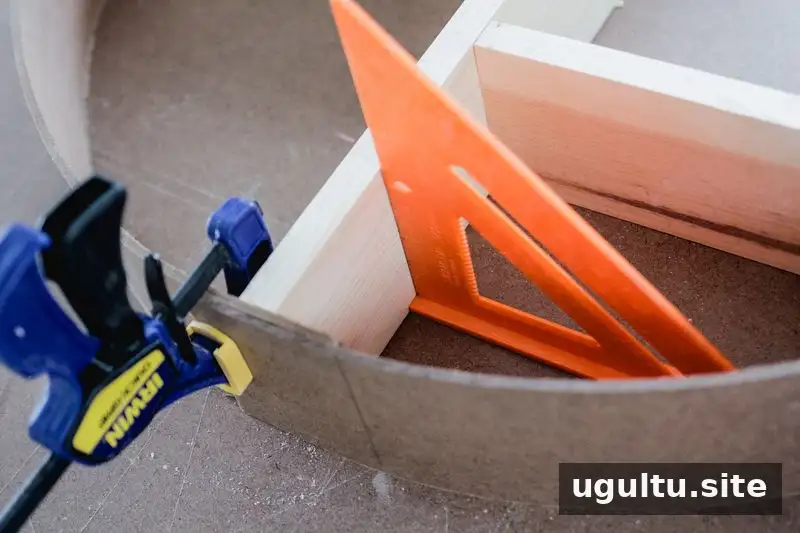
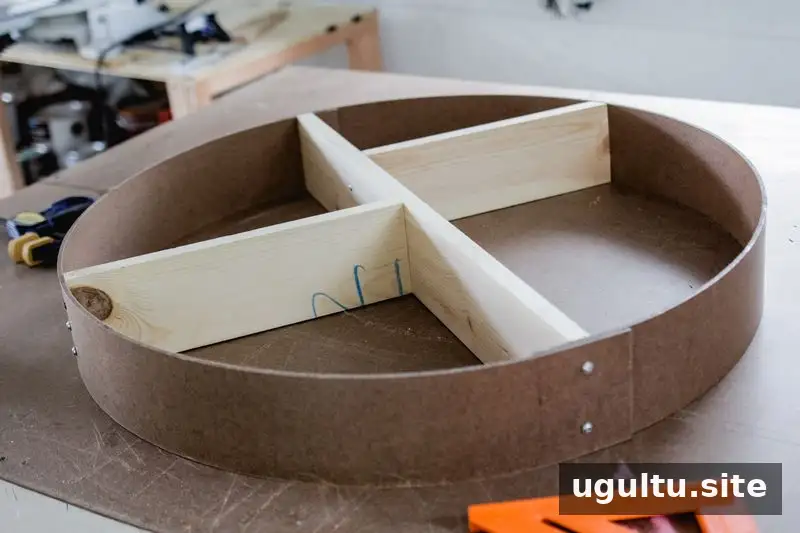
Use a square to keep the boards aligned while fastening them with screws. Check each piece before driving in the screws, since a small alignment adjustment is easier before the joints are fully secured.
Finish and hang the DIY hoop shelf
Paint the interior boards and apply polyurethane to the circular frame. The example uses two coats of gloss white paint and three coats of polyurethane, with light sanding between polyurethane coats. Follow the product labels for drying times and ventilation, and let the finish dry completely before hanging or loading the shelf.
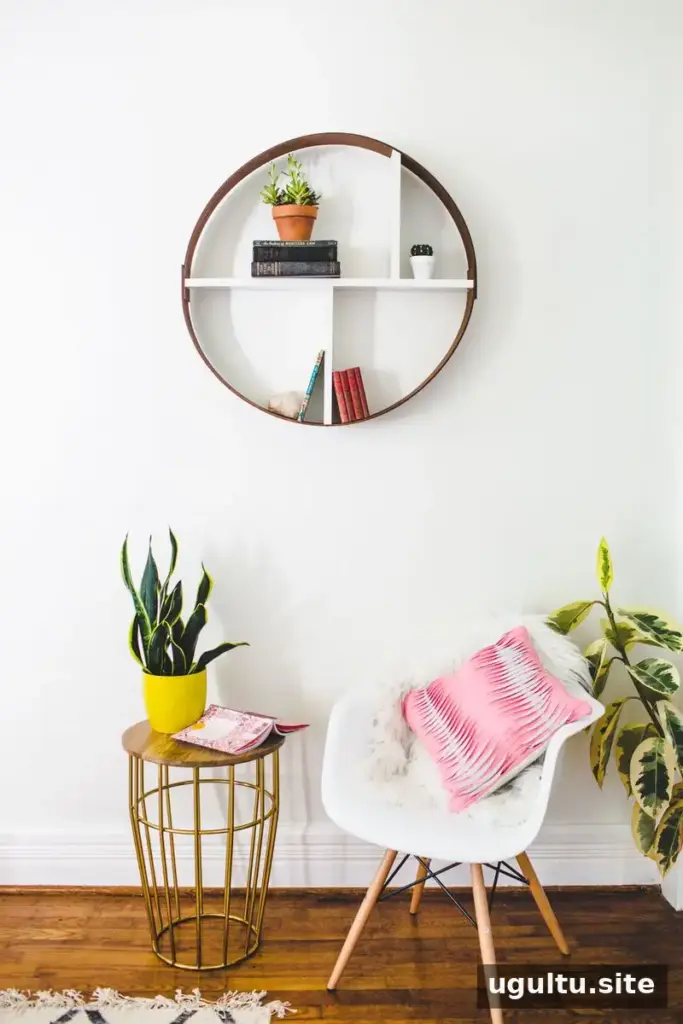
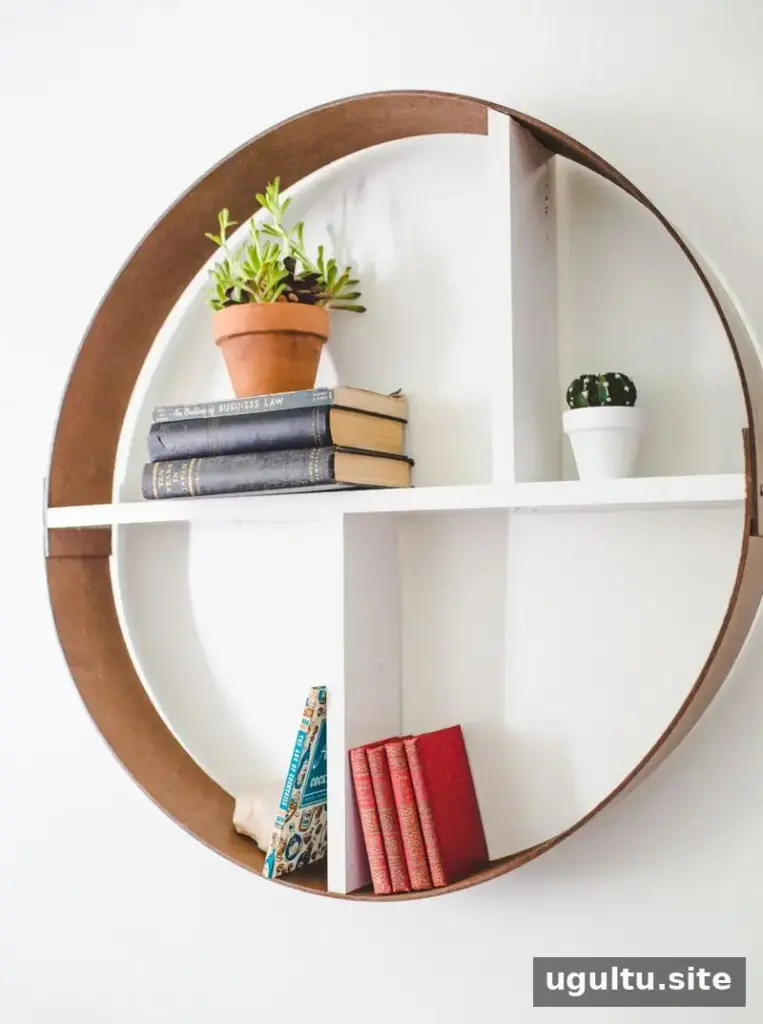
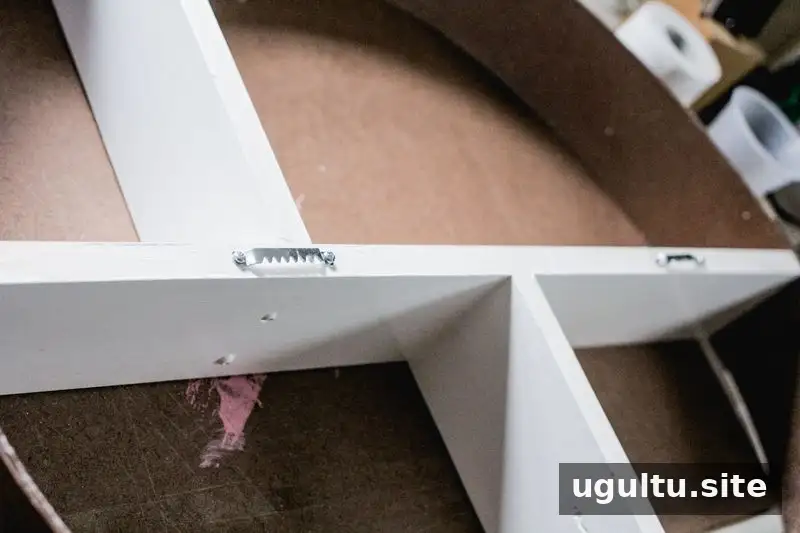
Hang the shelf from a suitable wall screw or nail, or attach a pair of sawtooth hangers to the back for added stability. Choose wall hardware appropriate for the wall type and the shelf’s intended load. This straightforward DIY hoop shelf can be adjusted in size, finish, and shelf placement to suit the space.
— Josh


