admin
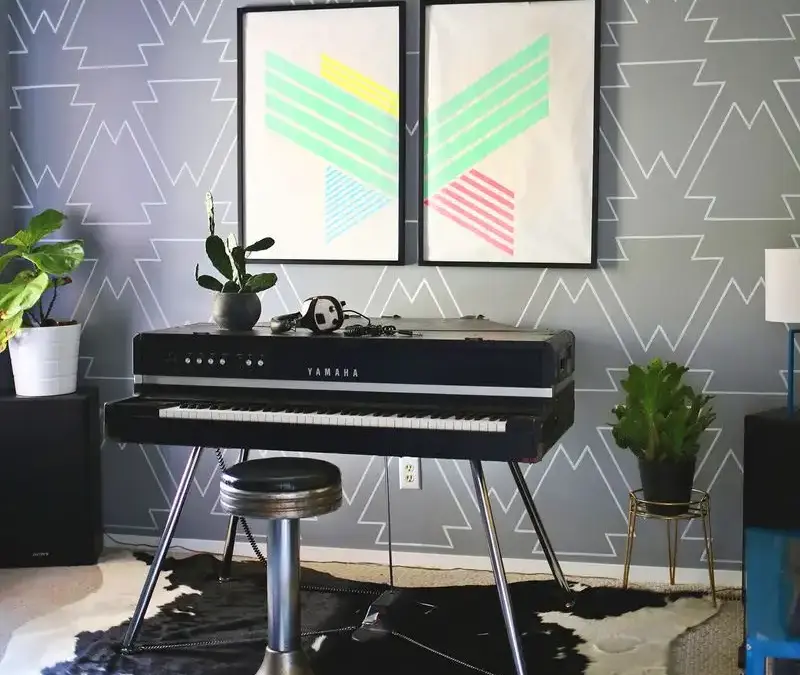
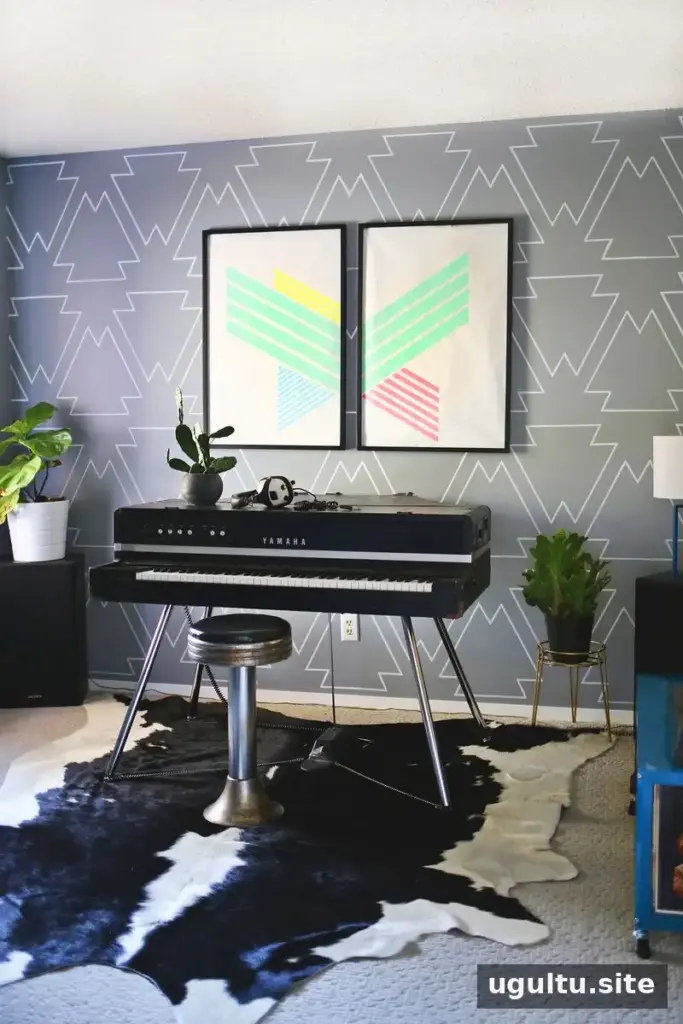
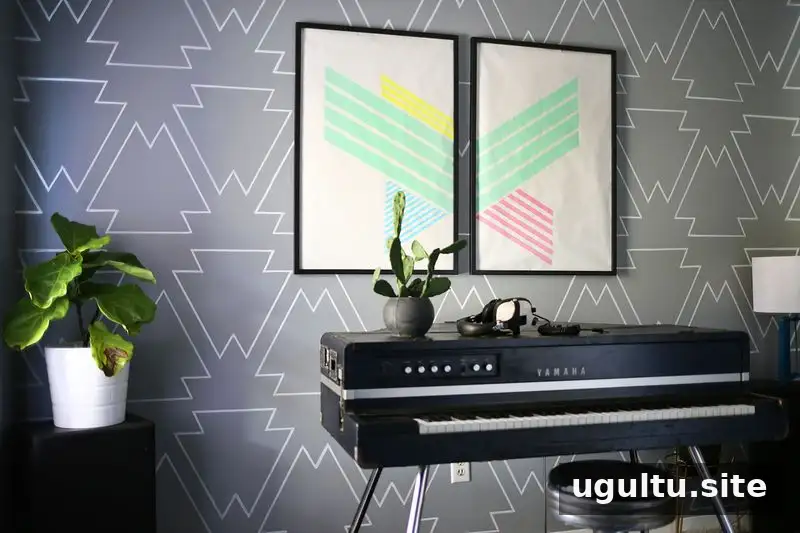
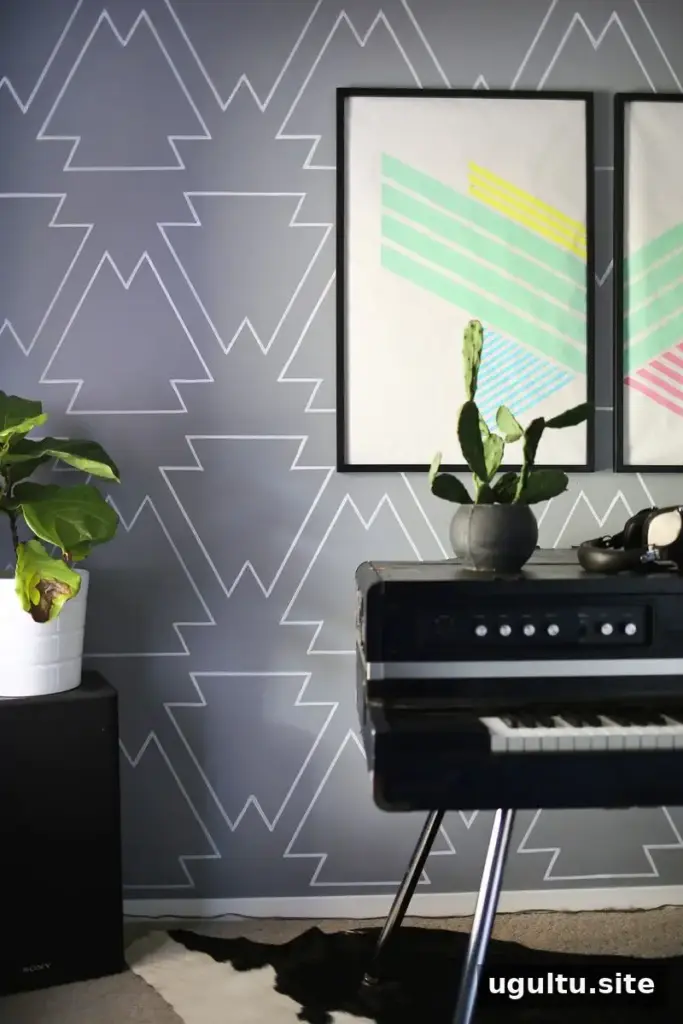
A paint pen accent wall is a simple way to bring pattern and personality to a room without covering the entire surface in a new color. With a cardboard stencil, painter’s tape, and a white paint pen, you can create a repeating geometric design on a medium-grey wall. This project uses a four-row pattern and takes a couple of hours, depending on the size of the wall and the detail in your design.
Supplies for a paint pen accent wall
Gather your materials before you begin so you can move smoothly from measuring to drawing:
- Large pieces of scrap cardboard
- Painter’s tape
- A thick white paint pen
- A thinner paint pen for small corners and tight spaces
- An X-Acto knife
- Push pins to hold the cardboard stencil against the wall
Before drawing on the wall, check that your paint pen is suitable for the wall’s finish. Test it in an inconspicuous spot and let it dry to see how the color and line look.
Measure the wall and mark the rows
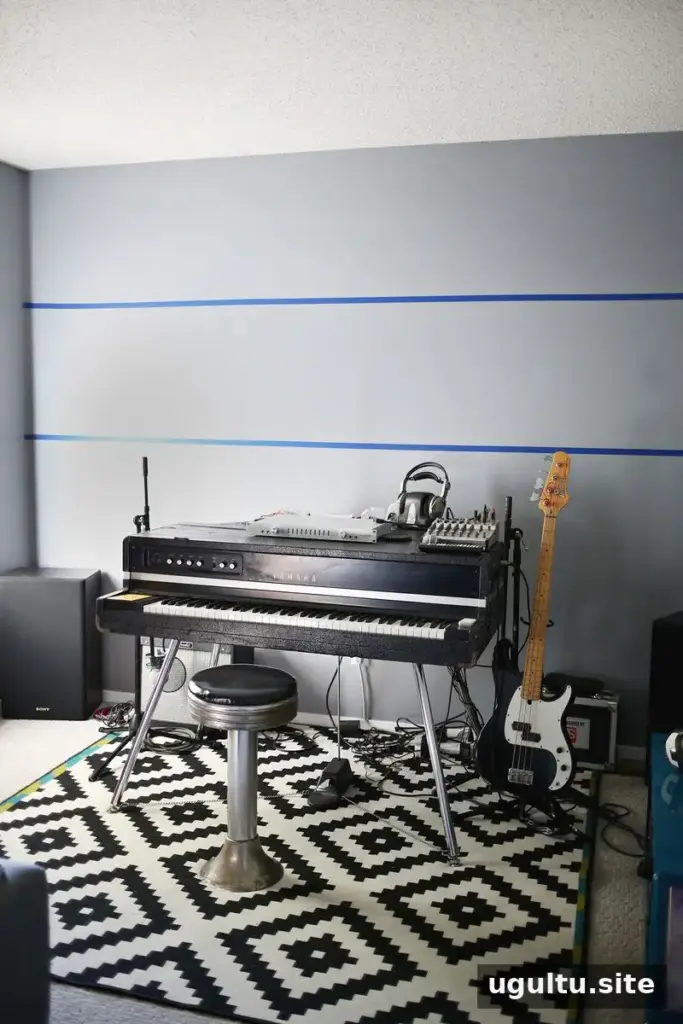
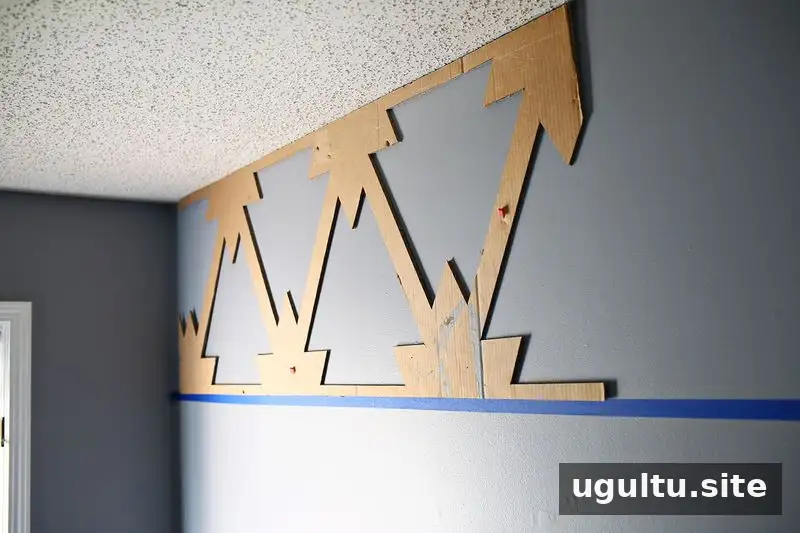
Decide how many rows you want, then measure the wall’s height and divide it into equal sections. For this design, the wall was divided into four rows. Use a pencil to mark the row measurements at both ends of the wall, then apply painter’s tape between the marks to create clear guides.
Take time to check that the guides are level before moving on. Even spacing makes it easier to keep the pattern consistent across the wall.
Make a repeating cardboard stencil
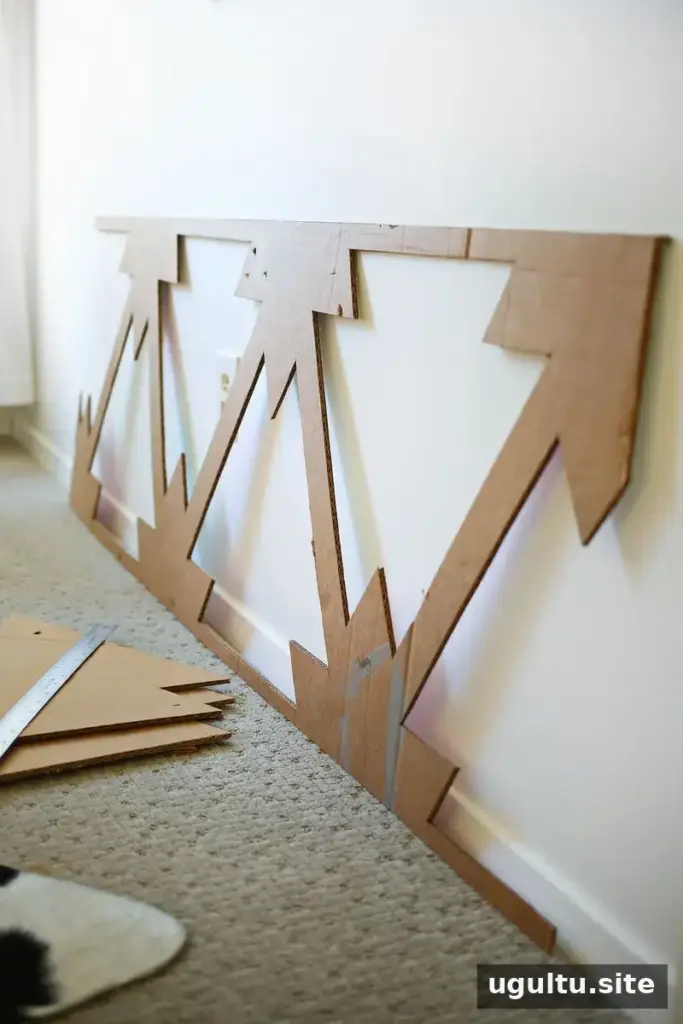
Cut a piece of cardboard to match the height of one row. Draw your chosen shape across it, then carefully cut out the design with an X-Acto knife. Alternate the direction of the shapes as you lay out the pattern so the finished rows appear to interlock. Keep the cardboard shapes you cut out; they will help you finish the pattern near the wall edges.
Center the pattern before tracing
Use push pins to secure the stencil to the wall while you work. First locate the center of the wall and align the middle of a shape with that point. Centering the design helps both outside edges finish at a similar place in the pattern.
Trace the design with paint pens
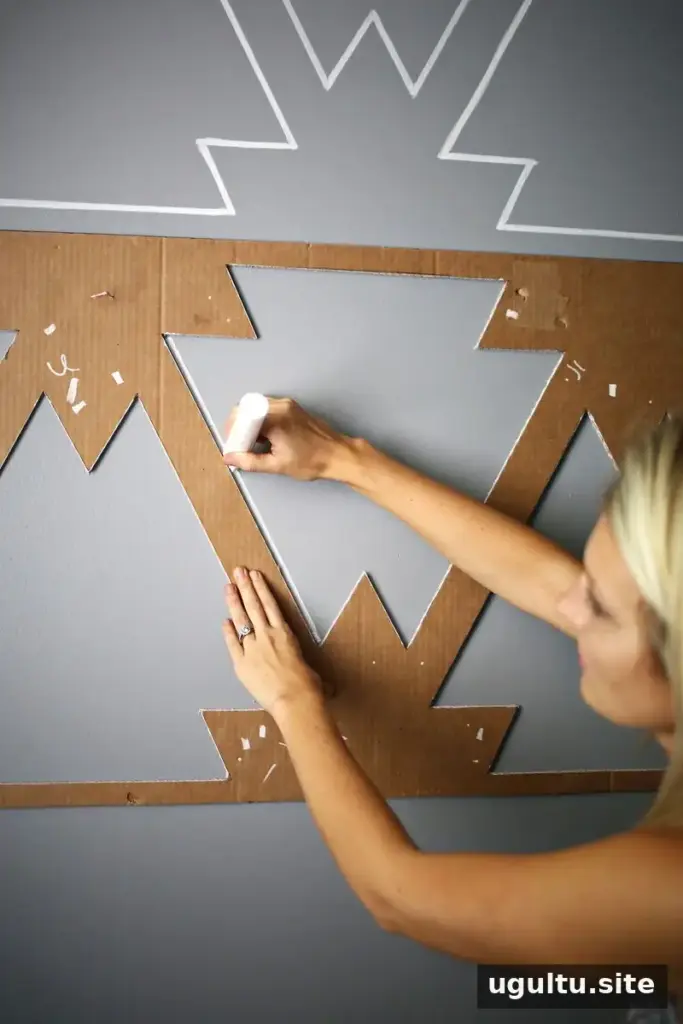
Trace inside the stencil openings with the thick paint pen. Let the paint dry before adding a second pass where you want a more solid, even line. For small corners or narrow details, switch to the thinner pen to improve control.
After completing the shapes in one section, remove the pins and shift the stencil along the wall. Overlap the first stencil shape with the last shape you traced to maintain even spacing. Repeat the process row by row.
When the full stencil is too large to fit neatly at a corner, use the saved cardboard cutouts as smaller templates. Trim them vertically if needed, then trace the remaining shapes close to the wall seam.
Finishing touches and project cost
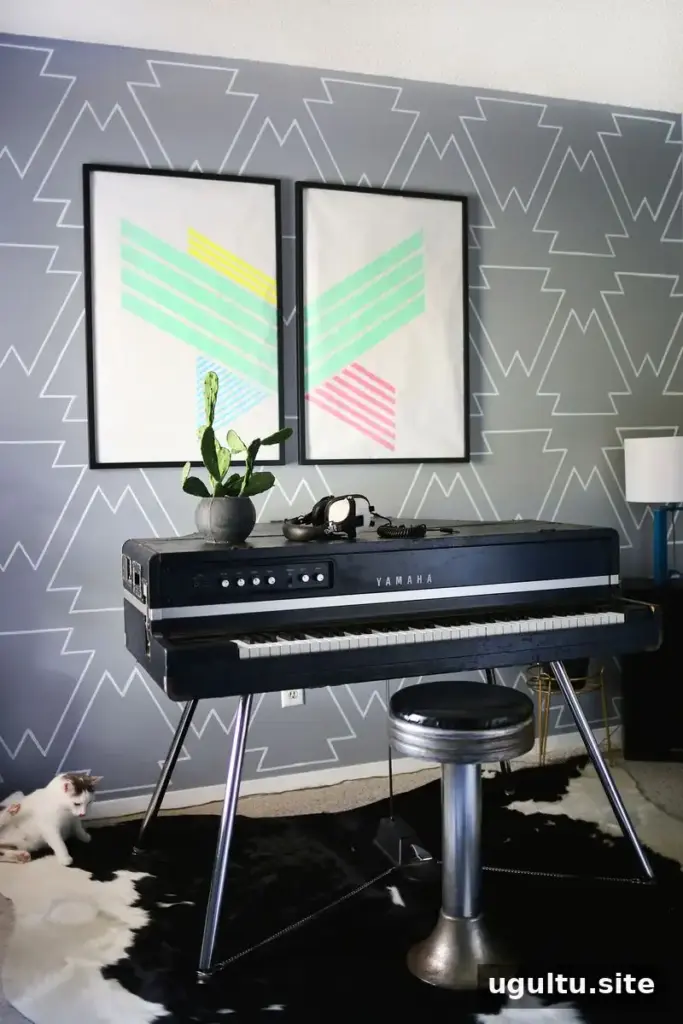
The wall design took a couple of hours to complete and cost around $10 for the paint pens used: one thick pen for most of the outlines and a thinner pen for the corners. The exact time and cost can vary with wall size, pattern complexity, and the supplies you already have.
Once the lines are dry, remove the painter’s tape and check the pattern from different parts of the room. A repeating geometric design can add visual interest without requiring extra wall decor, and it can work especially well alongside contrasting textures and furnishings.
Conclusion
A paint pen accent wall is a budget-conscious project that can give a plain room a distinctive focal point. Measure carefully, center the stencil, and overlap each section consistently to keep the geometric pattern even. Project by Laura.