
 admin
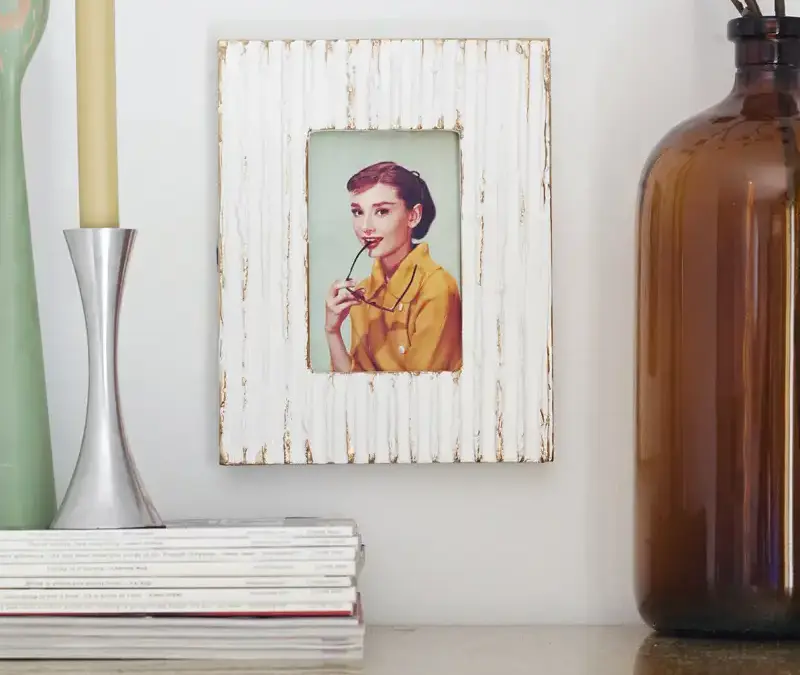
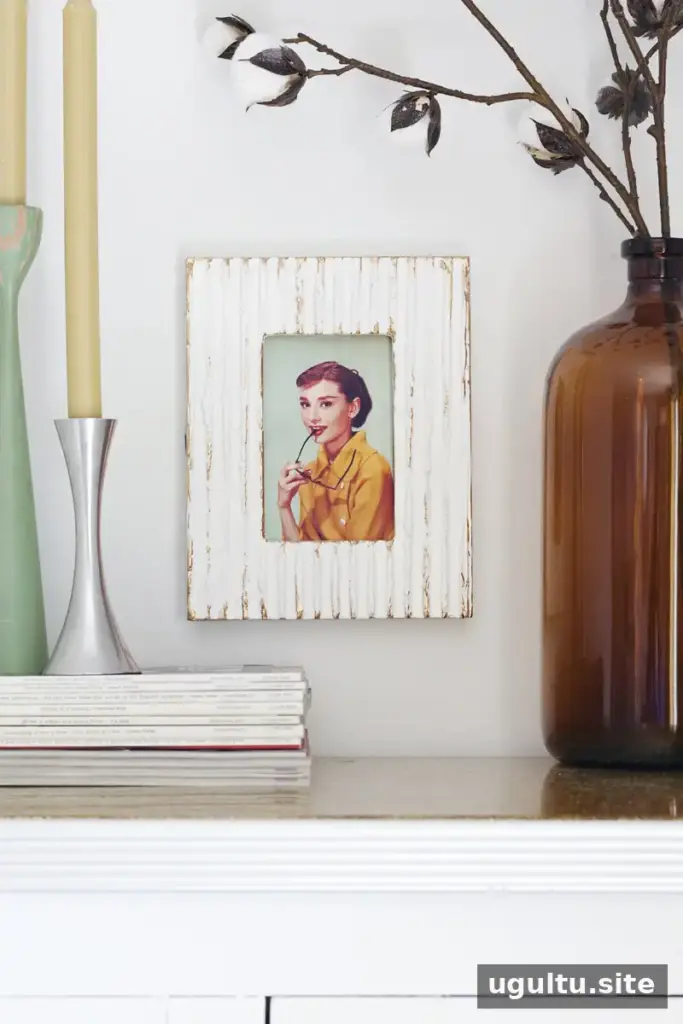
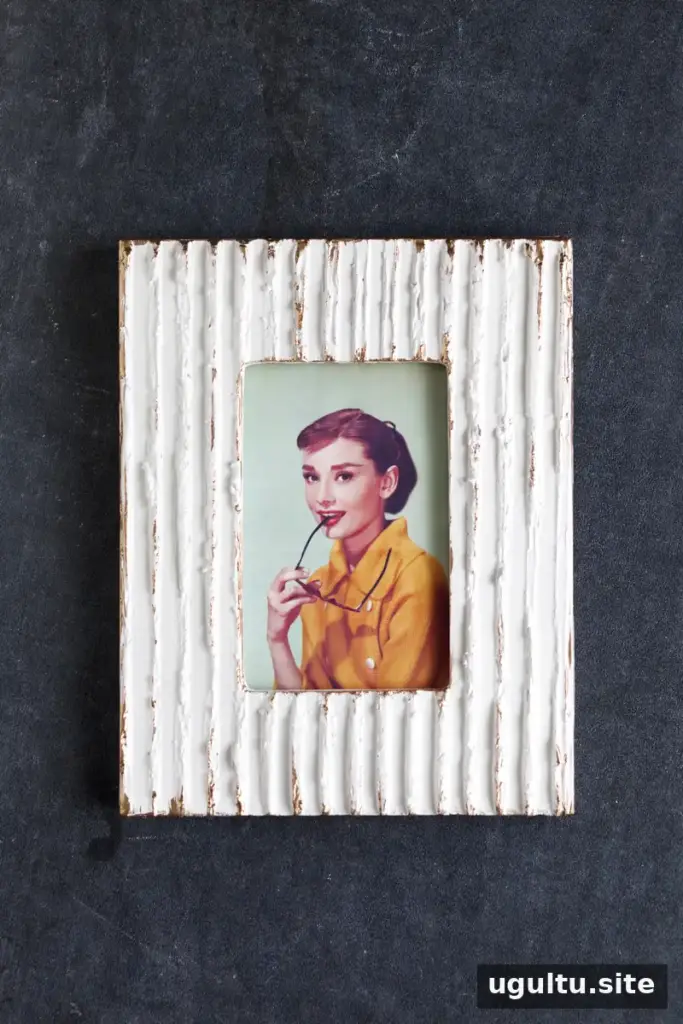
A textured picture frame can add depth and a handmade touch to a gallery wall or a single shelf display. This project transforms a wooden frame with a flat surface using setting compound, paint, and a simple tool for creating a pattern. Choose a frame that can support a thin coating, and protect your work surface before you begin.
Materials and tools for a textured picture frame
Gather everything before mixing the compound, since some formulations begin to set quickly. Follow the product label for mixing instructions and working time.
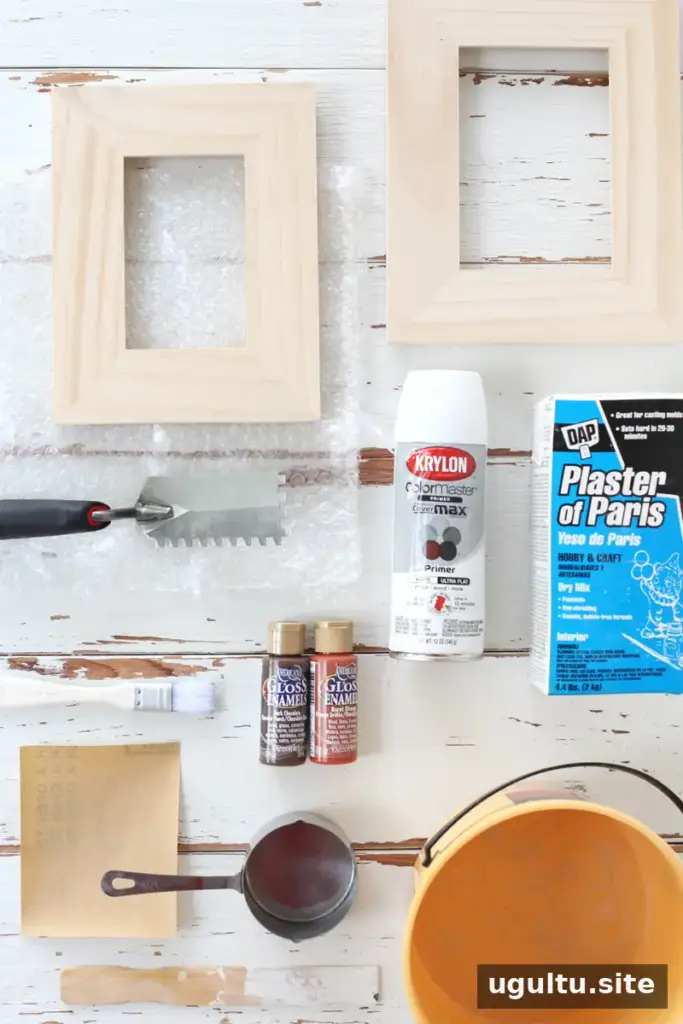
- A wooden picture frame with a flat surface
- Plaster or 20-minute setting drywall compound
- White primer and paint
- Colored or metallic paint for accents
- A notched trowel or another textured tool
- A mixing bucket, measuring cups, stirring stick, and paintbrush
- Sandpaper
Plaster of Paris may set too quickly for a slower-paced project. A 20-minute setting drywall compound can offer more working time, but check the packaging and avoid a faster-setting product.
How to make a textured picture frame
1. Mix the compound
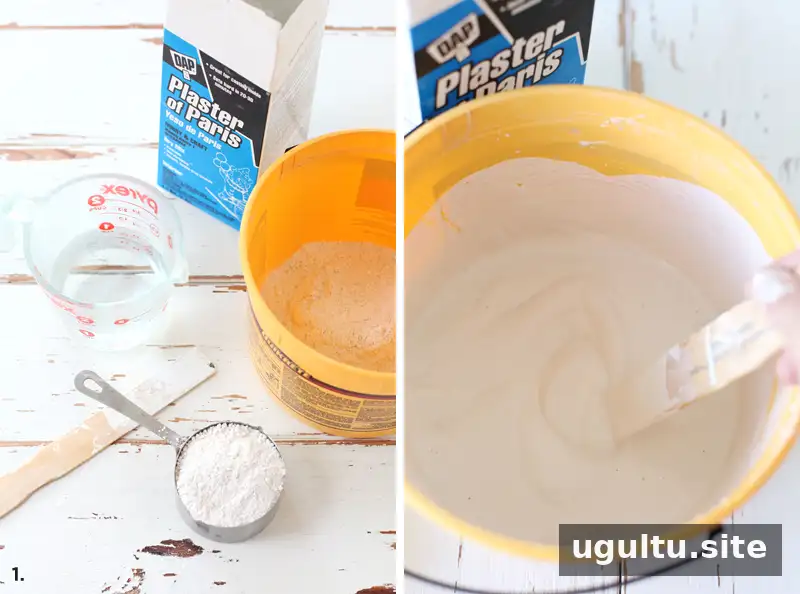
Mix the plaster or drywall compound in a bucket, using the water amount and method specified by the manufacturer. Prepare only what you can apply within its stated working time. Keeping your tools and frame ready beforehand makes this step easier.
2. Apply a thin, even layer
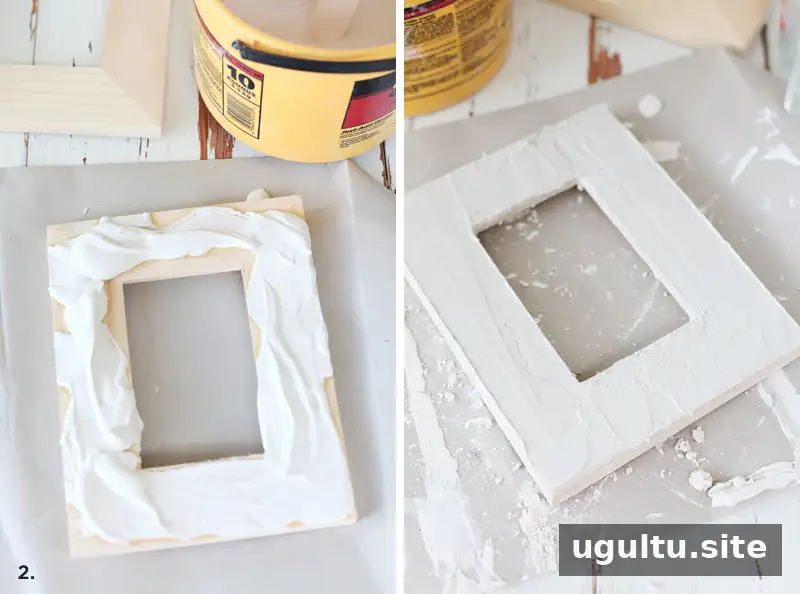
Spread the compound over the frame’s flat surface to a thickness of about 1/8 inch. Work promptly and avoid spending too long smoothing the coating, as it may start to set before you create the texture.
3. Create the pattern
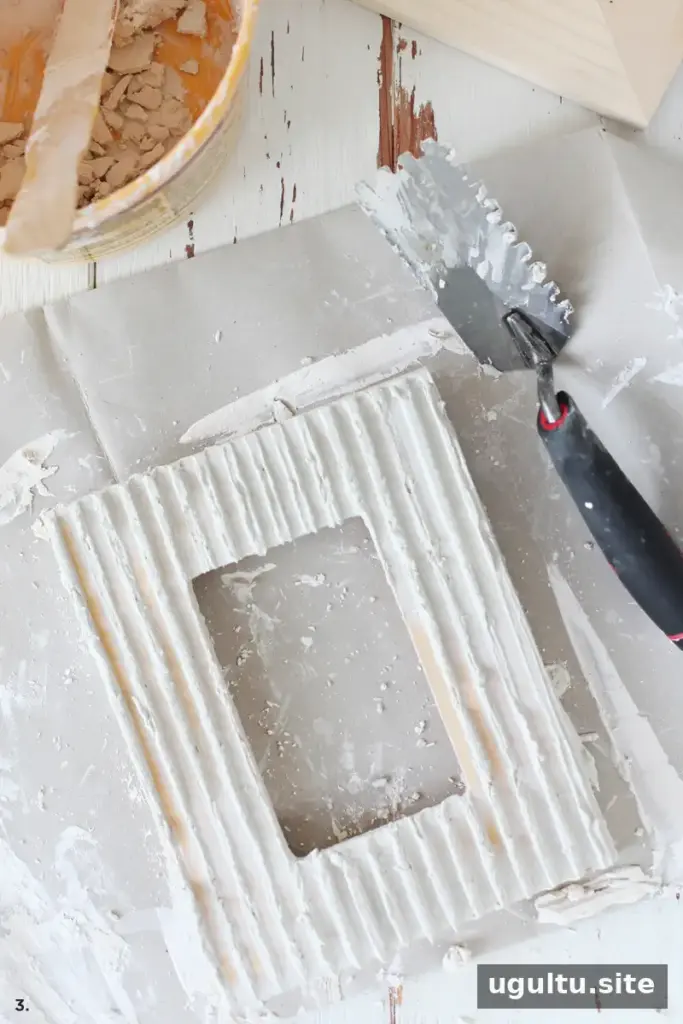
Drag a notched trowel across the compound to form lines or another simple pattern. Wipe excess material from the tool as you work. If the pattern does not look right, scrape off the compound while it is workable and apply a fresh batch rather than trying to reshape material that has started to set.
4. Let it set and sand rough areas
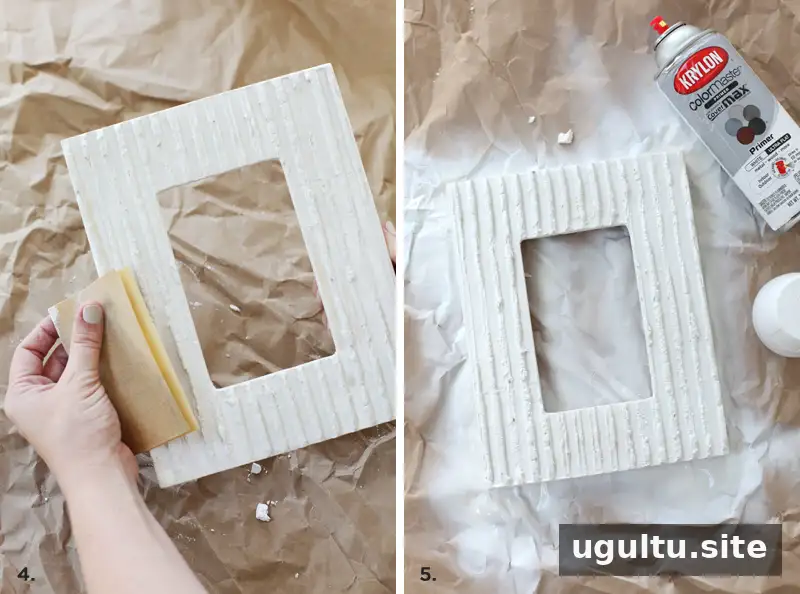
Allow the coating to set completely before sanding. Use sandpaper to soften rough spots, taking care not to remove more texture than intended. Sanding creates dust, so working outdoors or in a well-ventilated area and protecting the surrounding surface can make cleanup easier.
5. Prime, paint, and add accents
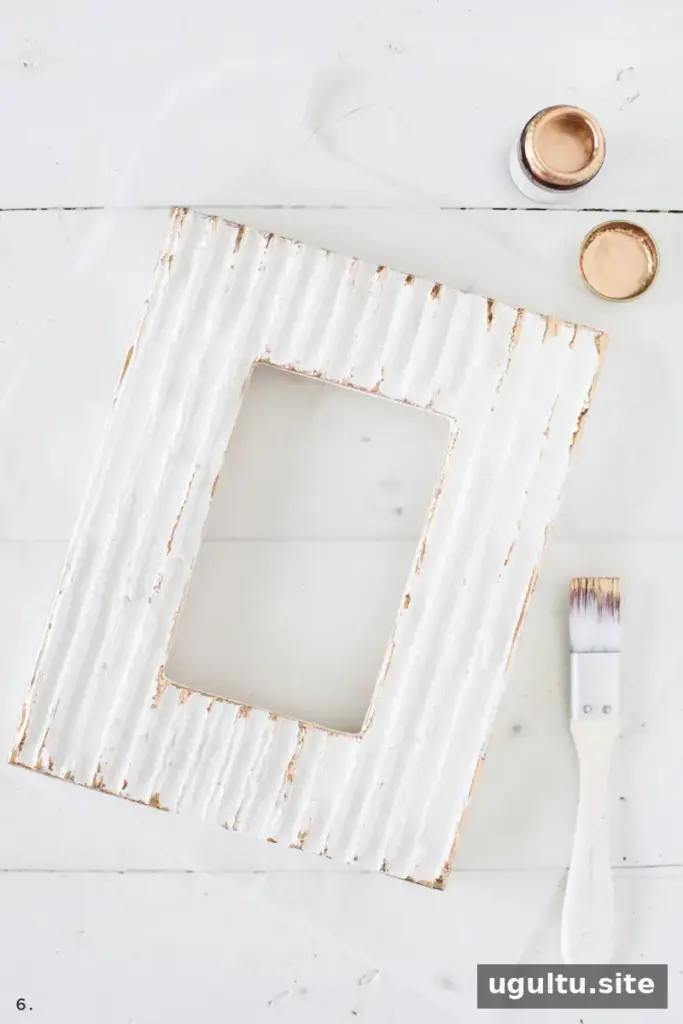
Apply a few coats of white primer and paint, allowing each coat to dry as directed on its label. Once the base coat is dry, highlight selected raised areas with colored or metallic paint. Gold accents along edges and corners offer contrast, but a single-color finish or a different accent shade also works.
Finishing and display tips
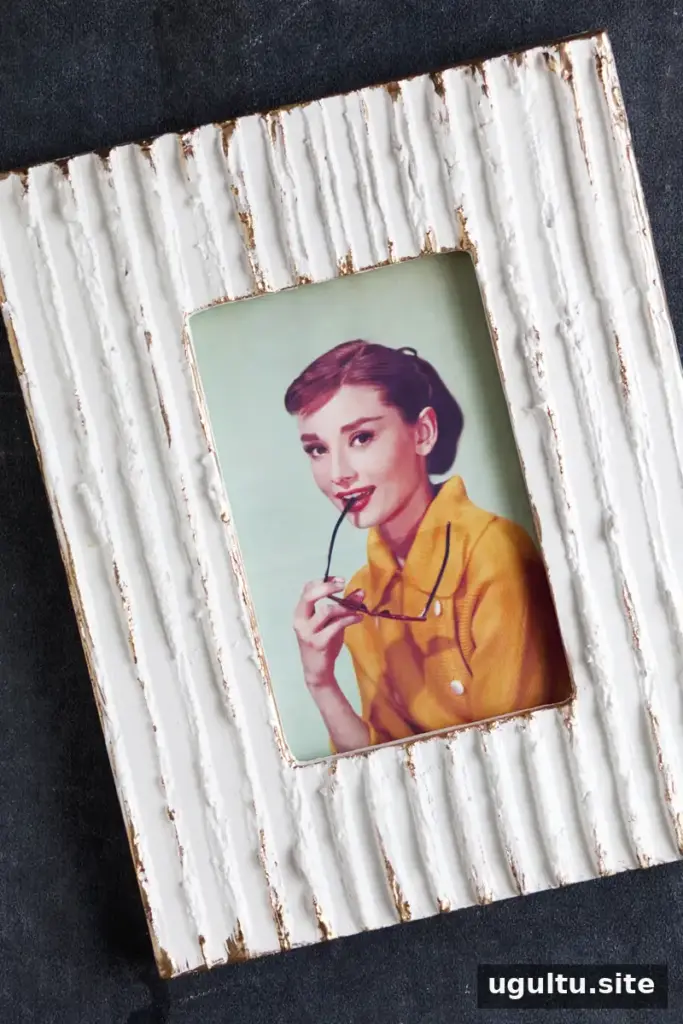
Before displaying the frame, check that the compound is fully set and the paint has dried. Handle the finished piece gently, especially around raised details. For a coordinated gallery wall, repeat one color from nearby artwork or frames while letting the texture provide visual interest.
A textured picture frame is a straightforward way to customize a plain frame for a home display or handmade gift. Choose a setting compound with enough working time, keep the coating close to 1/8 inch, and allow each layer to dry fully for a neater finish.
— Mandi


