
 admin
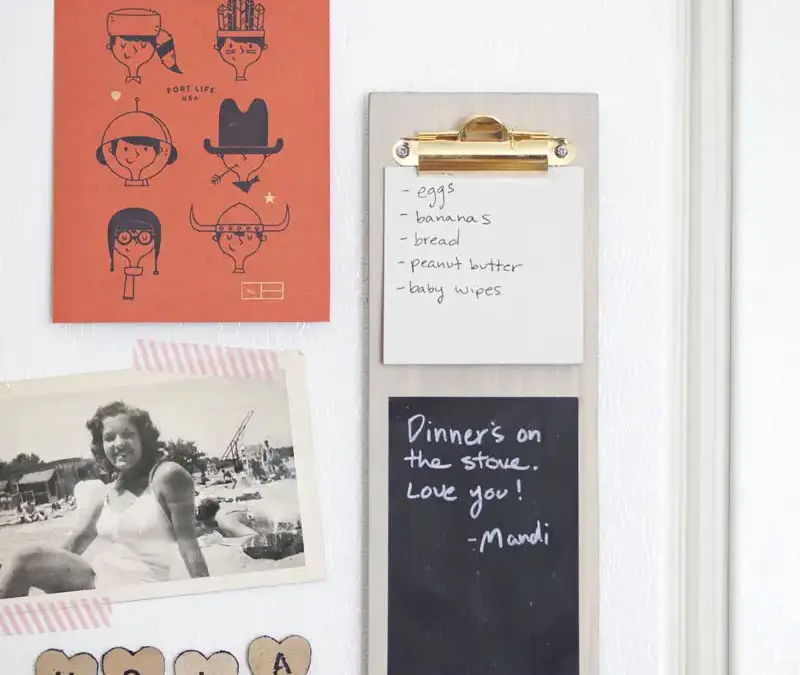
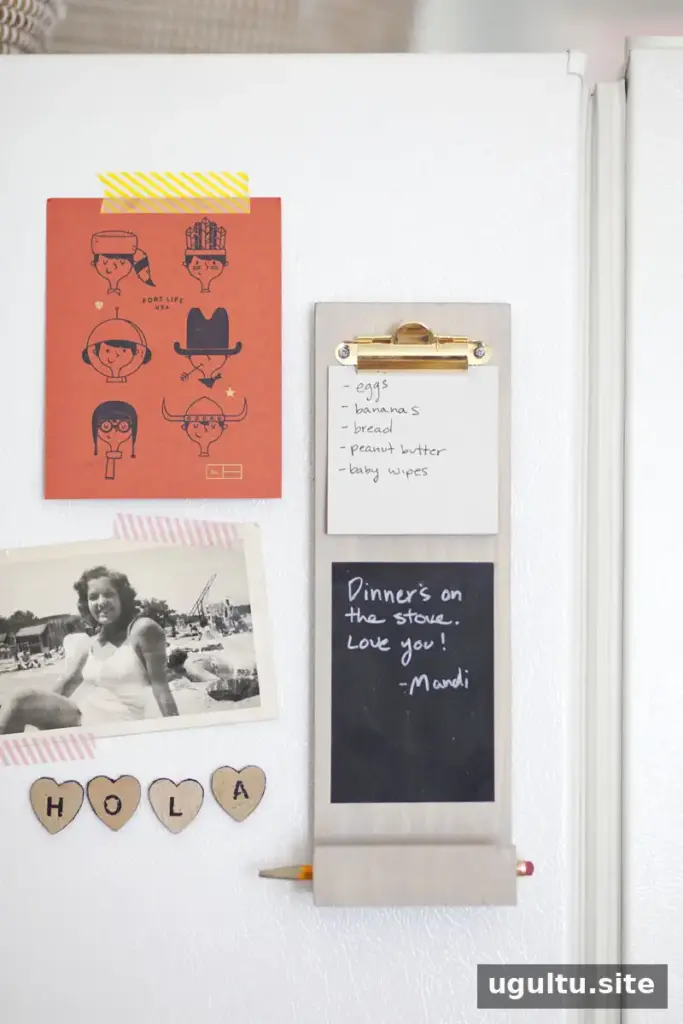
A custom magnetic clipboard can keep shopping lists and quick notes in view, right where they are needed. This wooden note board combines a clip for removable paper with a small chalkboard area for temporary messages. Magnets on the back let you mount it on a refrigerator or locker, making it a practical project for an entryway, kitchen, or workspace.
The design uses a short piece of pine, a small clip, paint or stain, and magnets. You can adjust the colors to suit the space, while keeping the paper and chalk areas easy to distinguish. Before starting, check that the clip is no wider than 3 inches and that your magnets are strong enough to hold the finished board and its notes.
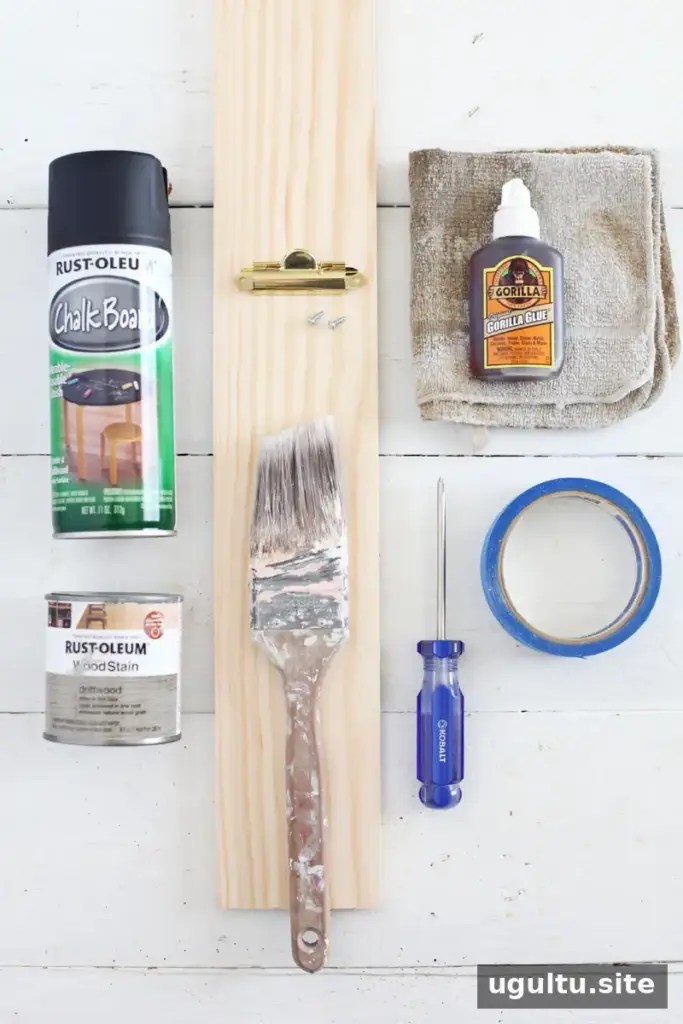
Materials
- One 3/8-inch x 4-inch x 36-inch piece of select pine; 12.5 inches of the board is used — $3.25
- Two 3/8-inch #4 screws — $0.50
- One clip no wider than 3 inches — $2
- Chalkboard paint, spray or brush-on — $5
- Primer, optional but recommended
- Wood stain or paint — $5
- Painter’s tape — $2
- Strong wood glue — $5
- Magnets, either strips or individual magnets — $2
- 120–220 grit sandpaper — $2
Estimated cost for all materials: $27
Cost for the wood, screws, clip, and magnets: $5.75
The full estimate includes supplies that may be left over after the project. If you already have paint, tape, glue, or sandpaper, your out-of-pocket cost may be closer to the listed $5.75 for the main components.
Tools
- Paintbrush
- Screwdriver
- Wet rag or sponge
- Clamps, optional
How to make a custom magnetic clipboard
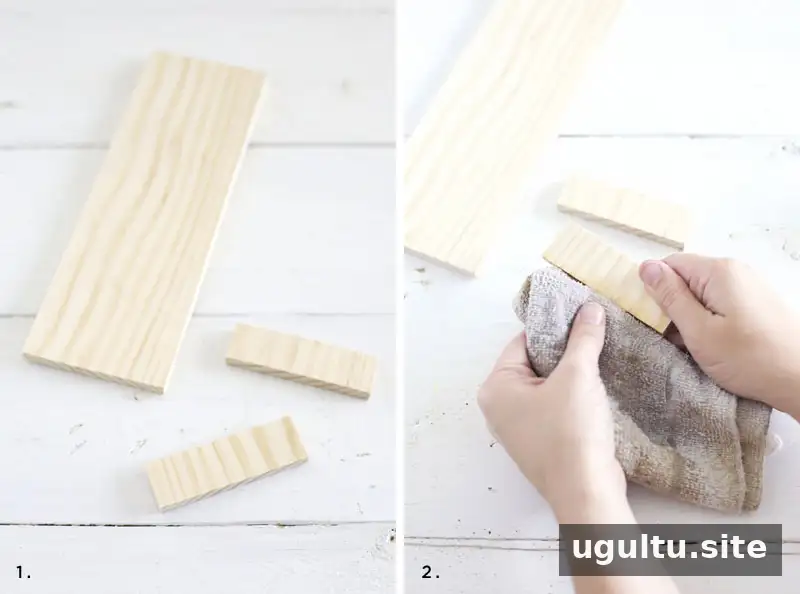
Step 1: Cut and sand the wood. Cut the pine into one 10.5-inch piece and two 1-inch pieces. A lumber yard or hardware store may be able to make these cuts if you do not have a saw. Lightly sand the cut ends and any sharp edges so the pieces fit together cleanly.
Step 2: Prepare the glue joints. Dampen the wood surfaces that will be joined. This helps activate the wood glue used for assembly. Avoid soaking the wood; a light, even dampening is sufficient.
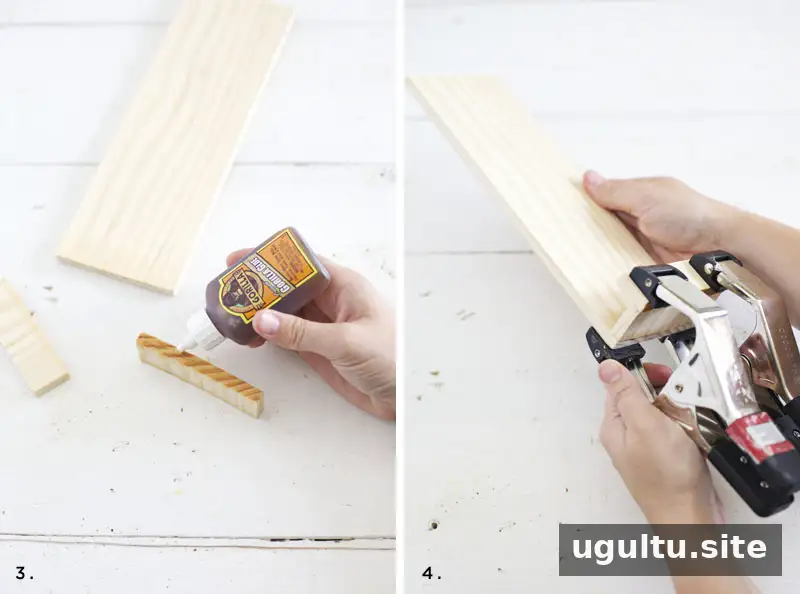
Step 3: Glue the spacers. Apply a thin bead of glue to the edges of the spacer pieces.
Step 4: Clamp the board together. Position the wood pieces as shown and hold them under pressure with clamps. Duct tape can be used as a substitute if clamps are unavailable. Remove excess glue with a damp rag before it dries, and allow the joint to set for 1–2 hours.
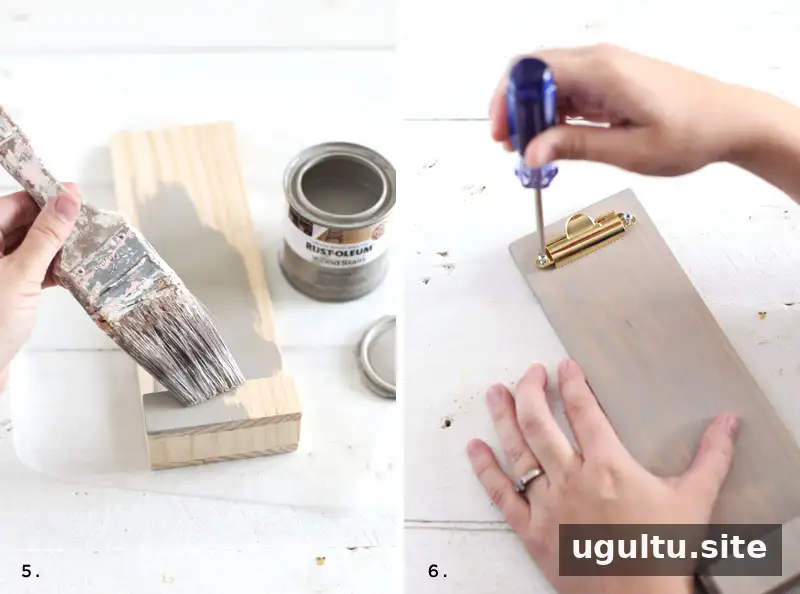
Step 5: Stain or paint. Once the glue has set, apply wood stain or paint and let it dry according to the product directions. Primer is optional, but can help the finish adhere and last longer. If using spray paint, work in a well-ventilated area and protect the surrounding surface.
Step 6: Attach the clip. After the finish is dry, fasten the clip to the board with the two screws. A screwdriver is enough for this step; tighten the screws so the clip sits securely without overtightening them.
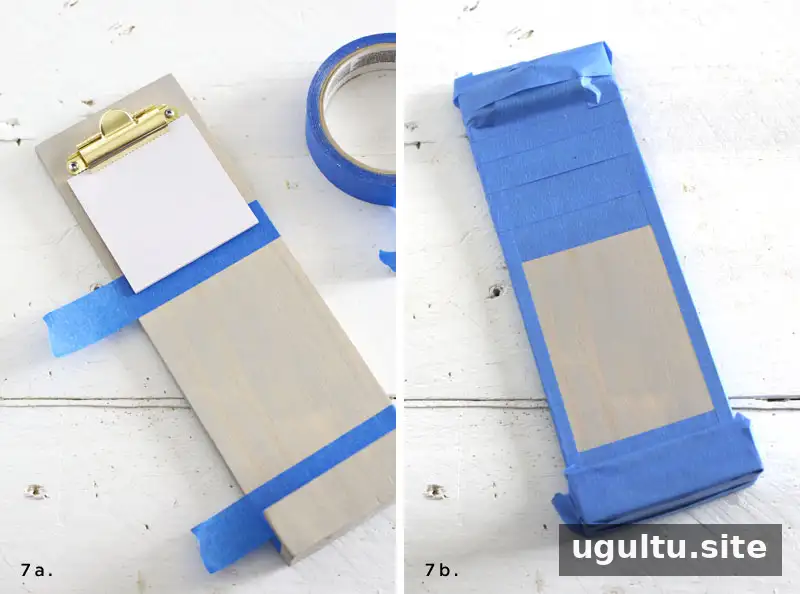
Step 7: Mark the chalkboard area. Clip a sheet of paper or a sticky note in place to help plan the layout. Apply painter’s tape around the area below it, leaving about 1/2 inch between the paper and chalkboard sections. Press the tape edges down firmly to reduce paint seepage. For spray paint, remove the paper and mask the rest of the clipboard before spraying.
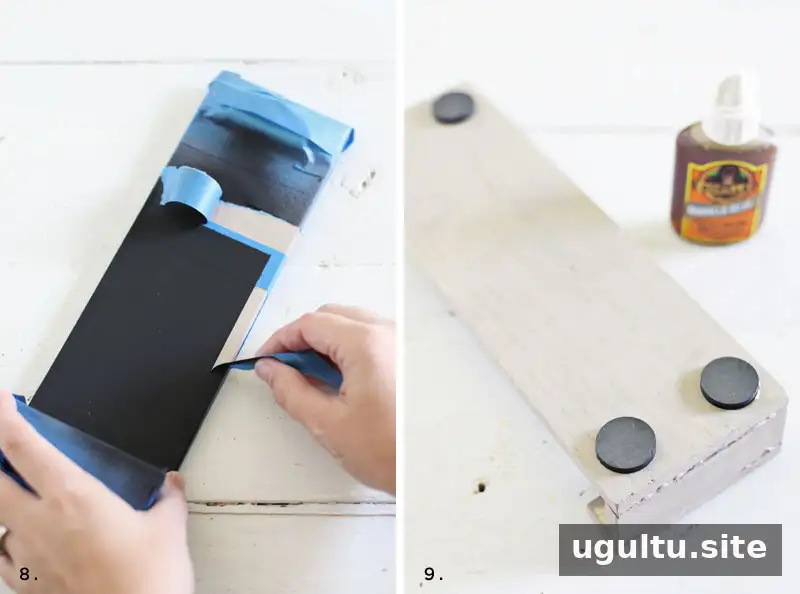
Step 8: Remove the tape carefully. Peel the tape back slowly after painting. If paint starts to lift with it, use a blade to gently separate the painted edge from the tape. Let the chalkboard surface dry fully before writing on it.
Step 9: Attach the magnets. Test the magnets against the refrigerator before gluing them to the back so you know which side faces outward. Hold them in place with duct tape while the glue dries if they shift or repel one another. Allow the adhesive to cure before hanging the clipboard.
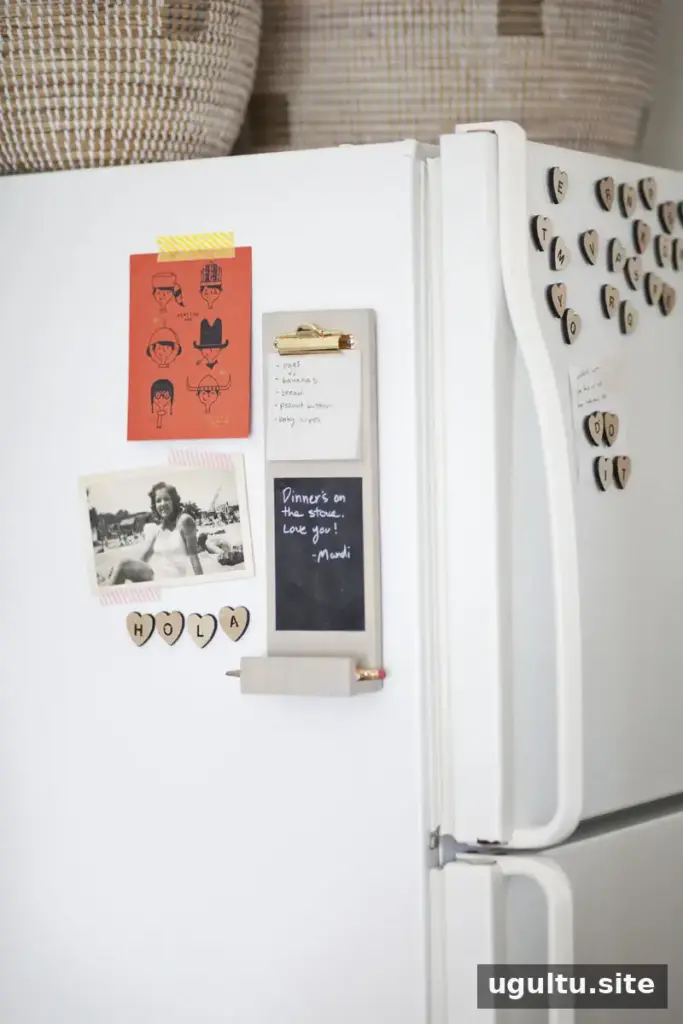
Add a short pencil and a piece of chalk to keep the note board ready for use. Test any chalk or writing tool on a small area first: some chalkboard markers may not erase cleanly and could require repainting. Traditional chalk is the safer choice when you want notes to wipe away easily.
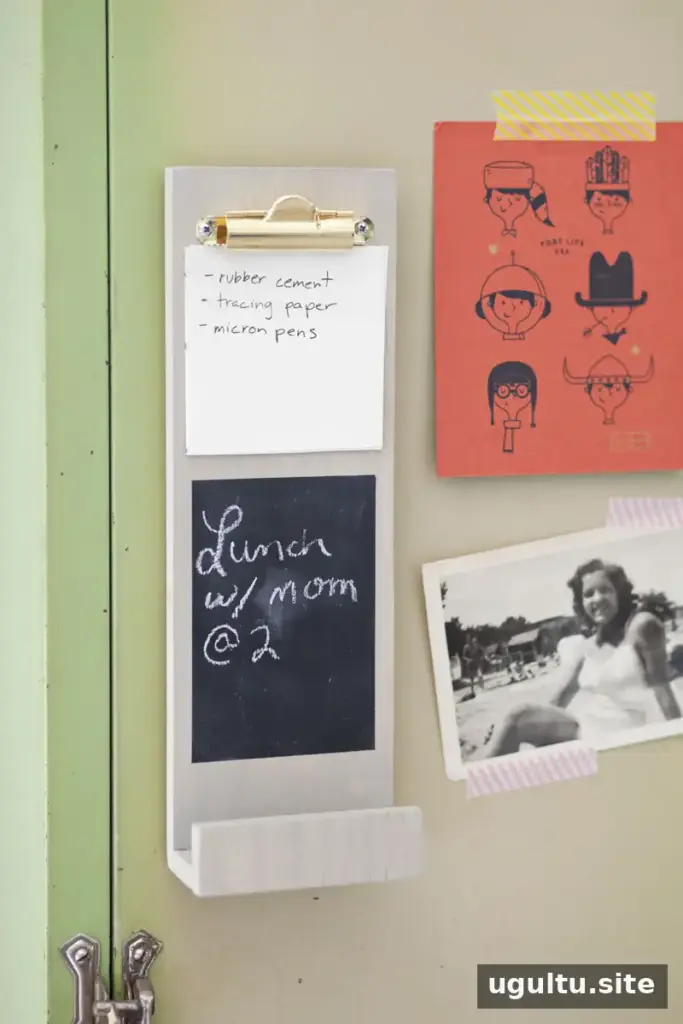
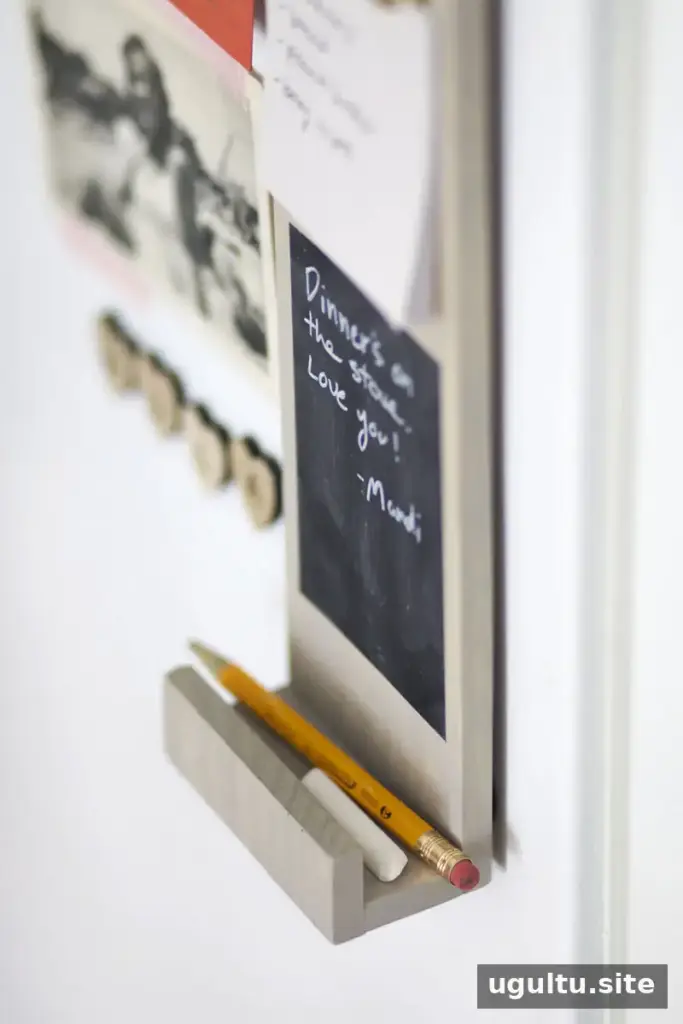
A finished custom magnetic clipboard keeps shopping notes visible and provides a separate spot for temporary reminders. Place it on a smooth, suitable metal surface, and check that the magnets hold securely before adding extra paper or other items. With the paper clip, chalkboard section, and magnetic backing in one compact board, everyday lists are easier to keep organized. —Mandi


