
 admin

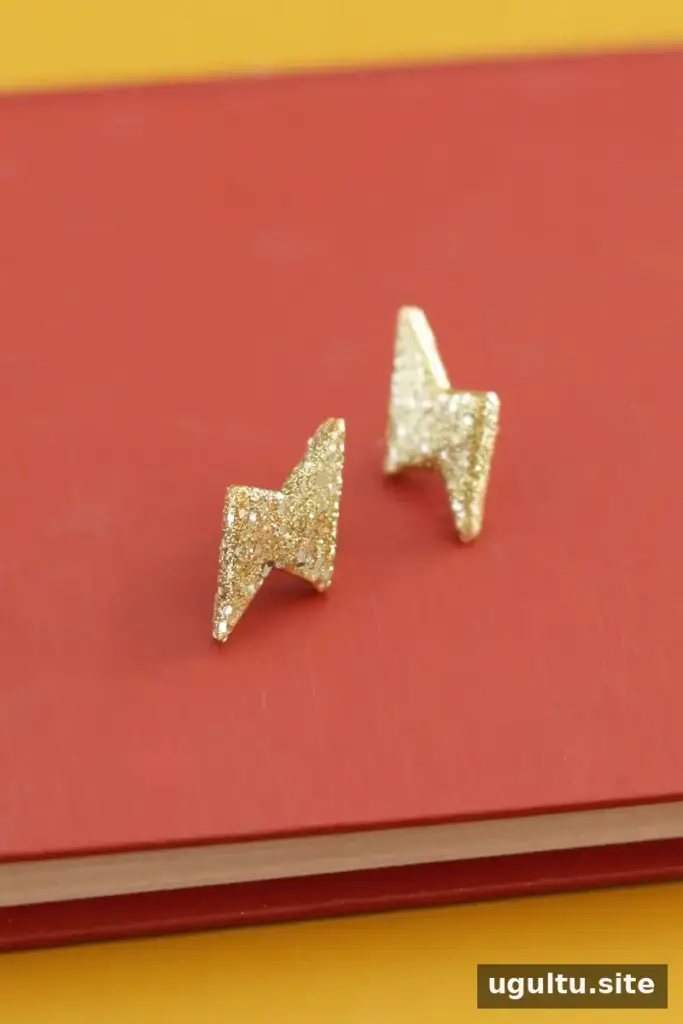
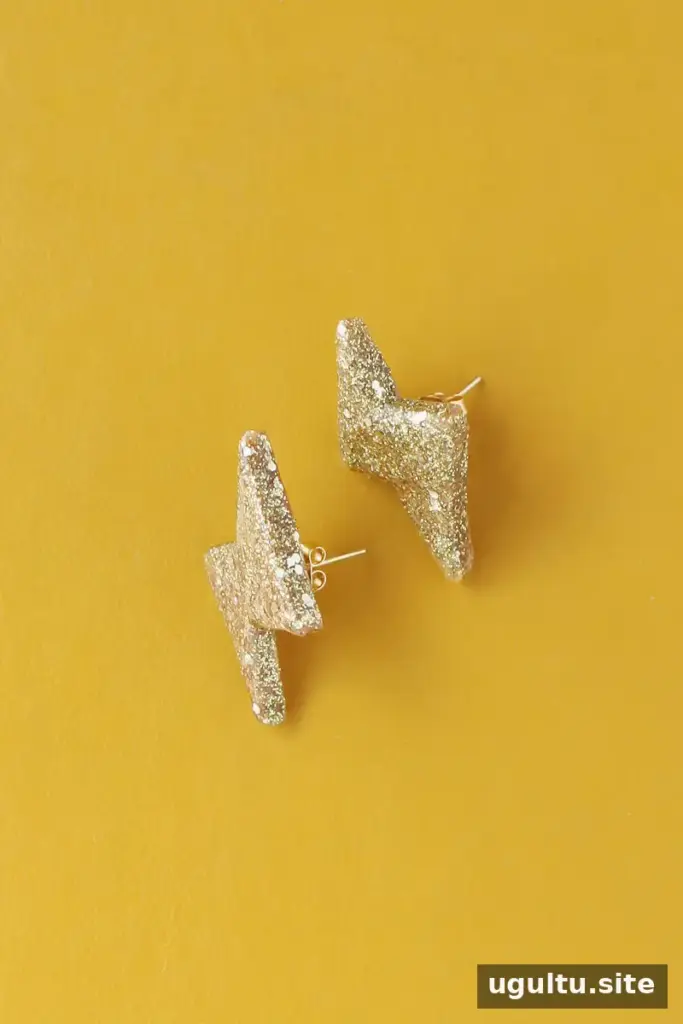
Gold thunderbolt earrings make a bold, playful accessory, and you can create your own pair with polymer clay and a handful of craft supplies. This beginner-friendly project uses a paper template to shape matching lightning bolts, then adds glittery polish for extra shine. Set aside time for baking, cooling, and glue to dry before wearing your finished earrings.

Supplies for Gold Thunderbolt Earrings
Gather everything before you begin so the clay pieces can be shaped and baked without interruption. A non-stick work surface such as wax paper also makes it easier to lift the cut shapes cleanly.
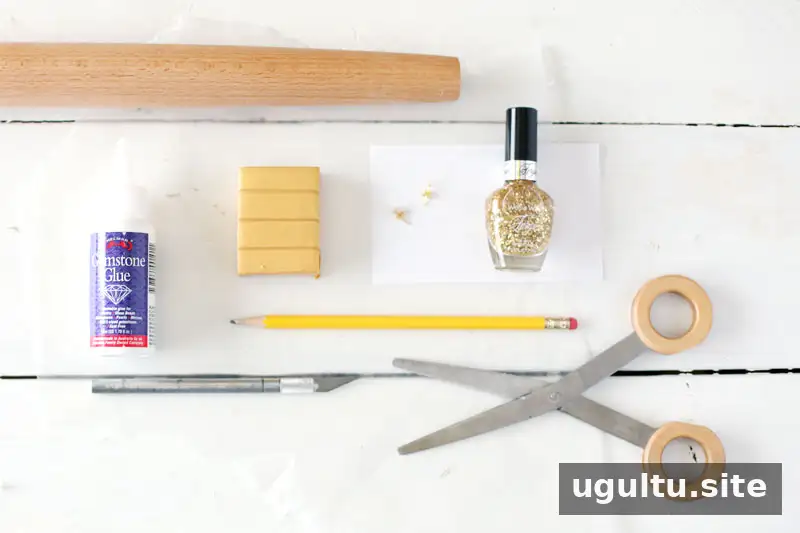
- Metallic gold polymer clay
- Glittery gold nail polish
- Fine gold glitter (optional)
- Earring posts and backs with a small base
- Pencil and paper
- Craft blade and scissors
- Strong, waterproof craft glue
- Rolling pin
- Wax paper
- Baking pan and access to an oven
Estimated cost for the materials used: $1.65. This estimate is based on the portions used: about $0.50 for clay, $0.50 for nail polish, $0.15 for earring posts, and $0.50 for glue. The estimated cost including the full supplies purchased is $16. Prices may vary by store and location.
How to Make Gold Thunderbolt Earrings
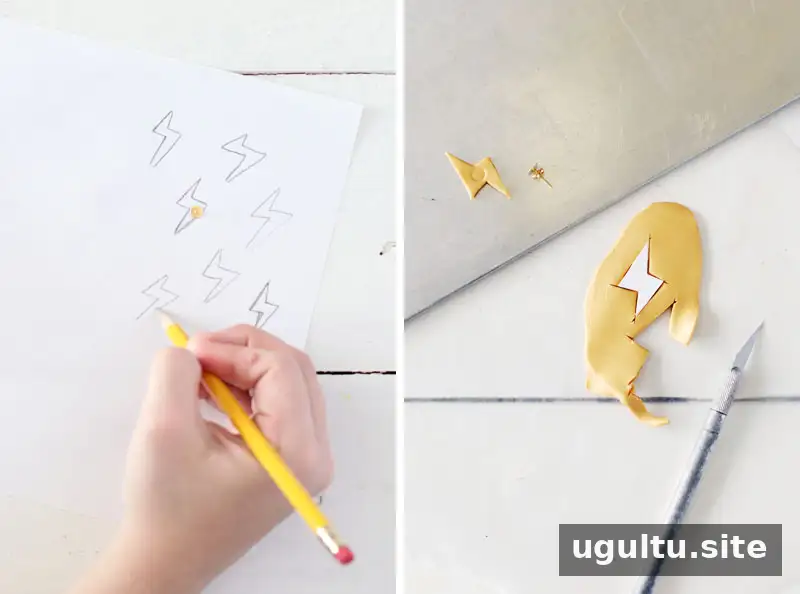
1. Draw and cut out a template
Sketch several thunderbolt shapes on paper and choose a pair that will fit your earring posts. Check the widest part of the design against the post base; it needs enough room for a secure attachment. Cut out your preferred shape to use as a template.
2. Shape the clay
Place the clay on wax paper and roll it to about 1/8 inch thick. Set the paper template on top and carefully cut around it with a craft blade. Make a second shape, aiming for two matching pieces. Avoid pressing the blade too deeply into the corners, which can leave marks in the clay.
3. Bake and cool the pieces
Gently smooth any uneven edges with your fingers, then arrange the thunderbolts as mirror images on a baking pan. Press each earring post lightly into the center of the back to mark its position, then remove the posts. Bake the clay shapes at 275 degrees for 30 minutes. Let them cool completely before handling. Follow the clay package instructions and use an oven-safe work area.
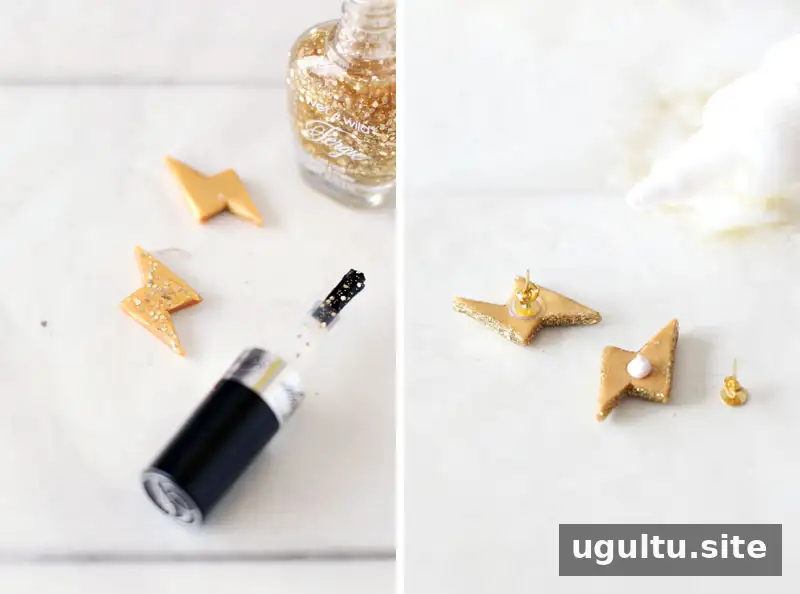
4. Add the glitter finish
Apply glittery gold nail polish to the front and edges of each cooled shape, leaving the indented backs unpainted. If using loose glitter, sprinkle it over the wet polish. Work on one section at a time if needed, so you can hold the piece without touching wet polish. Once dry, add another coat to help seal the glitter.
5. Attach the earring posts
Put a small amount of permanent, waterproof glue into each indentation on the back. Press an earring post into place, taking care not to use so much glue that it spreads around the post. Leave the earrings undisturbed for 24 hours, or follow the glue label if it specifies a longer curing time.
Finishing and Wearing Your Earrings
Check that the polish is dry and each post feels firmly attached before wearing the pair. Store the earrings somewhere dry, and avoid soaking them in water. With a simple template and careful drying time, these gold thunderbolt earrings are an easy way to add a handmade accent to an outfit.
—Mandi


