
 admin
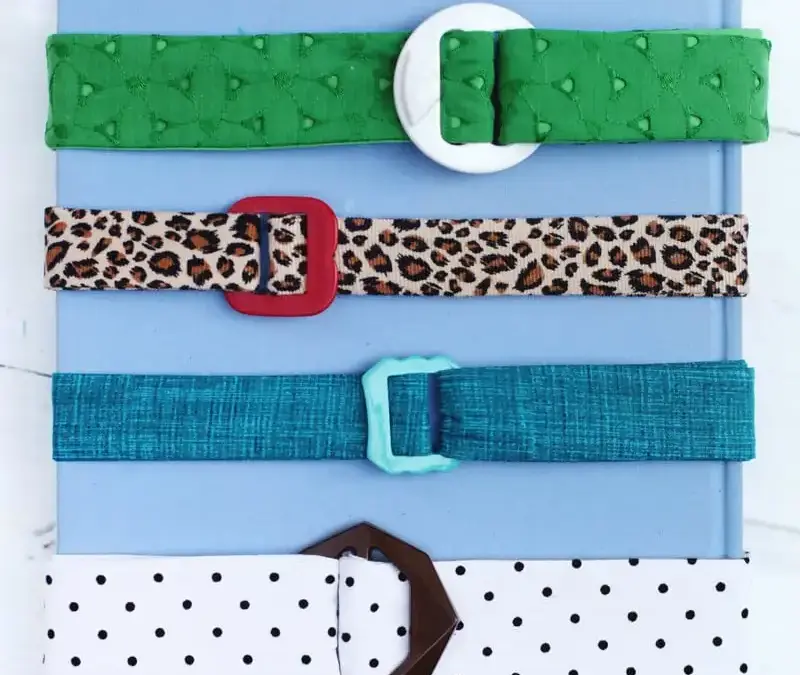
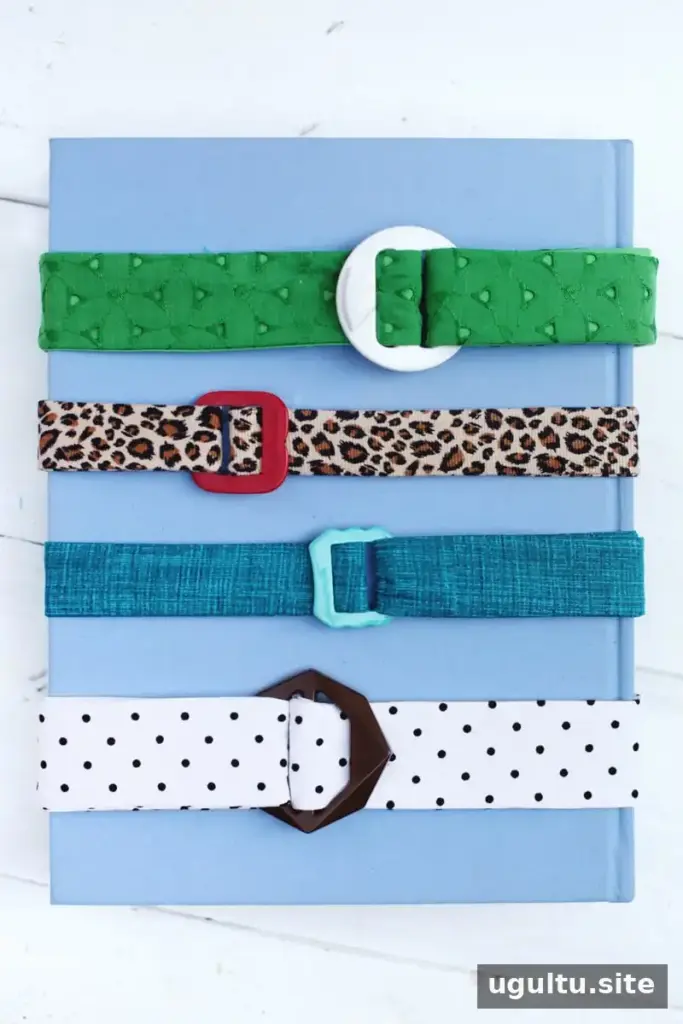
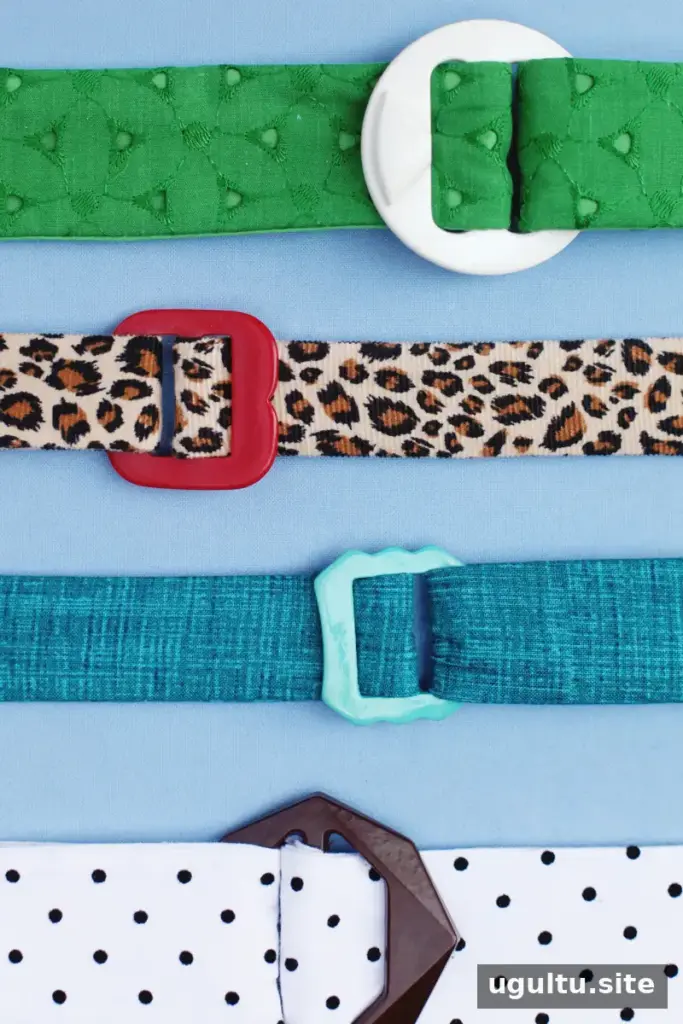
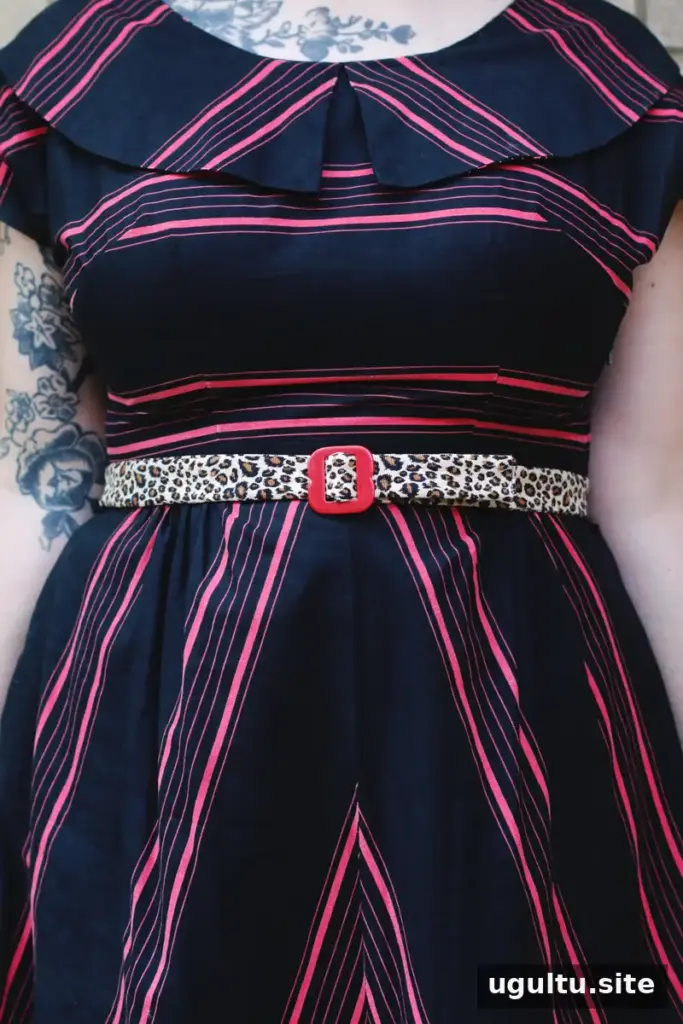
Fabric belts are a simple way to add color or pattern to an outfit, and making your own lets you coordinate them with clothes you already wear. This beginner-friendly sewing project uses a belt buckle, two fabric strips, and interfacing. Before cutting, measure the spot where you plan to wear the belt and check the buckle’s inside width so the finished belt will fit properly.
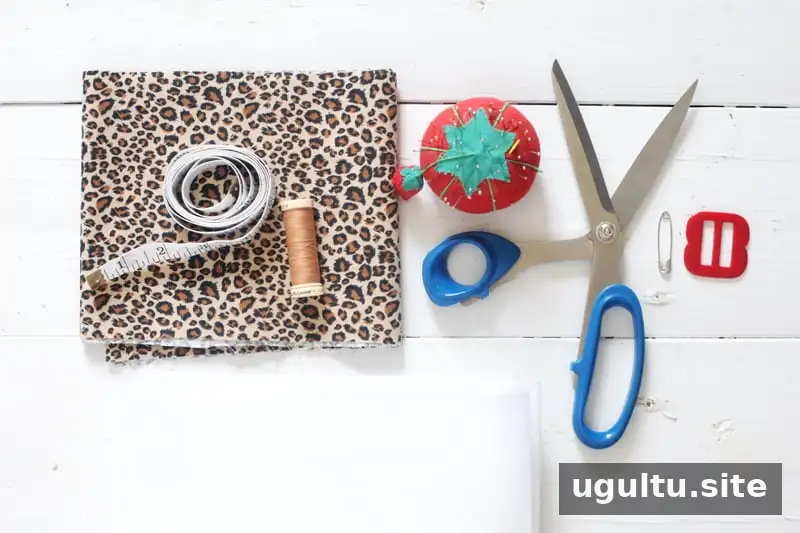
Supplies
- A belt buckle
- Fabric: a 6-inch width for each belt, or 1/8 yard plus 2 inches
- Medium- to heavyweight interfacing; it does not need to be fusible
- Thread that matches the main color in the fabric
Tools
- Sewing machine and sewing needle
- Tape measure
- Straight pins
- One large safety pin
- Fabric scissors
How to Make Fabric Belts
1. Measure the belt length
Measure around the waist, hips, or other spot where you intend to wear the belt. Add about 6 inches to the measurement. This extra length allows for attaching the buckle, closing the opposite end, and leaving a small overhang. Check that the buckle placement and extra length suit how you plan to wear it.
2. Cut the fabric and interfacing
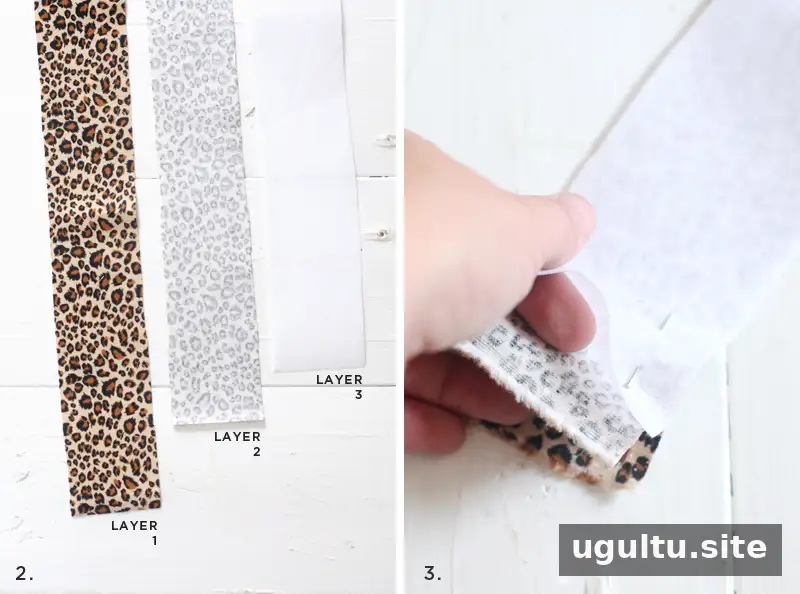
Cut two fabric strips and one interfacing strip to the measured length. Make each strip 1 inch wider than the inside width of the buckle. Keeping the edges straight helps the finished belt turn evenly and pass through the buckle without bunching.
3. Pin the layers
Arrange the layers with the first fabric strip face up on the bottom, the second strip face down in the middle, and the interfacing on top. Pin the layers together along the length. Make sure the fabric edges line up before sewing.
4. Stitch and trim
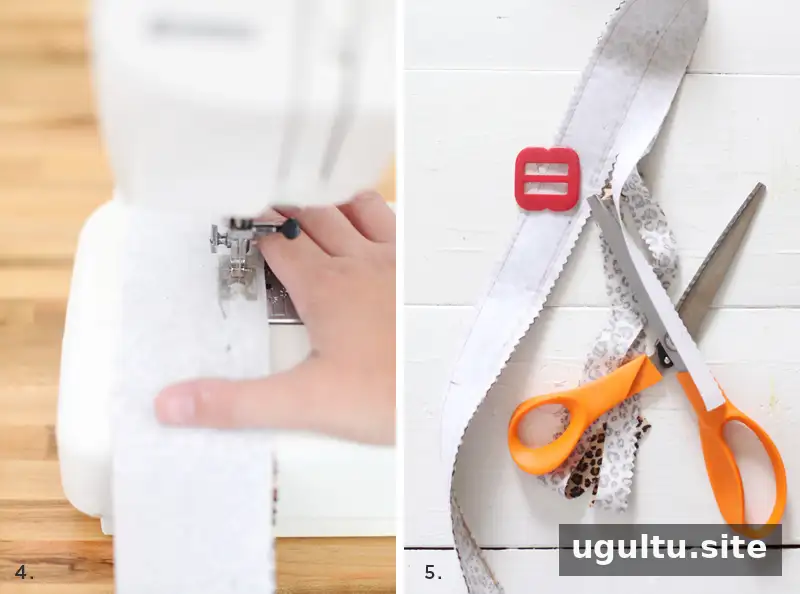
Sew along the strips, removing pins as you work. Keep the first line of stitching slightly less than 1/5 inch from the edge. For the second stitching line, measure and mark the distance needed for the belt to fit the buckle instead of relying on the fabric edge as a guide. Place the buckle over the stitching to check the width before trimming.
Use sharp fabric scissors or pinking shears to trim excess fabric beside the stitching. Leave the sewn edges intact, and avoid cutting too close to the stitches.
5. Turn the belt right side out
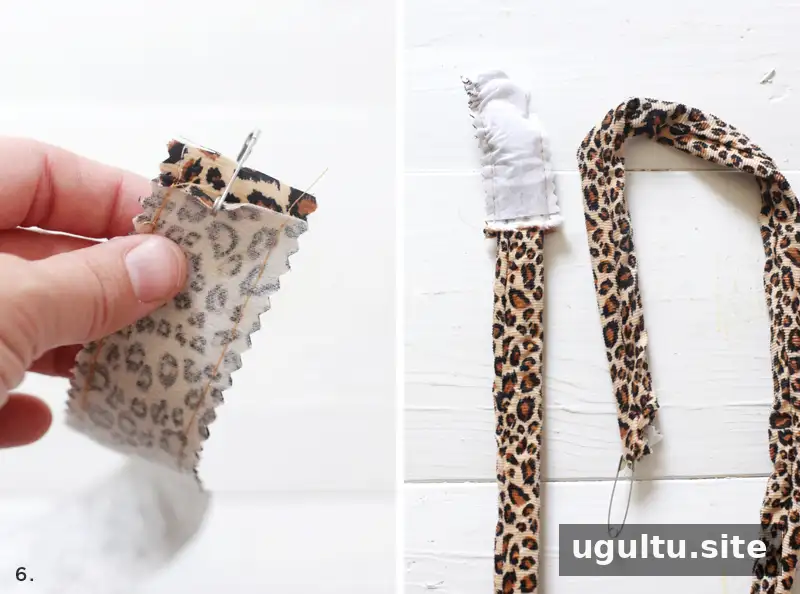
Attach a large safety pin to one end of the fabric tube. Push it through the tube and guide it out the other end, easing the fabric along as needed. Work slowly if the fabric gathers so the tube turns without stressing the seams.
6. Press and finish one end
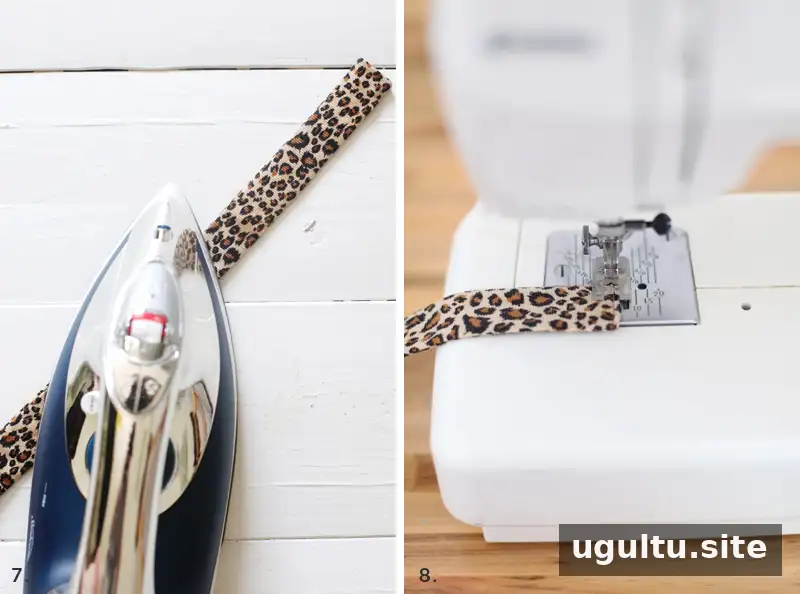
Iron the belt flat, keeping it stretched to its full width as you press. Follow the fabric’s care instructions and choose an appropriate iron temperature. Tuck one end into the tube and stitch it closed.
7. Attach the buckle
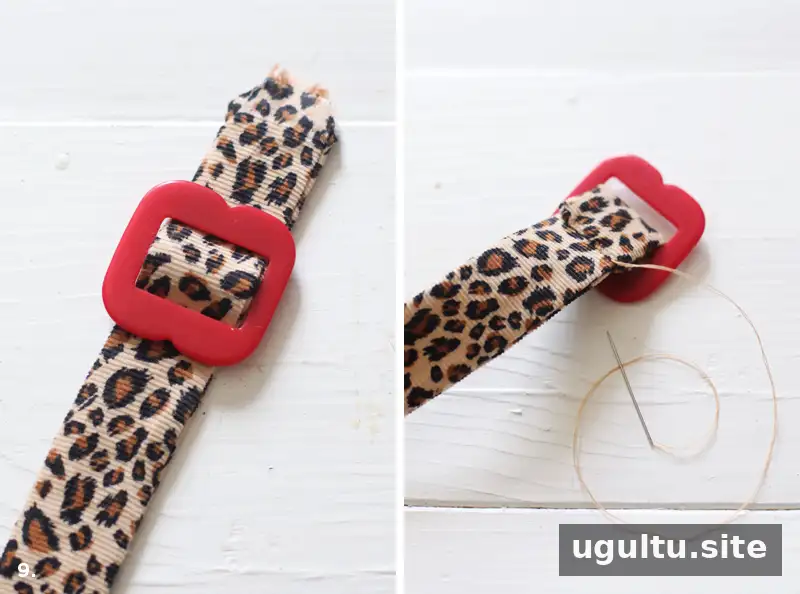
Pass the open end through the buckle. Fold the fabric end under and sew it down to secure the buckle. Hand-stitch if the space is too narrow for the sewing machine, and position the stitching so it is hidden by the buckle.
Tips for a Neat Finish
- Measure the buckle’s inside width before sewing the long seams; small differences can affect how smoothly the belt passes through.
- Check the finished tube against the buckle before trimming excess fabric.
- Choose a fabric and interfacing combination that can hold its shape, and test the iron on a fabric scrap if you are unsure about heat settings.
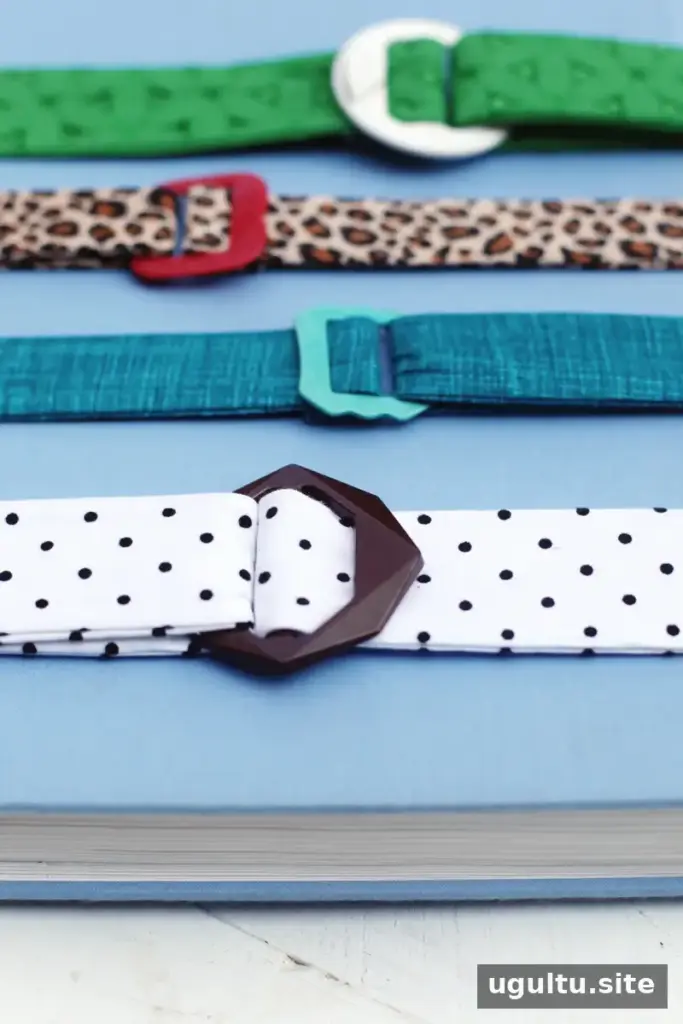
The most precise parts of making fabric belts are cutting straight strips and keeping the stitched width consistent. Once the belt is turned and pressed, finishing the ends and attaching the buckle are straightforward. A patterned fabric can add a distinctive accent, while a sturdy fabric such as corduroy may help the belt stay in place. — Mandi
Conclusion
Homemade fabric belts offer a practical way to coordinate an accessory with your wardrobe using a fabric print you like. Measure carefully, match the finished width to the buckle, and press the belt flat for a cleaner result. With those checks in place, fabric belts can be a manageable sewing project for beginners and experienced makers alike.


