
 admin
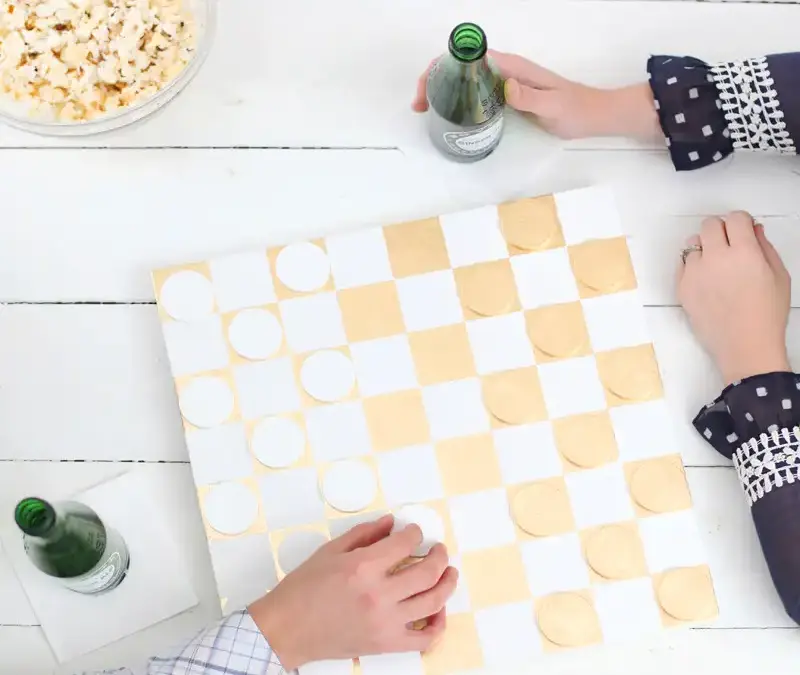
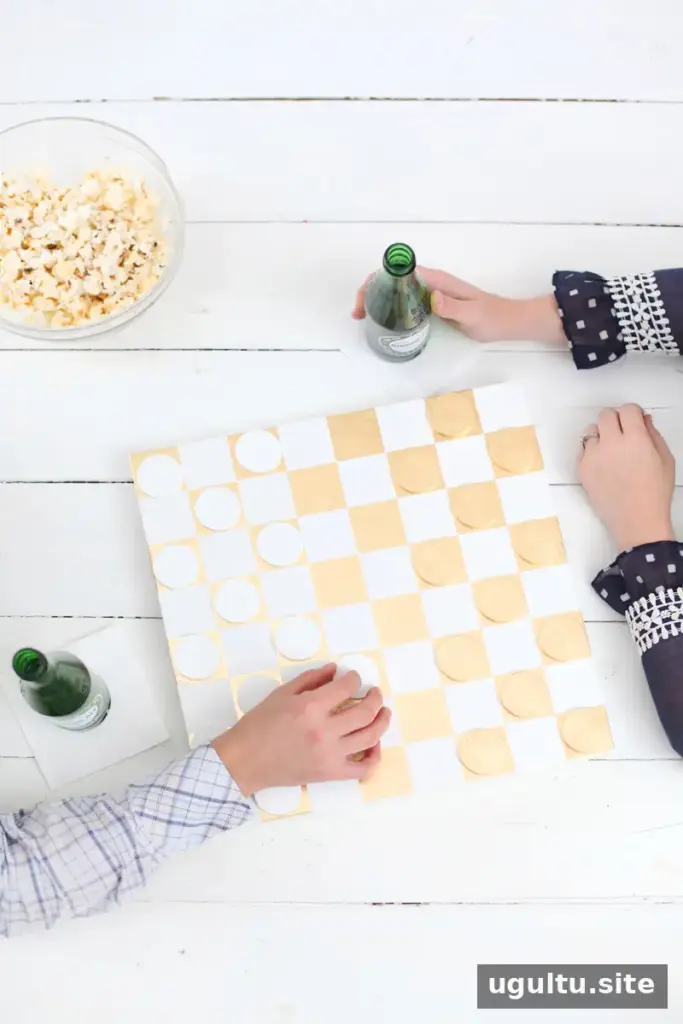
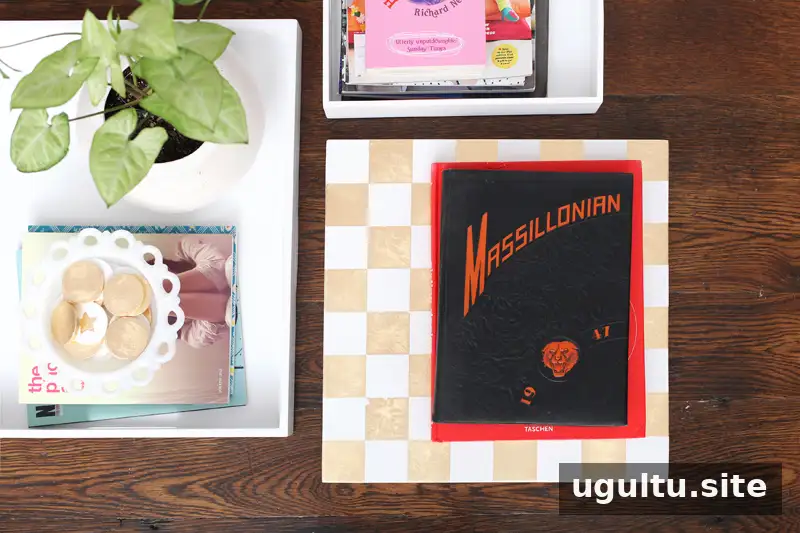
A gold leaf checkerboard can serve as both a playable game and a decorative accent for a coffee table or wall. This project uses plywood, paint, masking tape, and metal leaf to create a custom board and matching pieces. Allow enough time for the paint and finish to cure between steps; rushing those stages can affect the final result.
The instructions below explain how to prepare the board, mask a checker pattern, apply the gold leaf, and seal the finished surface. The design can also make a thoughtful handmade gift.
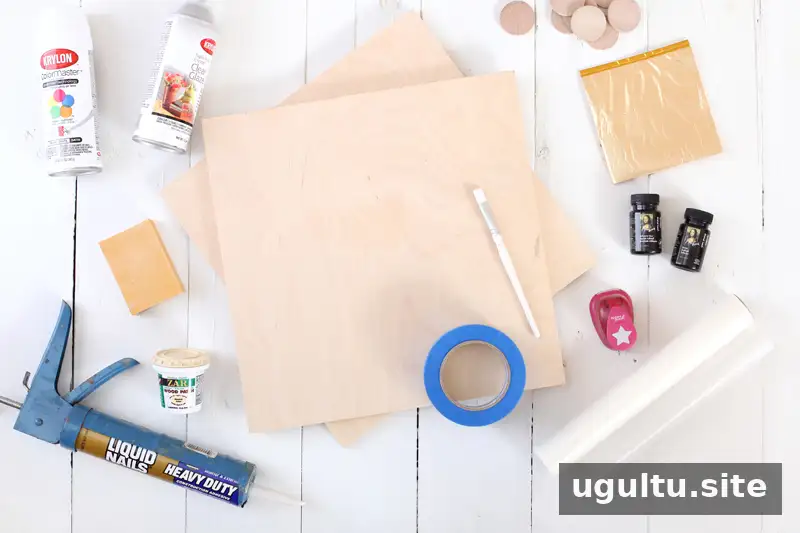
Supplies
- Two 15-inch square pieces of 1/2-inch Baltic birch plywood
- Wood glue or construction adhesive
- High-performance wood filler; it does not need to be stainable
- 180- and 320-grit sandpaper; a rotary sander can reduce hand sanding
- Respirator
- 1.88-inch-wide painter’s masking tape
- Wax paper
- Decorative hole punch no larger than 1 inch
- White primer and paint
- Clear glaze in a spray can or polyurethane
- Twenty-four 1.75-inch wooden discs
- Gold-toned metal leaf kit, or metal leaf paper and sizing
- Paintbrush
Step 1: Build and prepare the board
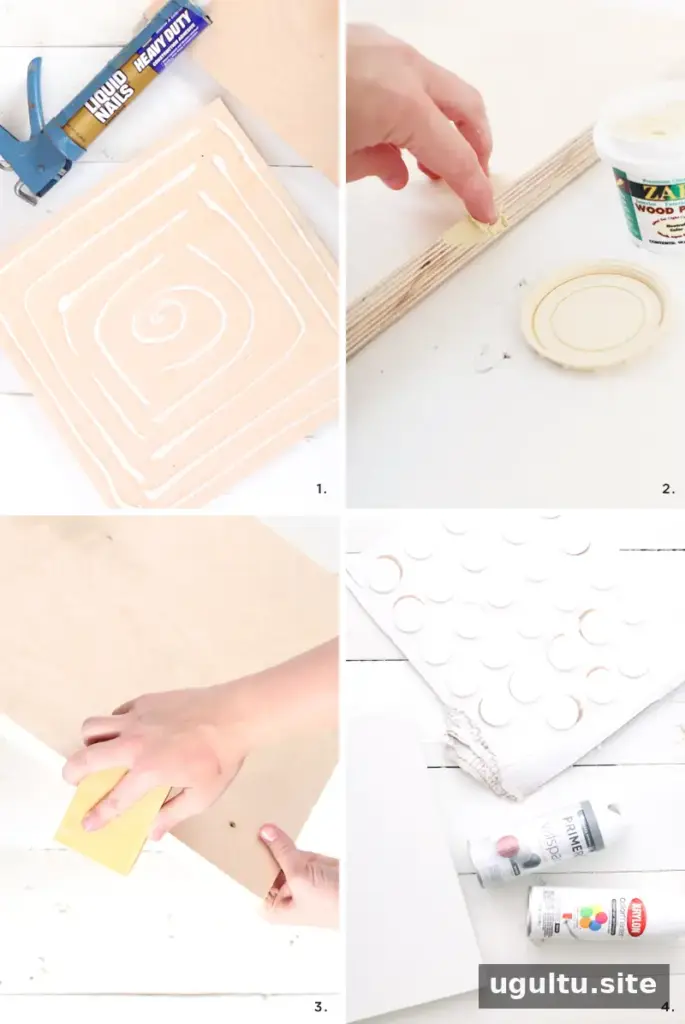
Glue the two plywood squares together, keeping their edges aligned. If cutting the pieces yourself, cut them slightly oversized first, glue them, and then trim the assembled board to an exact 15-inch square. Wipe away excess adhesive and let it dry according to its directions. The double layer gives the board a substantial appearance.
Step 2: Fill and sand
Apply wood filler to the board’s edges and any uneven areas. Some fillers require a hardener, so check the product instructions before use. Once the filler has set completely, sand away the excess. Start with 180-grit paper, then use 320-grit paper to smooth the faces and gently soften sharp edges. If you can still feel dips or rough spots, fill and sand them again before painting.
Step 3: Prime and paint
Remove sanding dust, then prime the board and wooden discs in a well-ventilated area. Use light coats to help prevent drips and uneven coverage. After the primer dries, lightly sand the board with 320-grit paper and wipe it clean. Paint the board in several light coats and allow the paint to cure for two days before applying masking tape. Wear a respirator when appropriate and follow the coating manufacturer’s safety directions.
Step 4: Mask the pattern and checker pieces
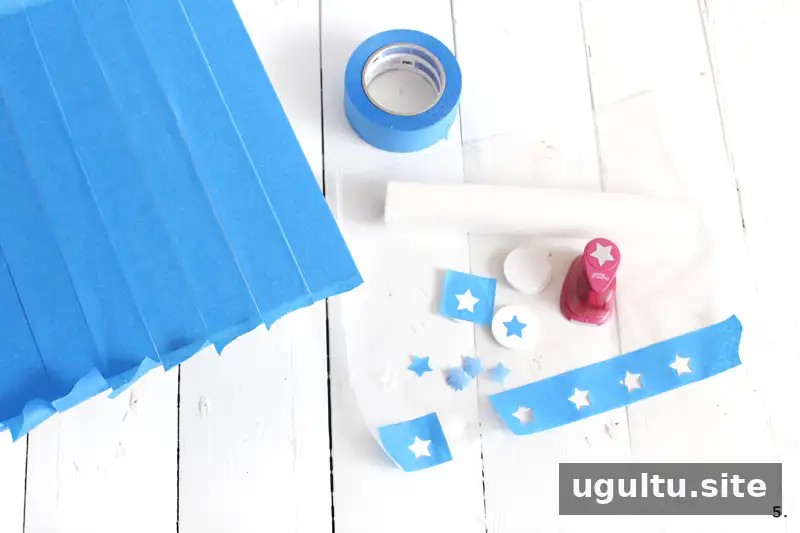
Cover the board with parallel strips of masking tape, then remove every other strip. Repeat at a right angle to form an even grid of exposed squares. Press the tape edges down firmly with your thumb so sizing is less likely to seep underneath.
To give the pieces a distinct reverse side for marking kings during play, mask one side of each disc with a star shape. A decorative punch can cut the shape from wax paper-backed tape. Place the star masks in the center of twelve discs. For the other twelve, cover the surrounding area so only the star-shaped center remains exposed.
Step 5: Apply the gold leaf
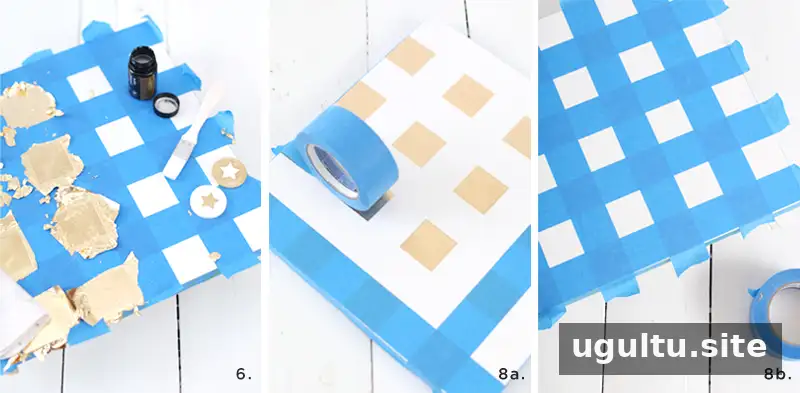
Brush sizing onto the exposed board squares and the masked areas of the discs. For the twelve discs with a star sticker, apply leaf to the front, back, and sides, working on one side at a time. Follow the sizing and metal leaf instructions for the product you use. In this project, the sizing was left for 30 minutes before the leaf was applied.
Lay the leaf over the sized areas and press it gently into place. A soft flannel cloth can be used to burnish the leaf; loose excess will flake away. Small gaps can be covered with additional leaf. Handle the metal as little as practical, and keep the work area clear of loose flakes.
Step 6: Remove tape and seal
Clear away unattached leaf before peeling off the masking tape. Remove the tape slowly, taking care not to scatter flakes onto the painted sections. Press down any slightly raised edges, then apply a couple of light coats of clear glaze to the board and pieces. Let the finish set for at least 24 hours, or follow the coating’s instructions if they specify a longer time.
Step 7: Complete the checkerboard
After the first gold squares are sealed, mask them to protect them while exposing the alternating squares. Position the tape so the existing gold squares sit behind the grid intersections, then apply sizing and leaf to the newly exposed areas using the same method. Remove the tape carefully and finish with two more coats of clear glaze.
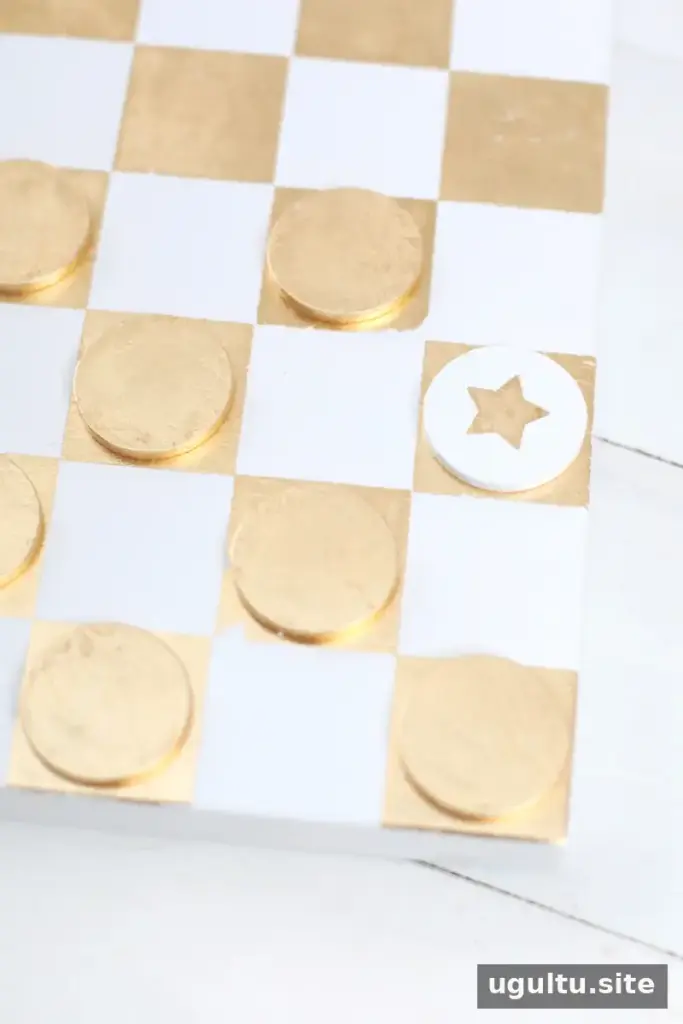
Metal leaf may have a slightly irregular texture rather than perfectly uniform coverage. That variation can be part of the handmade look. If a more even appearance is preferred, take extra care with masking and touch up any bare spots before sealing.
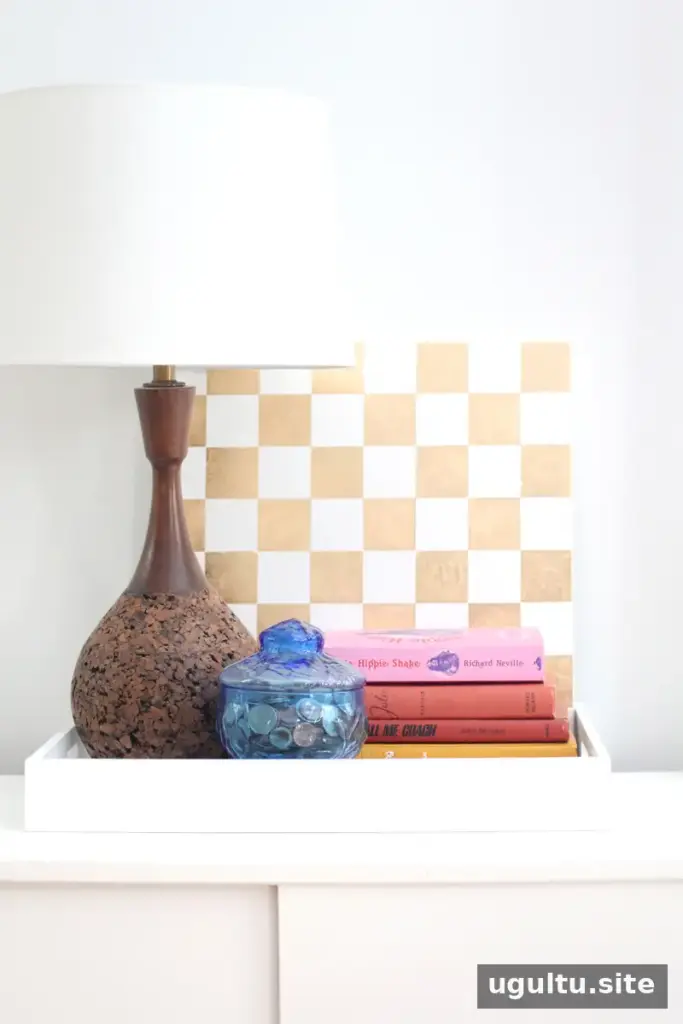
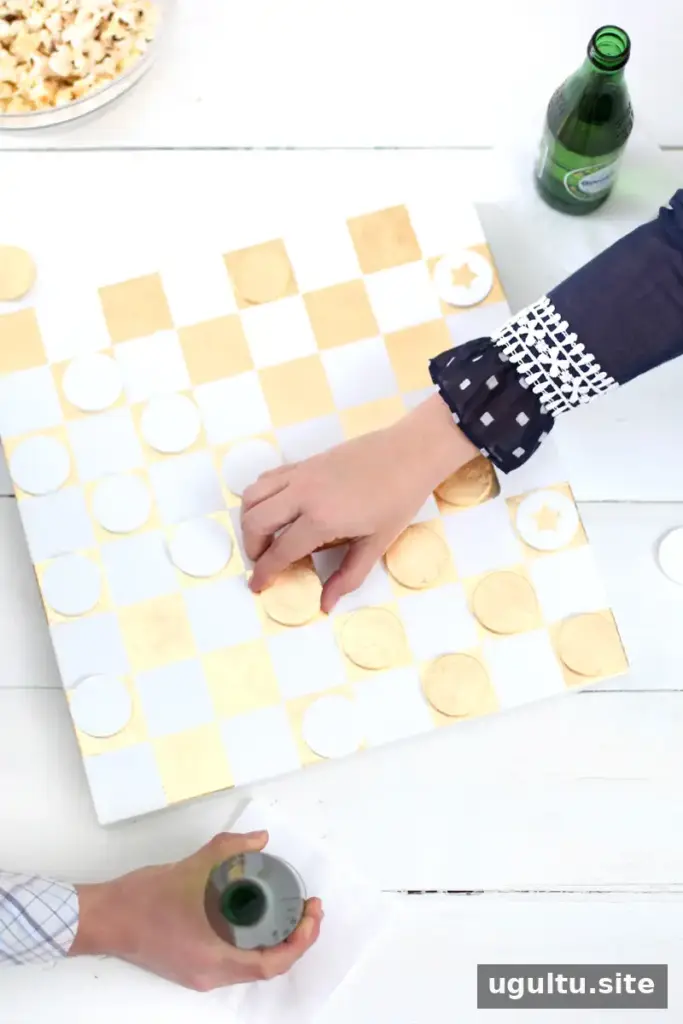
Let the finish cure fully before regular play or display. Once it is ready, the completed gold leaf checkerboard can be kept on a table, displayed on a wall, or brought out for a game. Store the pieces with the board or in a separate container to help protect the decorative surface.
—Mandi


