
 admin
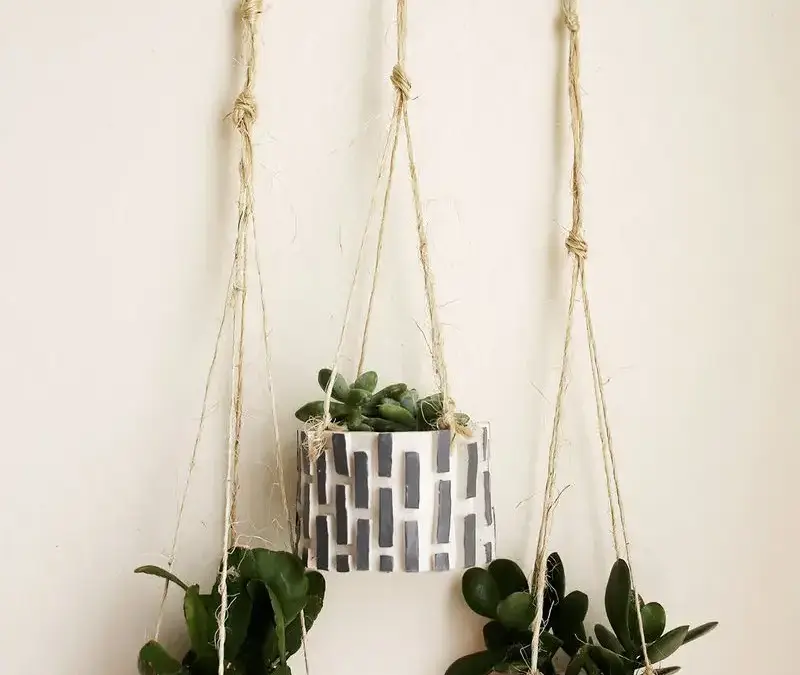
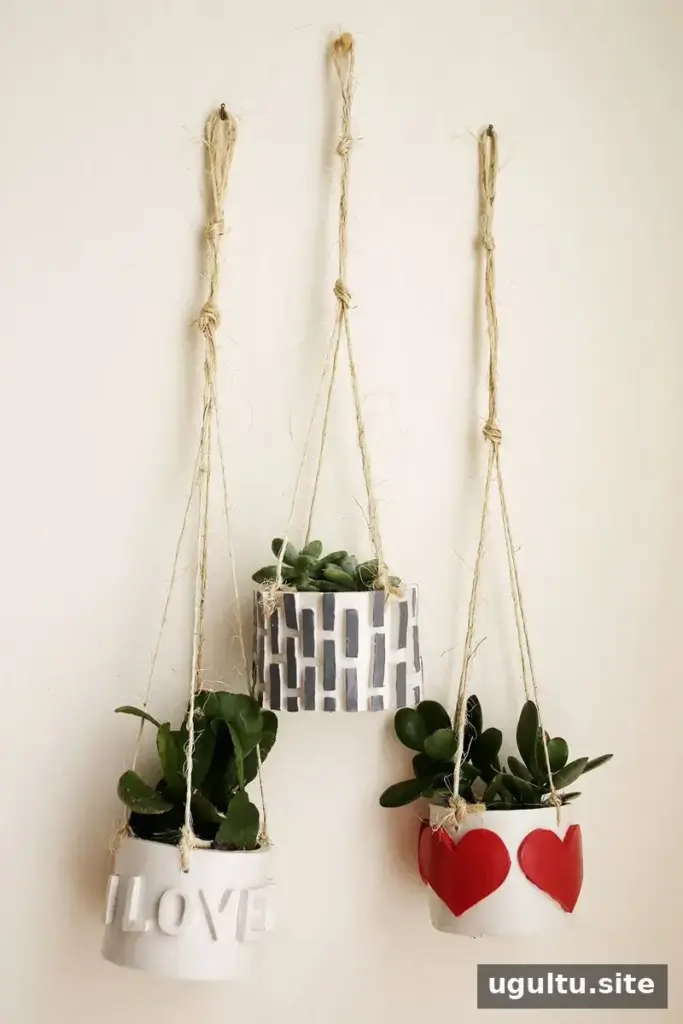
A DIY mini planter is a simple way to create a small decorative accent using oven-bake clay. You can personalize the outside with cut-out shapes, letters, or paint, making each planter suited to a different space or gift occasion. This project creates a hanging vessel, so choose a lightweight plant and make sure the twine is securely attached before displaying it.
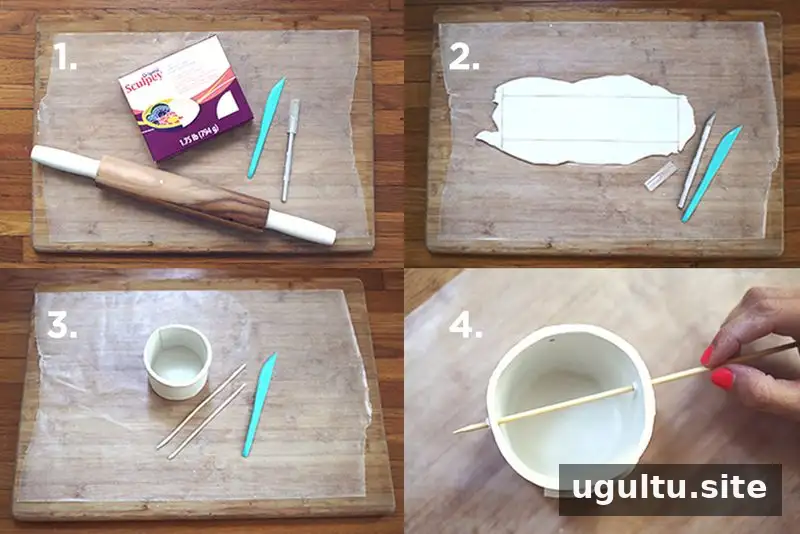
DIY Mini Planter: Supplies and Measurements
Gather these materials before you begin:
- Oven-bake clay
- A craft knife and clay-cutting tools
- Wax paper and a cutting board
- A rolling pin
- A wooden skewer
- Twine for hanging
For the planter body, roll the clay to about 1/4 inch thick. Cut one rectangle measuring 10 inches long by 2 1/2 inches tall. Cut a circle 3 1/2 inches wide for the base. Keeping the clay at an even thickness helps the pieces fit together neatly and bake consistently.
How to Make the Clay Planter
- Shape the sides. Place the long rectangle around the edge of the clay circle to form the planter walls. Gently join the ends of the rectangle.
- Seal the inside seam. Roll a thin strand of clay and press it into the joint where the walls meet the base. Smooth it with a clay tool so the seam is covered. This helps reduce leaks, although the finished planter should still be treated as decorative rather than assumed to be completely waterproof.
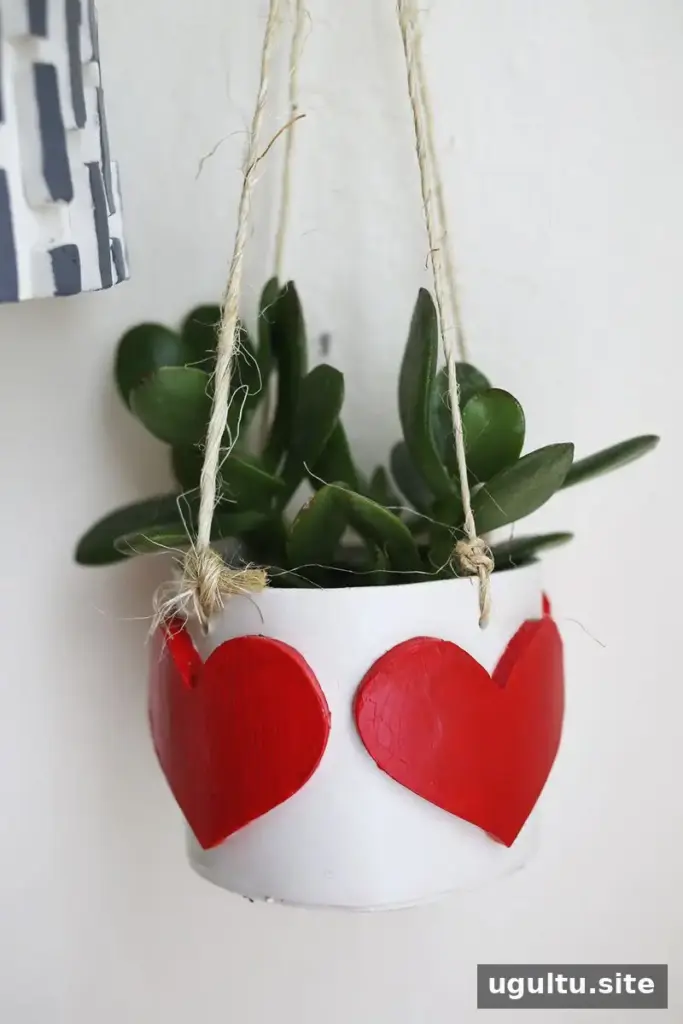
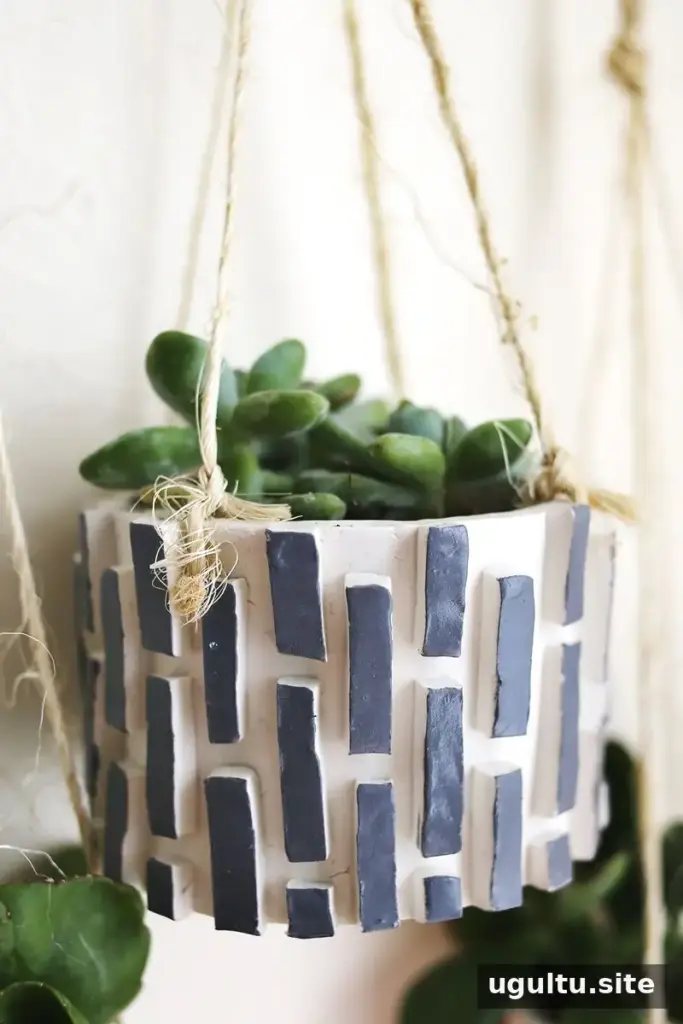
- Add a design. Roll out more clay and cut shapes for the outside. Hearts, narrow rectangles, and letters are examples of simple patterns. Press the pieces gently onto the planter so they stay in place.
- Make hanging holes. Use a wooden skewer to create four evenly spaced holes near the top edge. Keep the holes clear and avoid placing them too close to the rim.
- Bake and cool. Bake the clay according to the package directions, then let the planter cool completely before handling it or adding twine. Baking times and temperatures can vary by clay product, so follow its label.
- Attach the twine. Thread two pieces through the holes, with each strand connecting opposite sides. Tie a knot near the top to form a hanging loop. Check that the planter hangs level and that the knots are secure.
Decorating and Display Tips
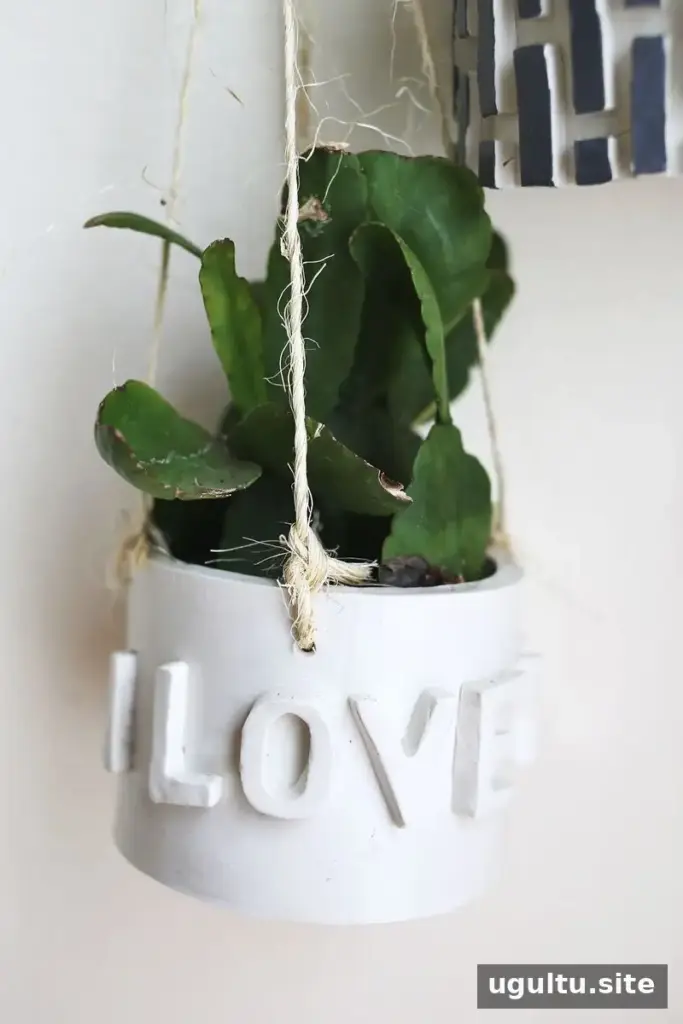
Try large cut-out hearts, slim rectangles, or cookie-cutter letters for different looks. You can leave the clay in its natural color or add paint after baking and cooling. If you paint the planter, allow the finish to dry fully before placing it near other items.
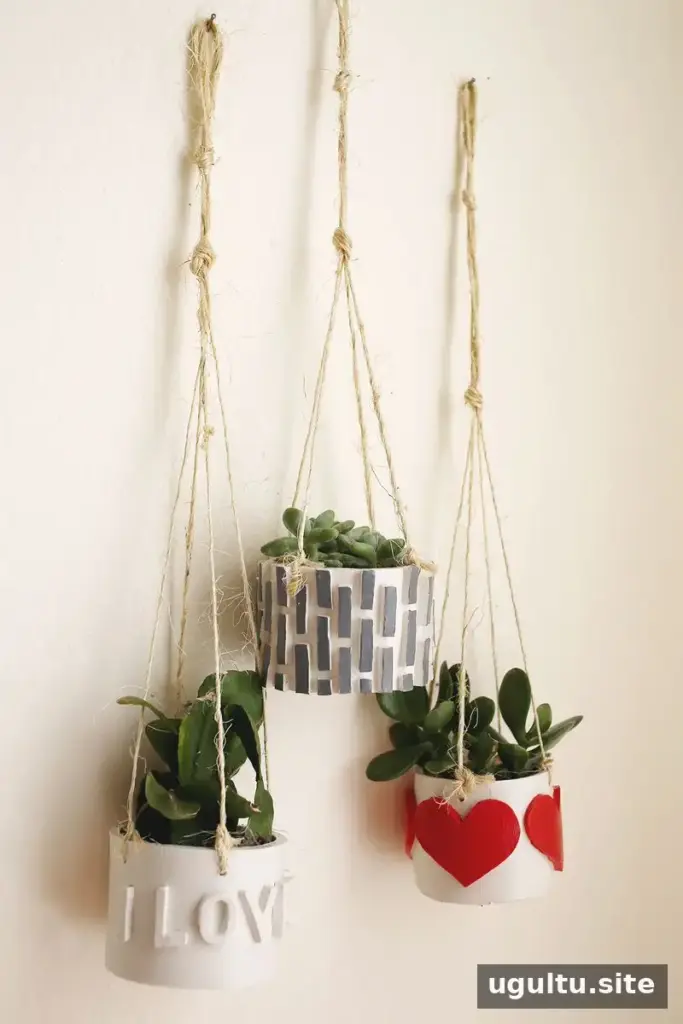
The compact size makes this project useful for shelves, desks, and other small areas. For a hanging display, choose a light plant and a location where the planter will not be bumped. Because the design has no drainage hole in its base, avoid overwatering; alternatively, use a small plant pot inside and remove it when watering. A saucer or protective surface can also help prevent moisture marks.
Final Notes on This DIY Mini Planter
This DIY mini planter combines straightforward clay shaping with plenty of room for personal design choices. Measure the clay carefully, follow the baking instructions for your specific product, and check the hanging knots before display. With those precautions, it can add a small handmade detail to a home or make a thoughtful personalized gift.


