admin
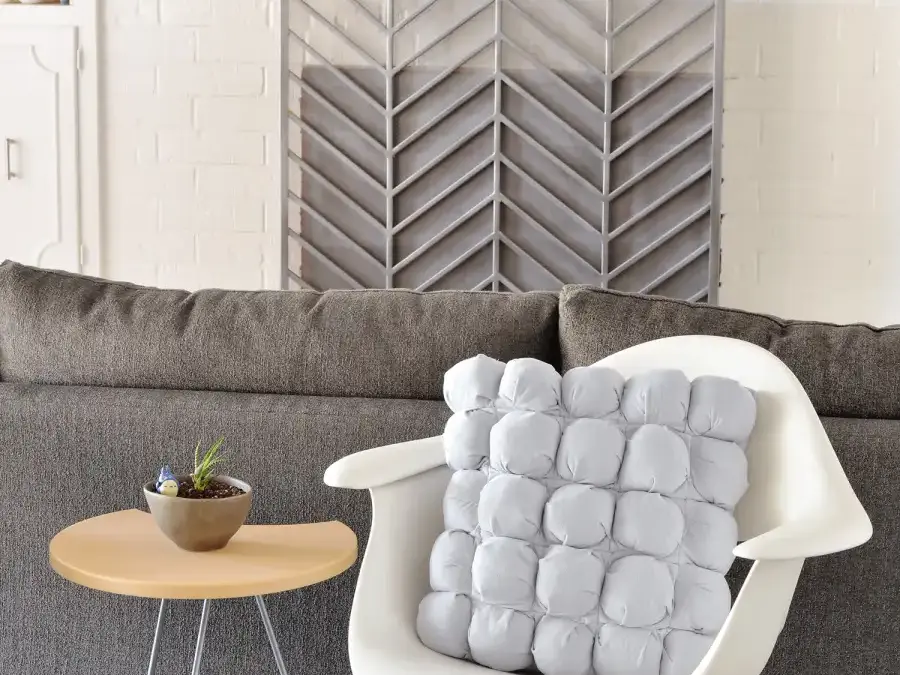
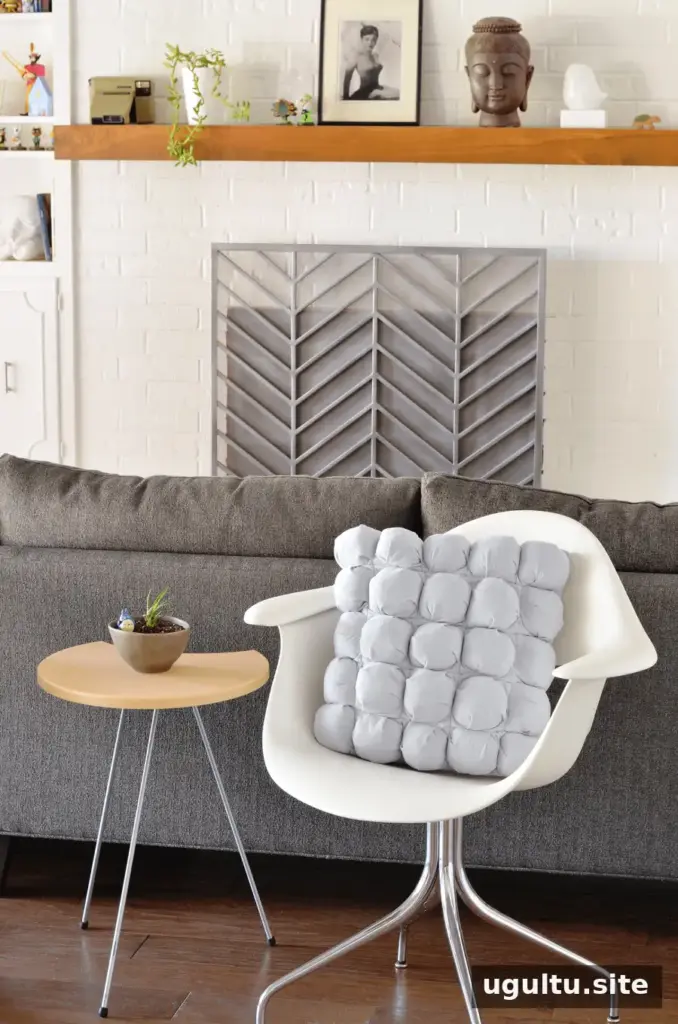
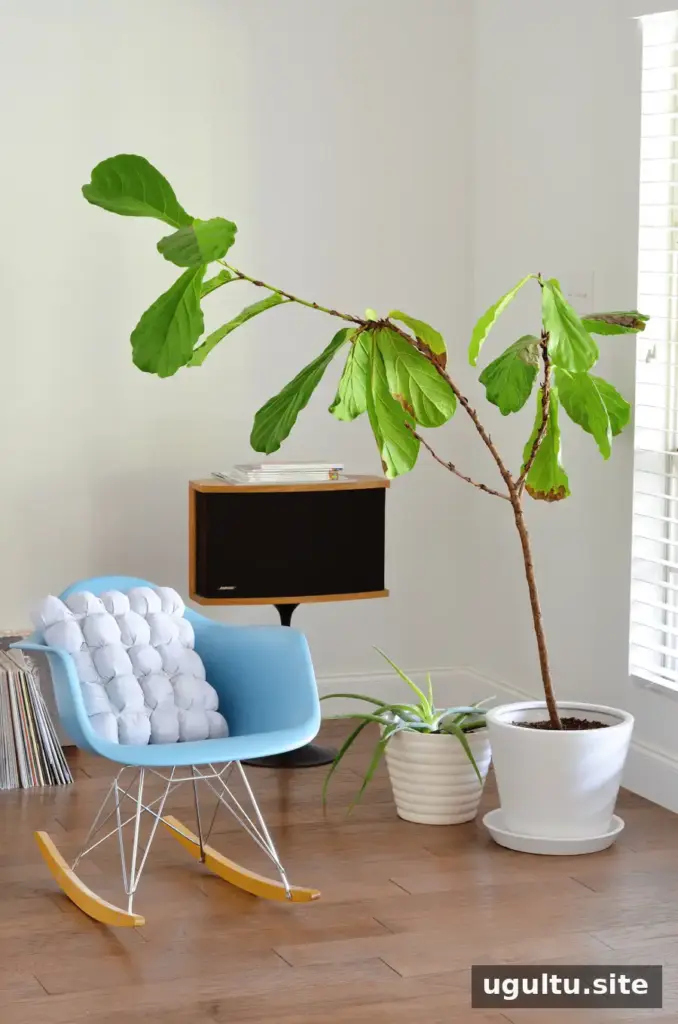
A puff quilted pillow cover adds a soft, sculptural texture to a sofa, chair, or bed. This project creates its raised surface by filling small fabric pockets with fiberfill, then sewing the pockets into a 5-by-5 grid. The finished cover fits a 16-inch square pillow form and has an envelope-style back for easy insertion and removal.
The method is approachable for beginners, and small variations between the puffs are part of the handmade look. Choose a fabric with a little stretch, such as interlock, microsuede, or crushed velvet. A single color gives the texture a subtle look, while combining colors or prints can create stripes or a checkerboard effect.
Materials for a Puff Quilted Pillow Cover
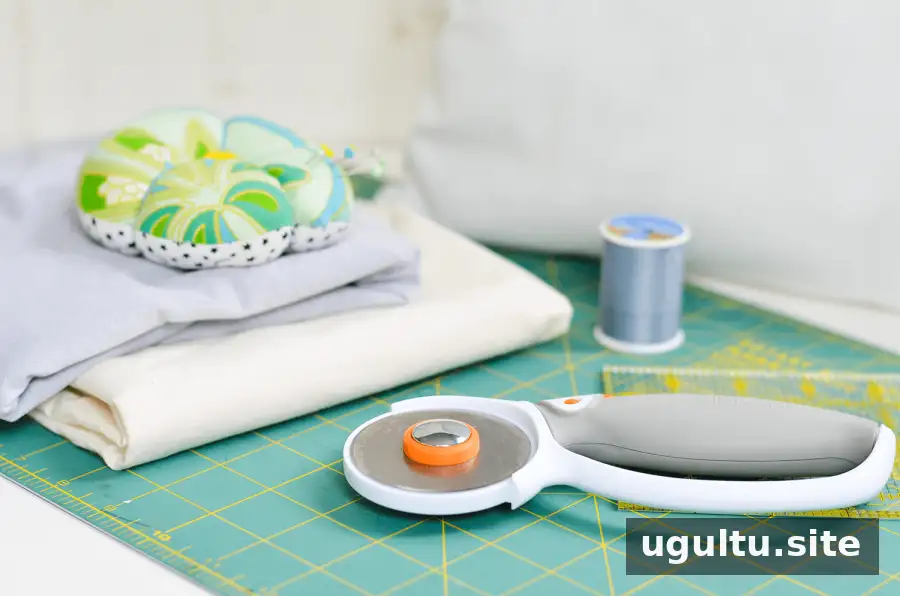
- 1/2 yard decorative fabric
- 1/2 yard plain muslin
- 16-inch square pillow form
- Matching thread and fiberfill
- Rotary cutter, ruler, and cutting mat, or fabric scissors
- Straight pins and clothespins or sewing clips
- Sewing machine
Before cutting, check that your fabric is clean and press it if needed. A ruler and rotary cutter help produce consistent squares, which makes it easier to assemble an even grid.
How to Sew the Puff Quilted Pillow Cover
1. Cut the fabric pieces
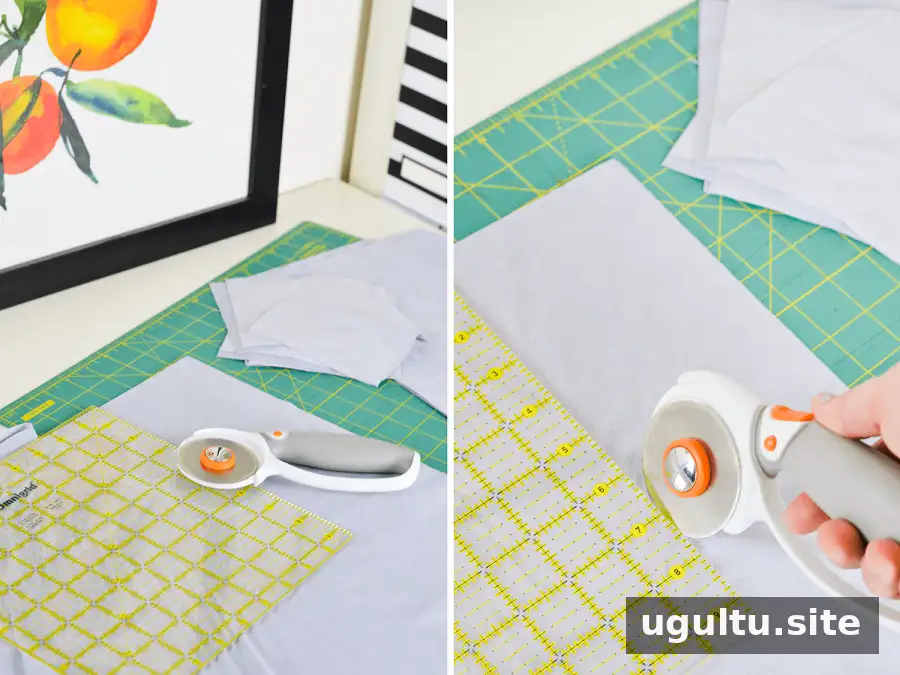
Cut 25 decorative-fabric squares measuring 5 × 5 inches and 25 muslin squares measuring 4 × 4 inches. Also cut two decorative-fabric rectangles measuring 16 × 12 inches. Keep the pieces grouped by size to make assembly more straightforward.
2. Make the puff pockets
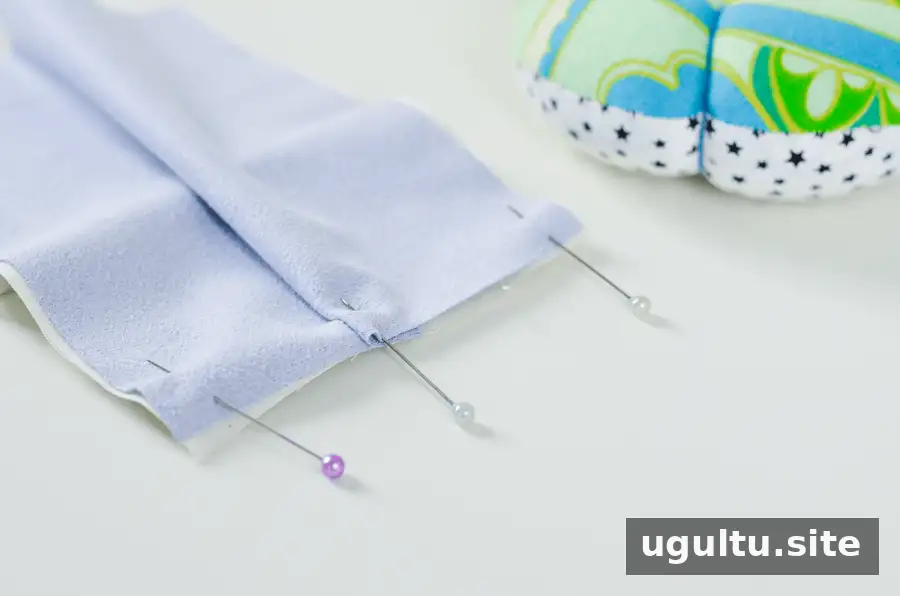
Place one 4-inch muslin square behind a 5-inch decorative square, with the wrong sides together and the decorative side facing out. Align one edge and pin the fabrics together. Because the decorative square is larger, form a small pleat near the center as you pin so the edges can meet.
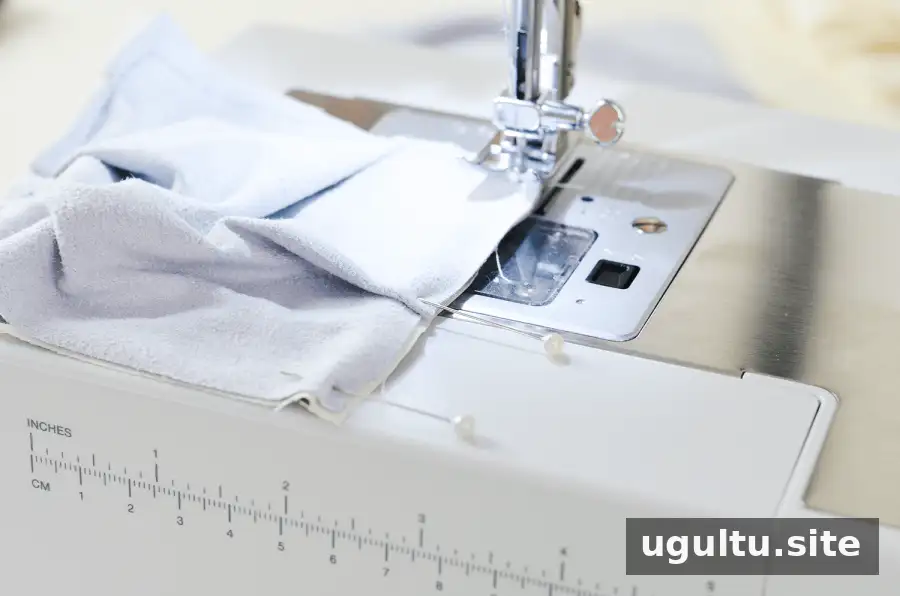
Sew along the pinned edge using a seam allowance of 1/8 to 1/4 inch. Repeat the pinning, pleating, and stitching on two more sides, leaving the fourth side open. Make 25 pockets in total. The edges do not need to be perfectly uniform, but take care to keep the fabric layers secure.
3. Fill and close the pockets
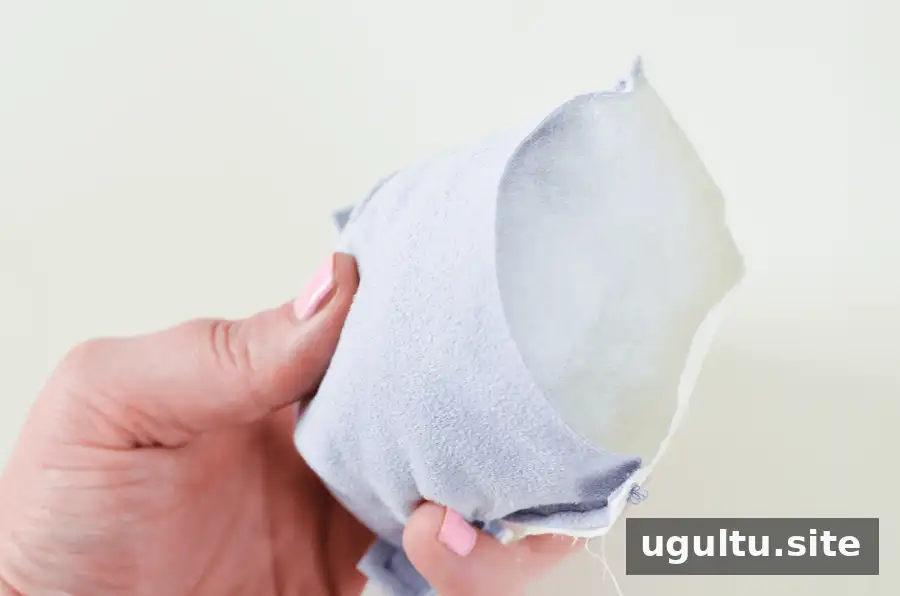
Add a small handful of fiberfill to each pocket. Use enough to create a rounded puff without packing it tightly; overfilling makes the final edge difficult to sew. Pin or clip the open edge, adding a pleat to bring the fabric edges together.
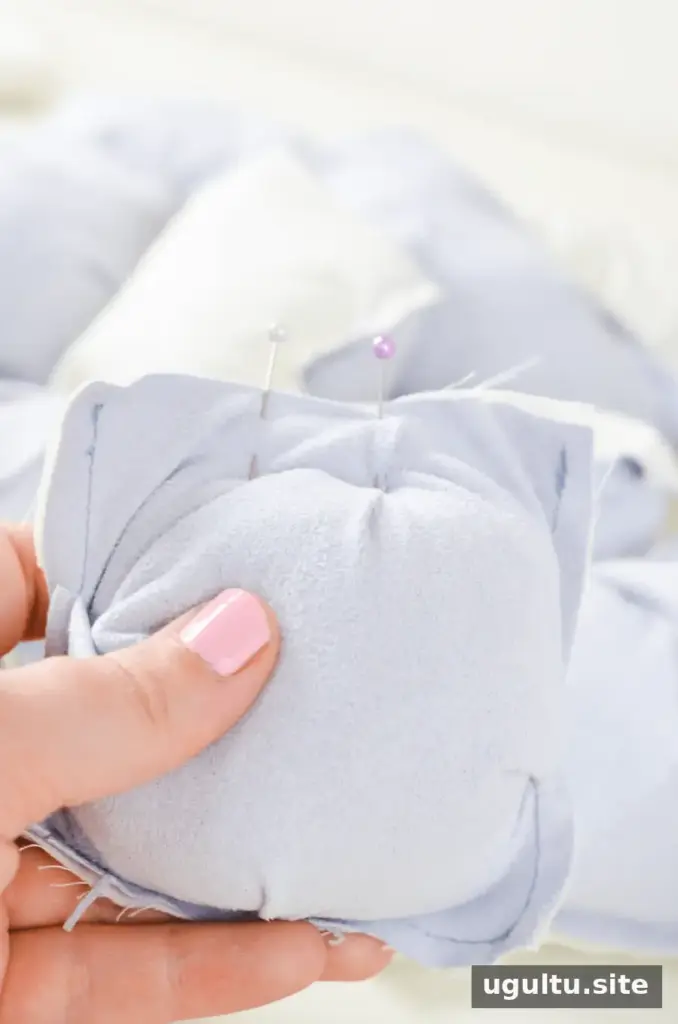
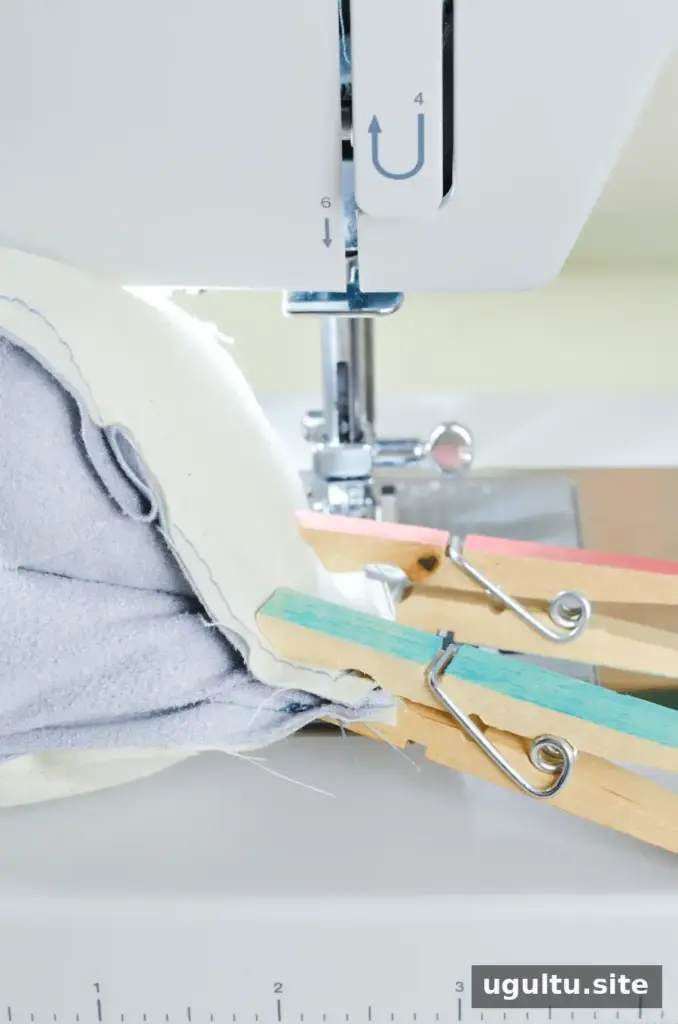
Stitch the opening closed, then trim loose threads. Keep the seam allowance consistent where possible so the finished puffs will fit together neatly.
4. Join the puffs into a quilted panel
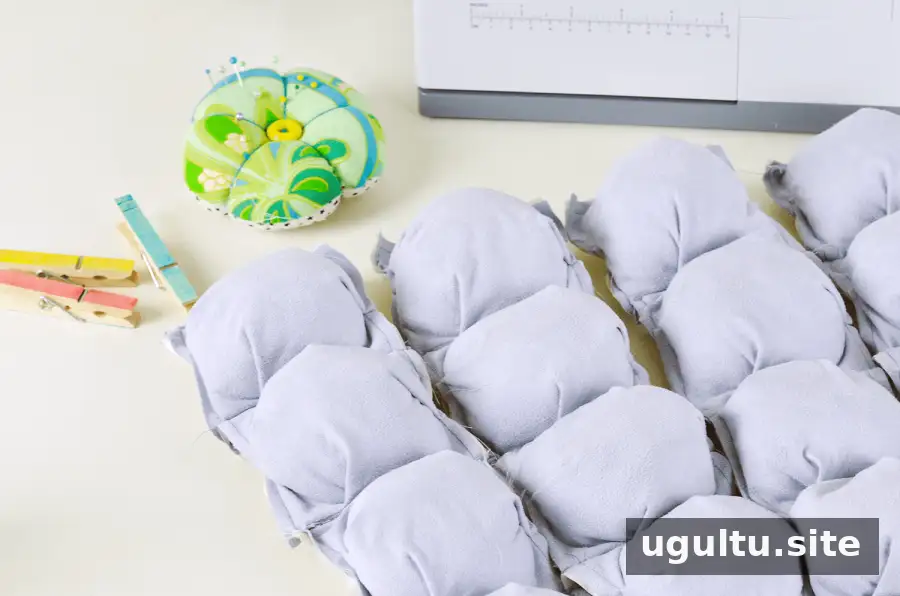
Arrange the pockets in five rows of five, with the decorative sides facing outward. To join two puffs, place their edges together with the decorative sides facing each other, then secure the thick layers using clothespins or sewing clips. Clips can be easier to manage than pins on bulky, stuffed pieces.
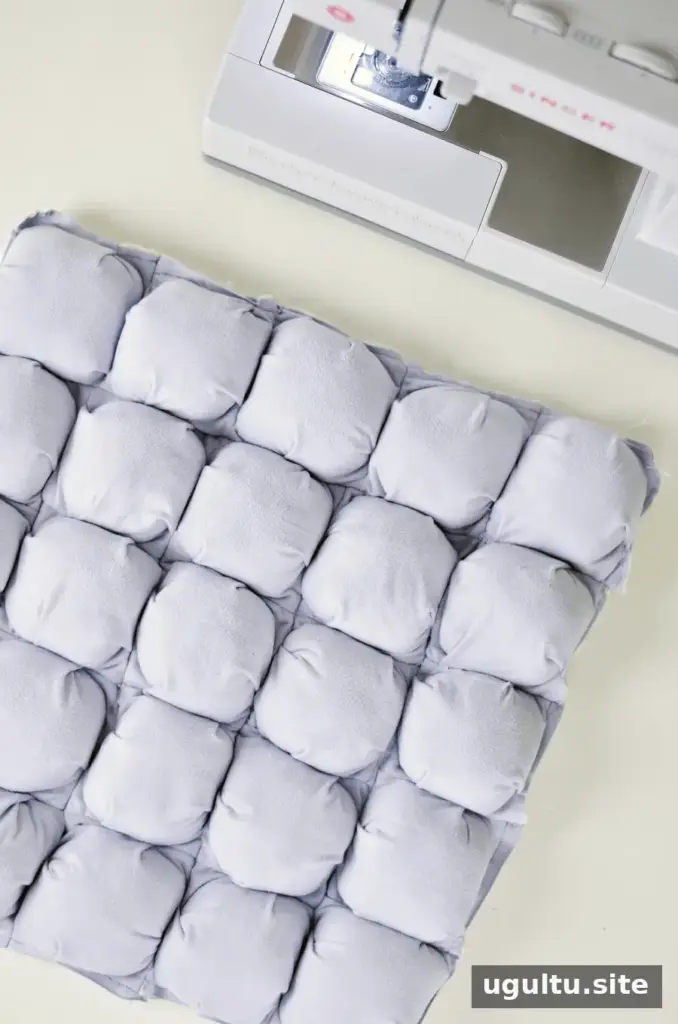
Sew the edges together carefully and check the seam for gaps. Repeat until you have five rows of five puffs. Then clip and sew the rows together to form one square panel.
5. Hem the envelope-back pieces
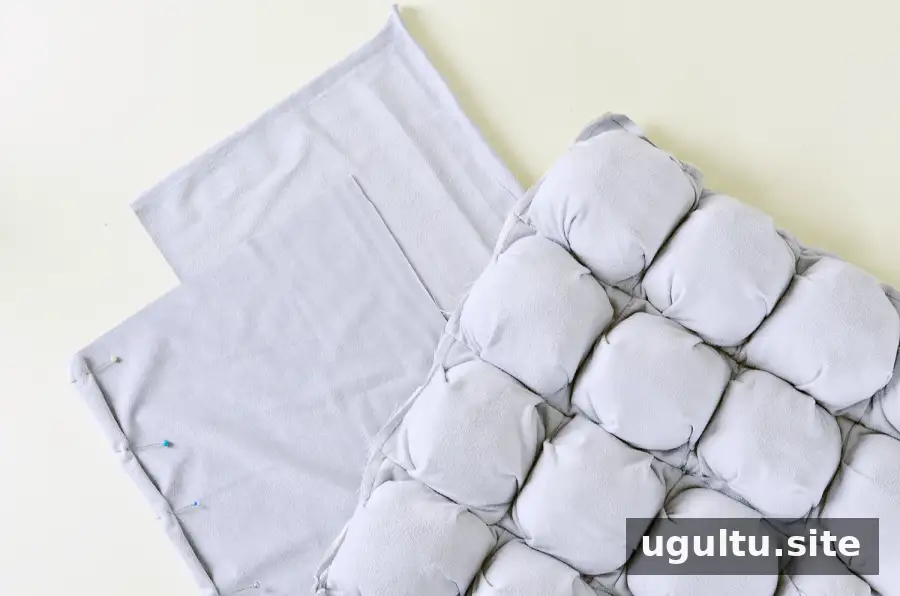
On each 16 × 12-inch rectangle, fold a 16-inch edge to the wrong side by about 1/4 inch, then fold it over another 1/4 inch. Pin the fold and press it flat if convenient. Straight-stitch along each folded edge to make a clean hem. These finished edges will form the overlapping opening at the back of the cover.
6. Attach the back and insert the pillow
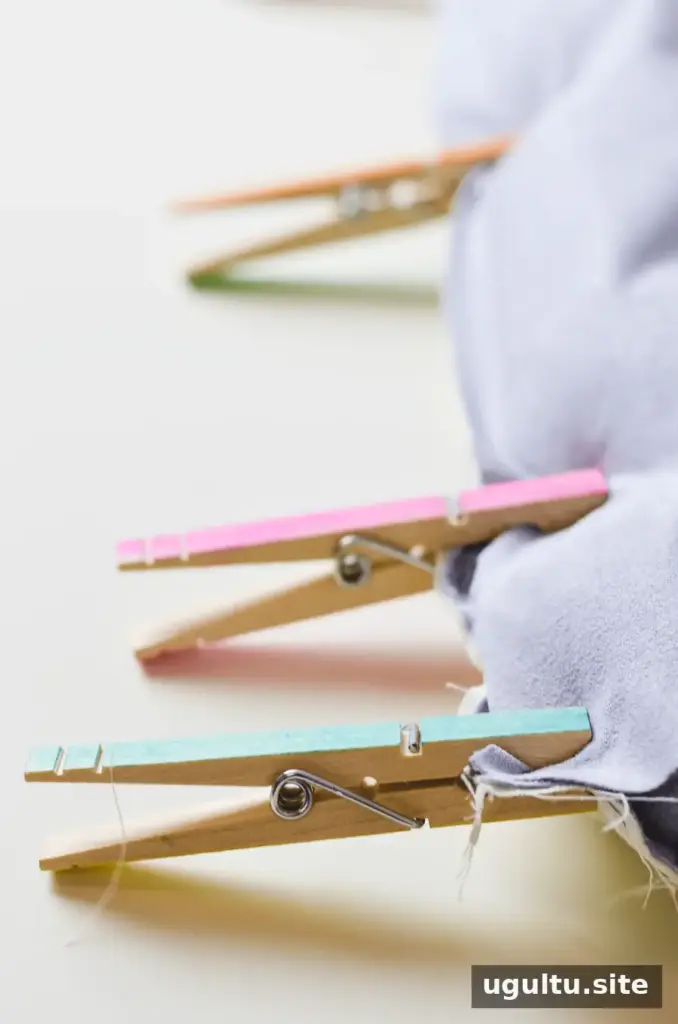
Place one rectangle against the puffed panel with right sides together, aligning its unhemmed 16-inch edge with one edge of the square. Clip the layers and stitch them together. Position the other rectangle on the opposite side, aligning its unhemmed edge with the remaining edge of the panel. The hemmed edges should overlap at the back to create an envelope opening.
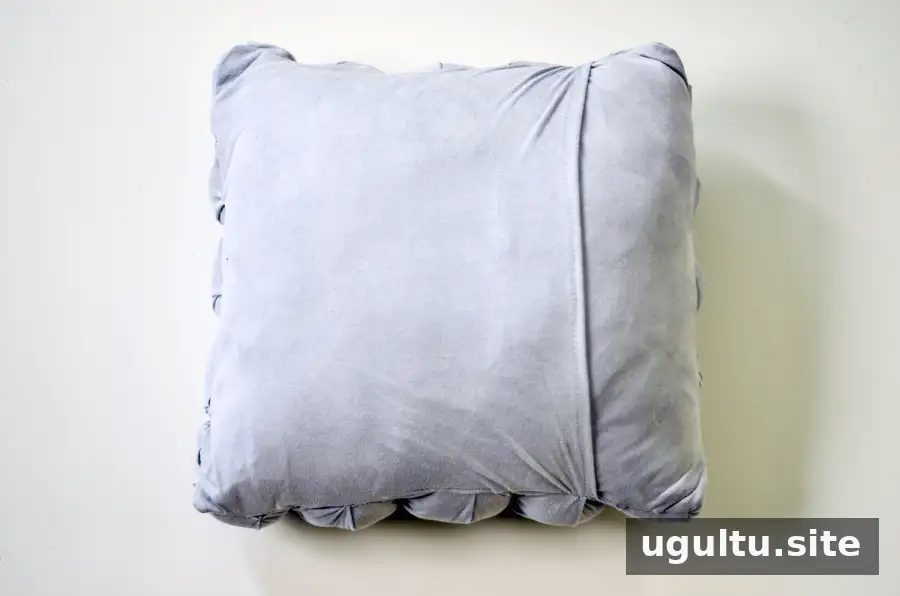
Check the seams for missed stitches and trim any stray threads. Turn the cover right side out through the envelope opening, then insert the 16-inch pillow form. Adjust the puffs by hand to distribute the filling evenly.
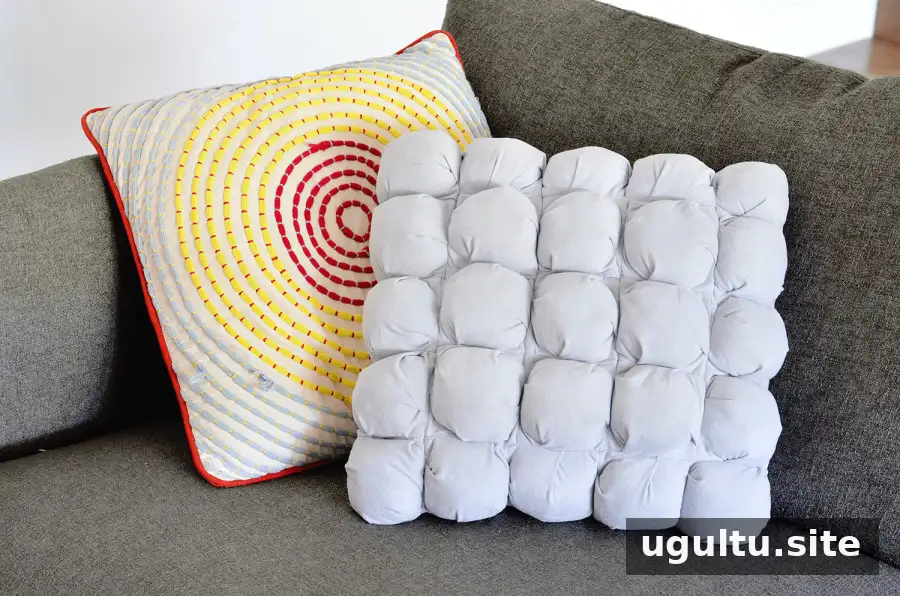
Finishing Tips
- Test your stitch and seam allowance on fabric scraps before sewing the pockets.
- Use small amounts of fiberfill at first; you can add more before closing each pocket.
- Secure bulky seams with clips and sew slowly to keep the layers aligned.
- For a multicolor design, plan the placement of the 25 puffs before joining them.
This puff quilt technique can also be adapted for other projects, such as a blanket, with suitable adjustments to the dimensions and construction. A carefully made puff quilted pillow cover brings inviting texture to a room and makes a distinctive handmade accent. Tutorial by Mary Helen.