admin


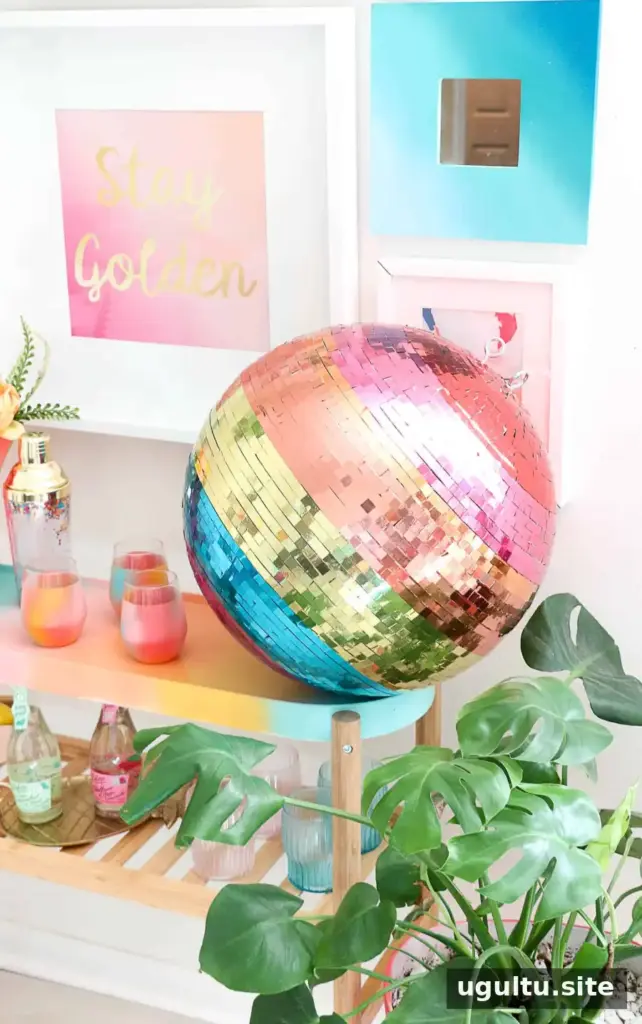
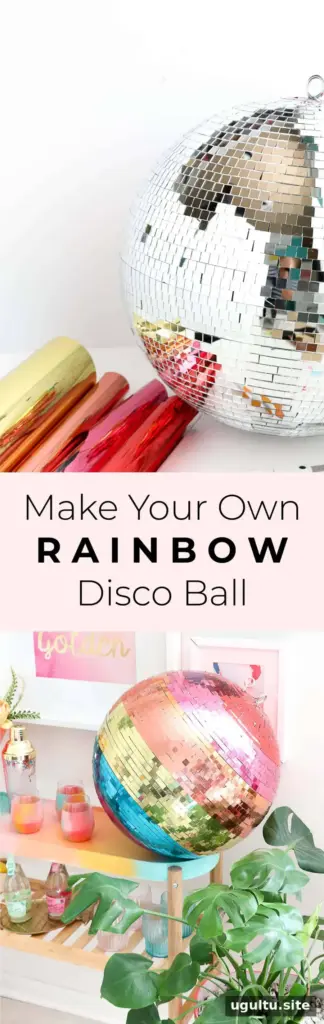
A rainbow disco ball adds colorful reflections to a room when light reaches its mirrored surface. You can customize a plain disco ball with metallic foil adhesive vinyl, arranging the colors in bands for a bright, multicolored effect. This project uses straightforward materials, but covering each mirror takes patience: a 16-inch ball took about 15 hours to complete. Choose a smaller ball if you want to spend less time applying the pieces.
How to Make a Rainbow Disco Ball
The basic method is to cut the vinyl into small squares and place them over the disco ball’s silver mirrors. Working in consistent rows helps create distinct color bands and a more even finish. Metallic foil vinyl is available in different colors, so you can plan a palette that suits your space.
Before starting, set aside a clear work area and organize the vinyl colors in the order you want them to appear. That small preparation step makes it easier to keep the bands consistent as you work.
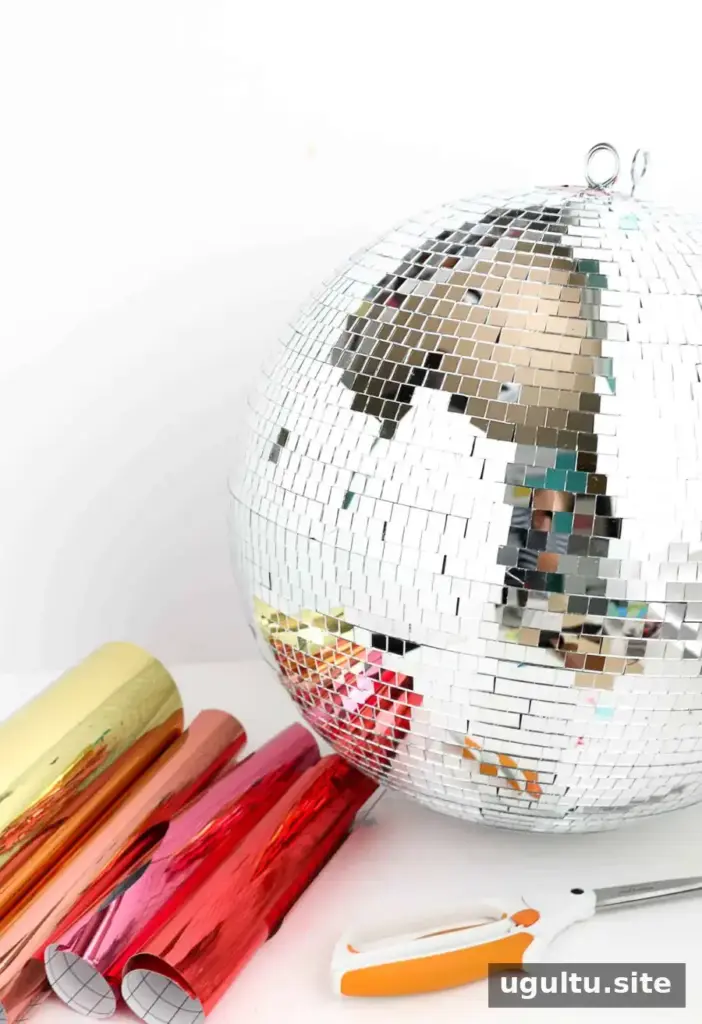
Materials and tools
- One disco ball, any size
- Metallic foil adhesive vinyl in your chosen colors
- Scissors
- An X-Acto knife
A rotary cutter and ruler are optional for cutting straight strips. If you use a craft knife, work carefully on a suitable cutting surface and keep your fingers clear of the blade.
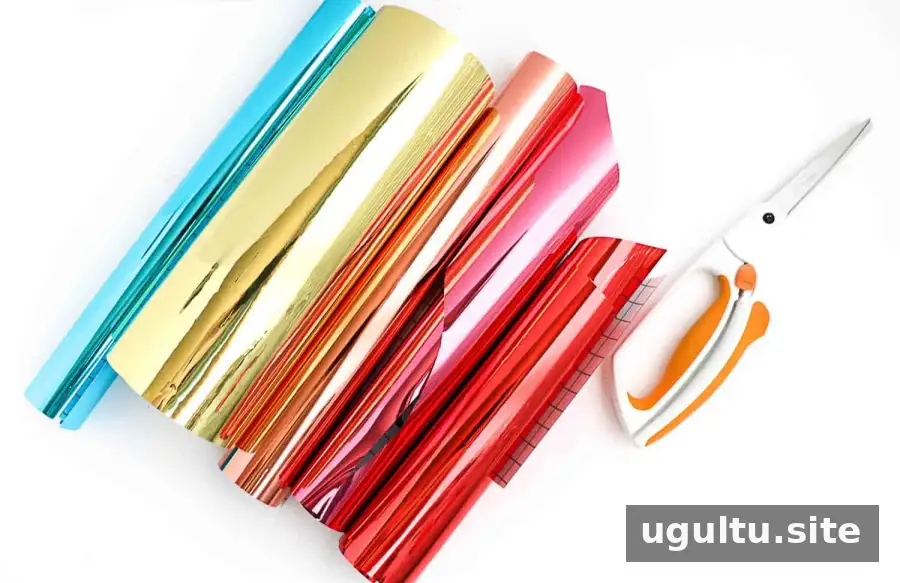
Step 1: Cut the vinyl into strips
Cut the vinyl into 3/8-inch strips. A rotary cutter and ruler can help produce straight edges, while the grid printed on the vinyl backing can serve as a guide if you cut by hand.
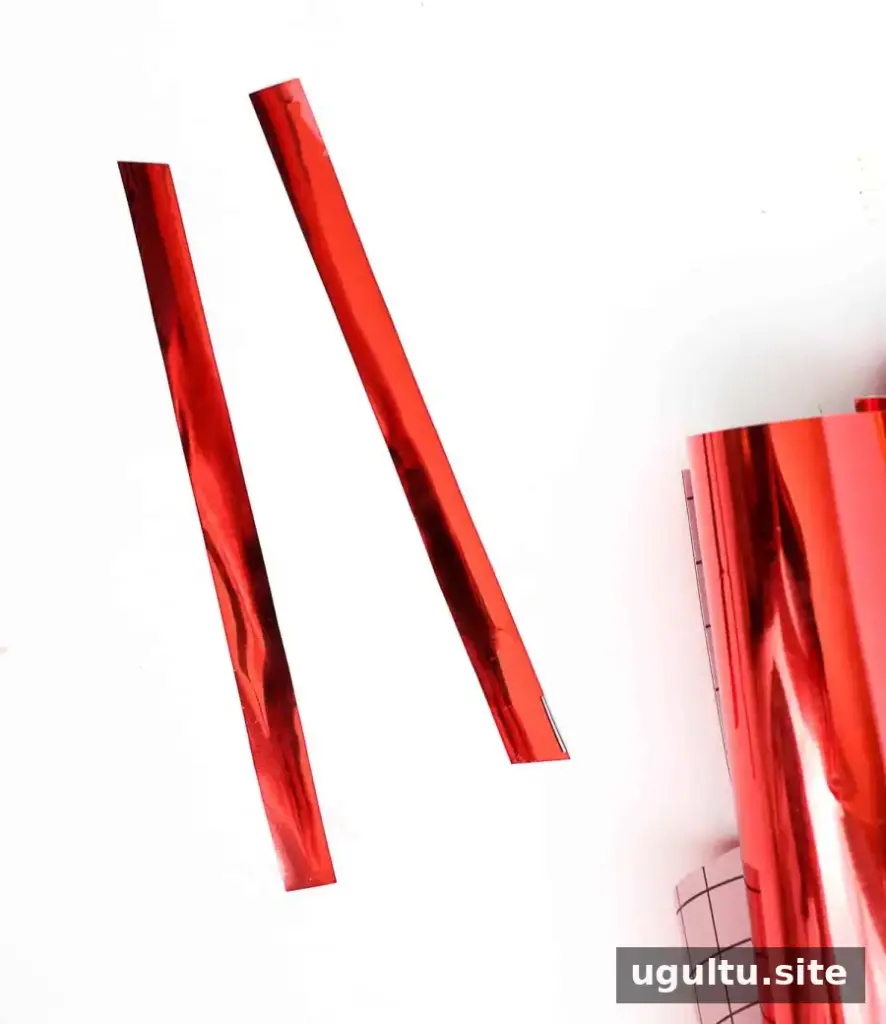
Step 2: Make squares and apply them
Remove a strip from its backing and cut it into small squares. Place each square over one of the disco ball’s silver mirrors, pressing it down so it lies flat. Continue with the next piece, following your planned color arrangement.
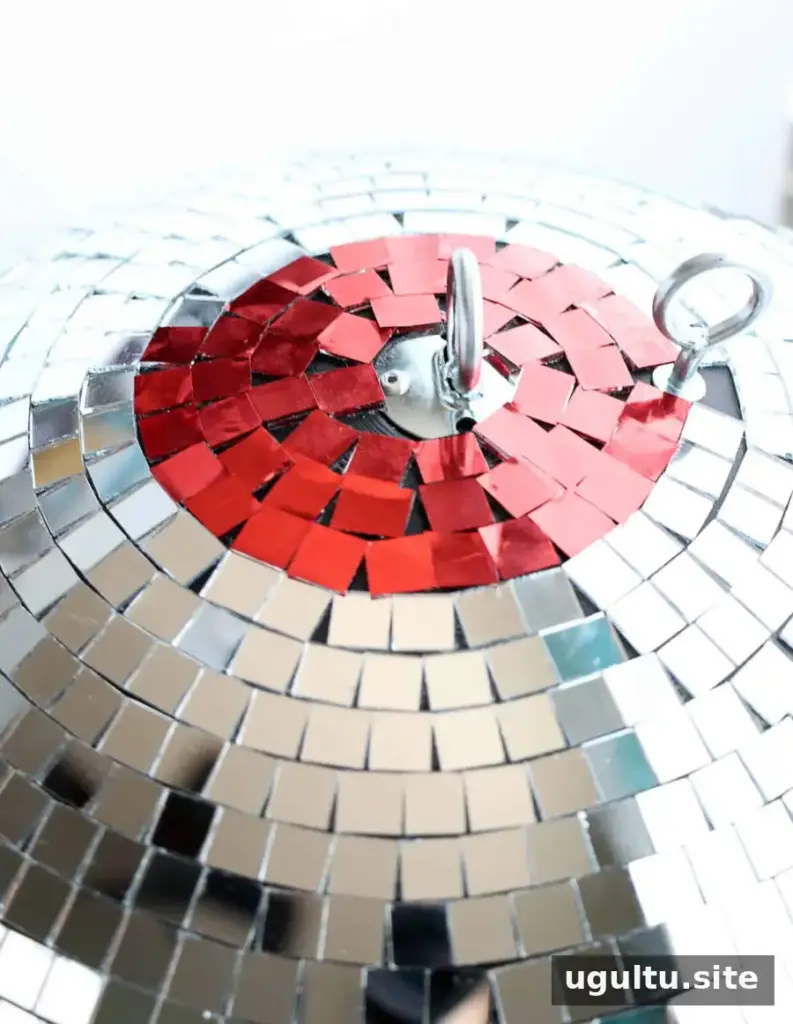
Step 3: Repeat across the ball
Keep applying squares until the mirrors are covered in the colors you selected. For a 16-inch disco ball, the project used one full sheet of each color, plus about half of a second sheet for the orange and gold bands. The amount of vinyl needed can vary with the ball’s size and the number of colors.
Take breaks if needed, and check the surface as you go. Smooth, carefully placed pieces help reduce wrinkles and lifted edges, especially around curved areas.
Tips for a Neater, Faster Finish
For the two middle color bands, you can place longer, uncut strips over the mirrors and trim the vinyl into squares afterward with an X-Acto knife. This can speed up the process because those areas are less curved, allowing the strips to sit more smoothly. It may not work as well on more curved sections, where vinyl can bubble instead of lying flat.
If you have access to a vinyl cutter, use it to cut the square shapes in advance. Then apply the pieces individually, much like stickers. Whichever method you choose, test a small area first to see how the vinyl sits on your particular disco ball.
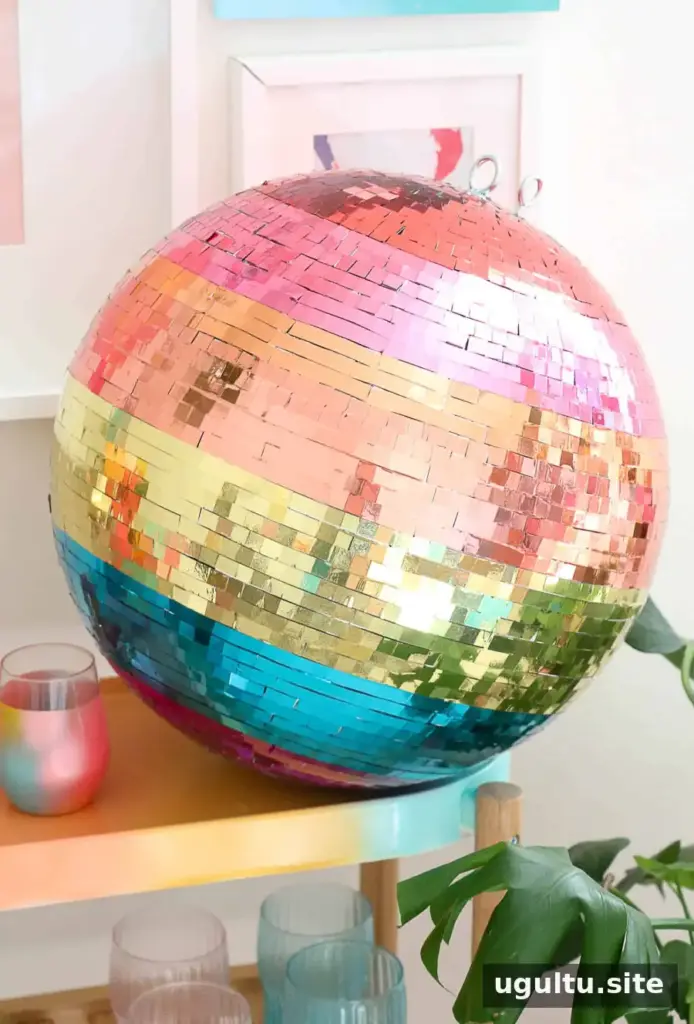
Enjoy Your Finished Rainbow Disco Ball
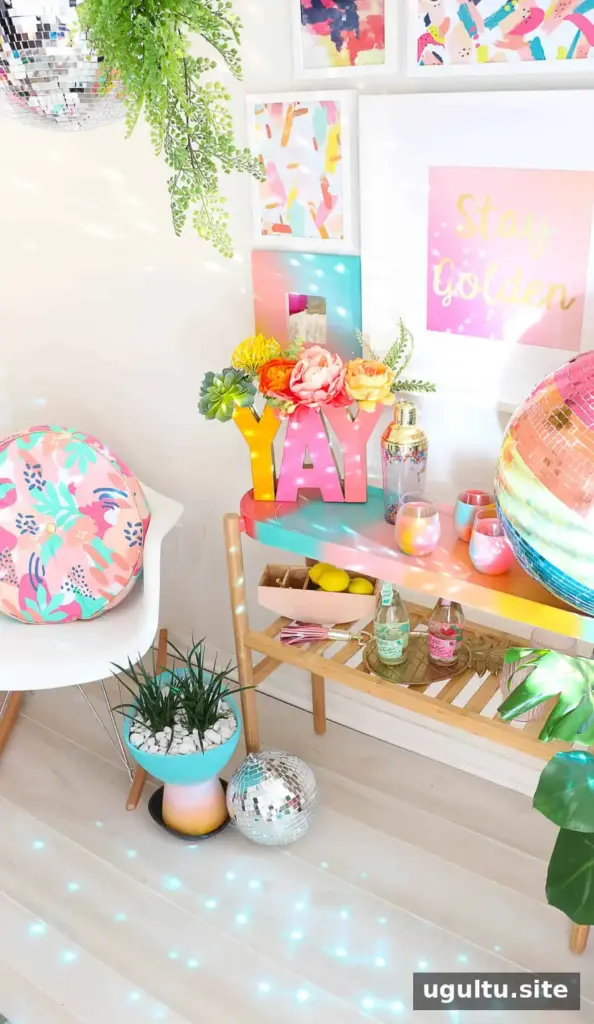
Once the vinyl is in place, the rainbow disco ball is ready to display. Position it where it can catch available light, and adjust its placement to see how the reflections appear across the room. The project requires a substantial time commitment, particularly for a larger ball, so a smaller size can be a practical starting point.
Project instructions by Kara.