
 admin
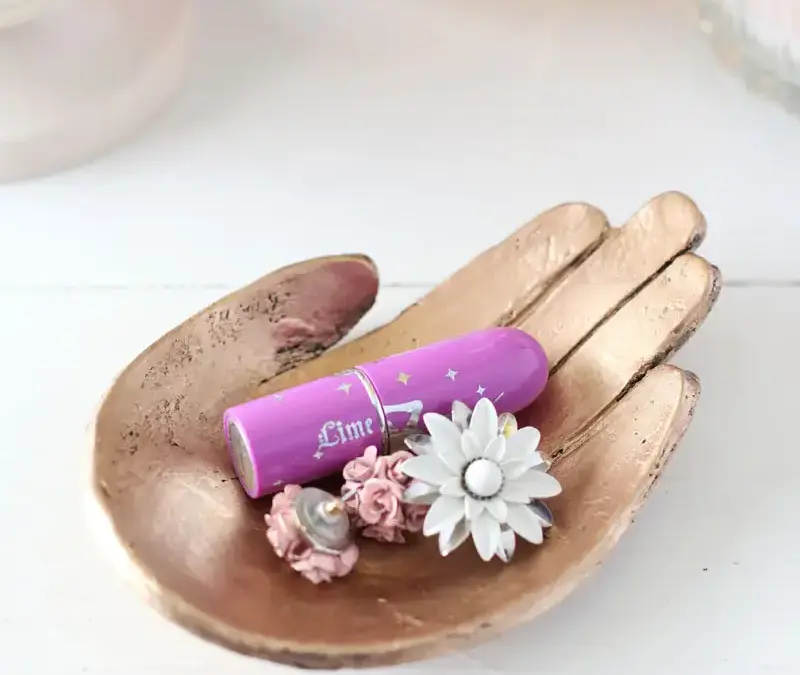
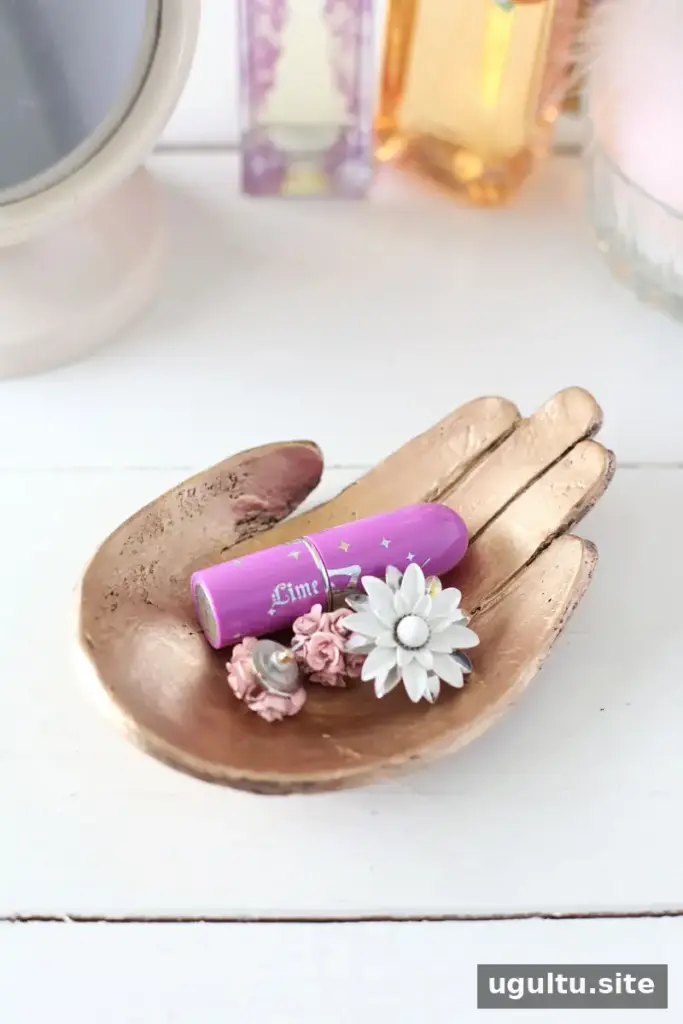
A DIY sculptural hand dish is a creative way to make a small decorative tray for keys, loose cash, jewelry, or other trinkets. Shaped from air-dry clay and finished with metallic paint and a dark patina, this project uses simple craft supplies and a hand-traced template. The design takes inspiration from a sculptural hand dish by Kelly Wearstler. Allow time for the clay to firm up and dry, since careful handling at each stage helps the finished piece keep its shape.
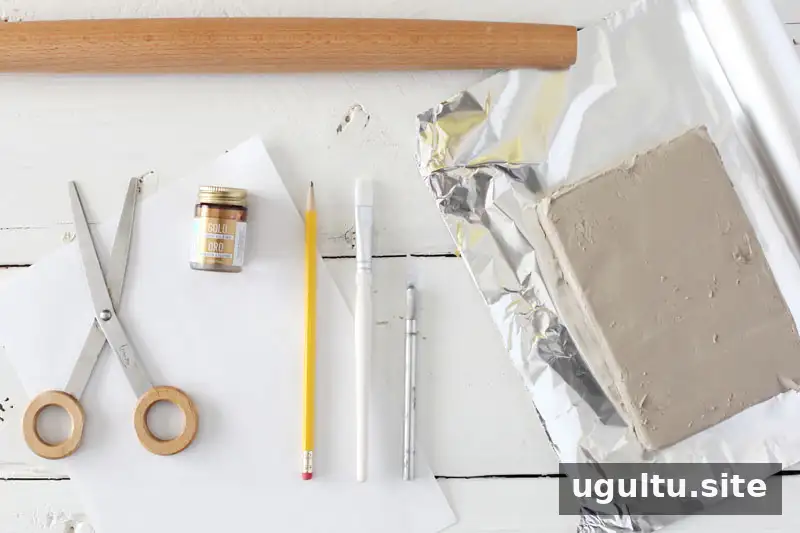
Supplies for a DIY Sculptural Hand Dish
- Air-dry, low-shrink clay
- Rolling pin
- Craft blade
- Pencil
- Paintbrush
- Scissors
- Scrap paper
- Liquid gold leafing in the metallic tone of your choice
- Small, shallow bowl
- Foil or parchment paper for rolling out the clay
Set up a clean, level work surface before beginning. Check the clay and paint labels for their handling and drying instructions, as products can vary.
How to Make the Clay Hand Dish
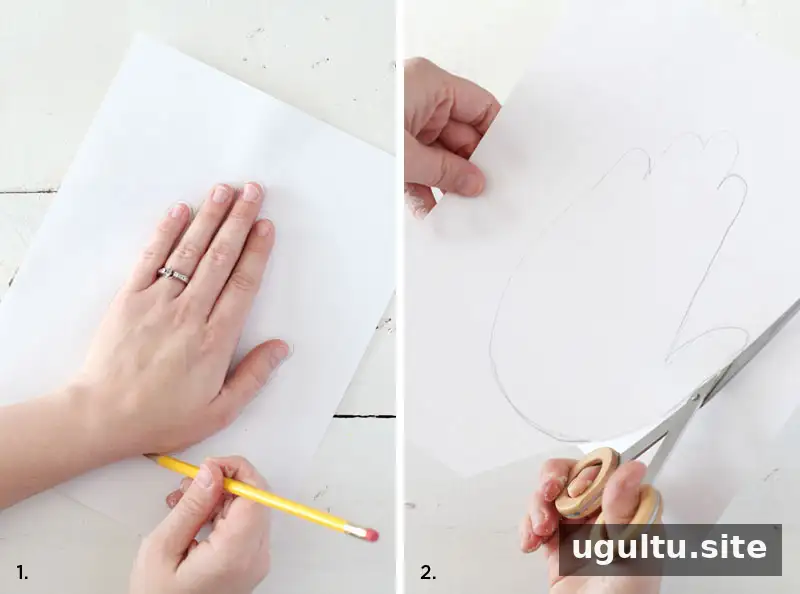
1. Create and cut out a hand template
Trace around your hand on scrap paper with your fingers together and your thumb resting naturally. Extend the outline on the little-finger side to make the shape wider than your hand; this extra width helps form the dish. Cut out the paper template with scissors.
2. Roll and shape the clay
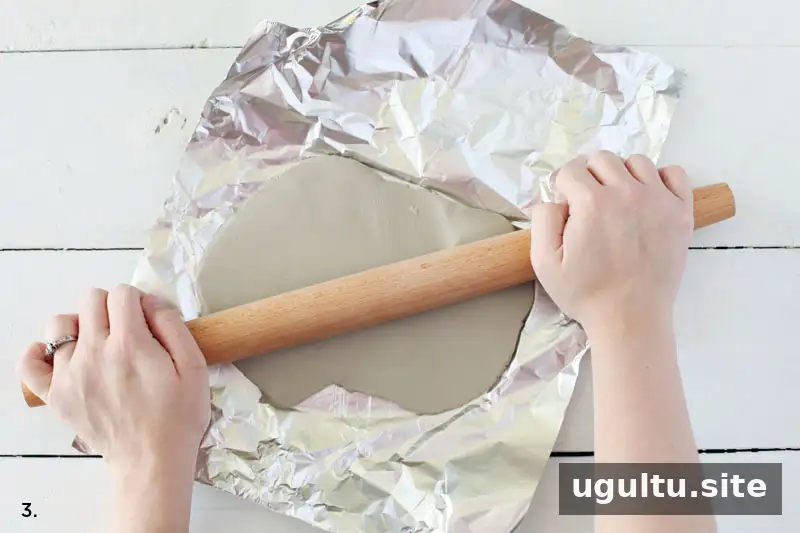
Place foil or parchment between the clay and your work surface, then roll the clay to about 1/8 inch thick. The thickness does not need to be perfectly uniform, but try to avoid very thin areas that may be fragile.
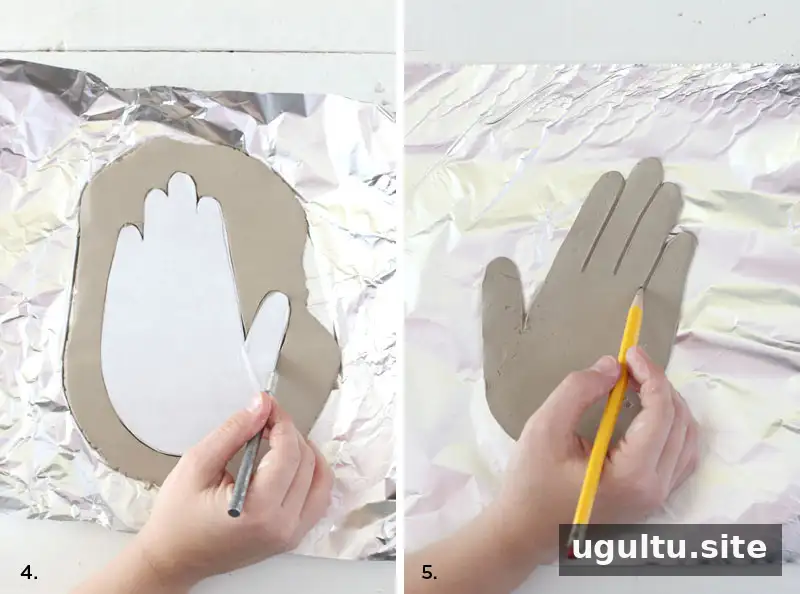
Lay the paper template on the clay and carefully cut around it with a craft blade. Remove the excess clay and lift away the paper template. Peel the clay shape from its backing and turn it over. On the side that touched the foil or parchment, use a pencil to press indentations between the clay fingers.
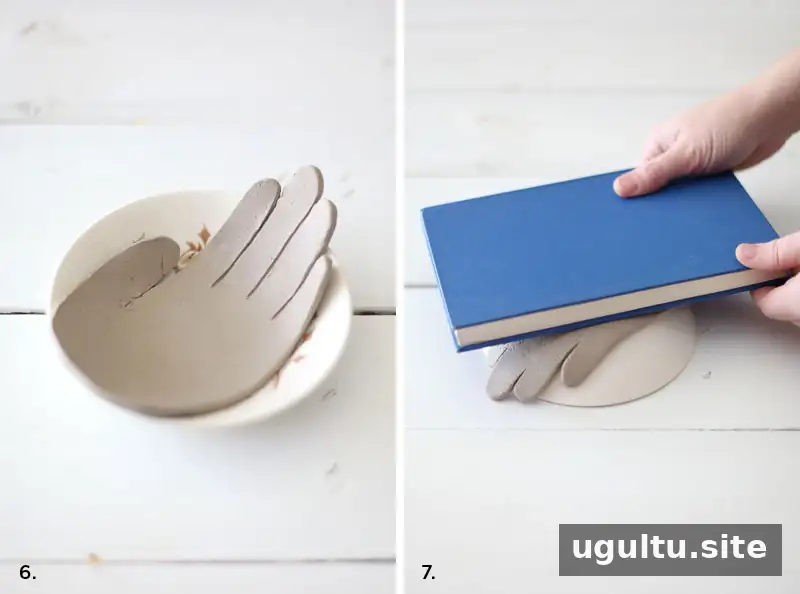
Peel away the backing and gently place the clay hand inside the shallow bowl. Press it into the bowl to create a curved dish shape. Handle the clay gently so the fingers and edges do not stretch or tear.
3. Let the clay set and stabilize the base
After the clay has started to harden for a few hours, remove it from the bowl while it is still flexible enough to adjust. Turn the bowl upside down and place the clay hand over its base, as shown in the image. Press the back of the clay with a flat object, such as a book, to help create a stable base. Leave the clay upside down as it dries; this position can help reduce cracking at the edges as the material shrinks.
Add a Gold Finish and Patina
4. Apply the metallic finish
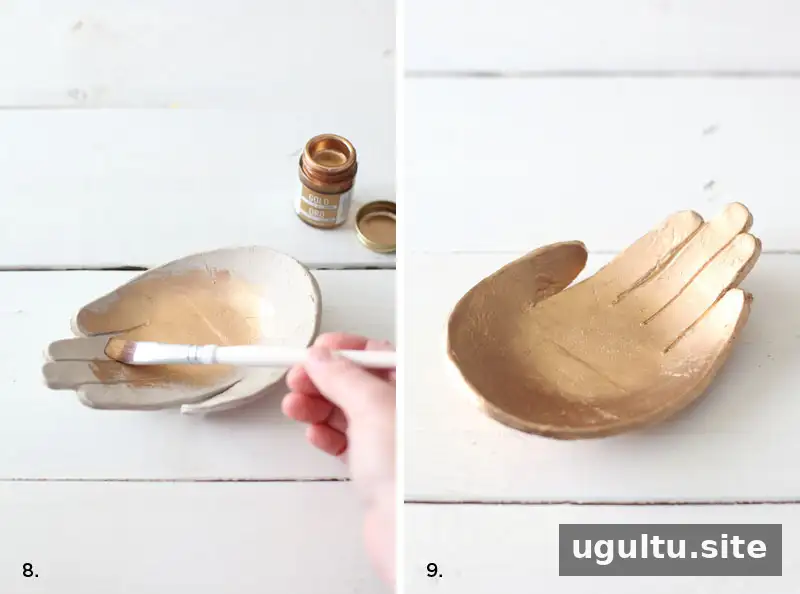
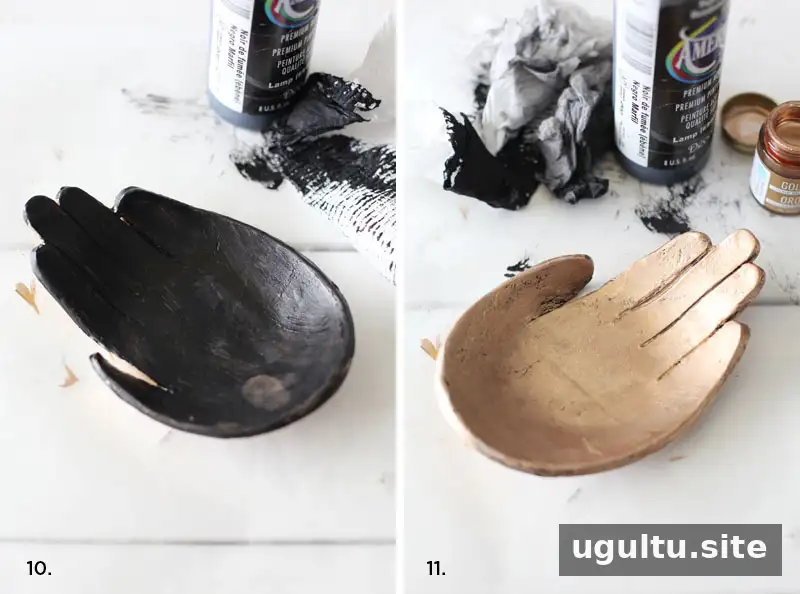
Once the clay is dry, paint the dish with liquid gold leafing. Apply a light, even coat and let it dry completely before adding the next finish. A small amount of liquid leafing can cover a broad area, so start with a little and add more if needed.
5. Create the aged effect
Brush or wipe a thin coat of black acrylic paint over the gold surface. Before it dries, wipe it away with a wet paper towel, followed by a damp one. Some black paint will remain in the textured creases, creating a darker, aged appearance. If an area looks too dark, or if wiping removes some of the gold, touch it up with more gold leafing and allow it to dry.
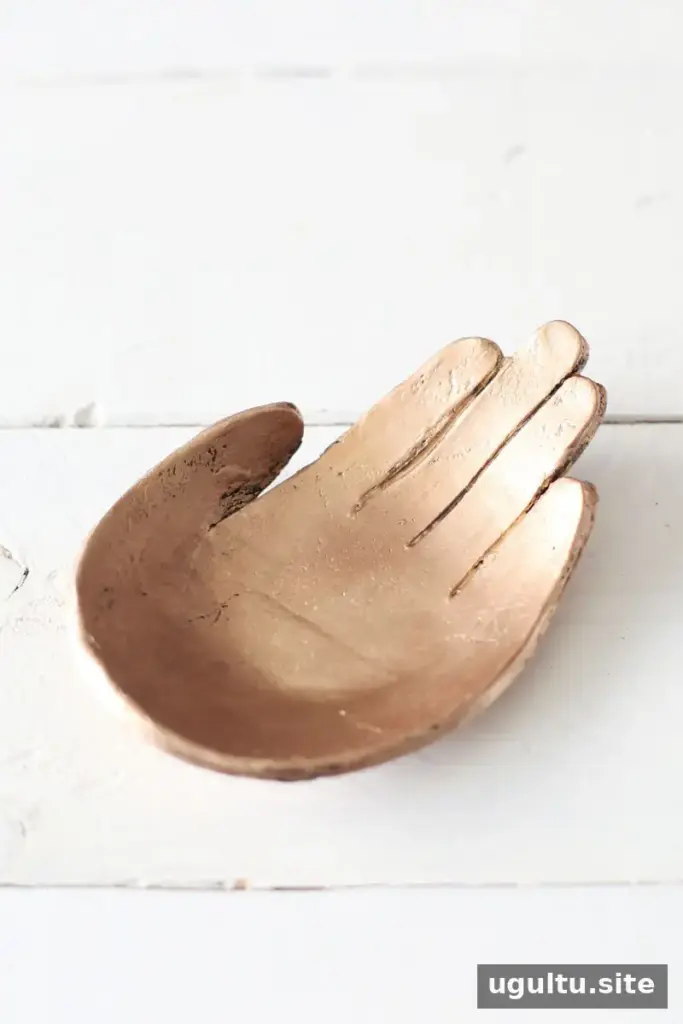
Let the paint dry fully. If you want additional protection, you can apply a clear glaze, following the product directions. A glaze may change the surface sheen, so test it on an inconspicuous area first if you want to keep a less glossy look.
Using and Caring for Your Hand Dish
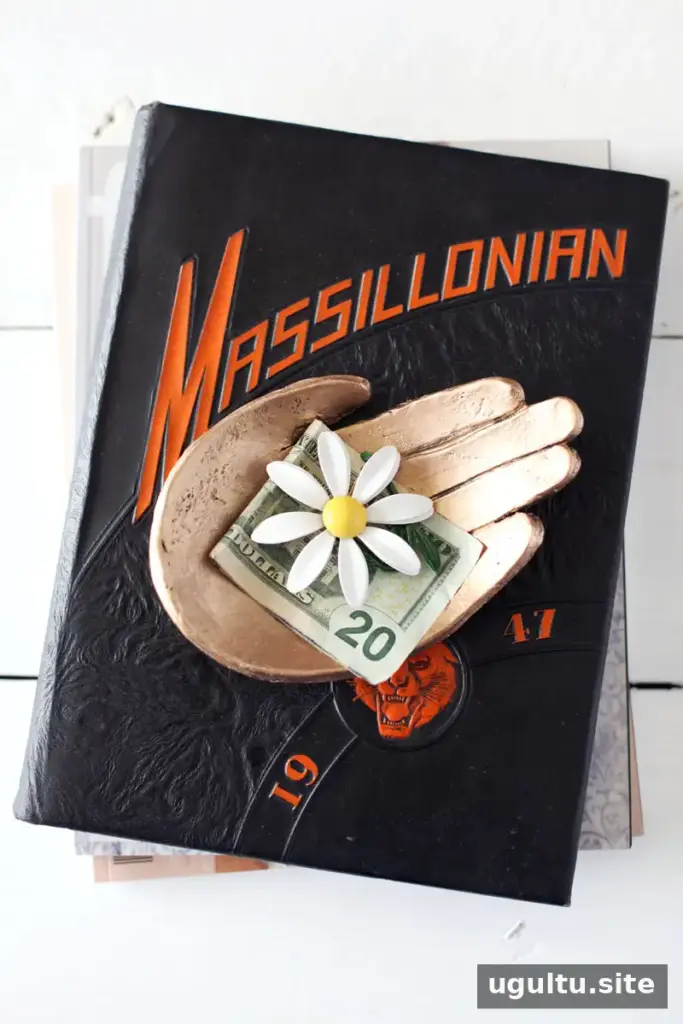
Place the finished dish on a console table or dresser to collect small everyday items. Because this project uses air-dry clay and craft finishes, treat it as a decorative catchall rather than a food-serving dish unless every material is specifically labeled as food-safe. Avoid soaking it or putting it in a dishwasher; gentle dusting helps preserve the painted finish.
This DIY sculptural hand dish combines a simple paper template, shaped clay, and layered paint to create a useful handmade accent. Take your time with drying and finishing, and the result can also make a thoughtful gift.
— Mandi


