admin


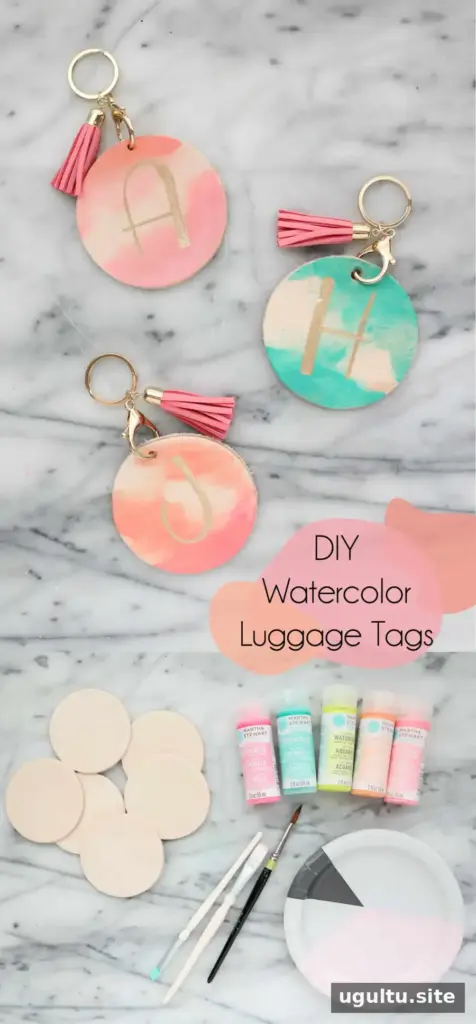
Watercolor luggage tags are a simple way to make a suitcase easier to identify and add a personal touch to your travel gear. This DIY project uses round pieces of vegetable-tanned leather, watercolor gels, and basic hardware. The finished tags can also be used as keychains or made as small handmade gifts.
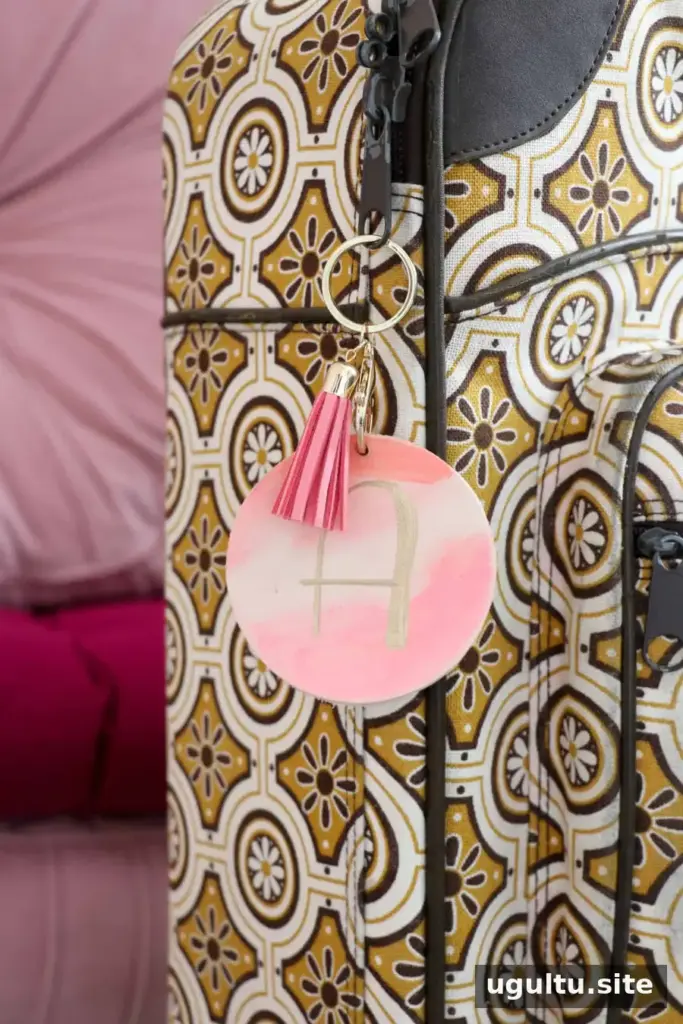
Choose colors that are easy to spot on a crowded baggage carousel, and make sure your contact details are clear on the back. The steps below explain how to paint, personalize, and assemble each tag.
Materials for Watercolor Luggage Tags
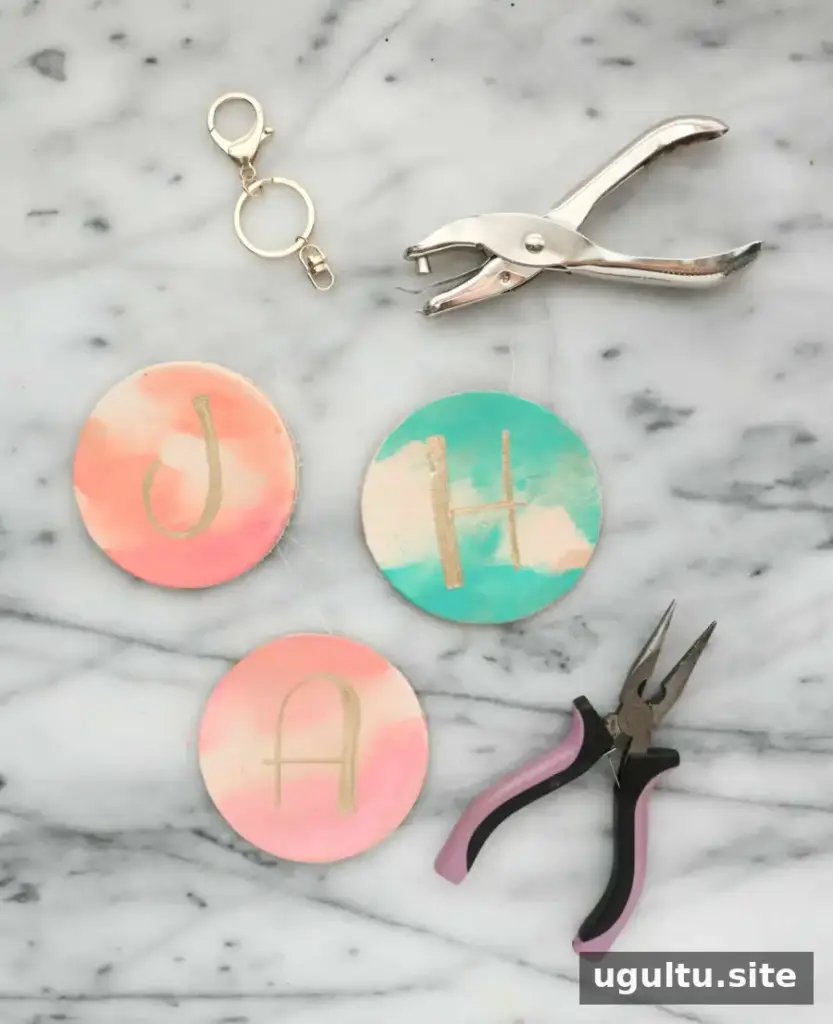
Gather the following supplies before you begin. The leather rounds used for this project are 3 inches in diameter and can be cut from a sheet of craft-store vegetable-tanned leather.
- 3-inch vegetable-tanned leather rounds
- Watercolor gels
- Paintbrush and palette
- Keychain clasp
- Pliers
- Hole punch
- Gold paint pen
- Colorful tassel (optional)
A small plate can stand in for a paint palette if needed. Before painting, check that the leather surface is clean and dry so the color can be applied evenly.

How to Make a Watercolor Leather Luggage Tag
1. Prepare the watercolor gels
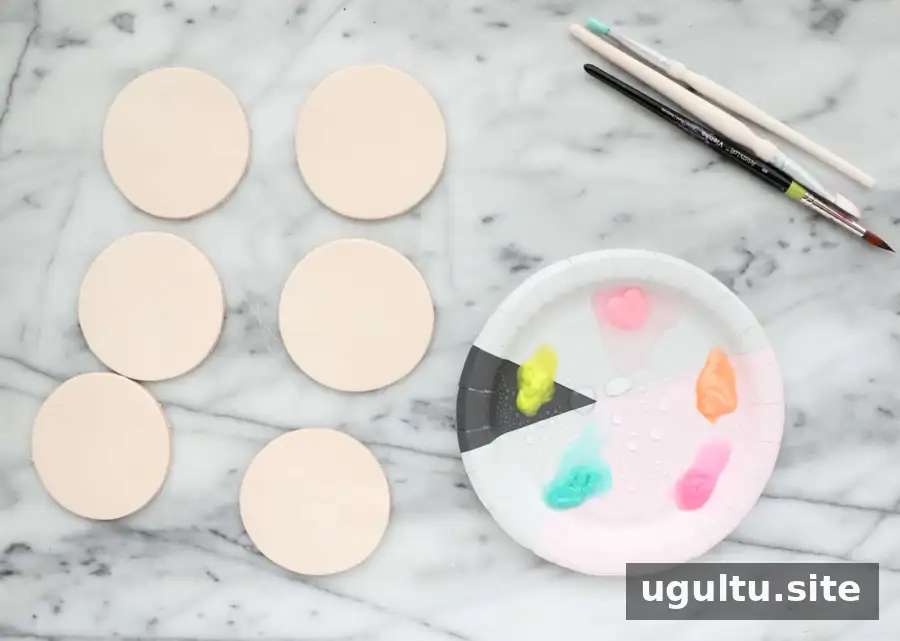
Place a small amount of each watercolor gel on your palette. Add a few drops of water and mix to thin the color into a watercolor-like consistency. Add water gradually; a more diluted mixture creates a softer wash, while less water gives a stronger color.
2. Paint the leather rounds
Use a paintbrush to apply gentle strokes of diluted color to the leather. You can use one shade or combine several colors for a varied design. For a lighter, more blended effect, lightly mist the leather round with water before applying the paint. The added moisture helps the colors spread and swirl across the surface.
Let the painted leather dry completely before adding lettering or hardware. Keeping the colors light around the area reserved for your initials can help the lettering stand out.

3. Add initials and contact details
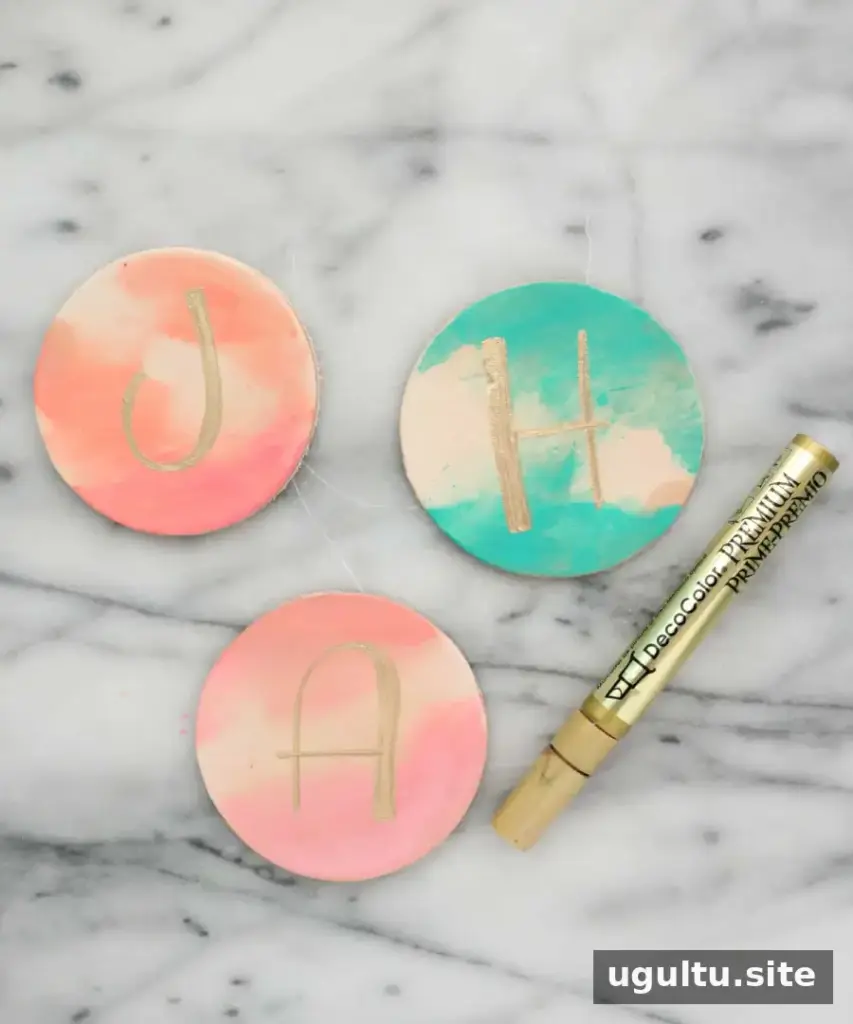
When the paint is dry, use a gold paint pen to write an initial or monogram on the front. On the back, use a regular pen to add your name, address, and phone number. Write neatly and check that the information is readable before attaching the tag to your luggage.
For travel, include only the contact information you are comfortable displaying publicly. Make sure the details remain visible and are not covered by the clasp or tassel.
4. Attach the clasp and tassel
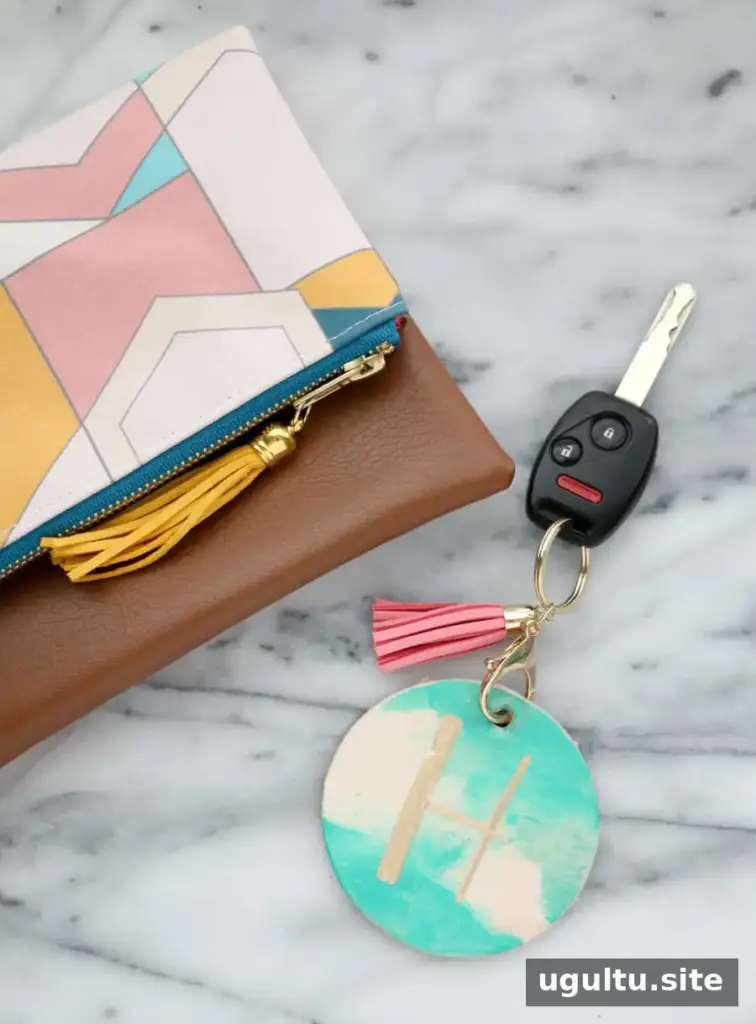
Use a hole punch to make an opening near the edge of the leather round. Position the hole far enough from the edge to leave the leather intact. With pliers, attach the keychain clasp and, if desired, a tassel using a jump ring. Check that the hardware is closed securely before putting the tag on a bag.
Finishing and Using Your Tags
Once assembled, your watercolor luggage tag is ready to attach to a suitcase, backpack, or set of keys. If you are making several, vary the colors or initials so each bag is easy to distinguish. These handmade tags are also a practical small gift for someone preparing for a trip.

Making watercolor luggage tags takes only a few basic materials and straightforward steps. Allow the paint to dry fully, keep the contact details legible, and check the clasp before use. Project by Kara.