
 admin
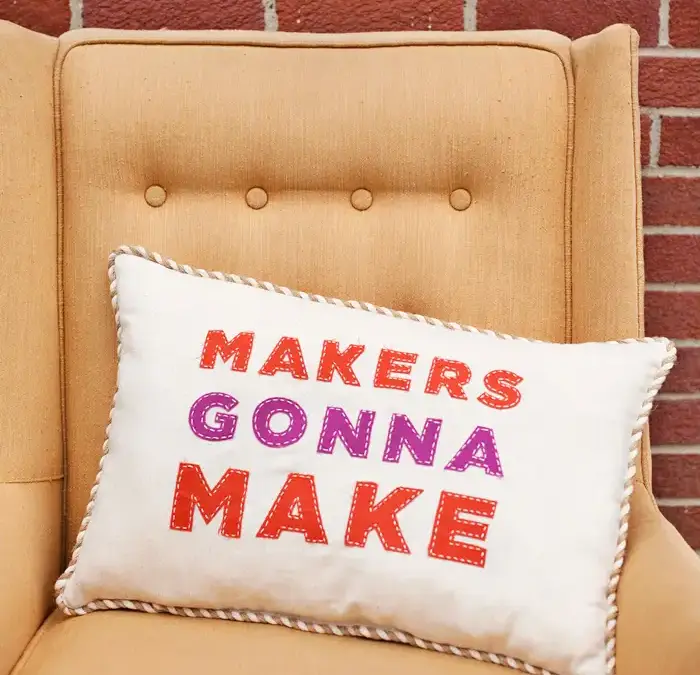
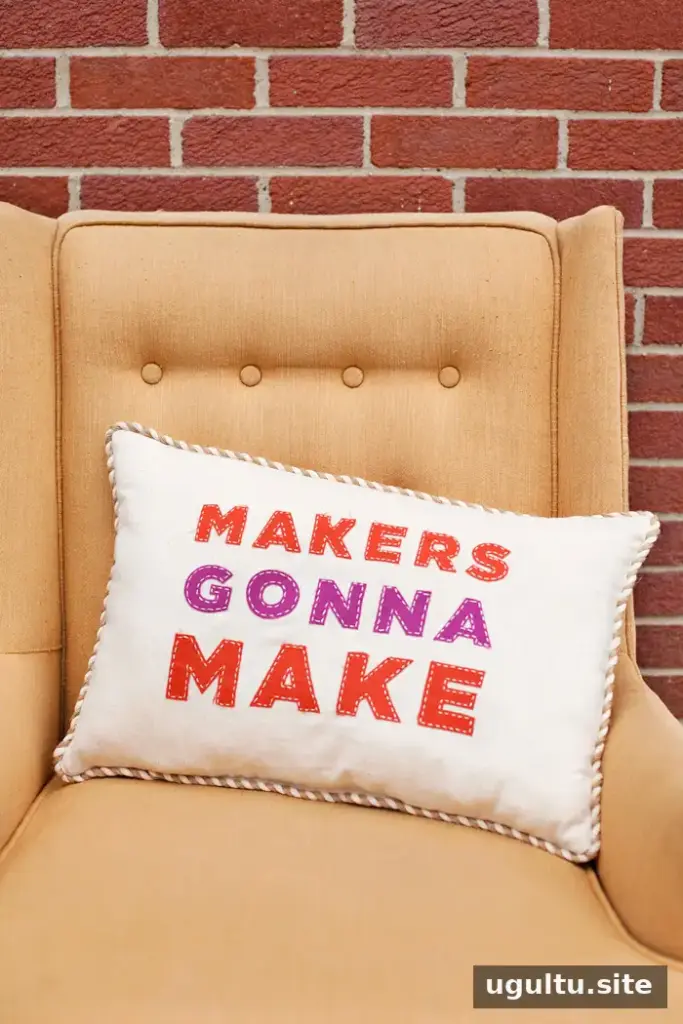
A Makers Gonna Make applique pillow is a playful sewing project that adds a personal touch to a sofa or makes a thoughtful gift for someone who enjoys crafting. The design uses fabric letters secured with fusible webbing and stitched in place for durability. You can choose contrasting fabrics to make the words stand out and add piping if you would like a finished edge.
The project involves cutting, pressing, embroidery, and machine sewing. Set aside enough time to stitch around each letter, and read the instructions supplied with your fusible webbing before ironing.
Supplies and tools
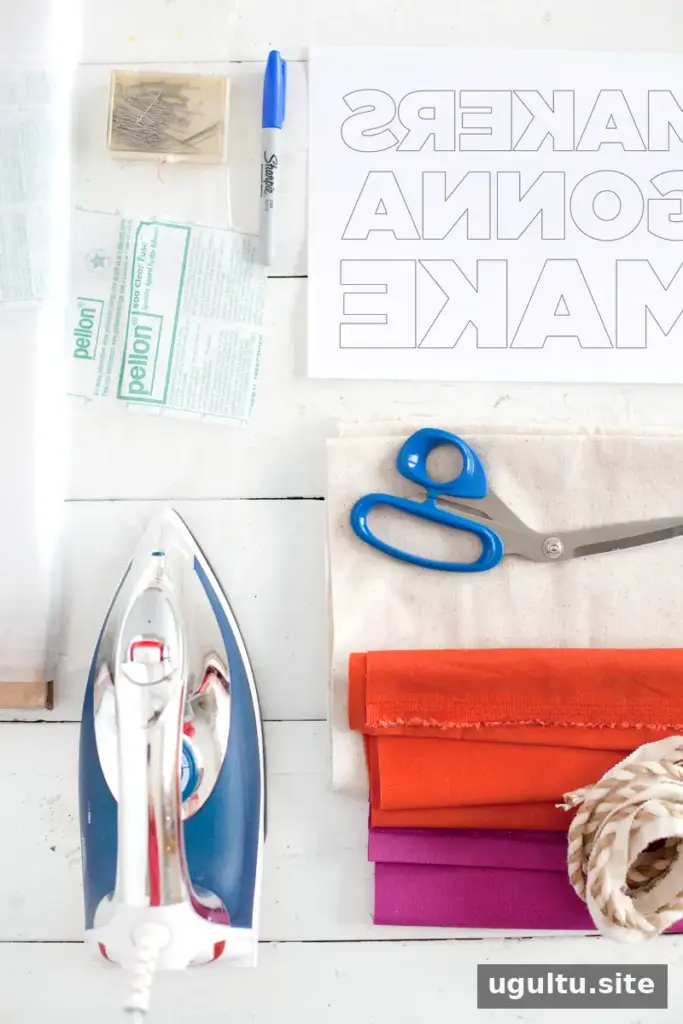
Supplies:
- Fabric: 1/2 yard for the pillow base, plus contrasting fabric scraps for the words
- Piping, optional
- Fusible webbing, approximately the size of a sheet of copy paper
- Makers Gonna Make template
- Batting or pillow stuffing
- Embroidery floss
Tools:
- Iron and a damp press cloth
- Permanent marker
- Straight pins
- Fabric scissors
- Embroidery hoop and needle
- Sewing machine with a zipper foot
Check that you have enough contrasting fabric for every letter before cutting. Keep the iron settings appropriate for both the fabric and the fusible webbing.
How to make a Makers Gonna Make applique pillow
Prepare and attach the letters
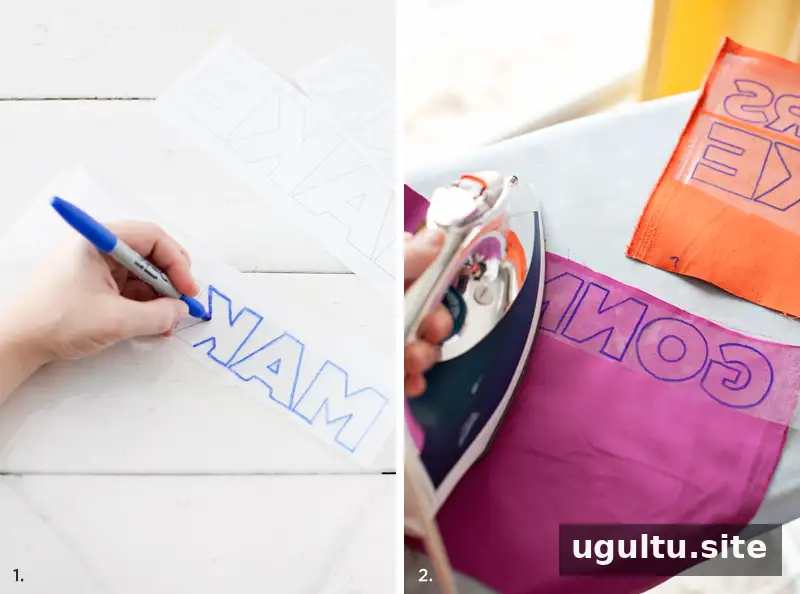
Step 1: Trace the template onto the shiny side of the fusible webbing.
Step 2: Following the manufacturer’s directions, iron the webbing onto the reverse side of the contrasting fabric. Leave a tiny corner unattached to make the backing easier to remove later.
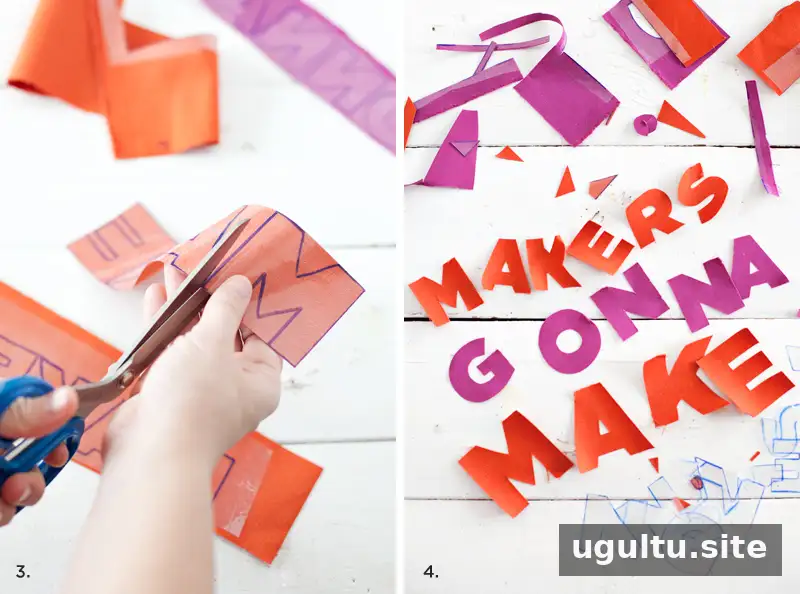
Step 3: Cut out each letter carefully. Keep the edges neat so the finished lettering is easy to stitch around.
Step 4: Peel away the plastic backing, checking that the webbing remains attached to the fabric. Start at the unfused corner. The small area without webbing will be secured with stitching in a later step.
Step 5: Fold the pillow backing fabric in half and cut two pieces measuring 22″ x 15″. Cutting both layers together helps ensure the pieces match in size.
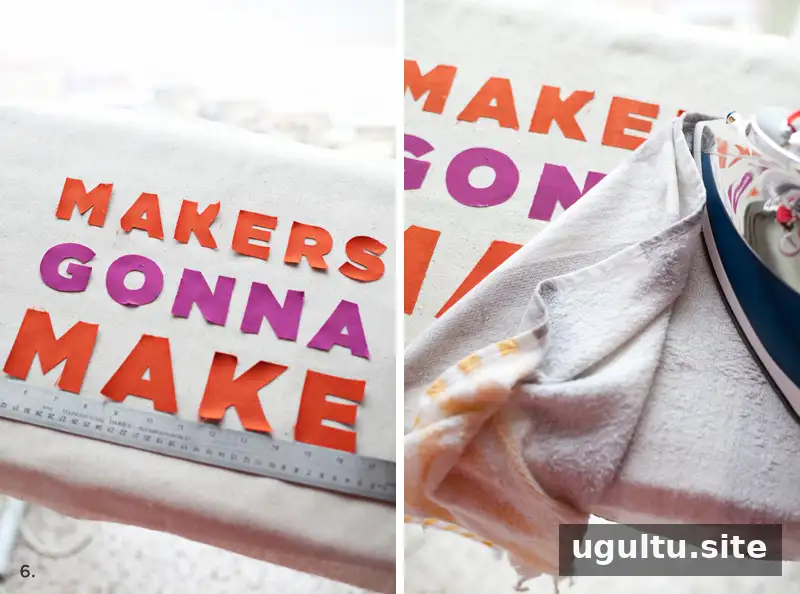
Step 6: Arrange the letters on one backing piece. The original layout leaves a 4″ border above and below the words and a 5″ border on each side. Place a damp press cloth over the design, taking care not to shift or curl the letters, and press according to the fusible webbing instructions.
Embroider and sew the pillow
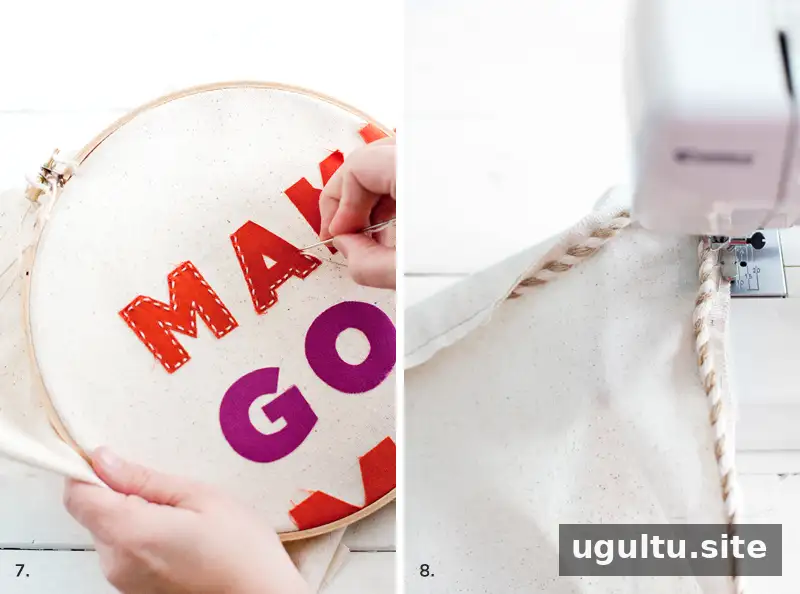
Step 7: Place the fabric in an embroidery hoop and stitch around the edge of every letter. This can take some time, but the stitching is important: it helps keep the appliqué from peeling away with use.
Step 8: If using piping, pin it around the edge of the second backing piece. Position it on the right side of the fabric, with the piping directed inward and the raw edge of the piping toward the fabric’s outside edge. Keep it at least 1″ from the fabric edge. Use a zipper foot to sew it in place, leaving enough room to stitch the pillow together in the next step.
Tip: A contrasting bobbin thread can make the piping seam easier to see. Use that stitching as a guide when sewing the pillow pieces together.
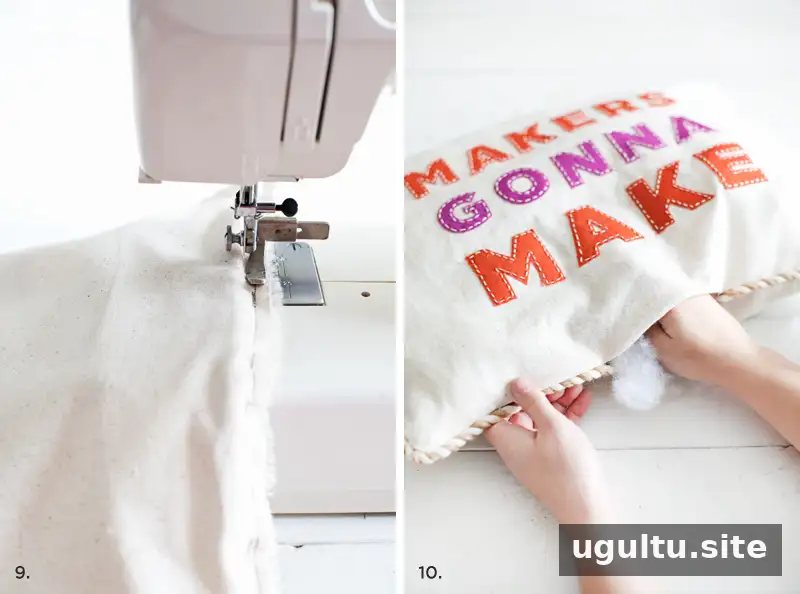
Step 9: Place the two fabric pieces right sides together, with the piping side and the lettered side facing inward. Pin the layers and sew around the edges with a zipper foot. Sew closer to the piping than the guide stitching from the previous step. Leave an opening large enough to turn and fill the pillow.
Step 10: Fill the pillow with batting or stuffing, distributing it through the corners and across the cushion. Hand-sew the opening closed with a needle and thread.
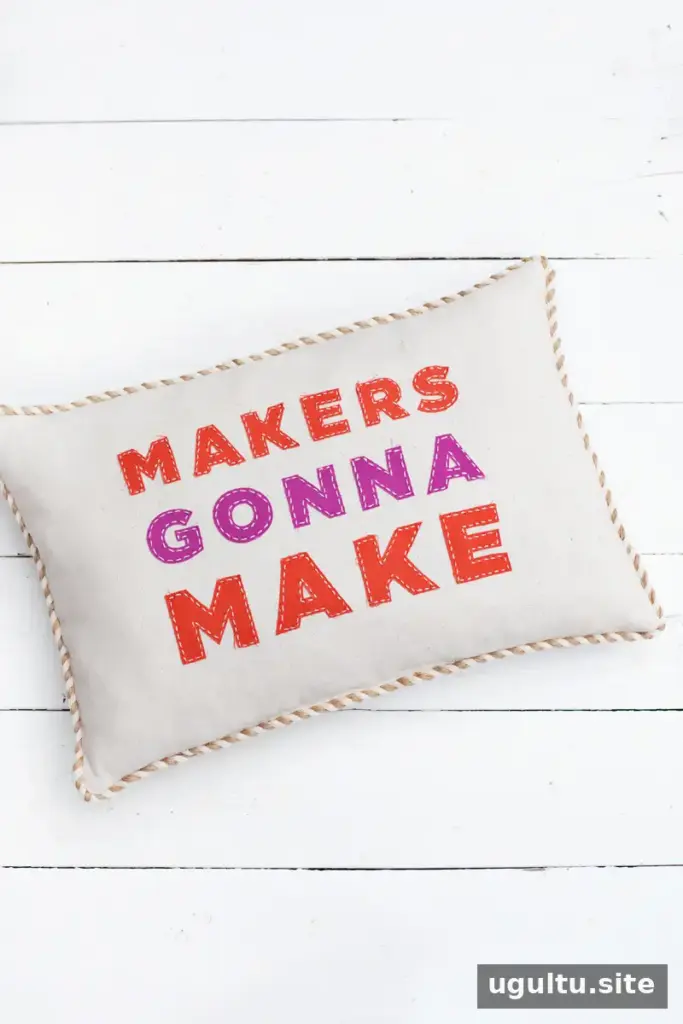
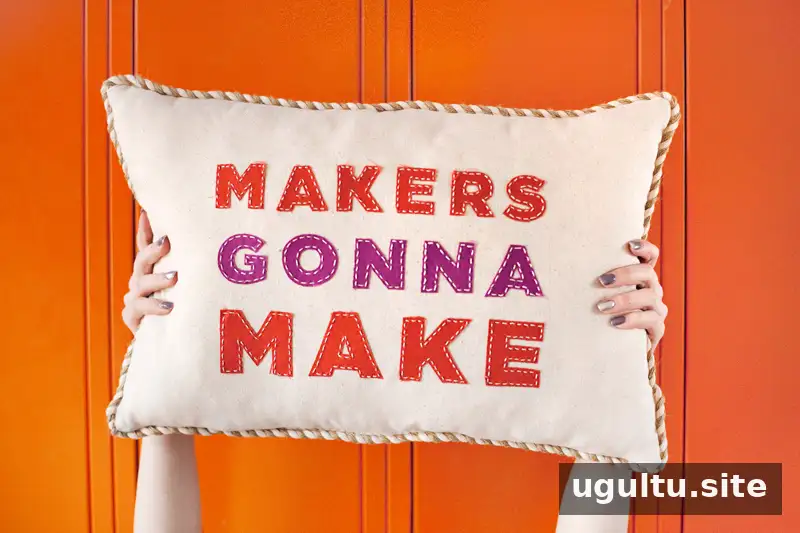
This handmade pillow can be a cheerful gift for a crafty friend or a custom accent for your own home. For a lasting result, secure every letter with embroidery and close the filling opening neatly. Enjoy making a Makers Gonna Make applique pillow in fabrics that suit the recipient or your room. –Mandi


