admin
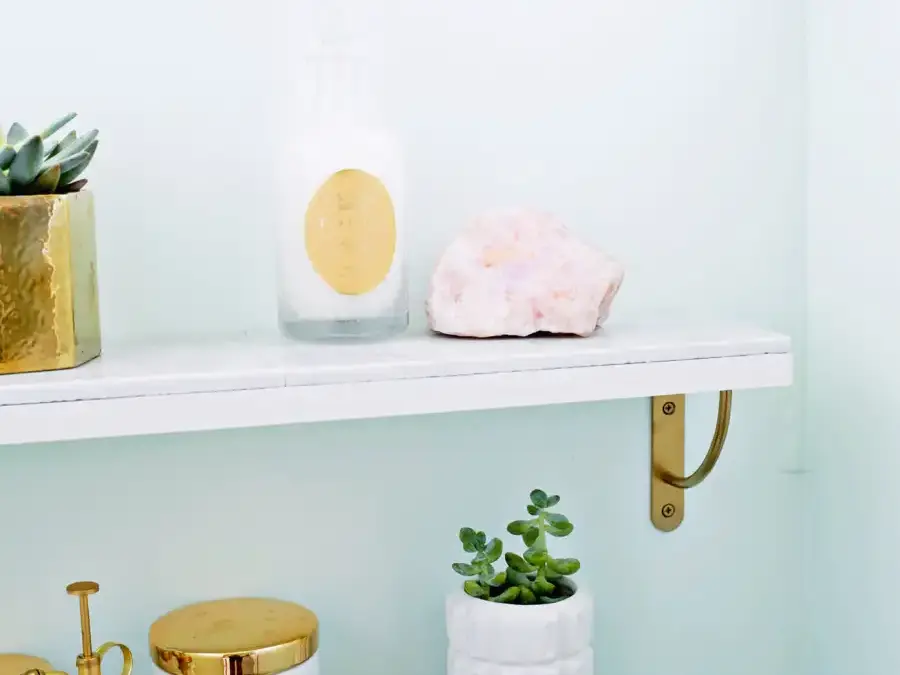
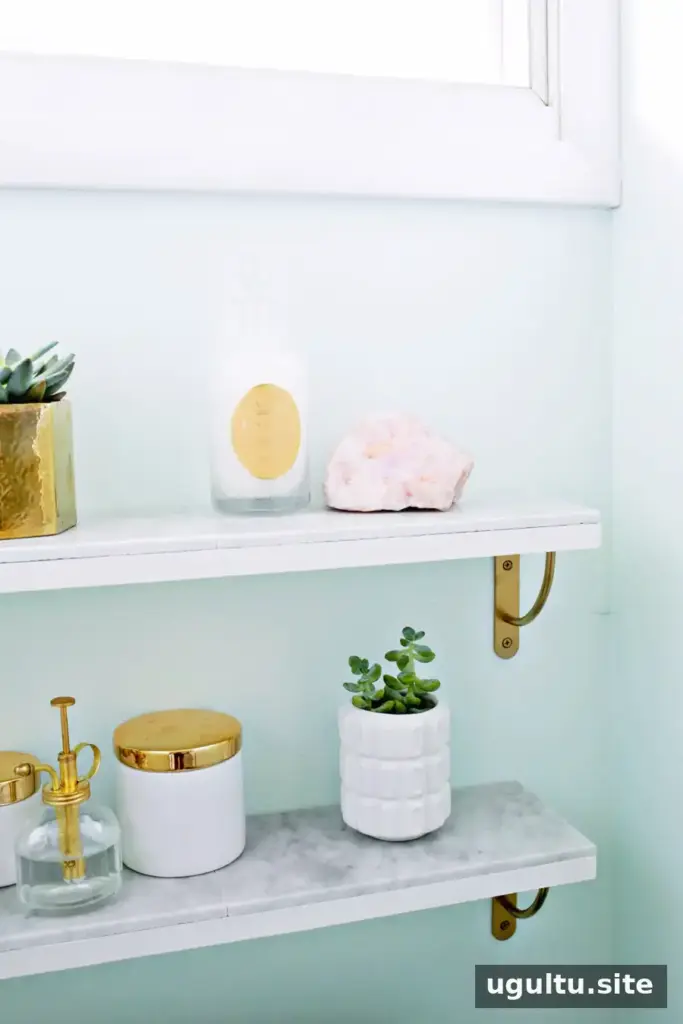
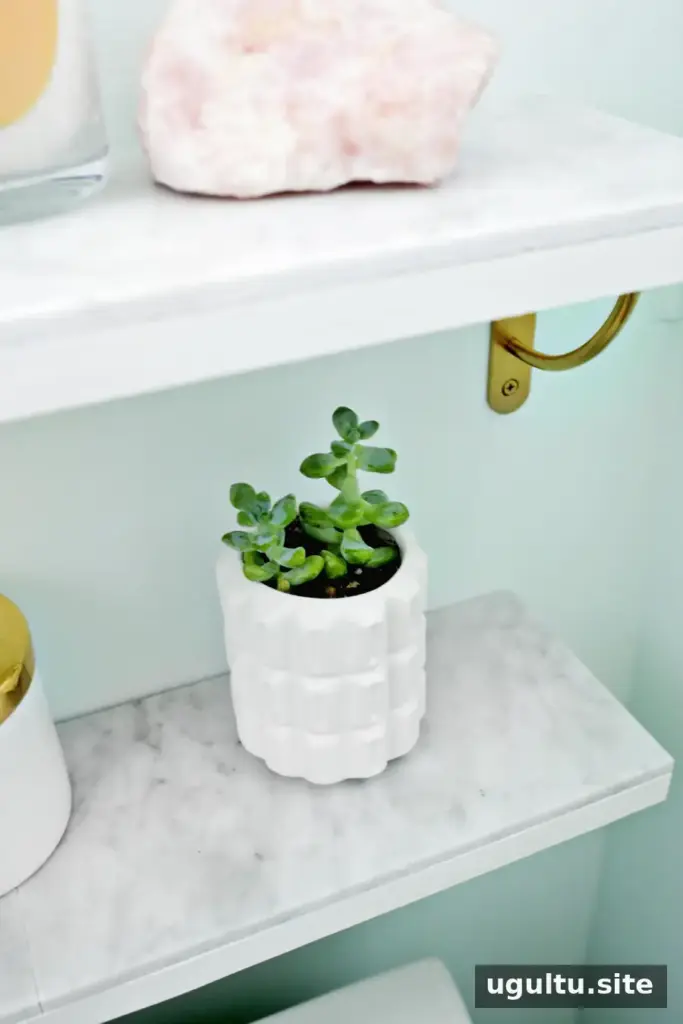
DIY marble shelves can add an elegant touch to a bathroom or kitchen without the cost of buying custom shelving. This project combines marble tiles, a wooden board, and shelf brackets to create a simple two-shelf setup. The materials are easy to find, and the finished shelves provide useful storage in a small nook or on an open wall.
Materials for DIY Marble Shelves
Gather the supplies before you begin. Each shelf uses two tiles placed side by side along a board, creating a marble surface that covers the board.
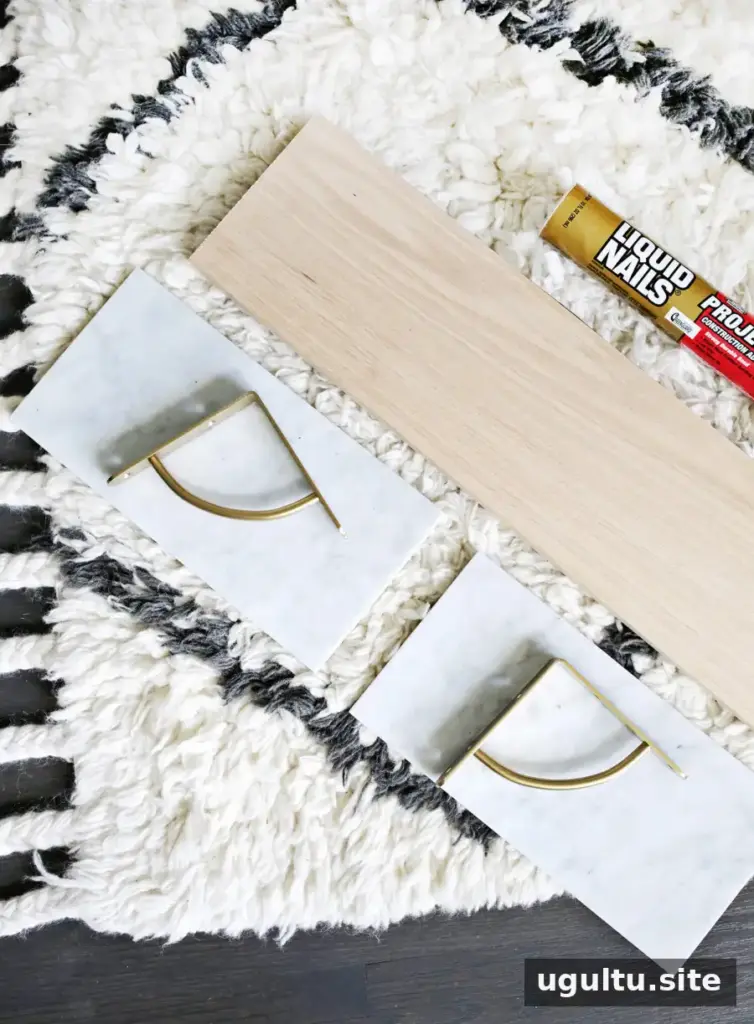
- 6-inch by 12-inch marble tiles (two per shelf)
- 6-inch by 24-inch wooden boards
- Construction adhesive suitable for bonding marble to wood, applied with a caulking gun
- White paint
- Shelf brackets of your choice; paint them gold if you want a metallic finish
- Painter’s tape (optional)
A lumber store may be able to cut the boards to size, or you can cut them with a jigsaw if you have the appropriate tools and experience. Check that the tiles and boards are clean and dry before assembly so the adhesive can bond to the surfaces.
How to Make DIY Marble Shelves
Plan the shelf positions
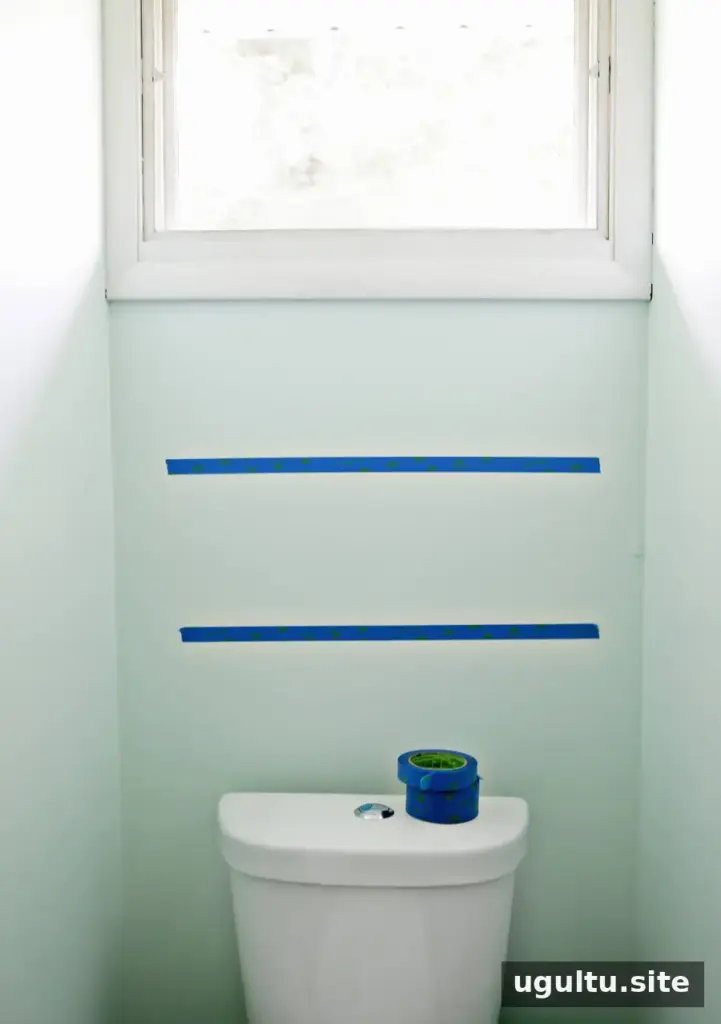
Use painter’s tape to mark where each shelf will sit on the wall. This makes it easier to compare the spacing and alignment before drilling. Consider what you plan to store and leave enough room between shelves for those items.
Paint the boards and attach the tiles
Paint the underside and side edges of each board with several coats of white paint. The middle of the top surface does not need paint because the marble tiles will cover it. Let the paint dry according to its instructions before moving on.
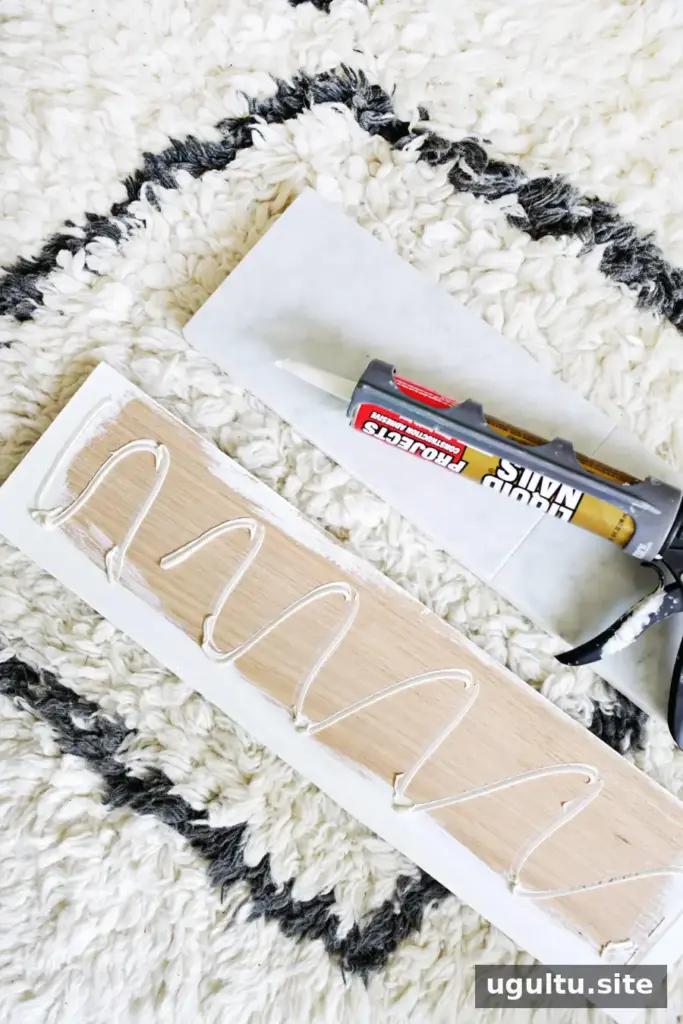
Apply construction adhesive to the top of a board, then place two 6-inch by 12-inch tiles side by side to cover the 6-inch by 24-inch surface. Align the tile edges carefully and follow the adhesive manufacturer’s directions for application and curing time. Repeat for each shelf, and avoid moving or loading the shelves until the adhesive has fully set.
Install the brackets
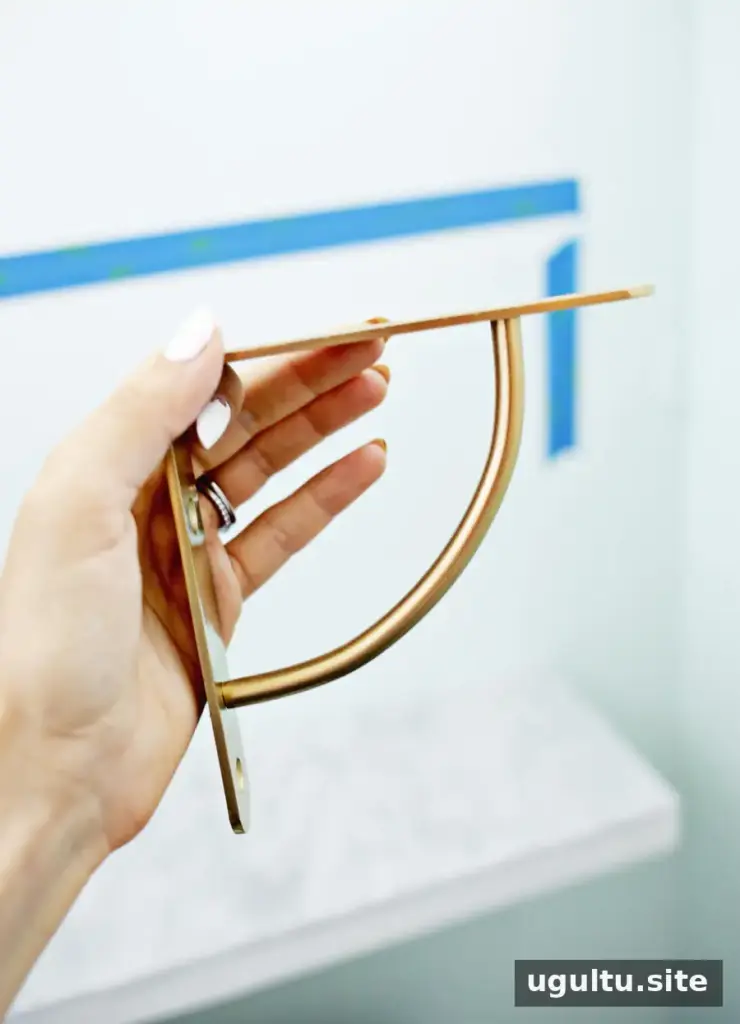
Attach the brackets to the underside of each completed shelf. Then fasten the brackets to the wall at the marked positions. Use wall fasteners suited to your wall type, and check that the brackets are firmly secured before placing anything on the shelves. Marble is heavy, so choose brackets and fixings that can safely support the finished shelf and its intended contents.
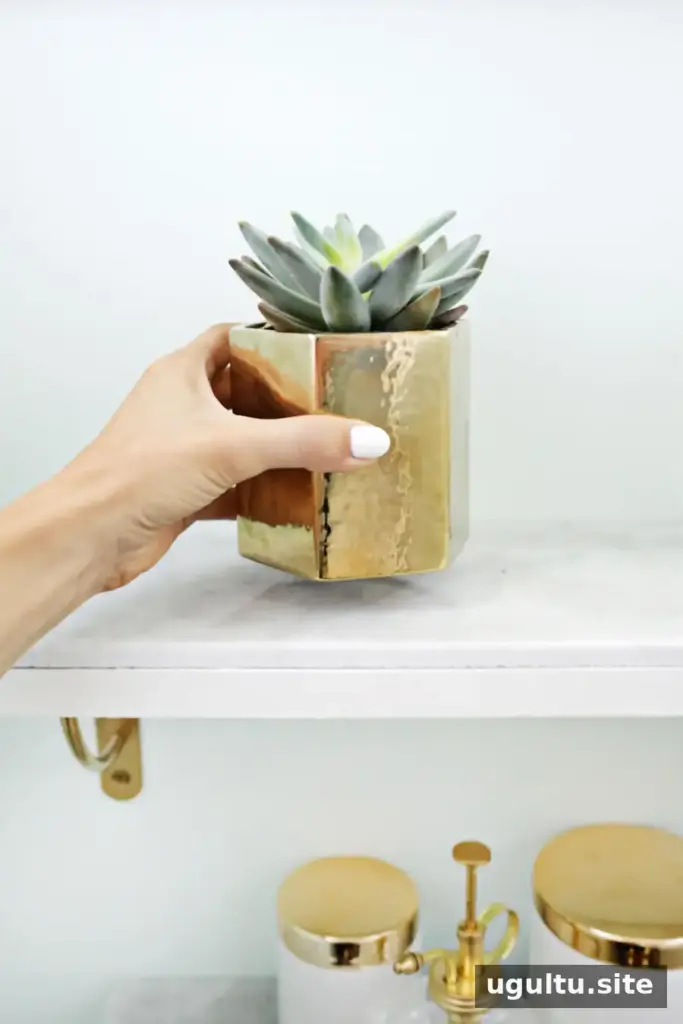
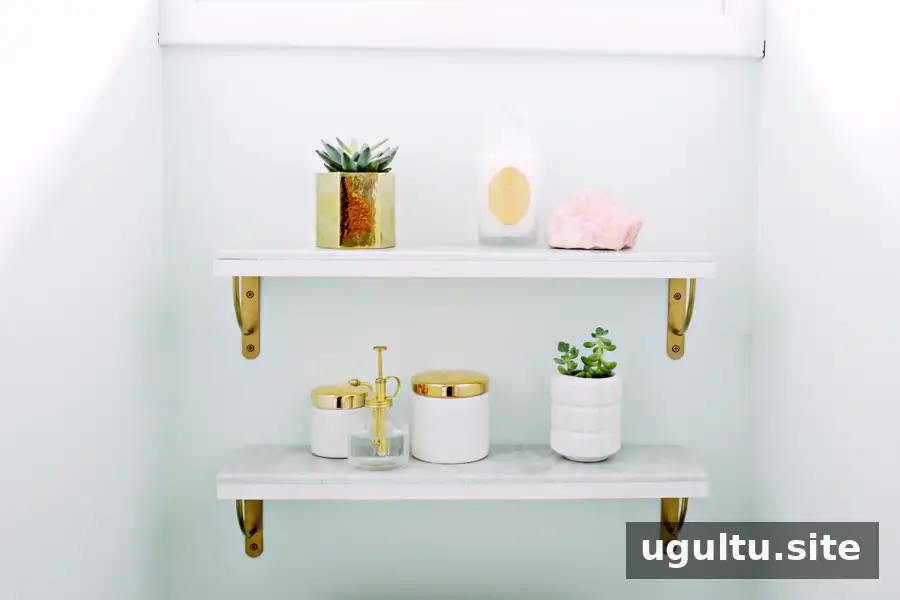
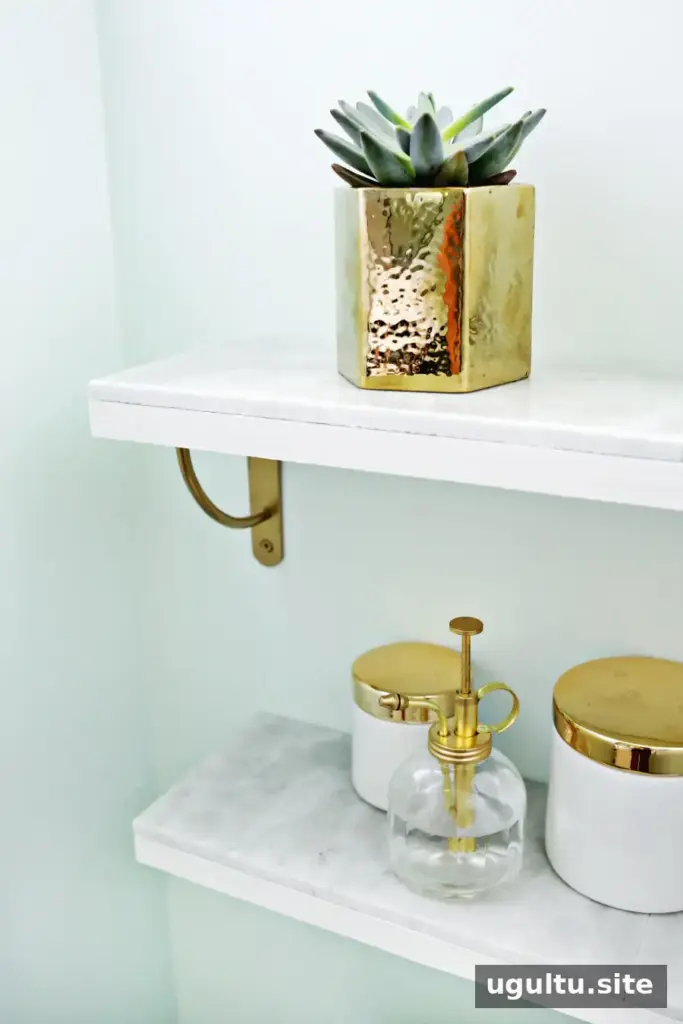
Where to Use Marble Shelves
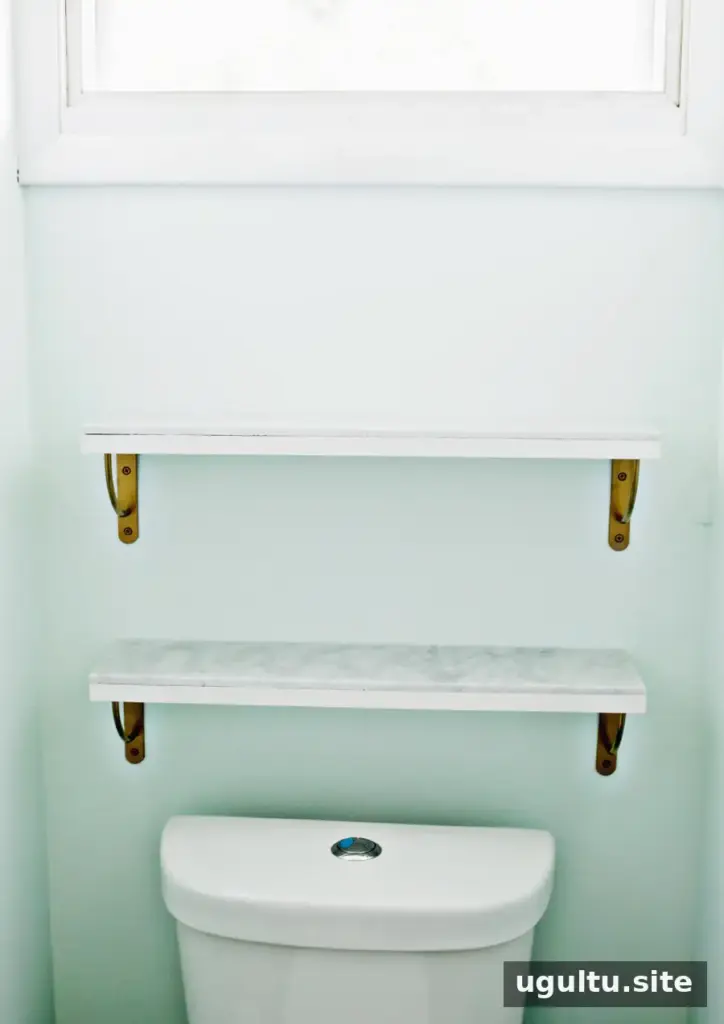
These shelves can add extra storage to a bathroom, and the same basic design can work as open shelving in a kitchen. Before installing them in either room, consider the wall surface, the weight of the items you will store, and how the shelves will be cleaned. Avoid overloading them, and wipe marble with a cleaner appropriate for the stone.
With the listed supplies, the estimated cost averages about $40 per shelf. DIY marble shelves offer a way to bring a marble-and-metal look into your home while creating practical display or storage space. —Laura