
 admin
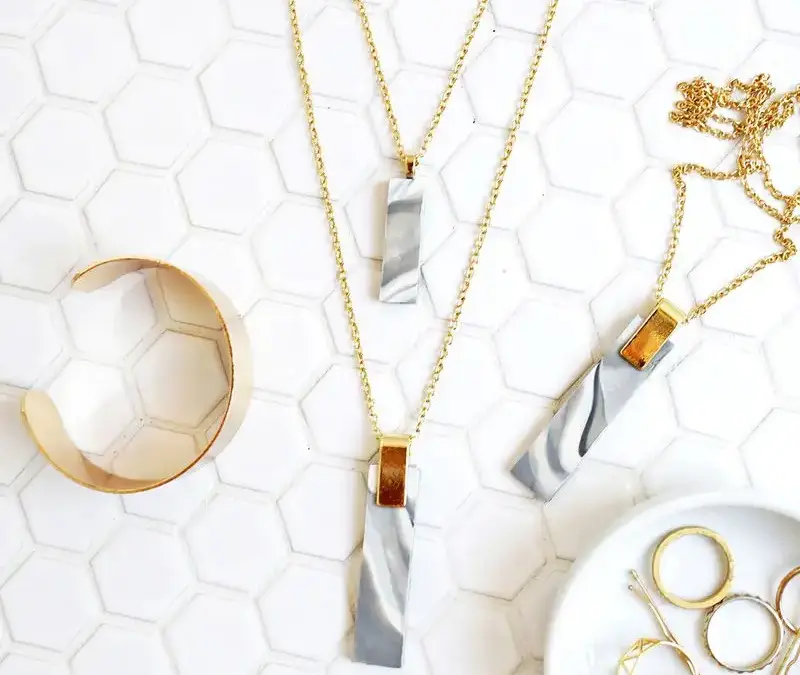
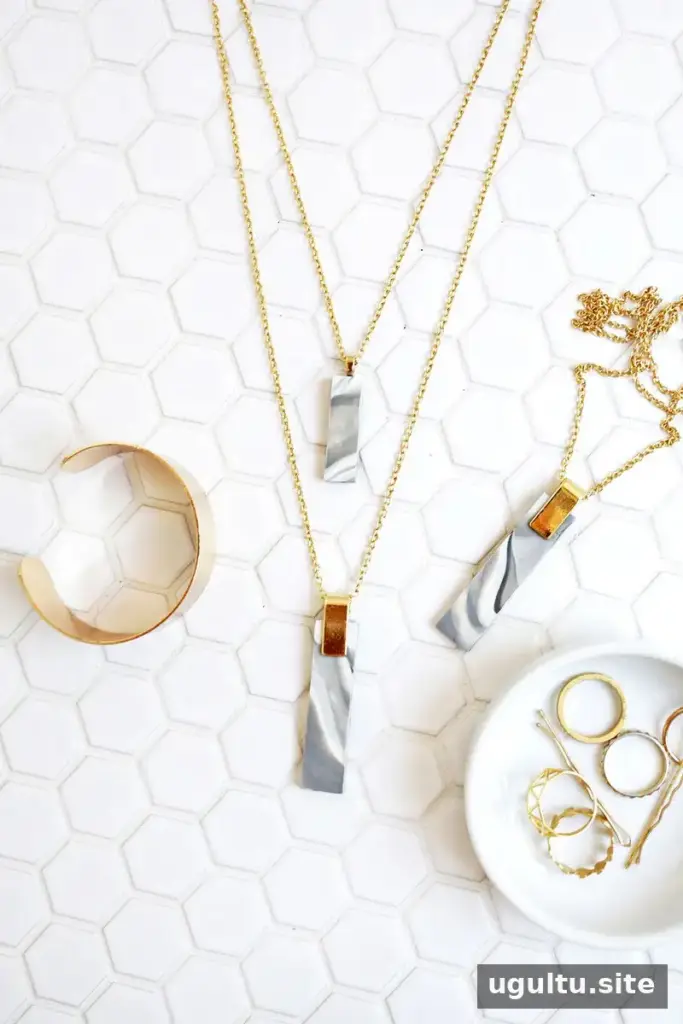
A marbled clay pendant necklace is a simple handmade accessory that can work with both casual and dressy outfits. The marbling technique blends different clay colors into a distinctive pattern, so each pendant will have its own look. Choose a single pendant for a minimal design or make two sizes to create a layered effect.
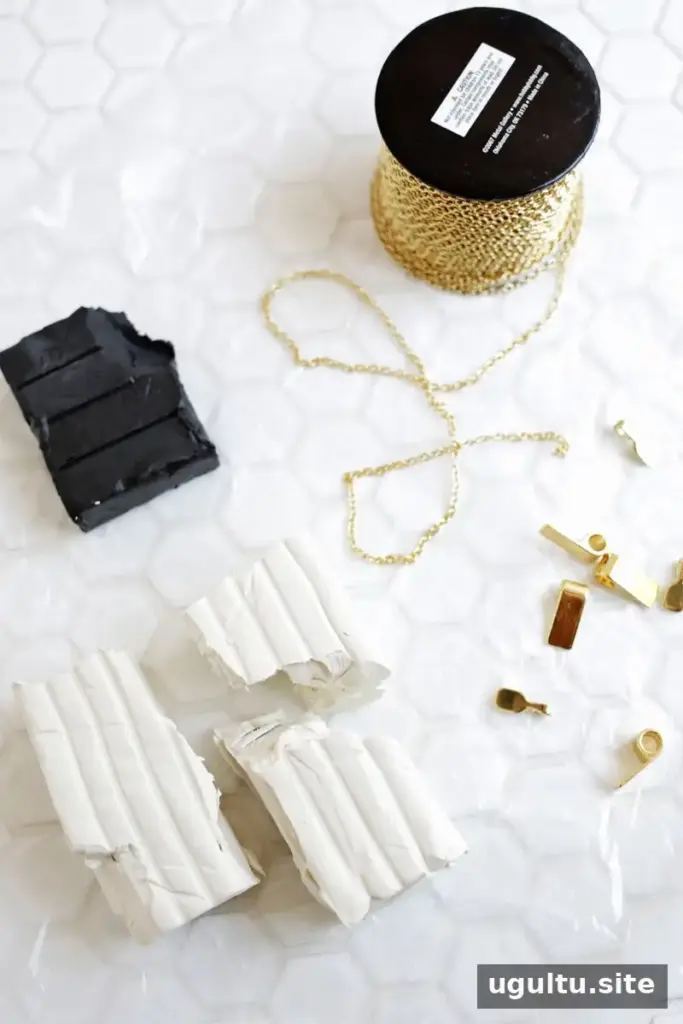
Before you begin, gather the materials and prepare a clean work surface. Check the oven-bake clay packaging for its baking instructions, since the required temperature and time depend on the product.
Supplies for a Marbled Clay Pendant Necklace
- Oven-bake clay in black, grey, and white
- Silicone rolling pin or a glass jar to use as a rolling pin
- X-Acto knife or clay knife
- Parchment paper
- Super glue
- Necklace chain, jump rings, and a necklace closure
- Gold pendant bails
Use tools intended for craft materials, and keep clay away from surfaces used to prepare food. A clean work area also helps prevent dust or stray colors from becoming part of the finished marbling.
Make the Marbled Clay
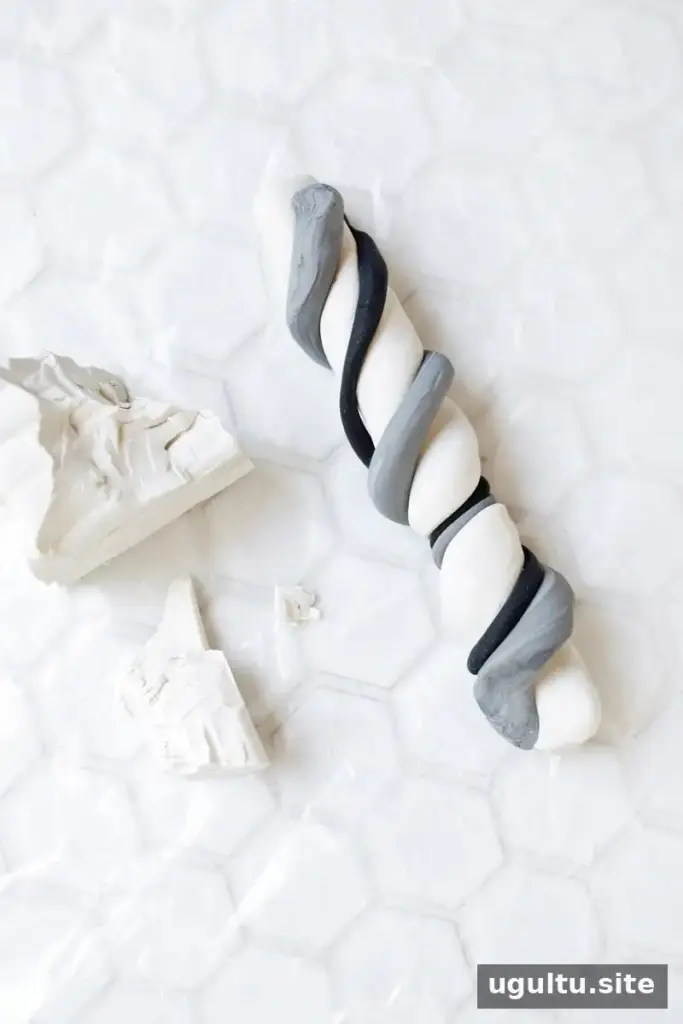
Start with a piece of white clay slightly larger than a golf ball, a grey piece about half that size, and a small black piece about half the size of the grey. These amounts are starting points rather than exact measurements. Adjust the proportions on a later attempt if you prefer more or less contrast.
Blend the colors using the marbling technique, taking care not to mix them so thoroughly that the separate shades disappear. The pattern will vary depending on how the colors combine, making every piece slightly different.
Shape and Bake the Pendants
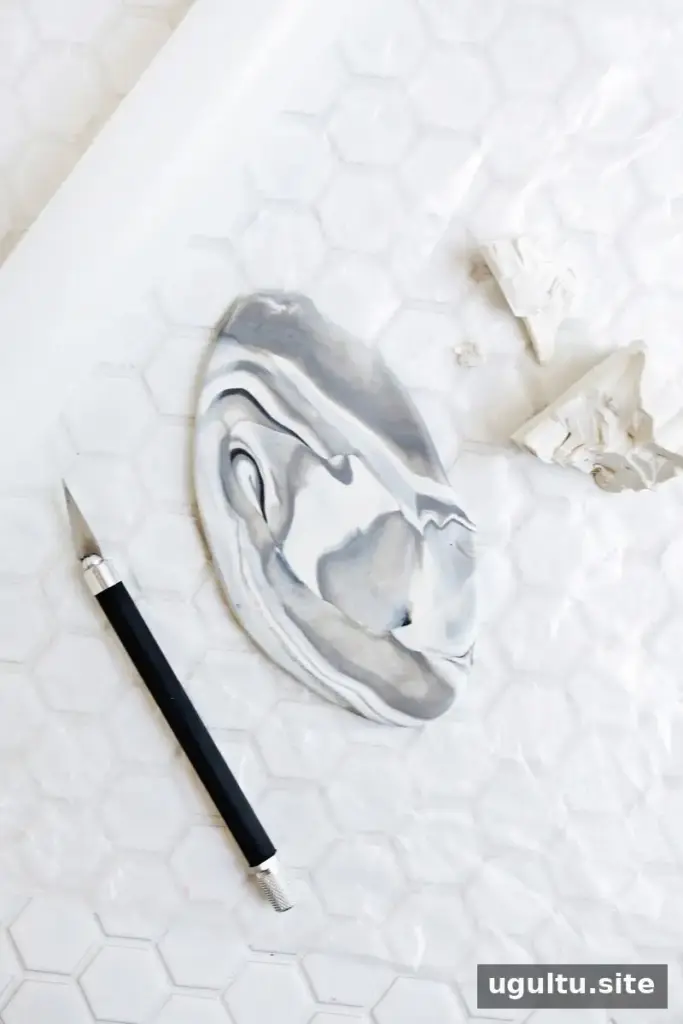
Roll the marbled clay to approximately 1/4 inch thick. Use an X-Acto or clay knife to cut out pendant shapes. The larger pendant in this project is 2 inches long, while the smaller one is 1.25 inches long. Keep the edges as neat as you like, and handle the cut pieces carefully so they retain their shape.
Place the pendants on parchment paper and bake them according to the clay manufacturer’s instructions. Let the pieces cool completely before adding hardware. Following the package directions is important for a properly cured piece; do not substitute a different baking temperature or time.
Attach the Bails and Necklace Chain
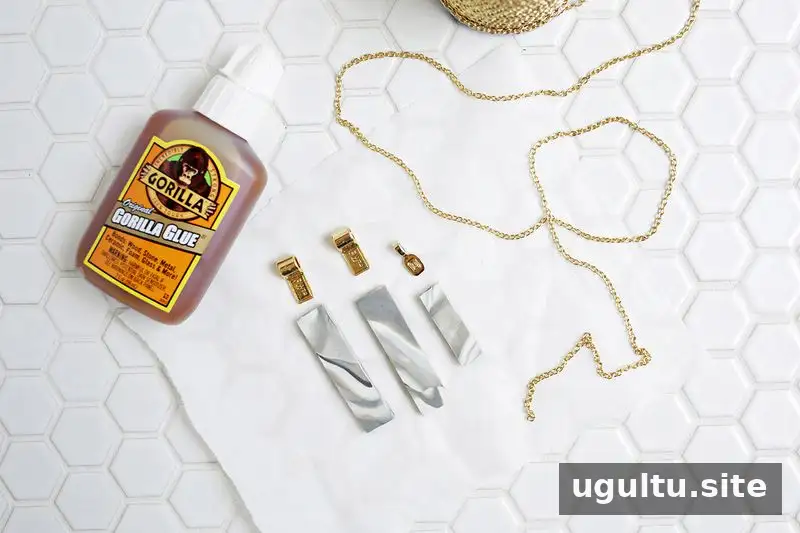
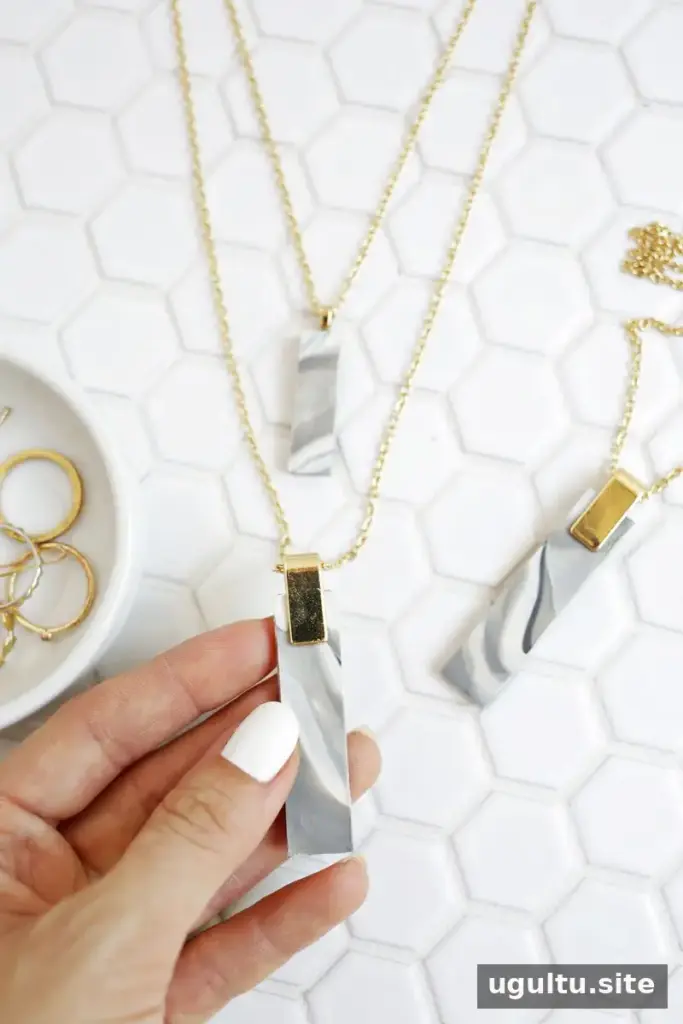
When the clay has cooled, apply a glaze if you want a sealed finish. This step is optional. Use super glue to attach a pendant bail to each piece. For the smaller pendant, place the bail on the back. For the larger pendant, the bail can be placed on the front for a different look.
Cut the chain to your preferred length, add the pendant, and use jump rings to connect the chain ends to the necklace closure. For a double-pendant necklace, use a shorter chain for the small piece. Join the ends of the short and long chains to the same jump ring, then connect that ring to the closure.
Customize Your Finished Necklace

The design can be made with any colors of oven-bake clay. Black, grey, and white create a classic marble effect, while changing the color combination gives the pendant a different style. Choose either one pendant or a larger-and-smaller pair, and adjust the chain length to suit the design.
This project is suitable for a craft-night activity or a handmade gift. For a polished result, check that the pendant is fully cool before attaching the bail and that the jump rings are securely closed. A marbled clay pendant necklace is an approachable way to turn a simple clay marbling technique into wearable jewelry.
By Laura


