
 admin
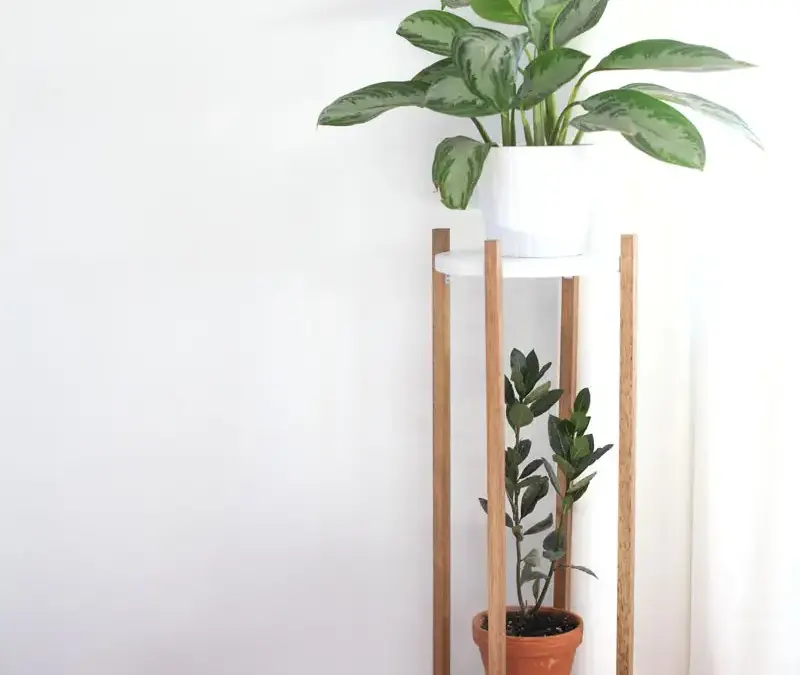
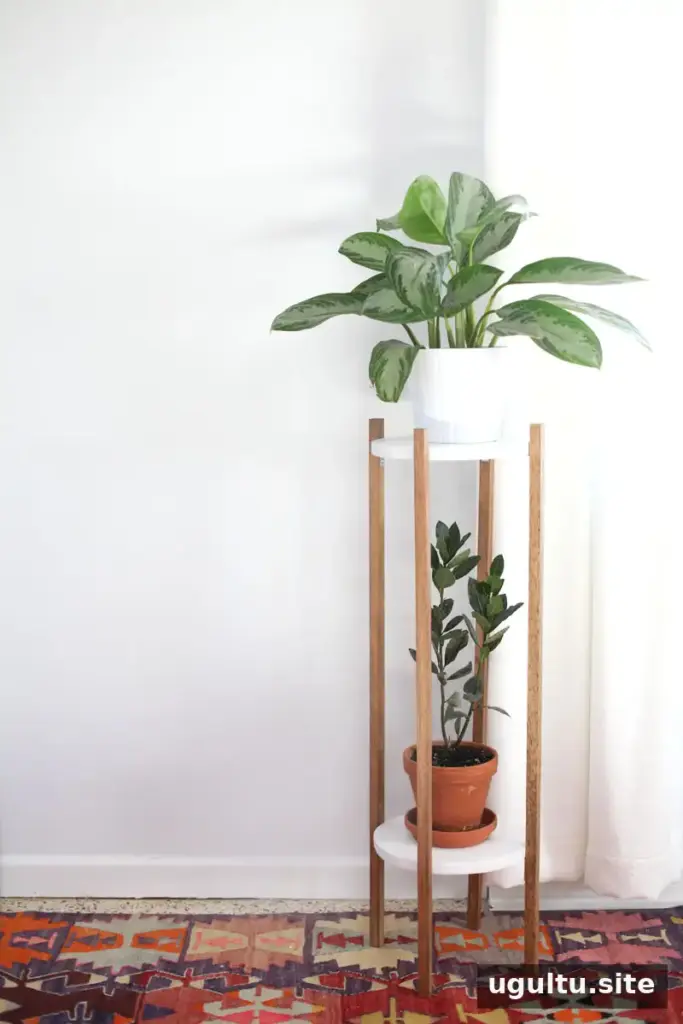
A DIY plant stand is a practical way to add height and display greenery when floor space is limited. This mid-century-inspired design uses round shelves, stained square-dowel legs, and simple L-brackets, so it avoids complex wood joinery. The project cost was approximately $25 using the listed portions of materials, though prices may vary. You can use ready-made wooden circles or cut your own to suit the size and finish you want.
DIY Plant Stand Materials and Cost
Gather the following supplies before you begin. The stand uses two circular shelves and four legs.
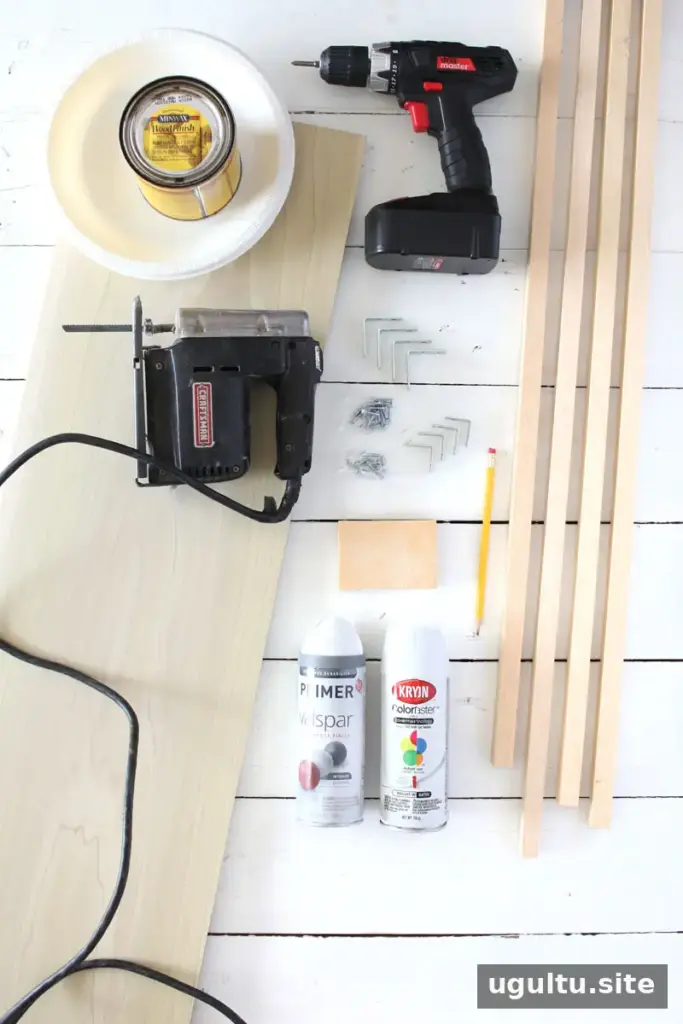
- Two 10-inch or 12-inch precut wooden circles, at least 1/2 inch thick, without beveled edges
- Four square dowels, either 3/4 inch or 1 inch wide; the example used 3/4-by-36-inch dowels, cut to 28 inches
- White primer and paint
- Wood stain
- Power drill, tape measure, and pencil
- Eight 1/2-inch-wide L-brackets with mounting screws
To cut the circles yourself, substitute a 1-by-12-inch-by-2-foot piece of solid wood and add a jigsaw, sandpaper, and a 10-inch plate or compass for tracing. The approximate total cost was $25: $15 for wood, $4.50 for hardware, $3.50 for paint and stain, and $2 for sandpaper. These figures reflect the portions used, rather than the full purchase price of every supply.
Choosing or making the shelves
Precut circles are the quickest option, but check their thickness before buying. Thin shelves may not safely accommodate the screws supplied with the brackets; use shorter screws if needed. Two matching circles can also be glued together to make thicker shelves. If cutting your own, plywood edges may chip, so fill imperfections and sand them smooth before painting.
How to Build the Plant Stand
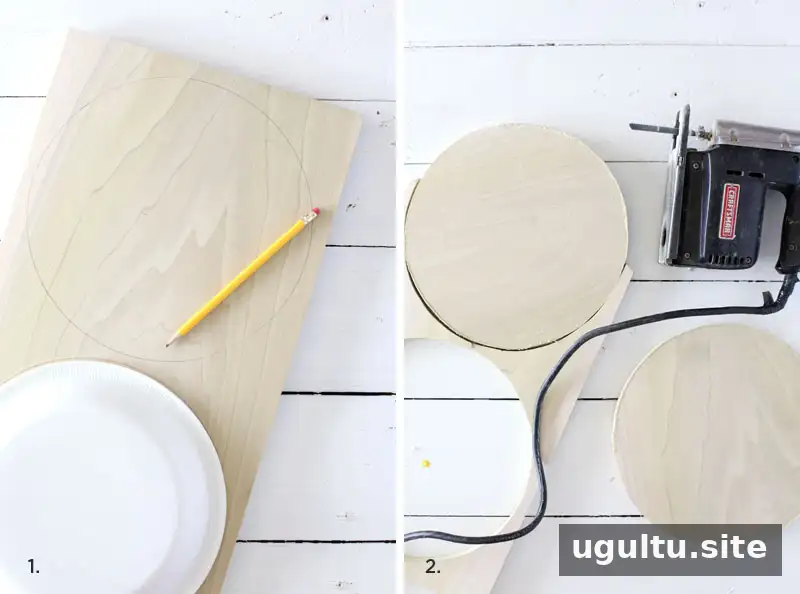
- Trace the circles. Place a 10-inch plate on the solid wood and trace around it. Leave enough space outside the line for the jigsaw blade to follow the curve without cutting into the traced circle.
- Cut the shelves. Secure the board on a stable work surface and cut slowly along the lines. Moving carefully helps keep each circle even. Keep hands clear of the blade and follow the tool’s safety instructions.
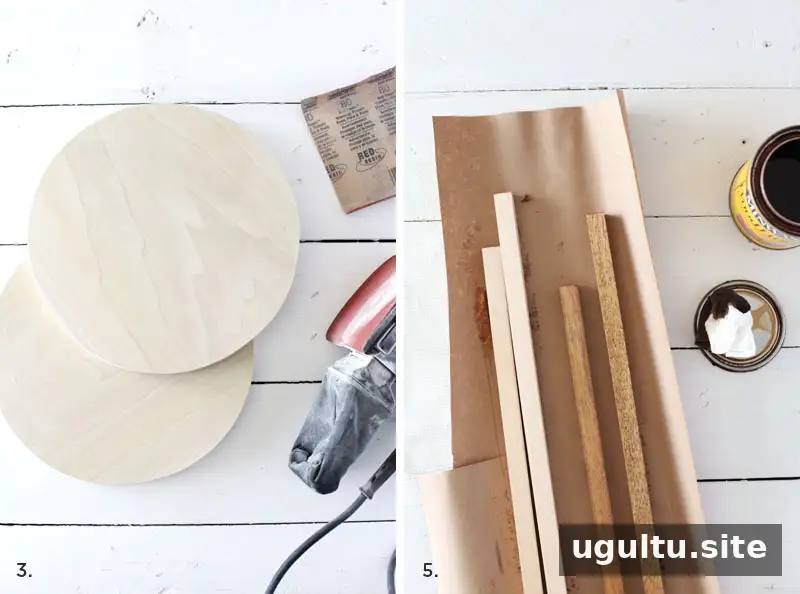
- Sand the wood. Smooth the circular edges and lightly sand the dowels to remove rough spots. The example used 80-grit sandpaper first and finished with 180 grit.
- Prime and paint the circles. Apply primer and paint according to their instructions. For a smoother finish, lightly sand the second primer coat with 180-grit paper before applying two coats of paint.
- Stain the legs. Choose dowels with similar grain so they are more likely to take stain evenly. Apply the stain as directed and allow it to dry fully. Work in a well-ventilated area, use suitable protective equipment, and follow the product label for safe handling and disposal of used materials.
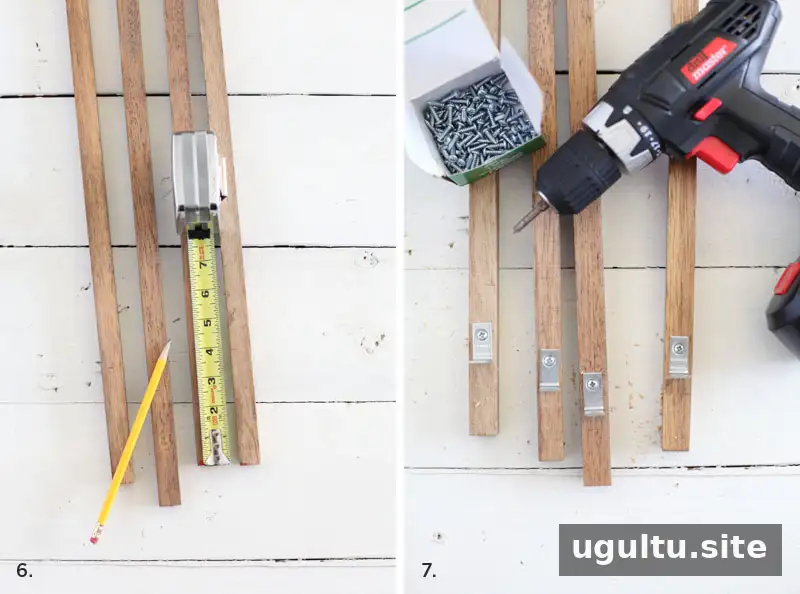
- Mark the bracket positions on the legs. Choose the best-looking side of each stained dowel for the outward-facing surface. On the opposite side, mark attachment points 7 inches from the bottom and 2 inches from the top. Measure carefully: uneven marks can leave the finished stand wobbly.
- Attach brackets to the legs. Align the bracket holes with the marks, drill pilot holes, then drive in the screws. Use longer brackets with two screws for the lower shelf and smaller, less visible brackets at the top. Check bracket orientation before fastening.
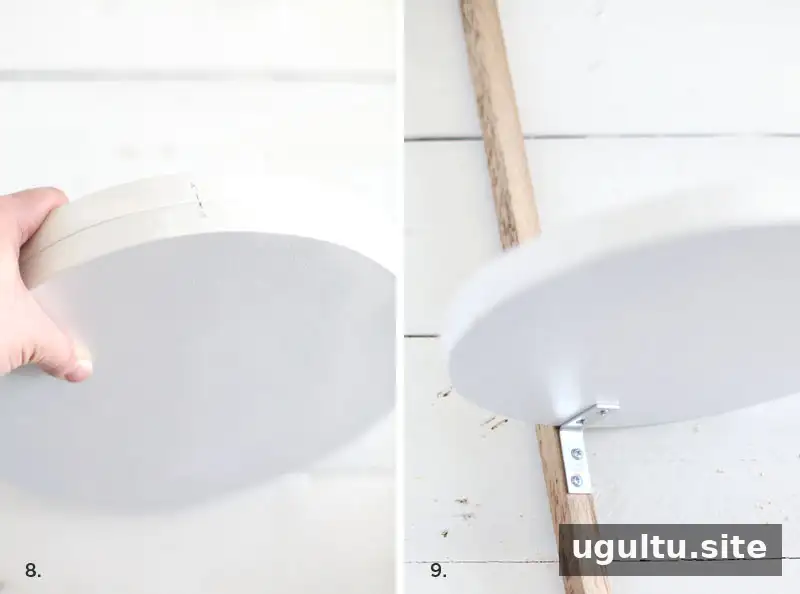
- Mark the shelf positions. Find four equally spaced points around each circular shelf. Measure the circumference, divide it by four, and mark the resulting intervals along the edge.
- Fasten the shelves. Center the brackets over the marks on the underside of each shelf and mark the screw locations. Drill pilot holes as precisely as possible, then attach the brackets and legs to the shelves. This step can be easier with another person steadying the legs.
Stability, Adjustments, and Styling
For a more advanced woodworking version, larger square dowels can be fitted into evenly spaced dado cuts in the shelf edges, with dowel joinery replacing the L-brackets. For a simpler build, brackets keep the assembly straightforward. If the stand wobbles, check that the legs are straight and the screws are placed evenly; misplaced holes may need to be redone. The completed example was adjusted to a final height of 28 inches.

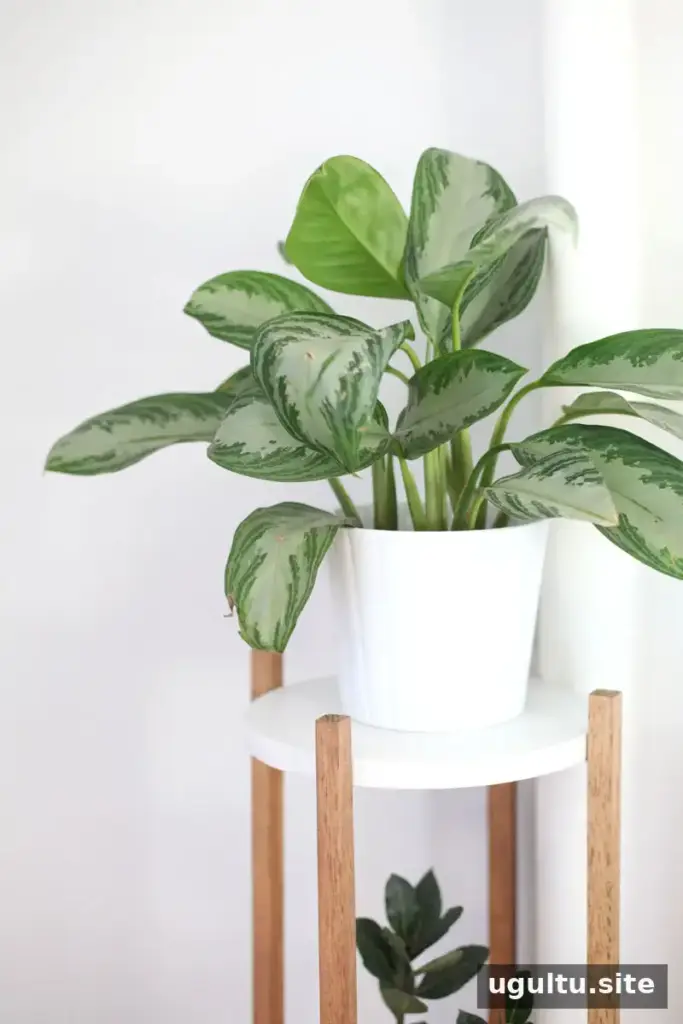
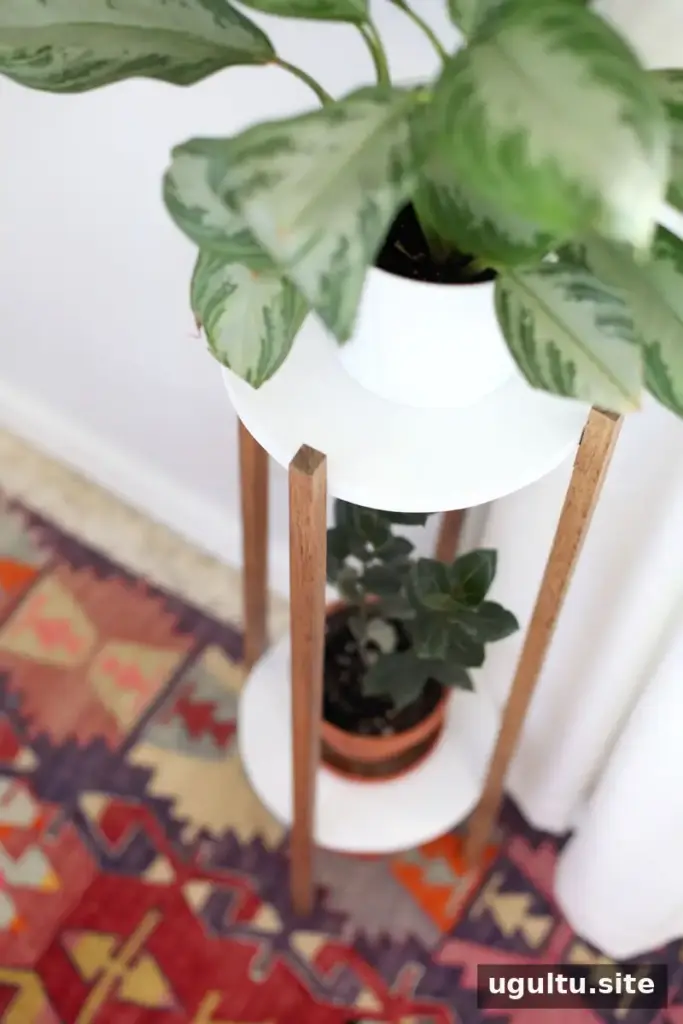
The example displays a Chinese Evergreen on the upper shelf and a Bay Leaf Tree below. When choosing plants for a similar stand, consider their weight and light needs, and place the stand on a level surface. The dimensions, number of legs, and shelf spacing can be adapted, and an additional middle shelf is another possible variation.
Final Thoughts on This DIY Plant Stand
This DIY plant stand combines a clean, mid-century-inspired look with accessible assembly methods. Plan the shelf thickness and bracket placement before drilling, and double-check measurements to help the finished piece stand securely. Project and instructions by Mandi.


