
 admin
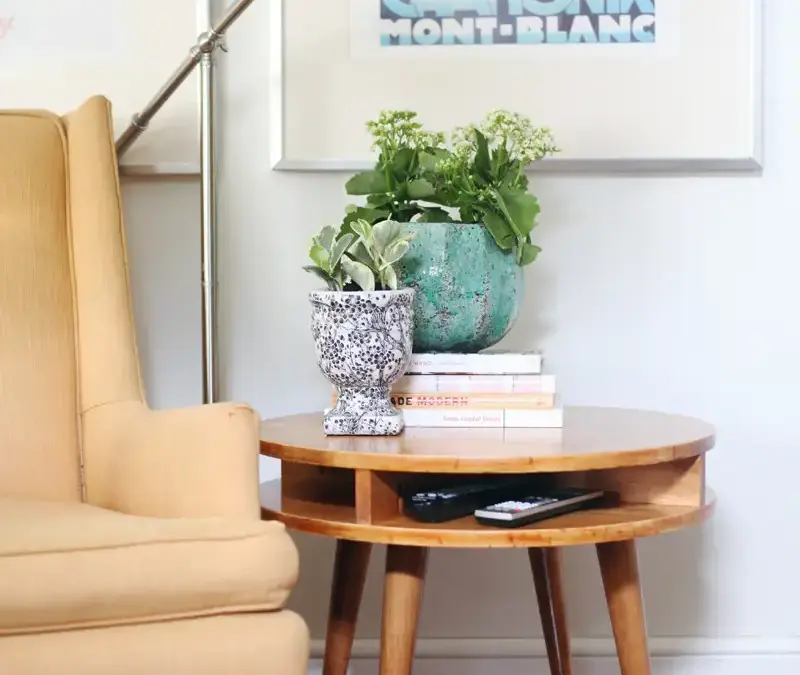
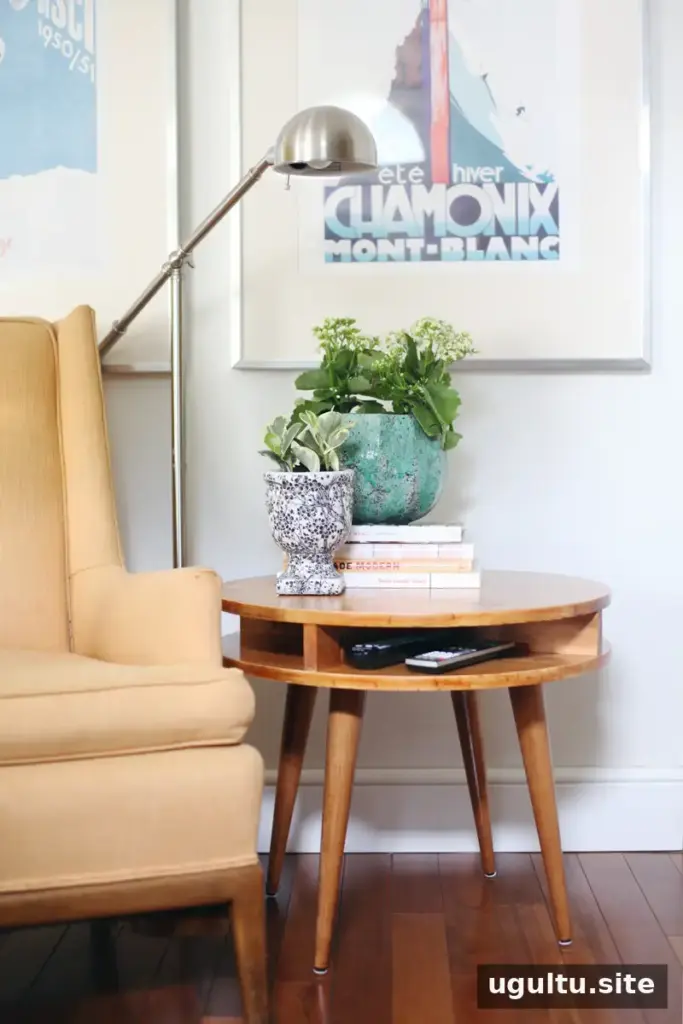
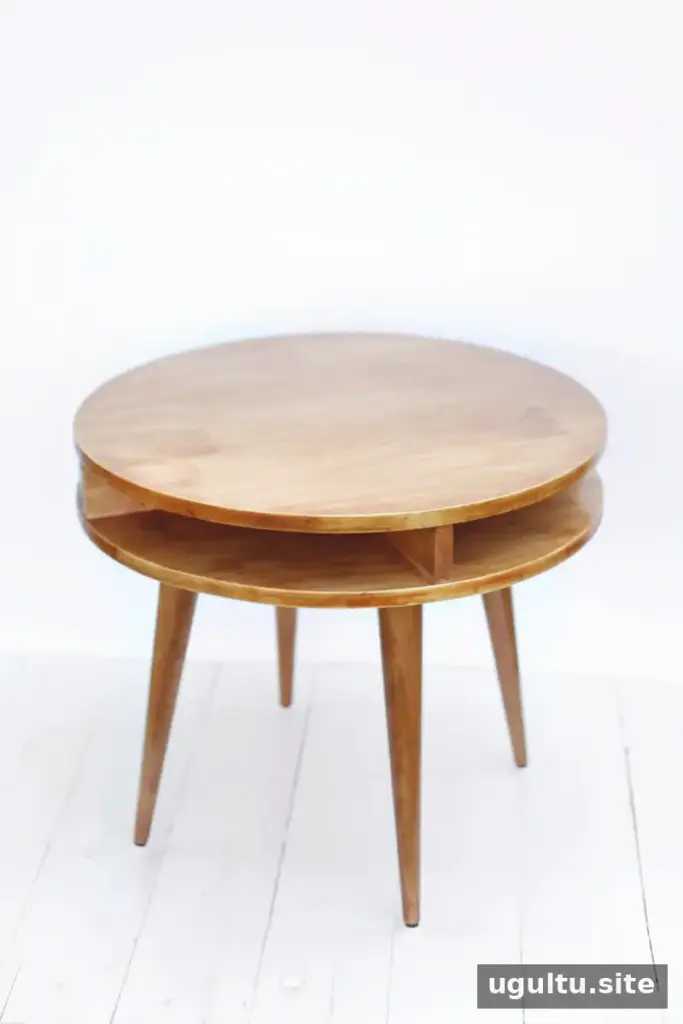
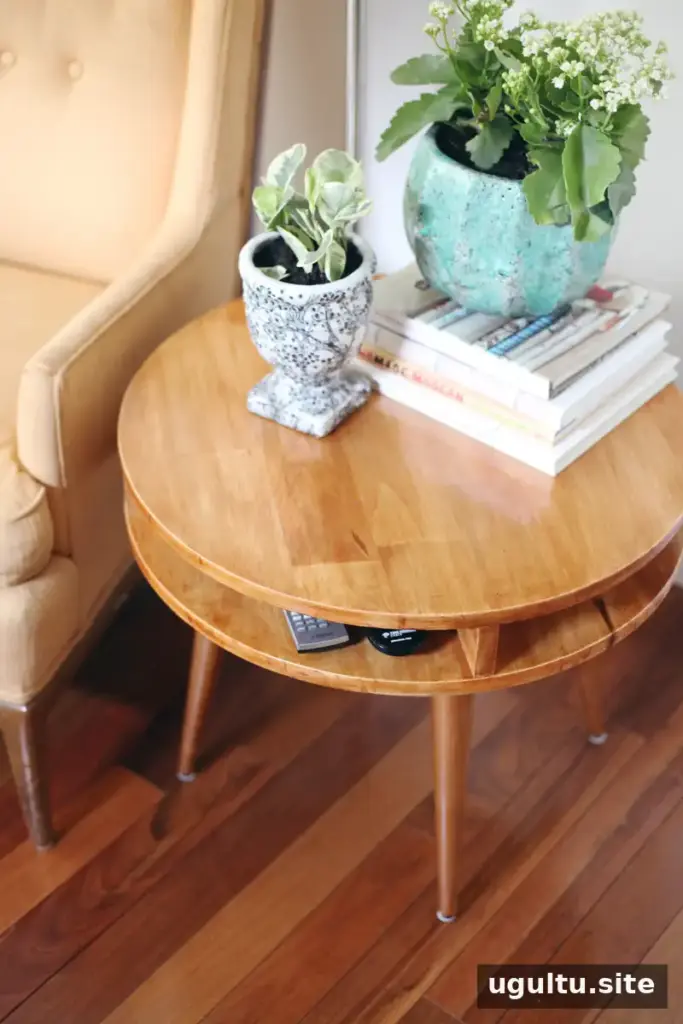
A DIY midcentury modern side table lets you choose the size, finish, and function that suit your space. This moderately challenging woodworking project uses two round wood panels, an X-shaped support, and four tapered legs. It can work as a side table, nightstand, or—if you adjust the dimensions—a coffee table. The steps below use pocket-hole joinery, a practical option for woodworkers ready to take on a project beyond the basics.
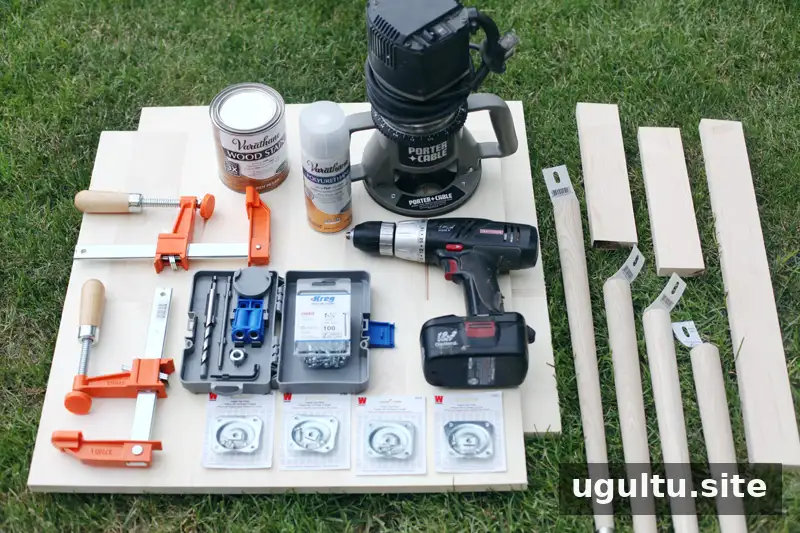
Materials and estimated cost
The estimated material cost is about $75. Prices are approximate and rounded; the total can vary depending on the legs, finish, and local costs.
- One 24″ x 48″ edge-glued white wood board, cut into two pieces: $30
- One 1×3 maple board, cut into one 24″ piece and two 23 5/8″ pieces: $8
- Four tapered table legs: $20–$60
- Four angled leg plates: $10
- Pocket-hole screws: approximately 16 screws from a 100-count, $4 pack, or $0.75
- Wood stain: approximately one-eighth of a $6.50 quart, or $1
- Polyurethane, optional
- 100- and 180-grit sandpaper: approximately two sheets of each from a five-pack, or $2.75
- 0000-grade steel wool: approximately one-eighth of a bag, or $0.50
Estimated total: $75. The original estimate is rounded from average material prices. Check the dimensions and quantities before purchasing, especially if you choose different legs or finishes.
Tools for the midcentury modern side table
- Clamps and a straight edge
- Pencil and a large compass, or a homemade compass
- Power drill
- Pocket-hole jig with a step bit and driver
- Jigsaw with a clean-cutting wood blade
- Router, optional
Wear eye protection when cutting, drilling, or sanding. Clamp the work securely and keep hands clear of the blade and bit.
How to build the table
1. Mark and draw the circles
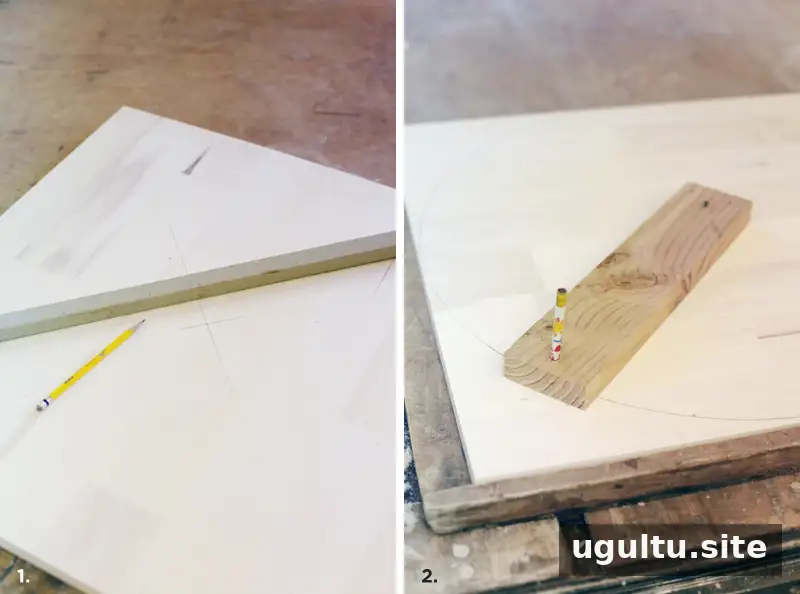
Mark the center of each 24″ piece of the edge-glued board. Use a compass to draw a 24″ circle on each piece. To make a simple compass, attach a pencil and a tack to opposite ends of a string. For a more accurate guide, drill two holes 24″ apart in a piece of scrap wood: one sized for a pencil and the other for a wood nail. The circles do not need to be exactly 24″ across, but they should match each other.
2. Cut out the circles
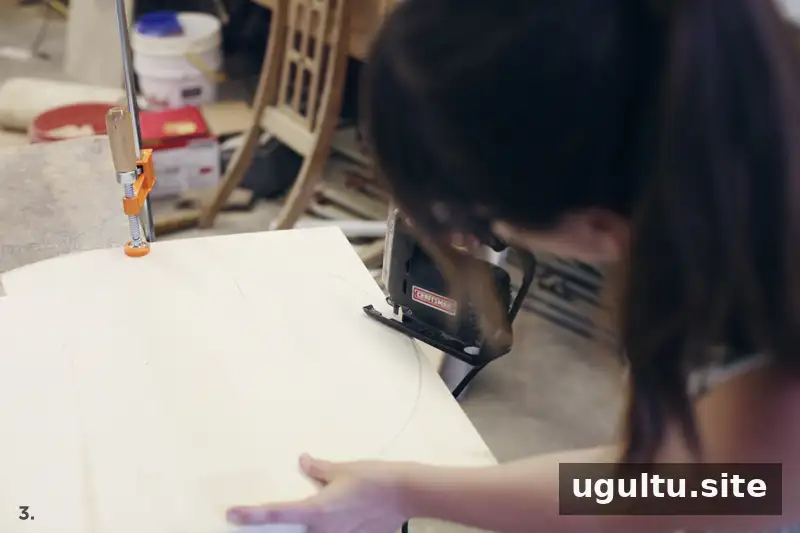
Clamp one board securely to a work surface and follow the marked line with a jigsaw fitted with a clean-cutting wood blade. Reposition the clamps as needed while cutting. Repeat for the second circle.
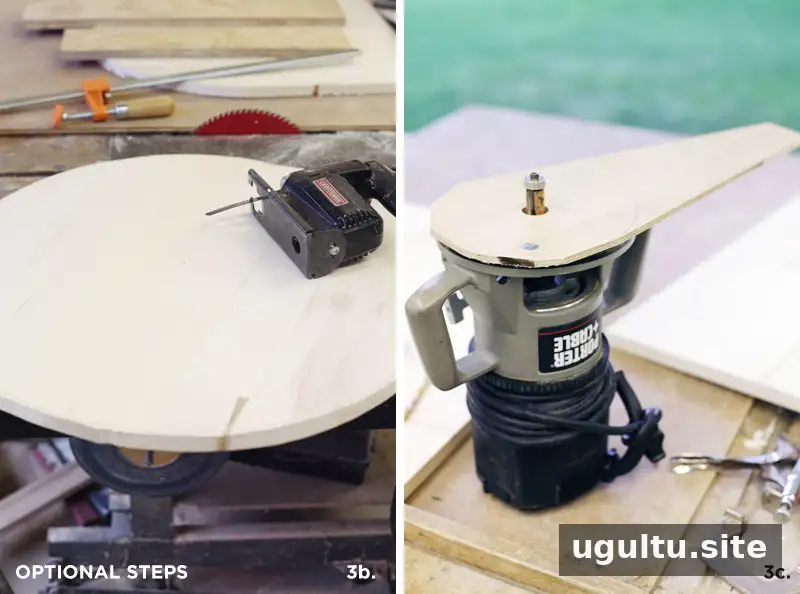
Optional router method: For a more even circle, first use the jigsaw to cut just outside the line, leaving about a 1/8″ or 1/16″ border. Make a router compass from scrap plywood by cutting it to a tapered shape, then drilling one hole for the router bit and another 24″ away for a wood screw. The screw should not be long enough to pierce the opposite face of the circle.
Attach the plywood to the router base, place a nail through its small hole at the circle’s center mark, and guide the router around the circle. This method requires steady support: secure the workpiece and have another person help hold the center point if needed.
3. Sand and fit the support pieces
Sand all the wood pieces, taking extra care to smooth the circular edges. Arrange the three maple 1×3 pieces in an X-shaped support on one circle. If your circles differ from 24″ in diameter, trim the maple pieces so their ends do not extend beyond the edge. Check the fit before drilling.
4. Drill and attach the X support
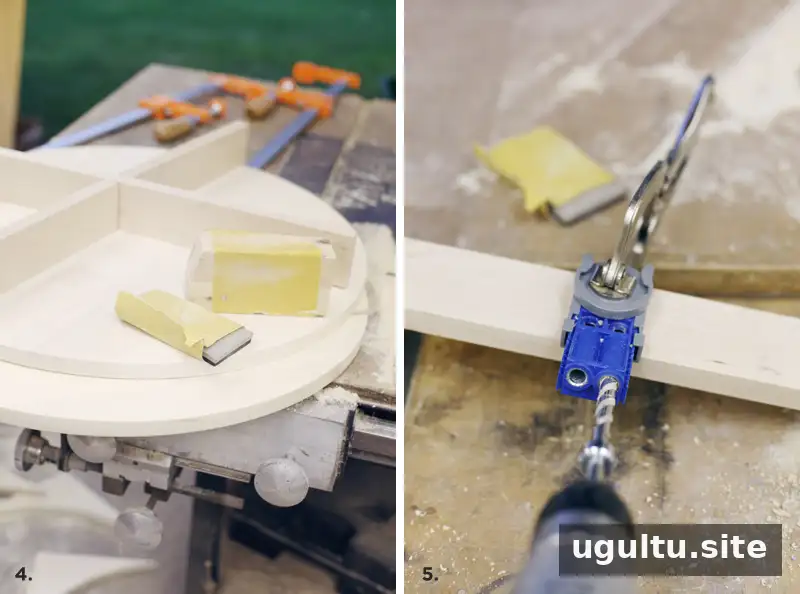
Set up the pocket-hole jig, step-bit collar, and screws so the screws will not break through the visible surface. The exact placement of the holes is flexible; the original layout used two holes on either side and end of each section of the X. Test the settings on scrap wood first. This small check helps prevent visible damage to the finished tabletop.
Clamp the X-shaped support in position on one circle and fasten it with the pocket-hole screws and driver.
5. Stain and protect the wood
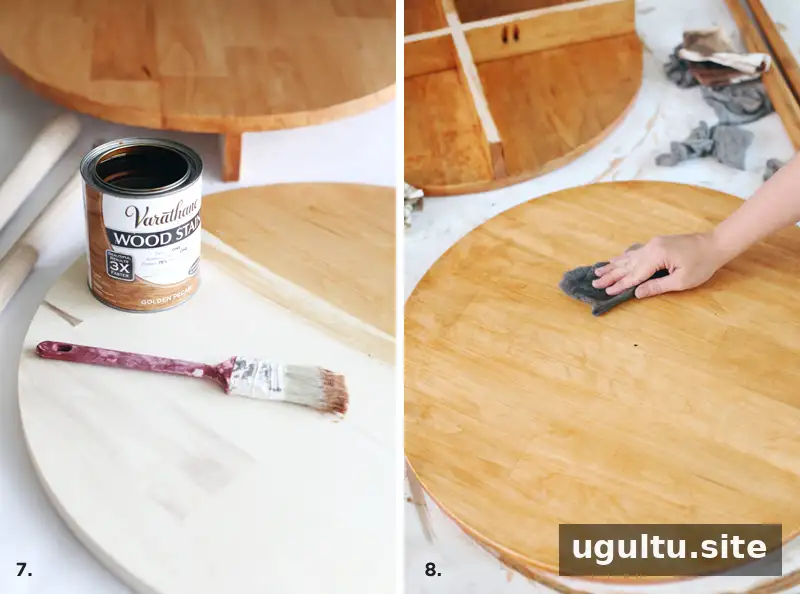
Brush stain onto the wood, then wipe away the excess. Apply two coats as described in the project. Between coats, use 0000-grade steel wool to smooth raised wood fibers. Follow the stain product’s instructions for drying time before applying another coat or a sealer.
Polyurethane is optional. If you choose to use it, apply two coats and use steel wool between coats and after each coat has cured. Follow the finish manufacturer’s directions for application and curing.
6. Attach the second circle and legs
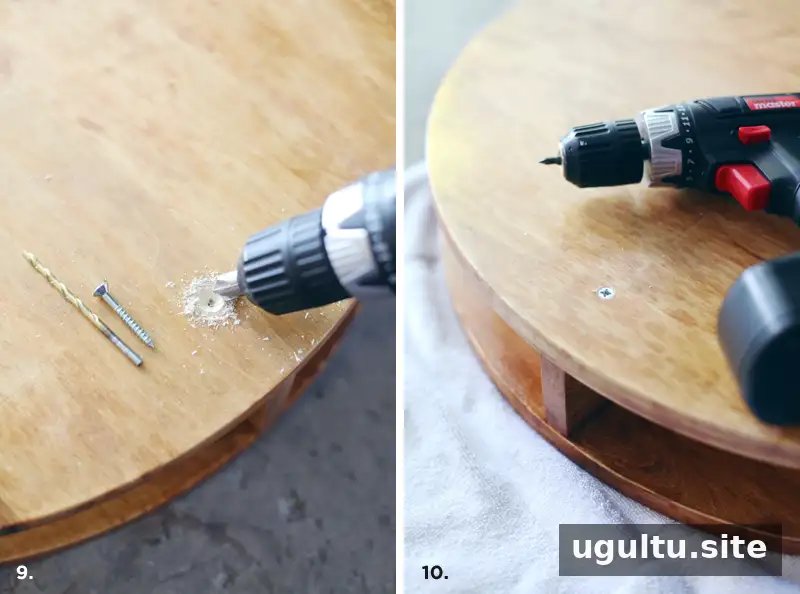
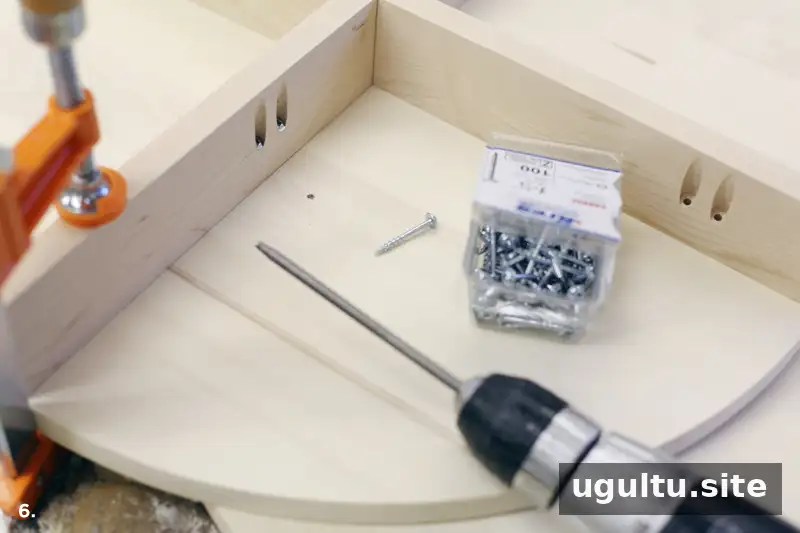
Clamp the remaining circle against the other side of the X support. Drill pilot holes, then use a countersink bit so the screw heads sit flush with the wood surface.
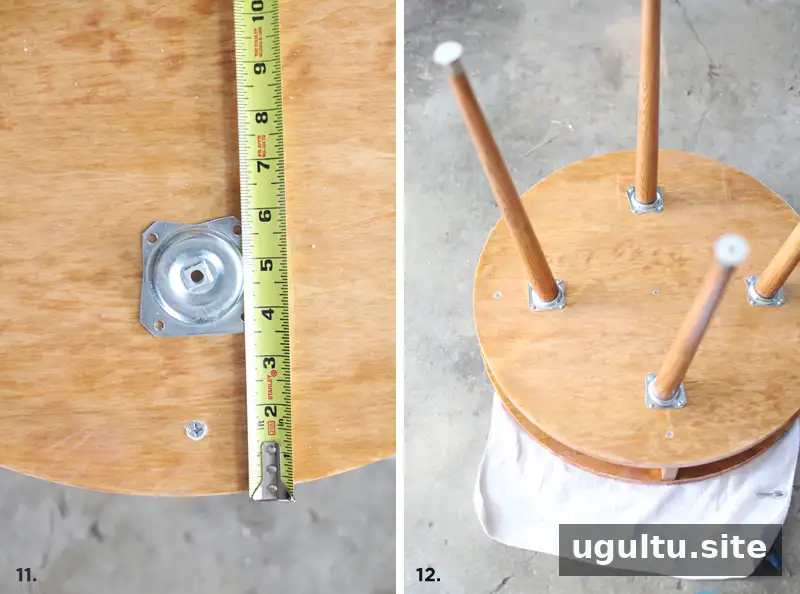
Position the angled leg plates in line with the X frame. In this project, the edge of each plate was placed 3 1/2″ from the table’s edge. Mark the required drilling depth on the drill bit with masking tape and stop when the tape reaches the wood surface. This helps avoid drilling through the tabletop.
Fasten the plates, then screw the four tapered legs into them. Check that each leg is secure and that the table sits evenly before putting it to use.
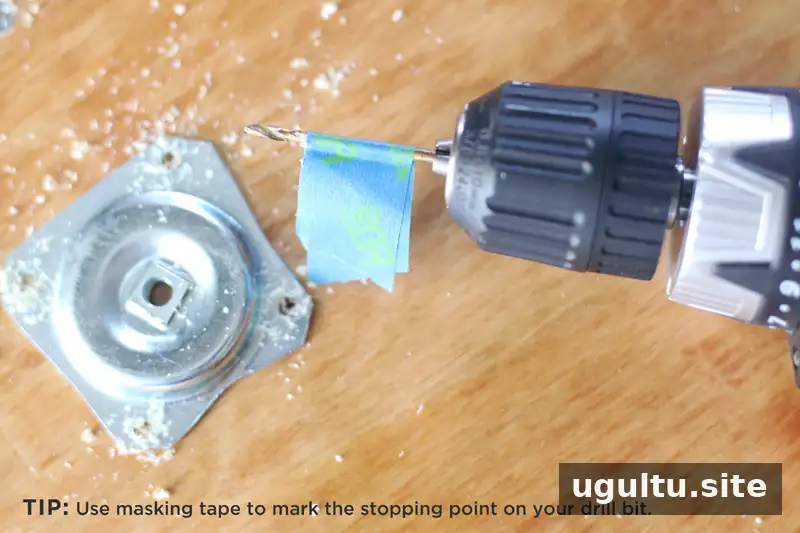
Take care to mark drilling depth before making holes. If a drill bit goes through the surface, the damaged spot can be filled with stainable wood filler and refinished, though preventing the hole is preferable.
Optional finish detail: hide the pocket holes
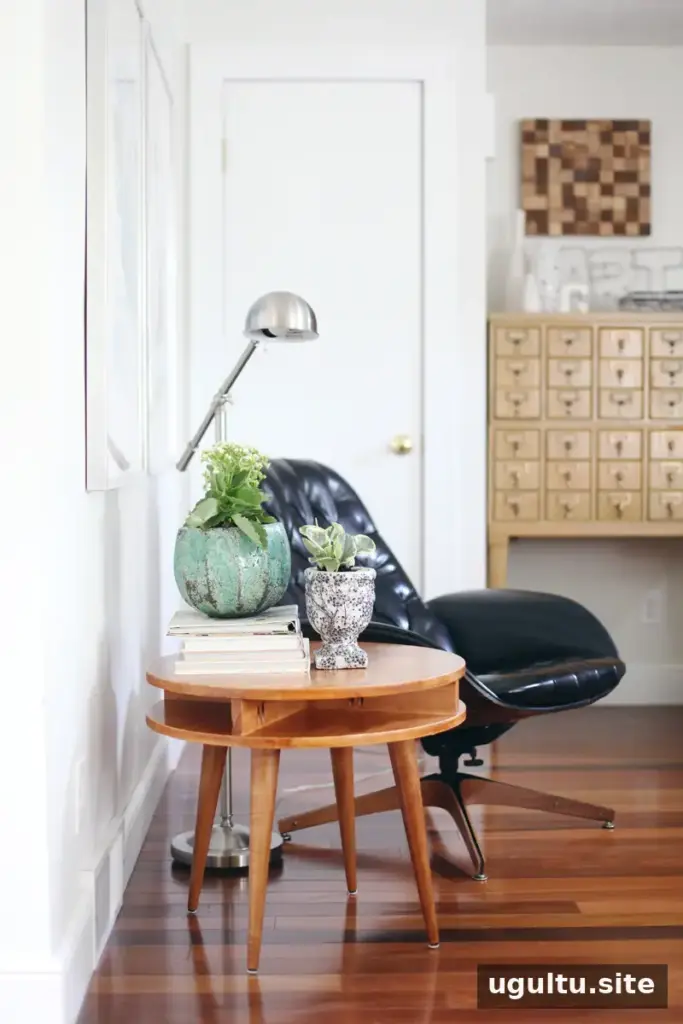
The pocket holes are usually difficult to see, but they may be visible from a low angle. If you want to conceal them, install maple pocket-hole plugs before staining. Secure each plug with wood glue, hold it in place with tape, wipe away excess glue, then sand and stain the area as usual.
Final checks and project credit
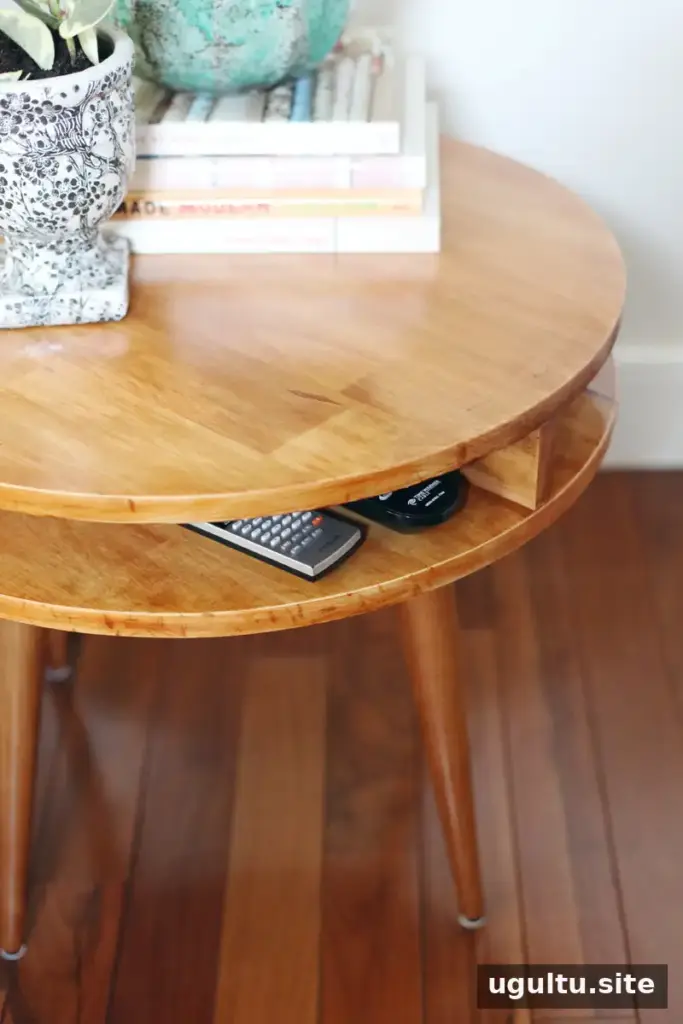
Building a piece of furniture is more manageable when the work is broken into measured steps. Before using the table, confirm that the screws are secure, the legs are stable, and the finish has fully cured according to its product instructions. If you are new to woodworking, an experienced helper can assist with measurements and holding the work safely while you do the hands-on steps.
Project by Mandi.


