
 admin
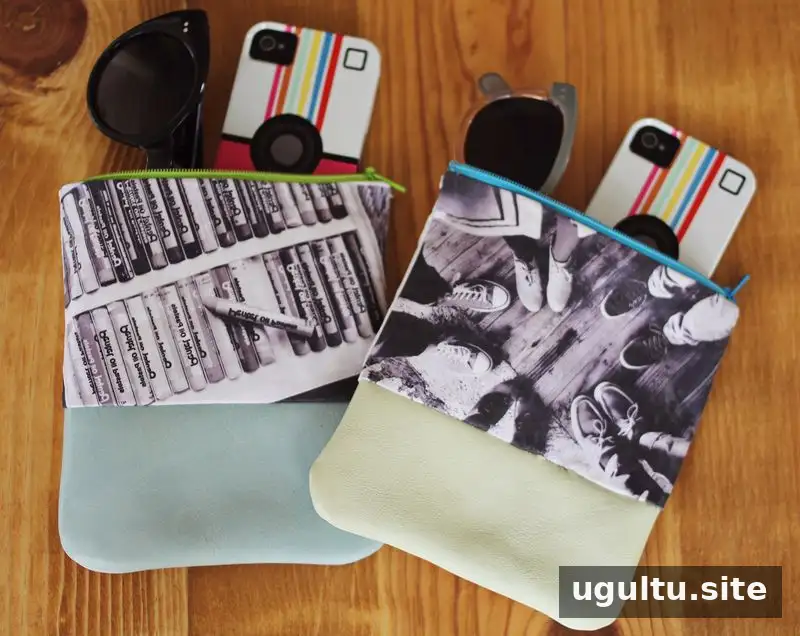
A mini cotton and leather clutch is a handy sewing project for carrying small everyday items such as pocket change, sunglasses, or lip balm. Add a photo transfer to the cotton for a personal touch, then choose leather, lining fabric, and a zipper in colors that suit your style. Before you begin, check that your iron-on transfer sheets are compatible with your fabric and follow the product directions.
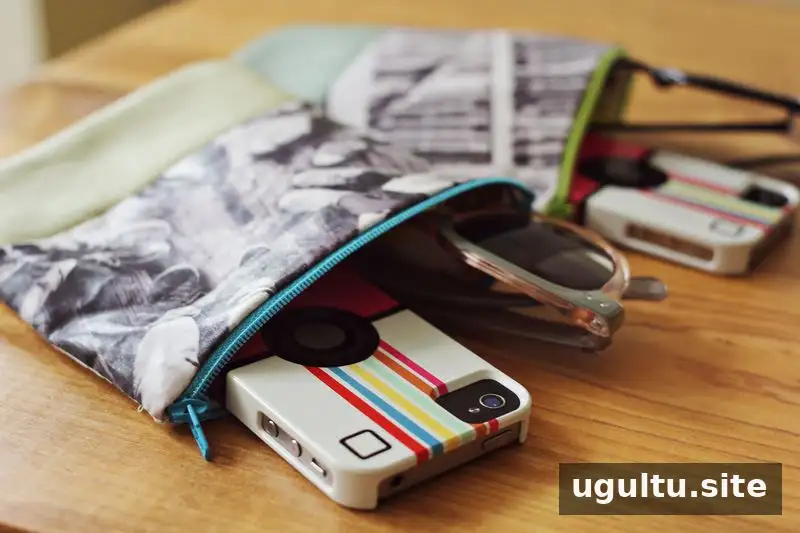
Materials for a Mini Cotton and Leather Clutch
Gather the following supplies before cutting your fabric:
- A zipper
- Iron-on transfer sheets
- White cotton canvas
- Printed cotton fabric for the lining
- Leather
- Sewing supplies, including pins and a zipper foot
For the photo detail, you can use a picture of a landscape, a favorite trip, or friends and family. Choose an image that works well in a 4 × 6-inch format. Test your iron and transfer process according to the transfer-sheet instructions to help protect the fabric and achieve a clear result.
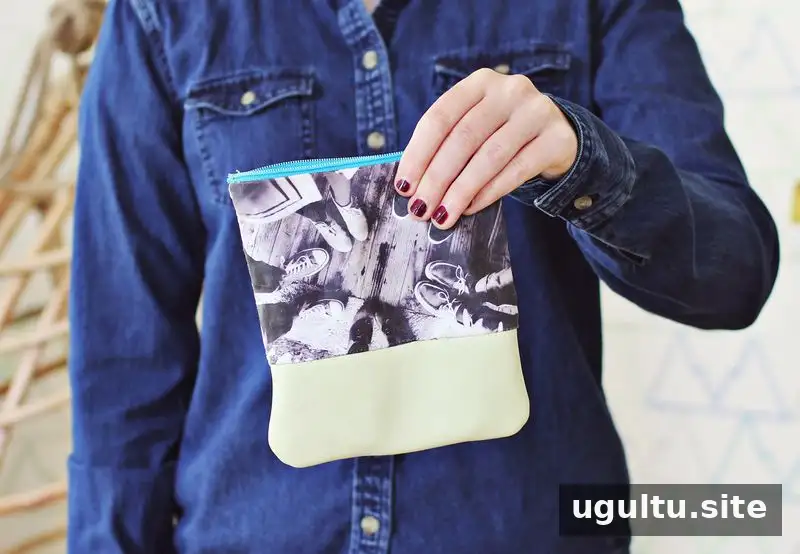
How to Sew the Mini Cotton and Leather Clutch
- Print the image. Print a 4 × 6-inch photo onto an iron-on transfer sheet, following the sheet’s printing instructions.
- Transfer the image. Iron the design onto the white canvas as directed by the transfer product. Let it cool or set for the recommended time before handling.
- Cut and assemble the outer pieces. Cut around the photo, leaving a 1/4-inch seam allowance on every side. Cut a second piece of white canvas measuring 6.5 × 4.5 inches for the back. Cut two leather strips, each measuring 6.5 × 3.5 inches. With right sides together, sew one canvas piece to each leather strip to make the front and back panels.
- Sew the outer shell. Place the front and back panels with their right sides facing. Pin them together and sew with a 1/4-inch seam allowance, leaving the top edge open for the zipper.
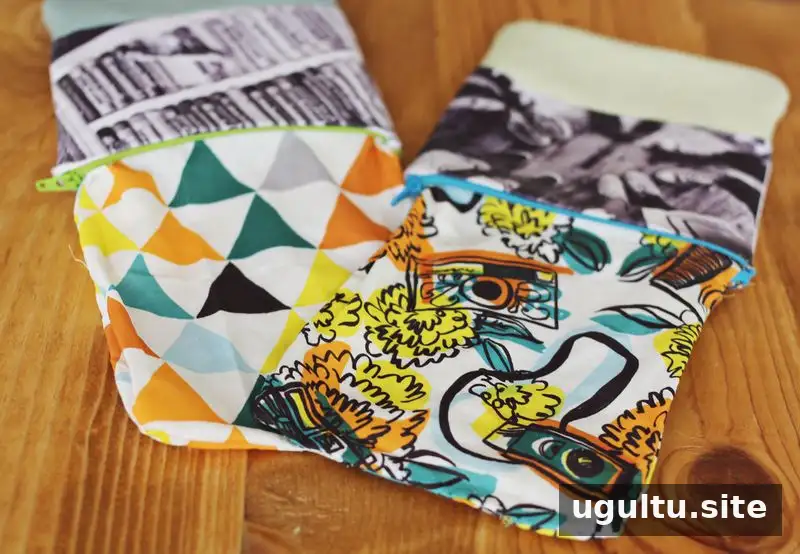
Turn the outer shell right side out.
- Make the lining. Cut two lining pieces measuring 6.5 × 7.5 inches. Place them right sides together and sew around the sides and bottom, leaving the top open. Leave a 2-to-3-inch opening along the bottom; you will use it to turn the clutch right side out later.
- Position the lining and outer shell. Keep the lining inside out and place the right-side-out outer shell inside it. The right sides of the lining and outer fabric should face one another.
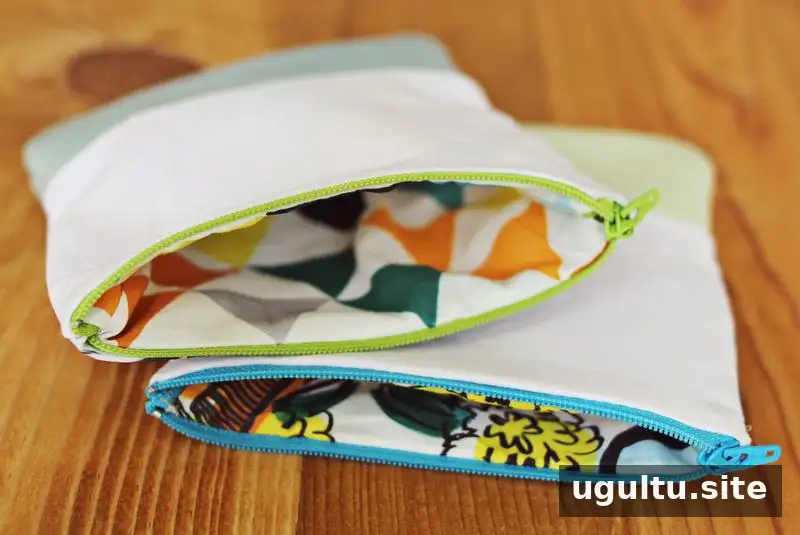
- Attach the zipper. Open the zipper and position it along one side of the clutch opening, between the lining and outer shell. The zipper pull should face up, with the teeth facing down between the fabric layers. Pin carefully and sew using a zipper foot. If the zipper is too long, shorten it according to its package instructions.
- Turn and finish. Pull the outer shell through the opening in the lining until both sections are right side out. Close the lining opening with a neat hidden hand stitch.
Finishing Tips
Keep the seam allowances consistent and check that the zipper moves freely before closing the lining opening. If you are new to sewing zippers, pin or baste the layers first and test the zipper position before stitching. The photo, lining print, and leather color can all be changed to create a different look while keeping the same construction steps.
This mini cotton and leather clutch is sized for small essentials and can be customized with your choice of photo and fabrics. —Elsie


