
 admin
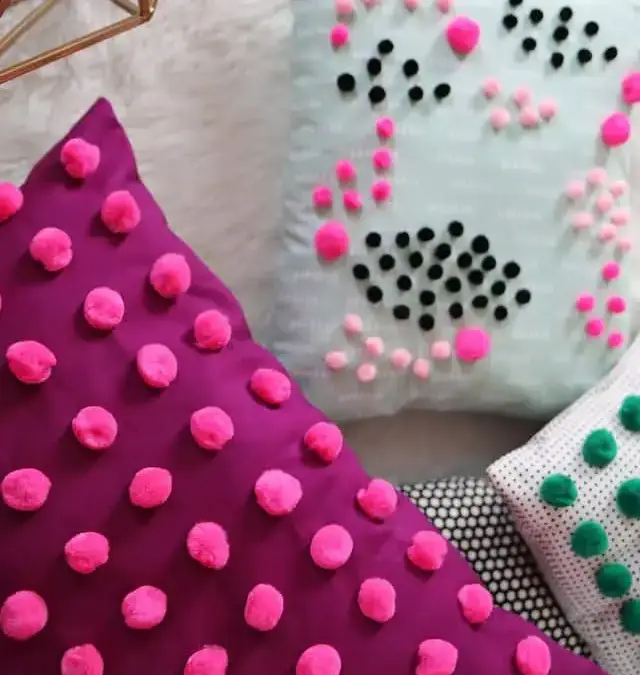
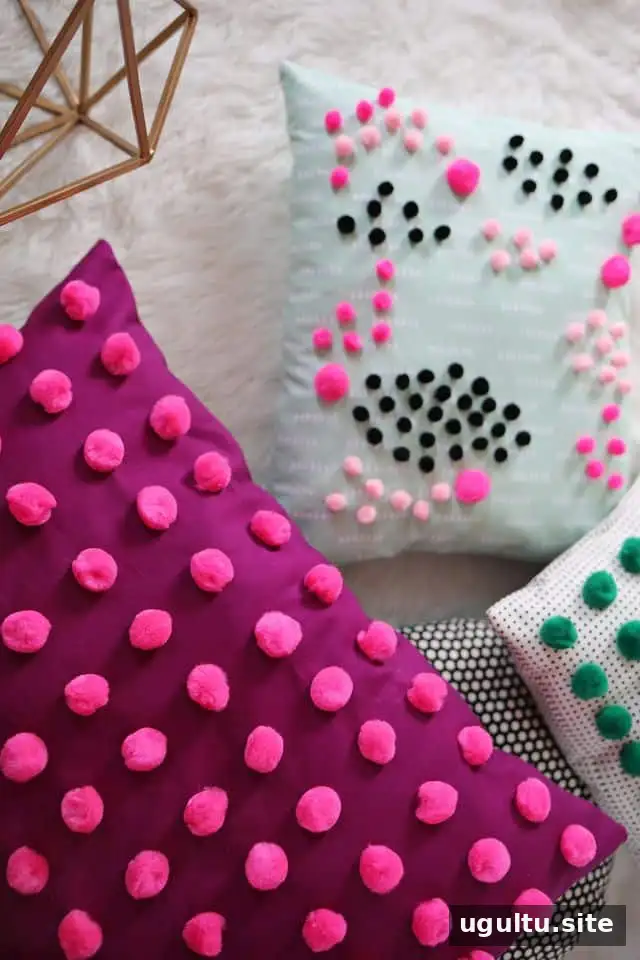
A Mini Pom Pom Pillow DIY is an easy way to add color, texture, and a personal touch to a room without buying a ready-made accent pillow. Choose a solid cotton fabric for a tonal look or a subtle print for a more playful design. You can attach the pom-poms by hand or use fabric-safe felt glue, then sew and fill the pillow. The instructions below include both options, plus practical tips for spacing and securing the decorations.
Supplies for a Mini Pom Pom Pillow DIY
Gather the materials before you start so you can plan the layout and finish the pillow in one project session. You will need:
- 1/2 yard of cotton fabric per pillow
- 90–125 pom-poms in one color for a larger pillow, or 25 small pom-poms in assorted colors for an abstract design
- Polyester fiberfill stuffing
- 12-inch embroidery hoop
- Felt glue, if you are not stitching on the pom-poms
- White cotton thread, needle, and thread
- Straight pins, scissors, and chalk
Choose pom-poms that suit the fabric scale. Larger decorations usually look better with more space between them, while small pom-poms can form closer patterns or a scattered composition.
Prepare the Fabric and Plan the Design
Cut and mark the pillow pieces
Cut two matching pieces of fabric to your preferred pillow size. For example, a 14-inch by 14-inch pillow can be made from two 14-inch square pieces. On one piece, use chalk to draw a grid showing where each pom-pom will go. Chalk is easy to brush away after the decorations are attached. Check the spacing before you begin so the pattern sits evenly across the finished pillow.
Arrange the pom-poms
For a solid-color design, follow the chalk marks to create regular rows. For an abstract pillow, first arrange the small pom-poms on a cotton fabric with a subtle pattern and soft color. Pom-poms around 1/4 inch across—about the size of a large pea—can add texture without hiding the print. Try a few layouts before attaching anything; a simple shape or short word can also work as a design.
Attach the Pom-Poms
Stitching method
Place the marked fabric in a 12-inch embroidery hoop and tighten it until the cloth is taut. This steadies the fabric while you work. Stitch through the thick center of each pom-pom rather than its fluffy outer edge, then tie the thread securely on the back with a double knot. Hand stitching is a useful choice for pillows that may receive frequent handling.
Felt glue method
Apply a generous amount of felt glue to the back of each pom-pom and place it on the marked spot. Let the glue dry for 3–4 hours before handling the fabric or sewing the pillow. Use an adhesive suitable for fabric and follow its label directions; ordinary craft glue may not hold as well. Glue can work for a decorative pillow that will not be handled roughly. For a child’s room or a pillow likely to see heavy use, stitching the pom-poms on is the safer, more secure option.
Sew and Fill the Pillow
Place the decorated fabric piece and the second piece together with their right sides facing inward. Pin around the edges, leaving an opening about as wide as your hand so you can turn and fill the pillow. Sew around the perimeter about 1/4 inch from the edge, beginning and ending on either side of the opening. Remove the pins and trim the corners without cutting close to the stitches.
Turn the cover right side out and gently push the corners into shape. Add polyester fiberfill until the pillow feels comfortably full, but avoid overstuffing it. Close the opening with a blindstitch. Before using the pillow, check that the seam is secure and that the decorations are firmly attached.
Finishing Ideas and Care
Try a single-color arrangement for a coordinated look, or use assorted small pom-poms to make a more playful pattern. Contrasting colors can bring depth to a simple print, while a limited palette helps keep a busy design balanced. If the pillow will be washed, check the fabric and adhesive care instructions first; hand-stitched pom-poms may be more dependable than glued ones during cleaning.
A Mini Pom Pom Pillow DIY lets you tailor the colors, pattern, and texture to your space while using straightforward sewing techniques. Take time to test the pom-pom layout, secure each decoration properly, and finish the opening with neat stitches for a durable handmade accent. —Rachel


