admin
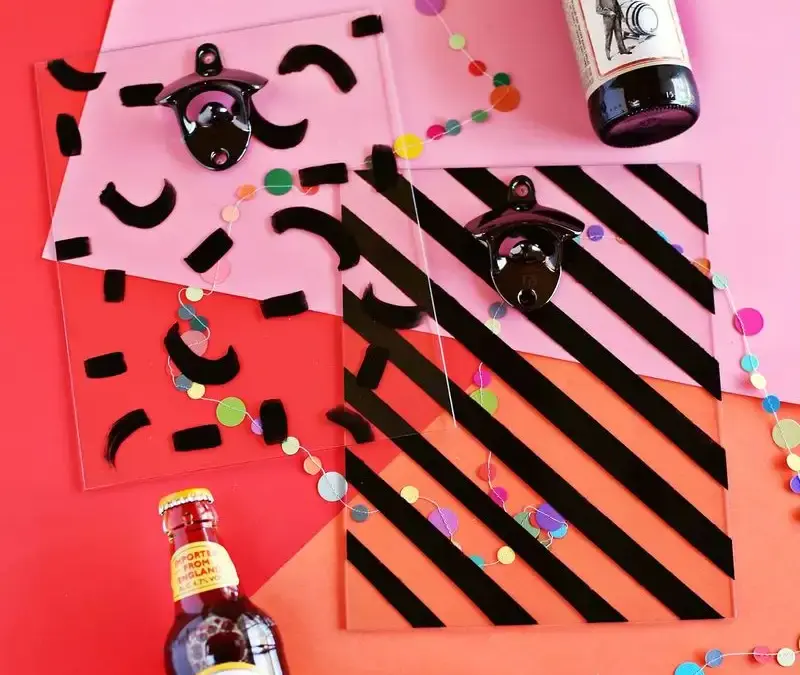
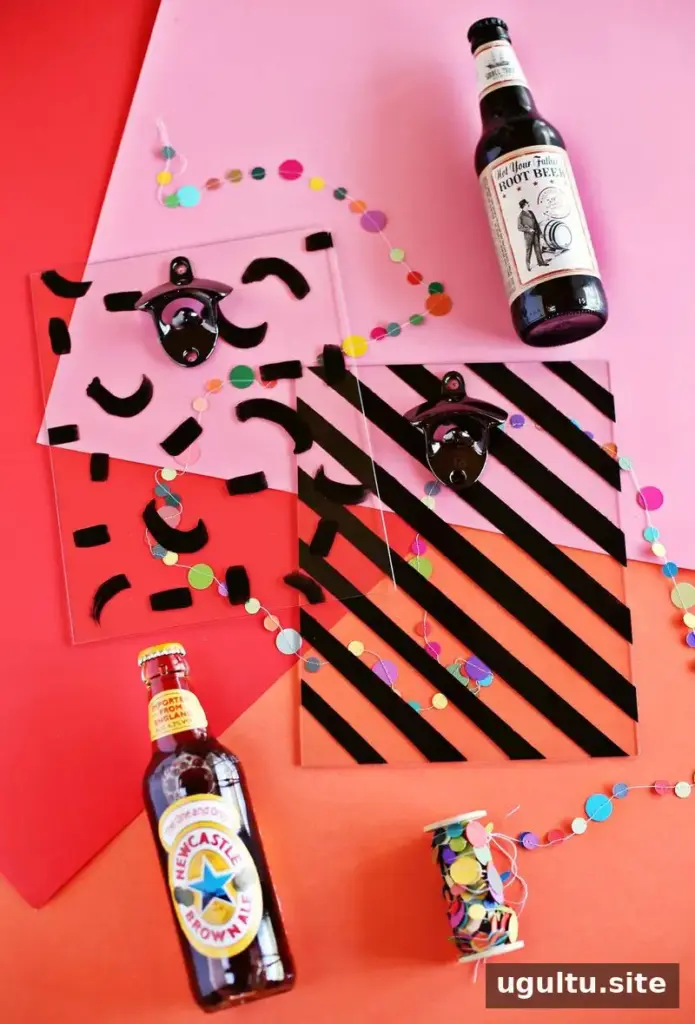
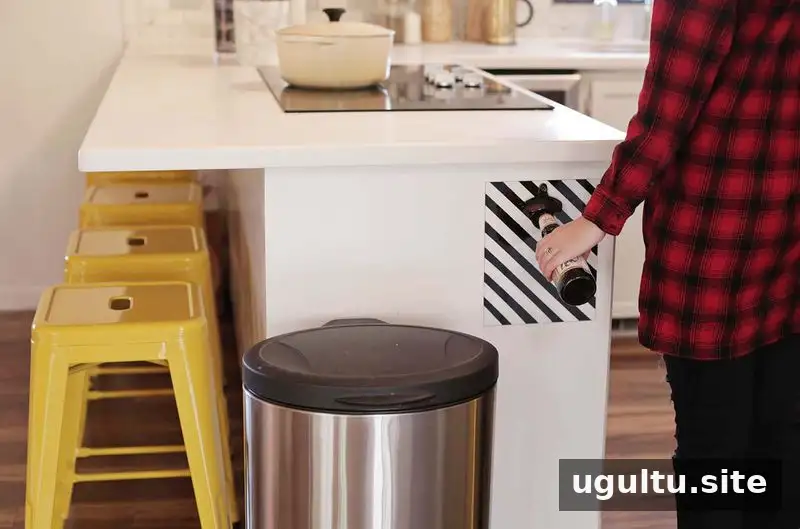
A modern bottle opener DIY is a quick way to add a useful, personalized detail to a kitchen. This project pairs clear plexiglass with painted decoration and bottle opener hardware, creating a design that can suit your space or make a handmade gift. The instructions below make two openers, but you can adjust the materials to create just one.
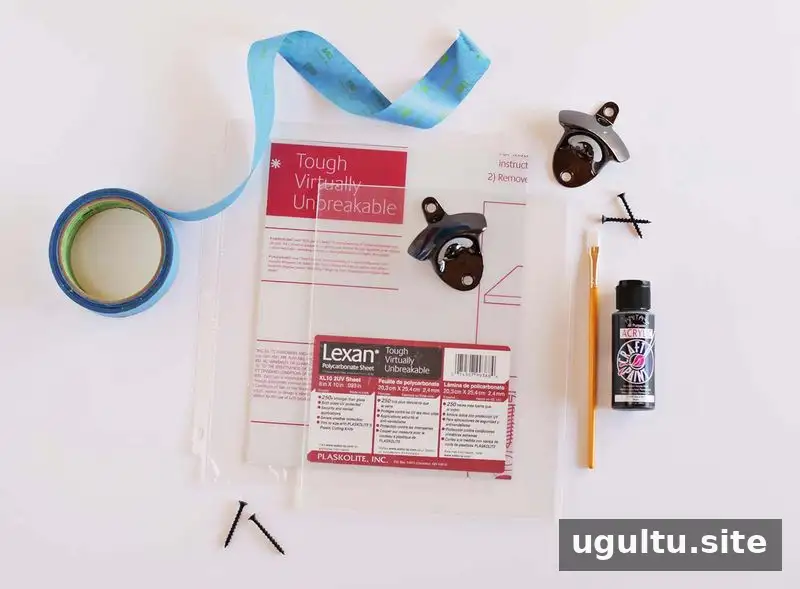
Materials for a Modern Bottle Opener DIY
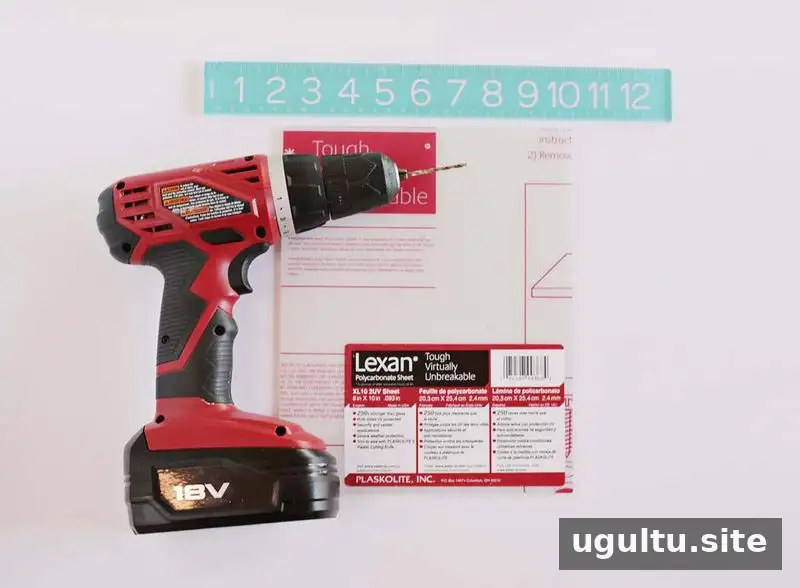
Gather your supplies before starting. Plexiglass is available in several sizes; two 8 × 10 in. sheets are listed here, but another size can work if it looks balanced next to a bottle.
- Two 8 × 10 in. sheets of plexiglass
- Two bottle opener hardware sets
- Electric drill and drill bit
- Craft paint and a brush
- Electrical tape for making stripes or other clean-edged designs
- Two transparency sheets (optional)
Bottle opener hardware is commonly available from hardware retailers. If making a single opener, reduce the quantities accordingly. Keep the protective film on the plexiglass while working to help prevent scratches.
How to Make the Plexiglass Bottle Opener
1. Mark and drill the mounting holes
Find the center of each plexiglass sheet and position the opener hardware where you want it. Mark the screw-hole locations, then drill the holes before painting so the hardware placement is clear. Work slowly, support the sheet on a stable surface, and wear eye protection. Avoid pressing too hard, as excessive force can damage the plexiglass.
2. Paint the design on the back
Apply the paint to the back of the sheet. Displayed from the front, the plexiglass will sit between the design and the bottles, helping protect the paint from scuffs during use. Use electrical tape to create stripes, or paint a design freehand. For lettering, check how it will read through the sheet before painting; letters may need to be reversed so they appear correctly from the front.
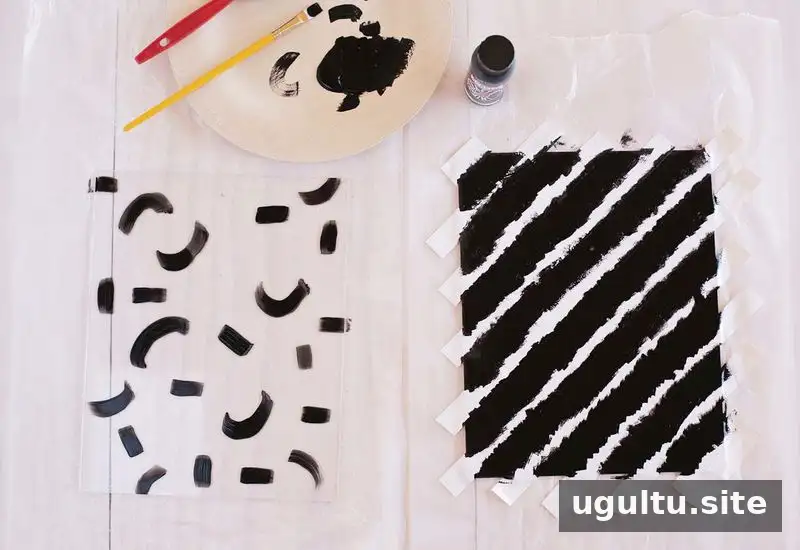
3. Let it dry and assemble
Once the paint is dry, attach the bottle opener hardware using the drilled holes. A transparency sheet can be placed between the painted plexiglass and the wall or cabinet for an extra layer of protection. This step is optional. Avoid overtightening the screws, which could put unnecessary stress on the plexiglass.
For a gift, you can give the painted sheet and hardware separately. The recipient can attach the hardware after choosing where to display the opener.
Choose a Practical Place to Install It
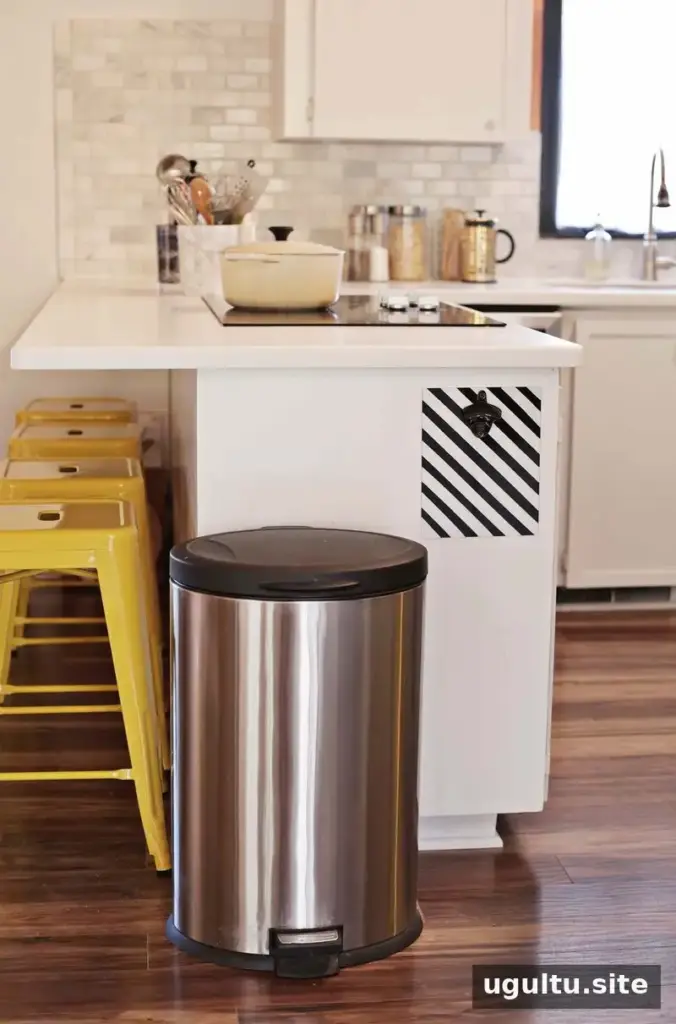
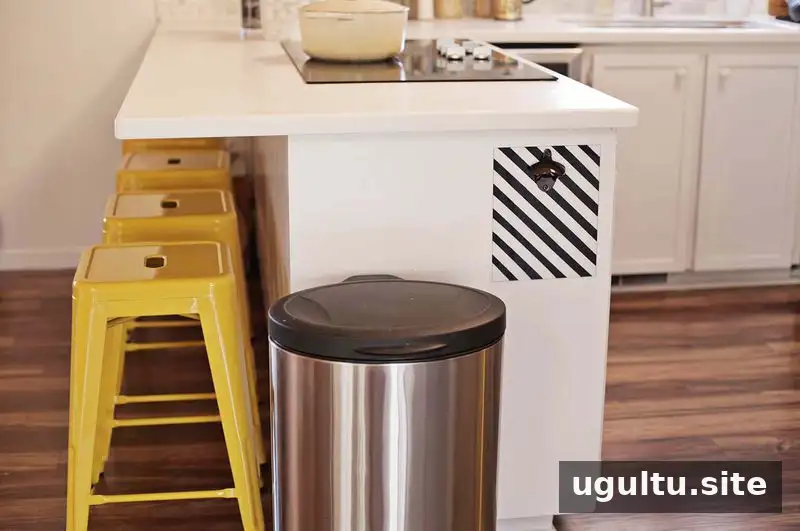
A spot near a trash or recycling bin makes it convenient to dispose of bottle caps immediately. Before drilling into a wall or cabinet, check the surface thickness and confirm that the screws will not pass through or reach anything behind it. Choose a location that leaves enough room to use the opener comfortably.
This modern bottle opener DIY can be personalized with colors, stripes, or lettering while keeping the finished piece practical. Project by Emma.