
 admin

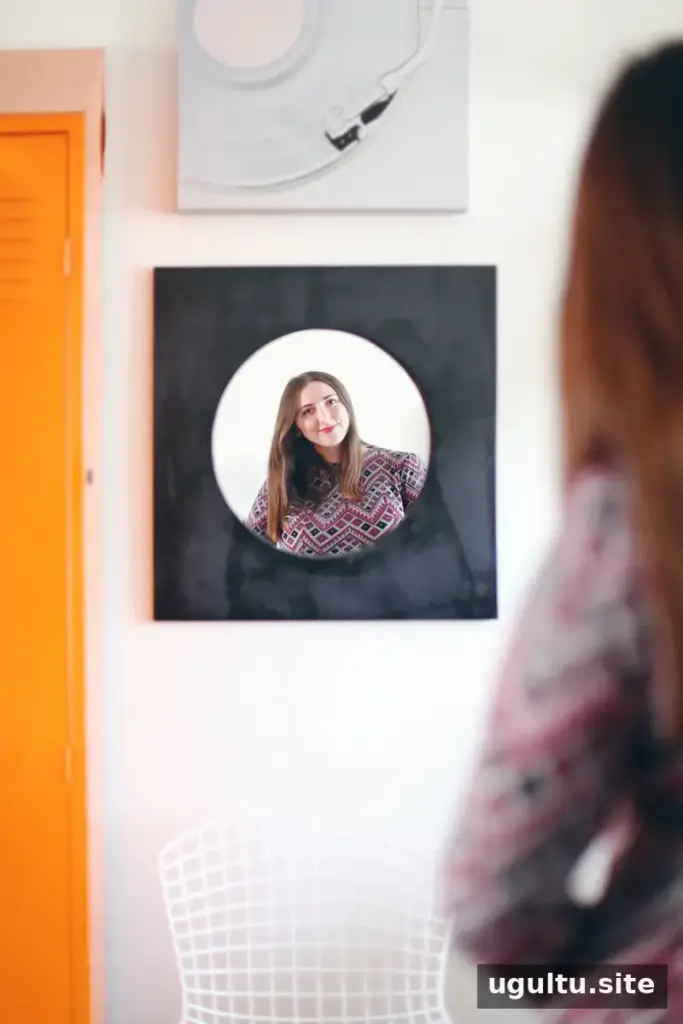
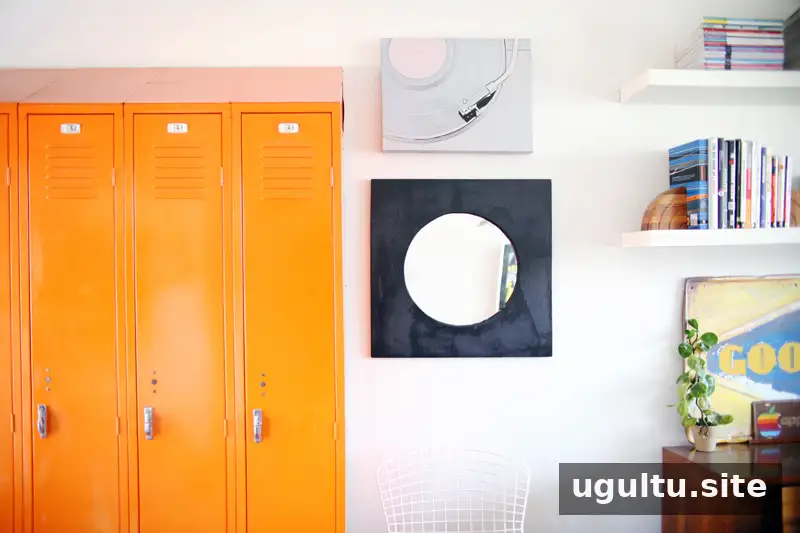
A modern mirror DIY project can turn a simple round mirror into a bold piece of functional wall art. This design pairs a 16-inch mirror with a painted plywood frame, creating a clean geometric look that suits an office, entryway, or other bright space. The original materials estimate is $28, with the final cost depending on what supplies you already have and local prices.
Materials and tools for this modern mirror DIY
Gather the supplies before cutting the plywood. Choosing a scrap piece that is already close to size can help keep material costs down.
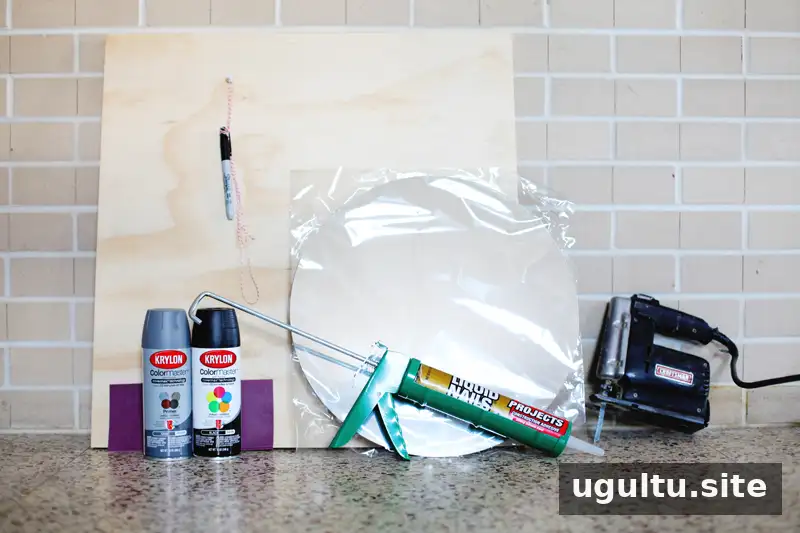
- One 2-by-2-foot piece of plywood; yellow birch was used in this project and cost about $5.
- Spray paint and primer, or an all-in-one paint and primer for about $7.50.
- One 16-inch mirror, estimated at about $8.
- Picture-hanging hardware, estimated at about $1.50 for one piece.
- A small tube of heavy-duty construction adhesive, estimated at about $4.
- 180-grit sandpaper; a four-sheet pack costs about $4, though two sheets may be enough.
The estimated supply total is $28, apportioned according to the amount of each material used. You will also need a jigsaw, a power drill, a large compass or round tracing object, and an adhesive gun if your adhesive comes in a large tube. The tool list describes a tracing object of about 18 inches; mark a 14-inch circle for the plywood cutout.
How to make the geometric mirror
1. Mark the circle
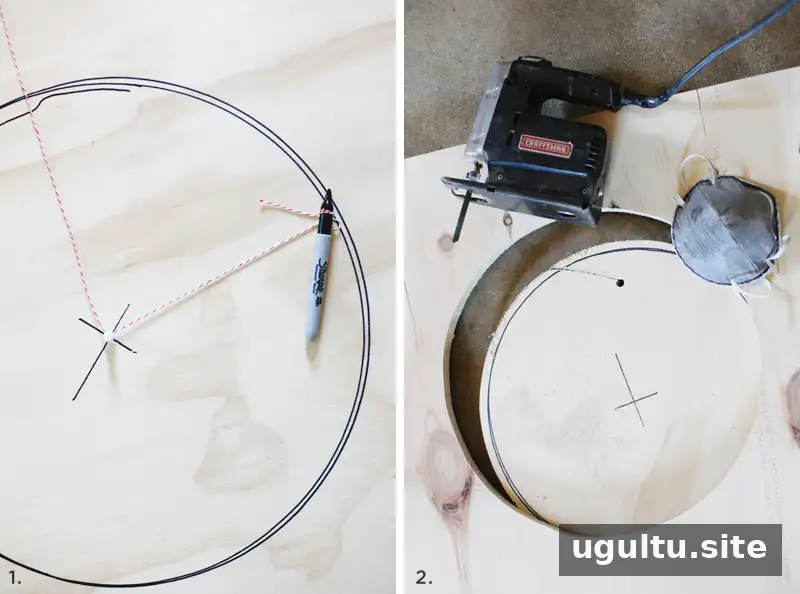
Locate the center of the 2-by-2-foot plywood square and draw a 14-inch circle. The opening should be at least two inches smaller than the mirror so the wood creates a visible frame around it. A compass provides a reliable guide; a round household object can also be traced if it matches the desired circle.
2. Cut the plywood
Drill a hole inside the marked circle, large enough to fit the jigsaw blade. Insert the blade through the hole and cut slowly along the line. Work carefully to keep the edge as even as possible, since an irregular cut may be visible around the mirror.
3. Sand, prime, and paint
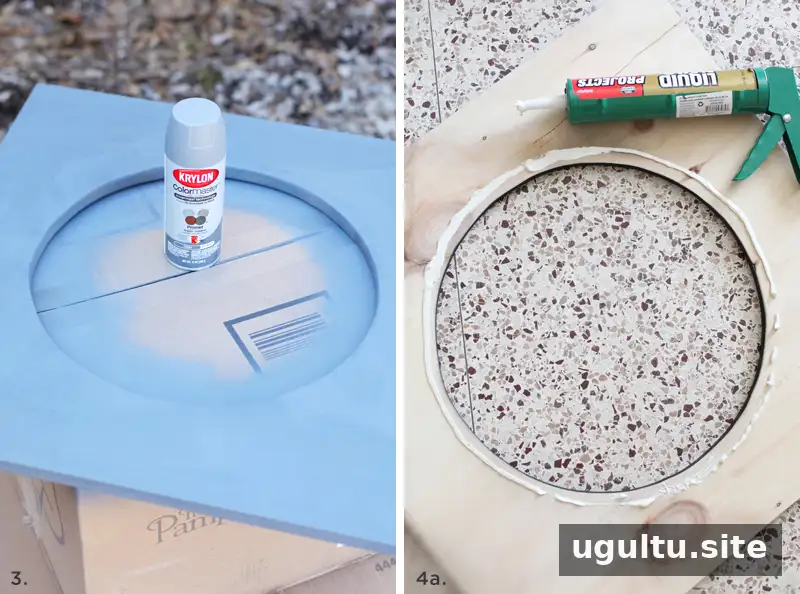
Sand the cut edges, then wipe away the dust. Apply a generous coat of primer. For a smoother finish, sand the plywood surface between primer coats to reduce the appearance of the wood grain. Once the primer is ready, apply a couple of coats of black spray paint and let the finish dry completely. Follow the paint label for drying and ventilation instructions.
4. Attach the mirror
After the paint has dried, spread a thin line of construction adhesive about half an inch from the circle opening. Press the mirror lightly into place and check that it is evenly positioned around the opening. Avoid using too much adhesive or pressing too hard, as adhesive can squeeze onto the mirror’s front surface. If available, a strong clear adhesive can make small amounts of seepage less noticeable. Keep the mirror supported while the adhesive cures according to its package directions.
5. Add hanging hardware
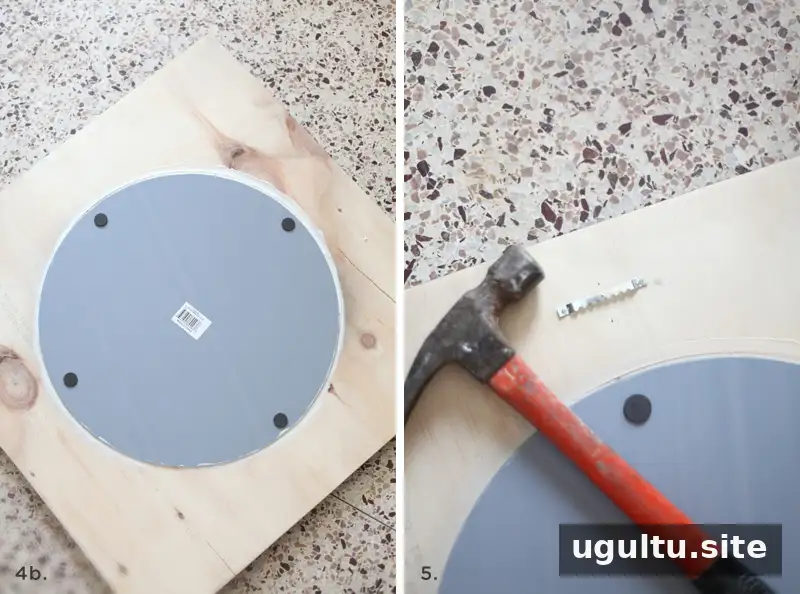
When the adhesive is fully dry, attach picture-hanging hardware at the top center of the plywood. A sawtooth hanger is one option; heavier-duty hardware, such as two triangle strap hangers connected with wire, may be more suitable depending on the finished mirror’s weight.
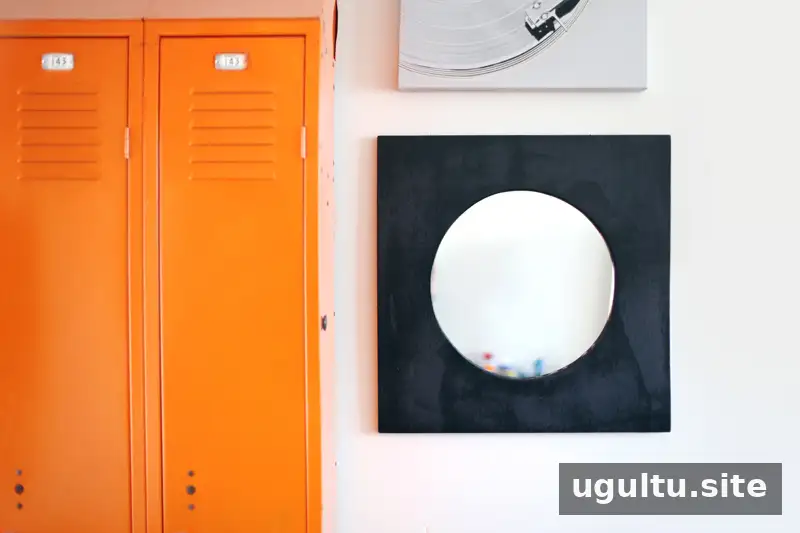
For secure hanging, fasten the mirror to a wall stud when possible. If hanging it on drywall without a stud, choose wall anchors rated for the load and use compatible hanging hardware. Check that the fasteners are firmly installed before letting the mirror hang unsupported.
Display and finishing tips

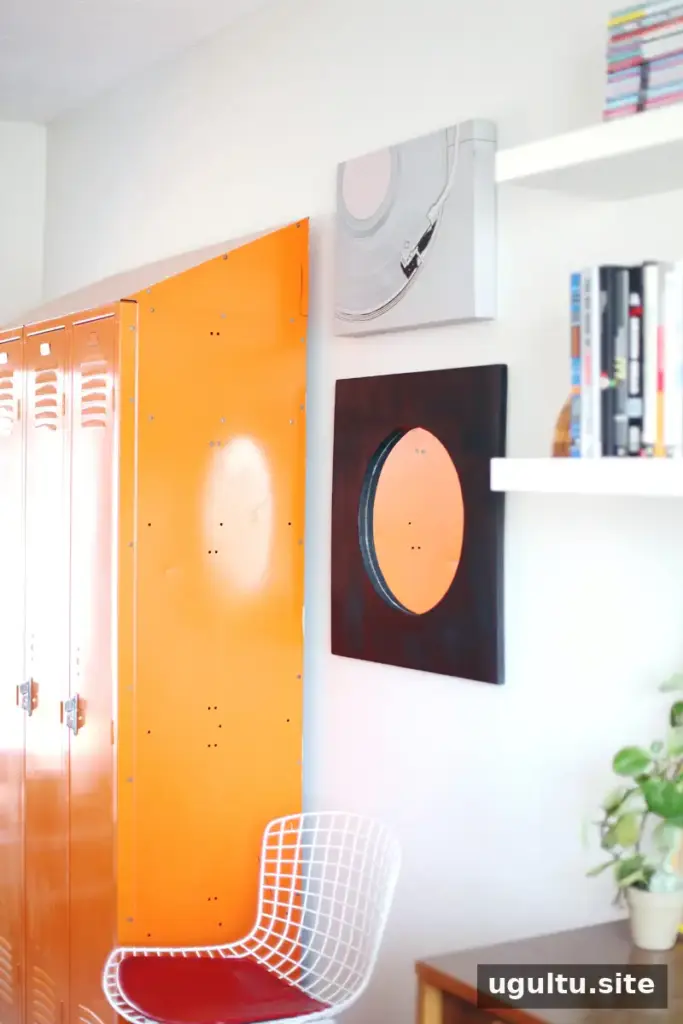
The finished mirror provides a practical reflective surface while adding a strong geometric accent to a room. Before hanging it, inspect the painted edges and confirm that the mirror is firmly bonded to the plywood. This modern mirror DIY is easy to adapt with a different paint color, but keep the same careful approach to cutting, adhesive placement, and wall support.
—Mandi


