
 admin


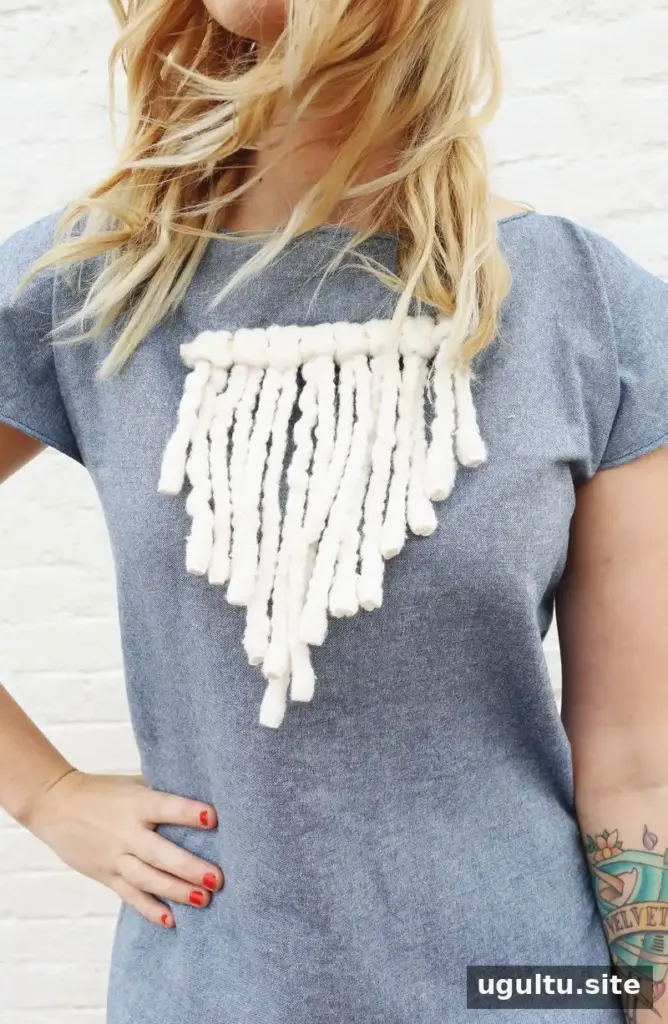
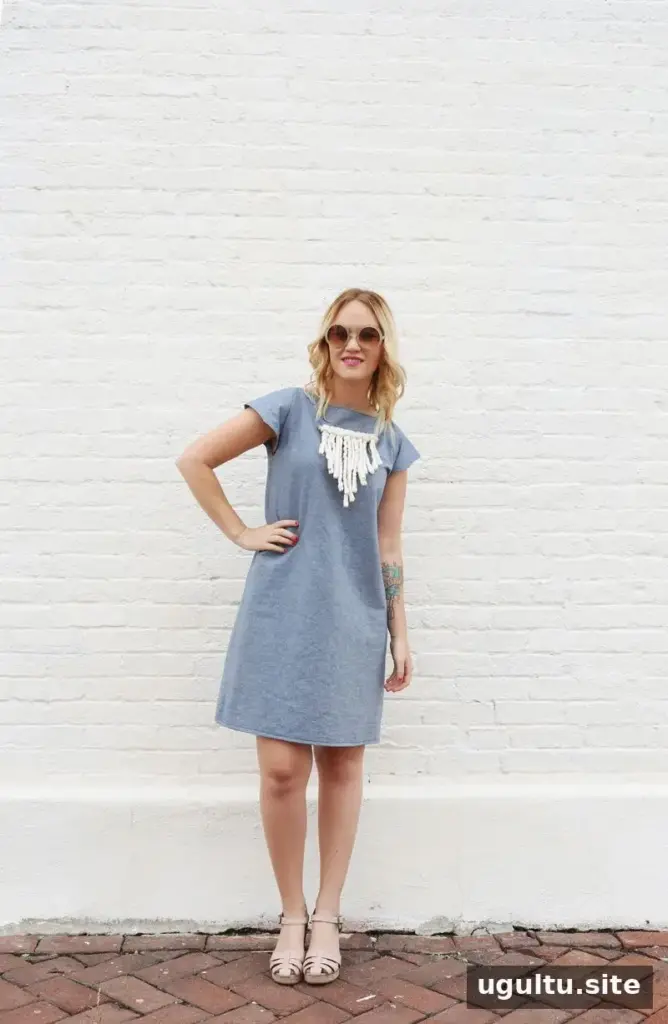
A homemade denim dress can be a manageable sewing project, even for someone still learning to use a sewing machine. This design keeps the shape simple and adds interest with a removable woven detail at the front. It is a project overview rather than a complete sewing pattern, but the construction notes can help guide a similar beginner-friendly dress.
Planning a Homemade Denim Dress
The dress shape was based on a favorite green Mexican embroidered dress. Using a garment that already fits well can help estimate the size and overall proportions of a new design. A style that slips on over the head without a zipper is also a practical choice for sewists who are not yet comfortable installing zippers.
Before cutting fabric, lay the reference garment flat and note the measurements needed for the front, back, and sleeves. Check the fabric’s drape and make sure the finished design will have enough room to move comfortably. Keep extra fabric on the edges until the fit has been checked.

This project uses a straightforward outline rather than a detailed pattern: the main body is essentially rectangular, with sleeves. It is useful to sketch the design and write down measurements before cutting. Treat those measurements as a starting point, since fabric thickness and the fit of the reference garment can affect the result.
Choosing Fabric and Checking the Fit
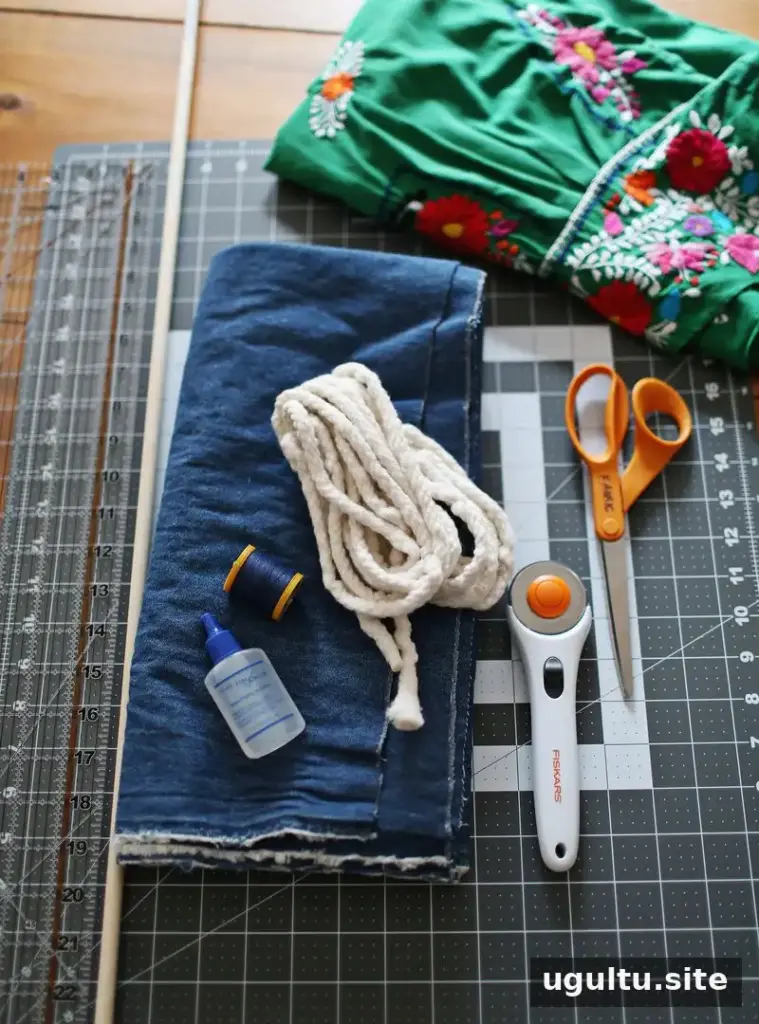
The front and back pieces were cut from denim, using the reverse side of the fabric because its lighter, chambray-like color suited the design better. When shopping for denim, inspect both sides before deciding on a fabric. The reverse may offer a different shade or finish that works well for a garment.
Pin the edges before stitching so the pieces can be adjusted while they are still easy to handle. During construction, try the garment on inside out to assess how it fits and hangs. If a seam needs adjusting, it can be unpicked and sewn again. Avoid trimming excess fabric until the fit feels right.
Use scissors reserved for fabric to help keep the cutting edges clean. Pressing seams as you sew can make the garment easier to handle and help the finished pieces lie flatter. Follow the care instructions for the fabric and use an appropriate iron setting.
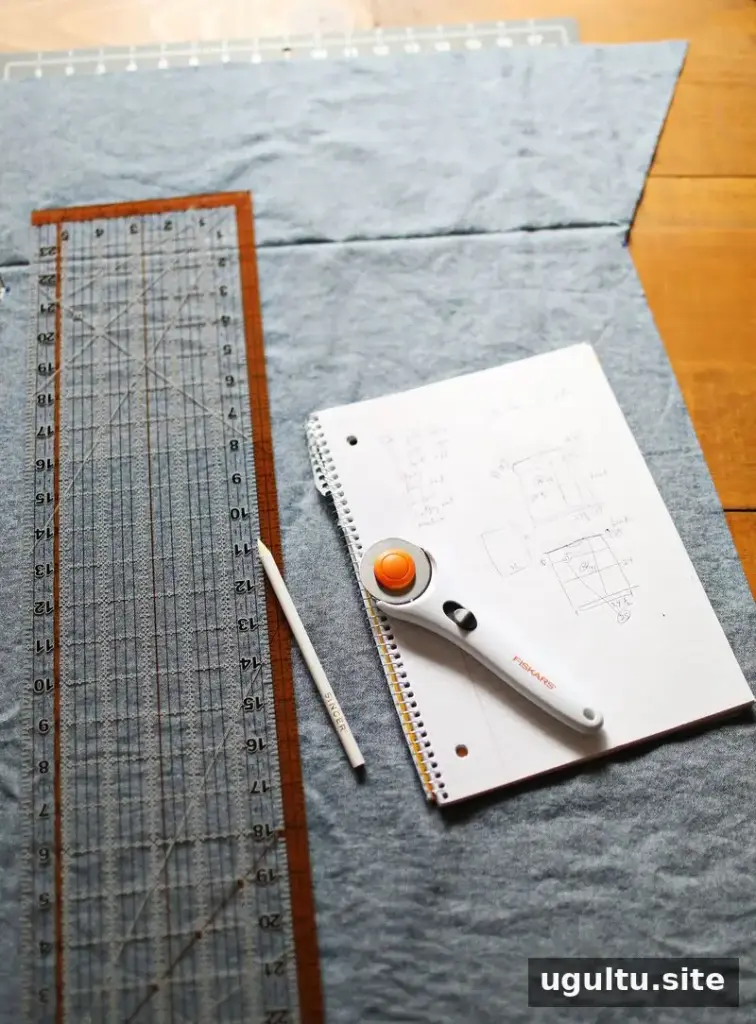
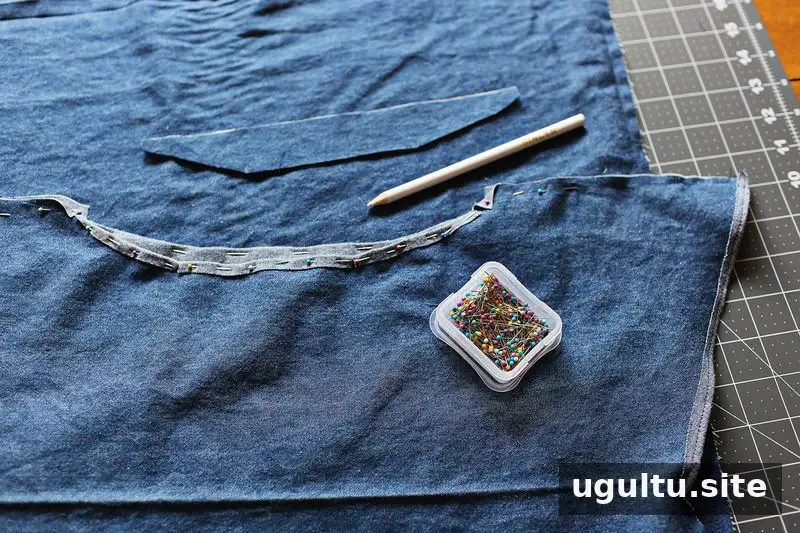
The design was drawn with measurements, then the front and back pieces were cut, pinned, and stitched together. For a similar project, check the fit at multiple stages rather than waiting until every seam is finished. Small adjustments are usually simpler before the remaining fabric is trimmed away.
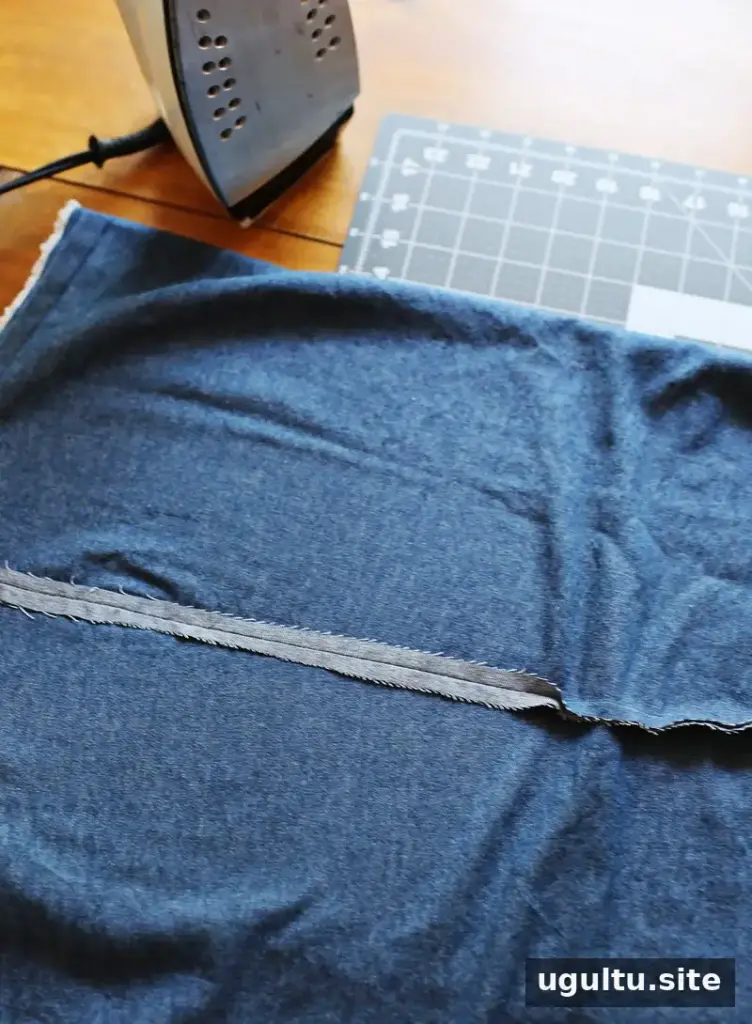
Pressing seams may feel like an extra step, but it can improve the shape and finish of a handmade garment. Press carefully and avoid stretching the fabric, particularly around curved or fitted areas.
Adding a Removable Woven Detail
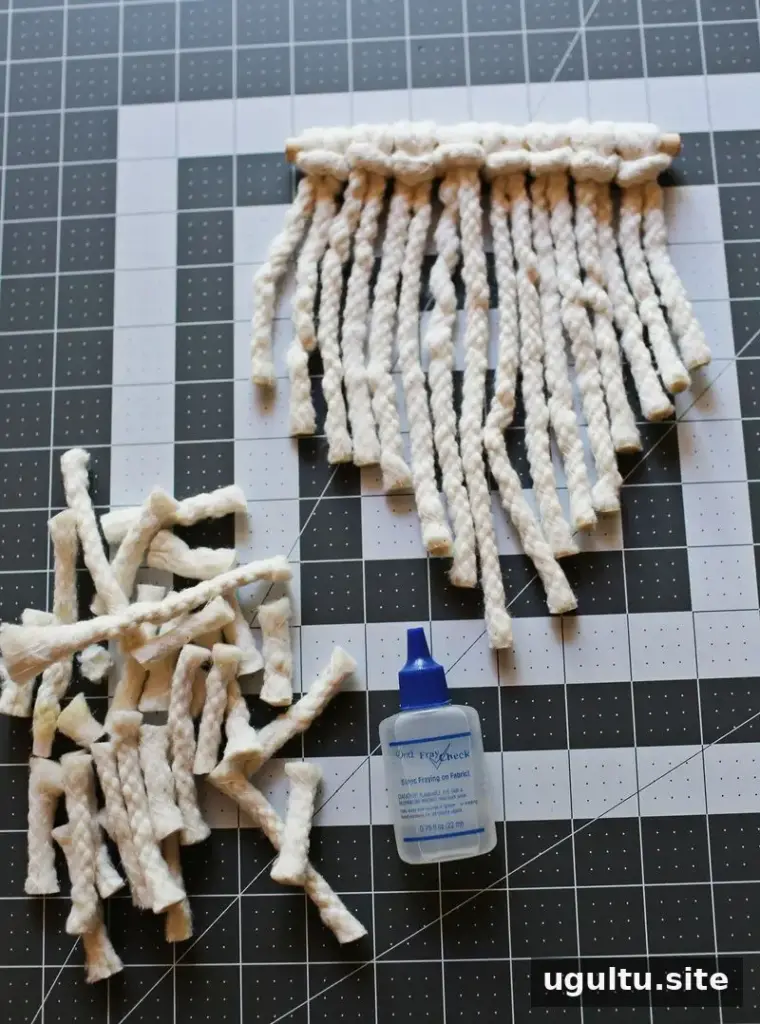
A woven rope feature adds texture to the front of the dress. Fray Check was applied to the rope ends to help reduce fraying over time. Follow the product directions and allow the treatment to dry as instructed before attaching the trim.
The woven piece is detachable: its last two rope strands loop through two buttonholes in the dress. This construction makes it possible to remove the detail before washing. Check that the loops are secure and that the buttonholes are sized appropriately for the rope, while still allowing the piece to be taken off without pulling at the fabric.
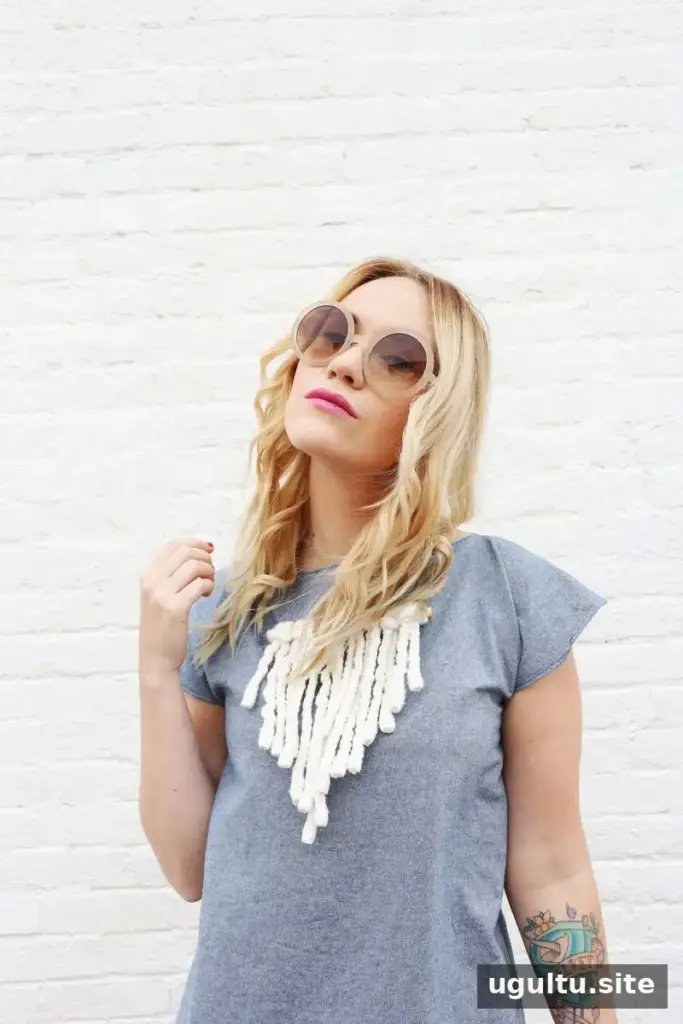
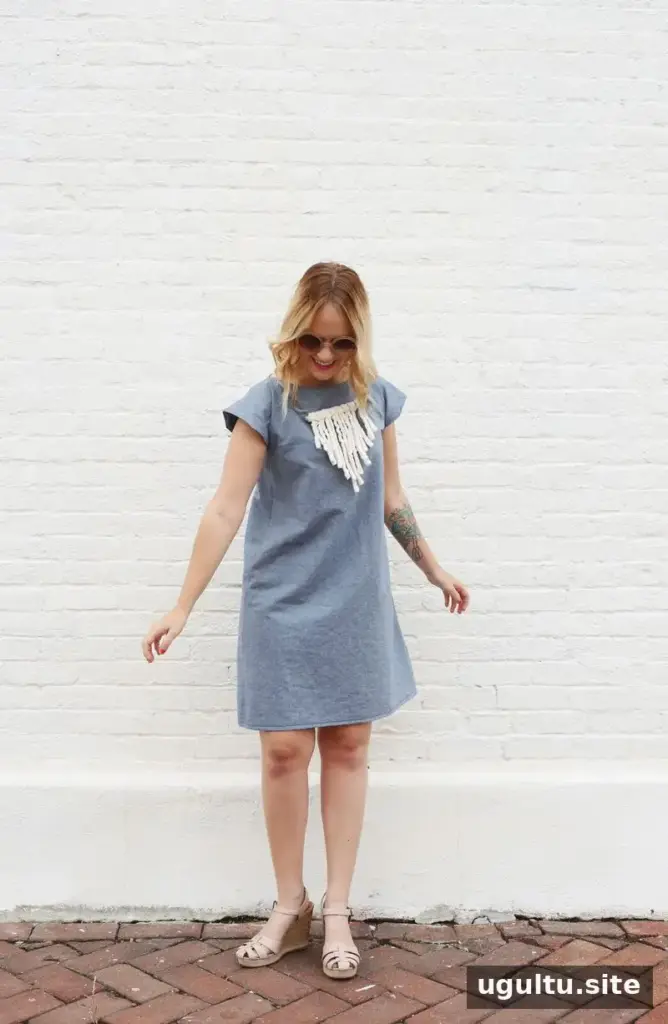
The removable weaving gives the dress a distinctive accent while keeping laundering more practical. For anyone planning a similar homemade denim dress, the key steps are to begin with a garment that fits, test the shape before trimming fabric, and make decorative elements easy to remove when needed.
— Emma


