
 admin
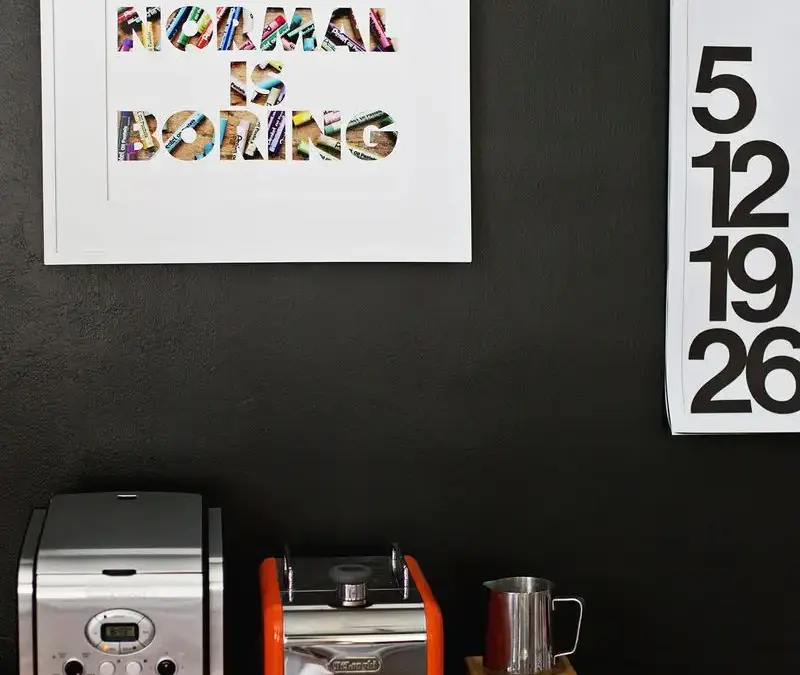
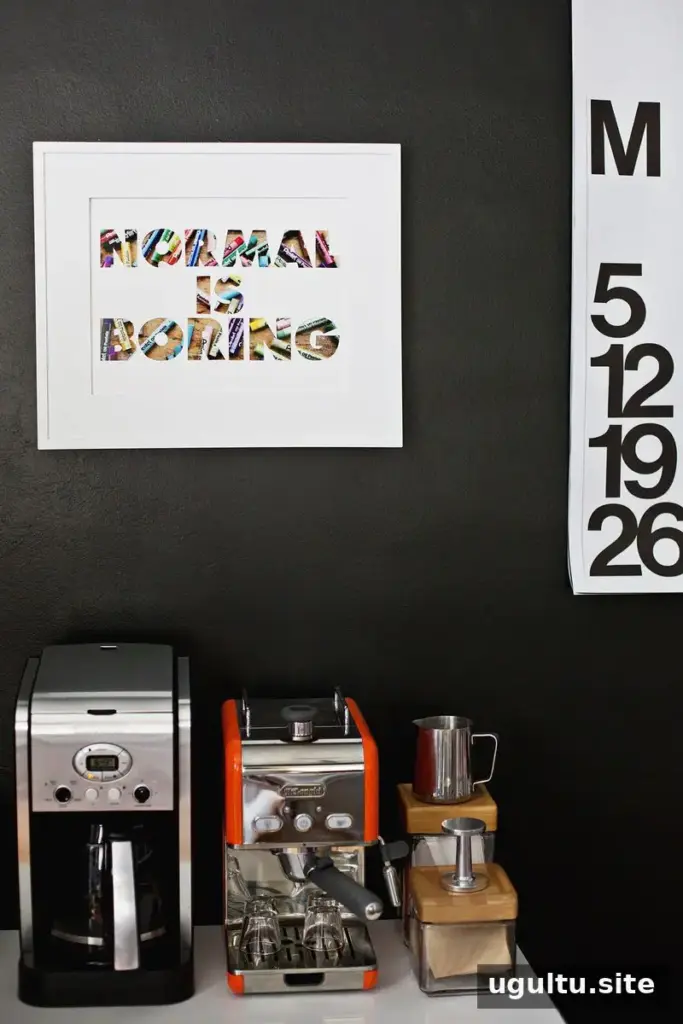
Photo letter art turns a printed image into the colorful fill for a phrase or short message. The technique is simple: cut the letters from cardstock, place a photo underneath, and frame the finished piece. Choose an image with plenty of color and texture so the words are easy to read, then customize the phrase and photo to suit your room.
Supplies:
- Color printer
- Photo paper
- X-Acto knife
- White cardstock
- Photo frame
- Rubber cement
- Metal ruler (optional)
How to Make Photo Letter Art
1. Choose and print a background photo
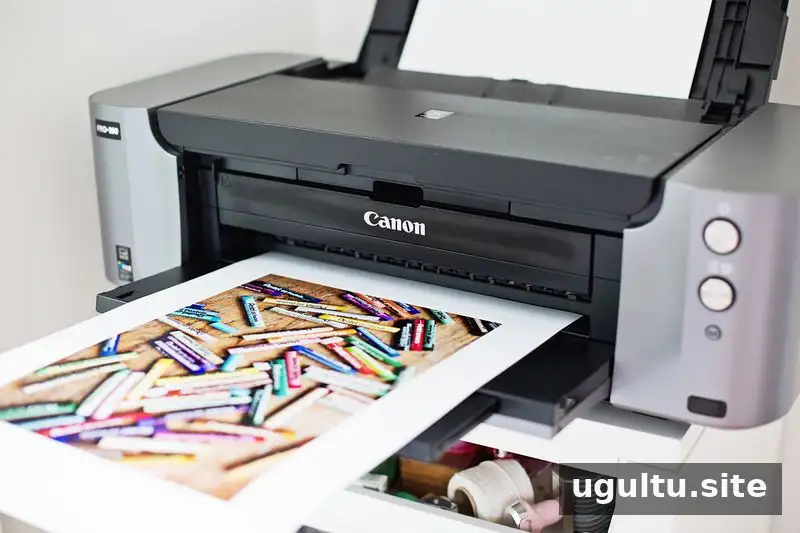
Pick a photograph that works well as a visual texture. Close-ups or arrangements of objects, plants, flowers, and food can create a lively background. A busy portrait or image with a lot of small details may make the phrase harder to read, so consider how the picture will look through the letter openings.
Print the image slightly larger than the phrase area, using photo paper and a printer capable of producing the size you need. The original project used 13-by-19-inch Photo Paper Pro Luster. Strong color and clear contrast help the image show through the cutouts. Before printing, check the frame dimensions so you can trim the photo and cardstock to fit.
2. Print and trace your phrase
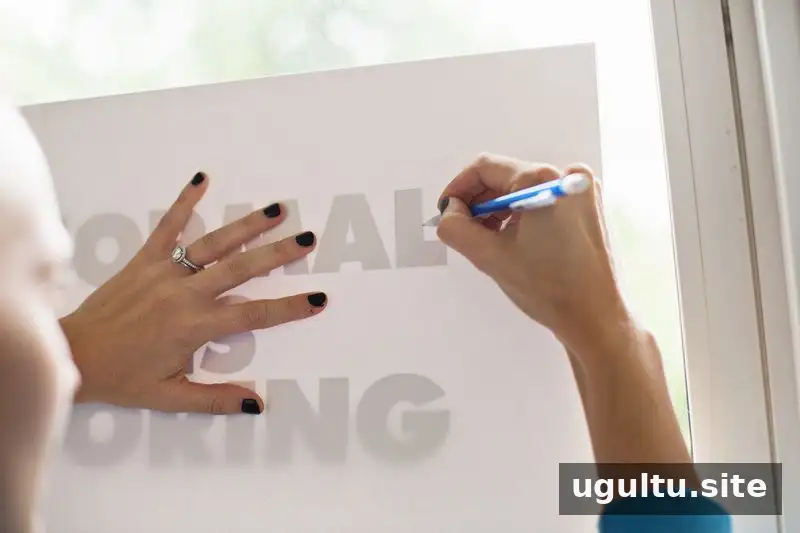
Type a short phrase in a document or design program and print it at the size you want for the finished artwork. A heavy, bold typeface is a practical choice because its wider strokes are easier to cut and leave more of the image visible. The original project used Function Pro in extra bold.
Place the cardstock over the printed phrase. Hold both sheets against a bright window or another light source, then trace the letter outlines onto the cardstock. Thicker mat board is an option, but cardstock is generally easier to cut around curves and small details.
3. Cut out the letters
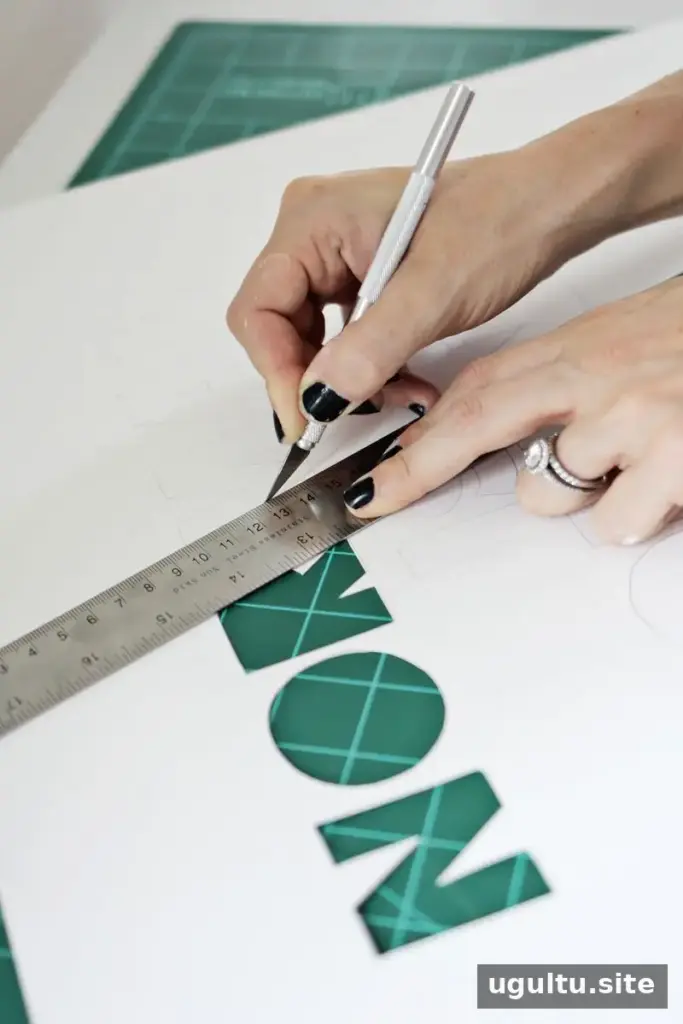
Use an X-Acto knife to cut along the traced lines. Work slowly on a protected cutting surface, and use a metal ruler for straight edges if available. Save the interior pieces from letters such as O and A; you will need to attach them to the photo in their original positions.
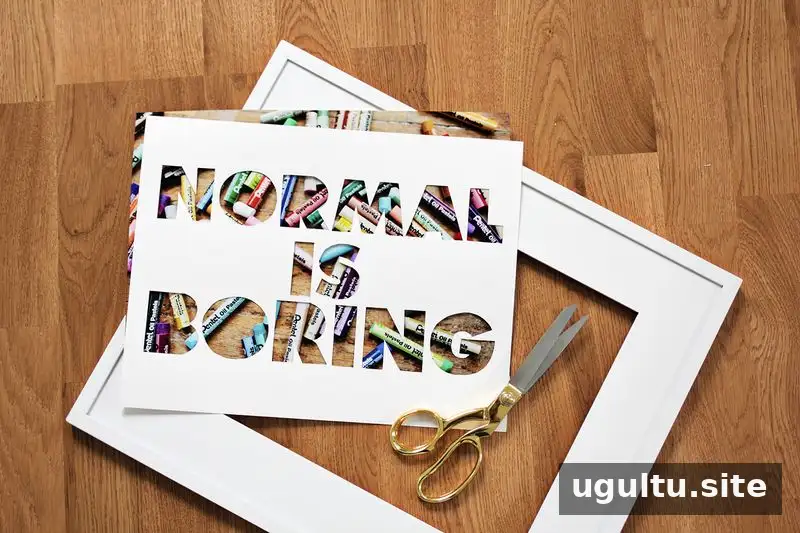
4. Assemble and frame the artwork
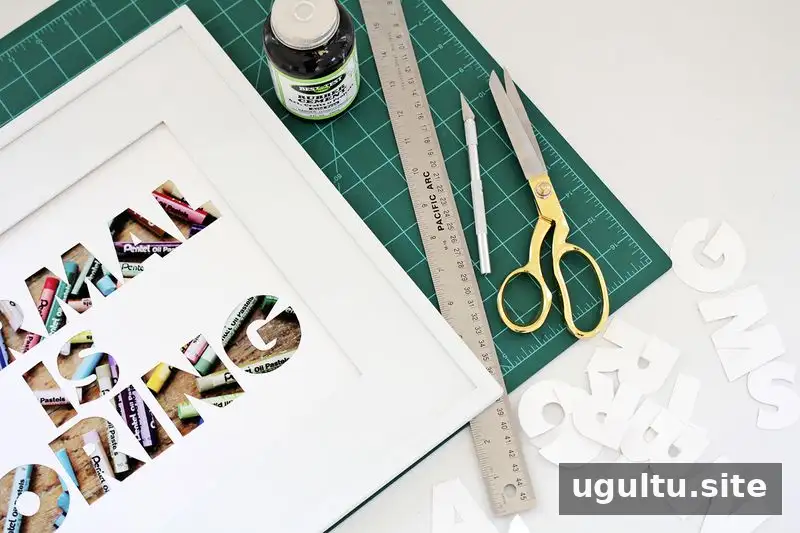
Trim the photo and cardstock to match the frame. Apply rubber cement to attach the cardstock over the photo, aligning the layers carefully. Add the saved letter centers to the corresponding parts of the image, then allow the adhesive to dry before placing the artwork in the frame. Check that the layers stay flat and that the photo is visible through each opening.
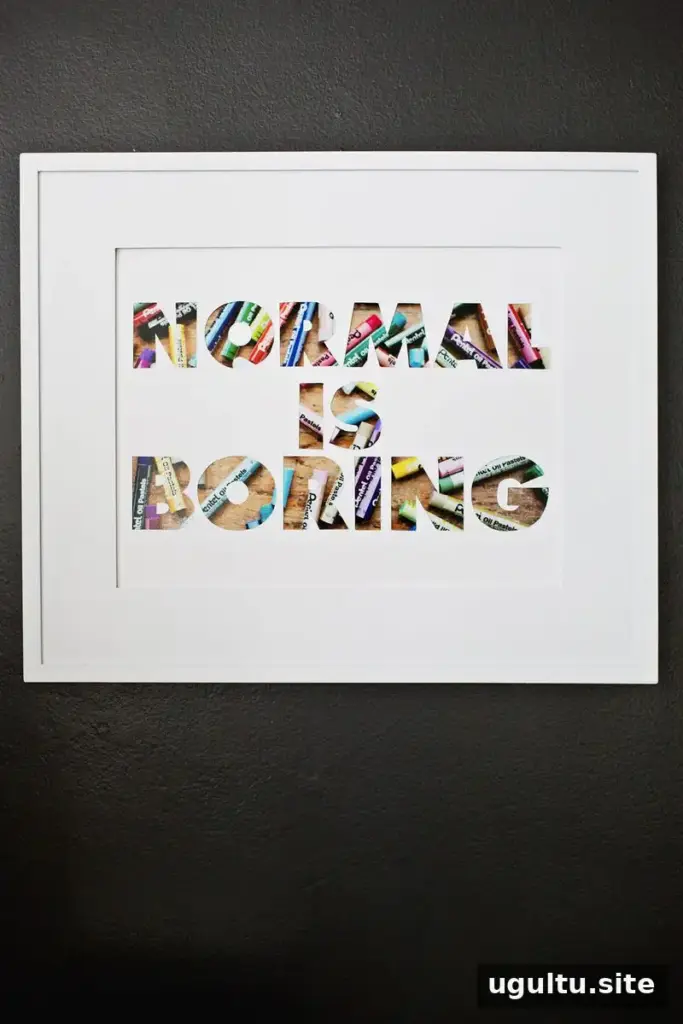
Personalize Your Photo Letter Art
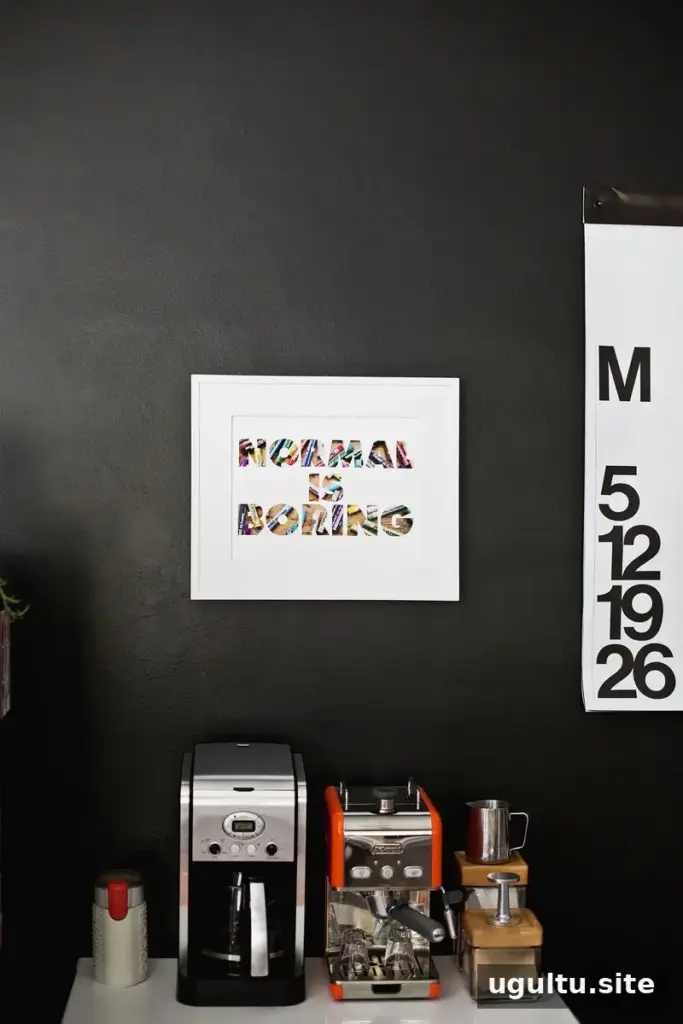
The phrase and background can be adapted to different rooms and interests. For example, a food-related saying paired with a food photograph can suit a kitchen, while a favorite lyric or movie quote can make a personal display elsewhere. Keep the wording concise so it remains legible, and choose an image whose colors complement the space. With careful cutting and alignment, photo letter art offers a straightforward way to create custom framed decor.
Project by Laura


