
 admin
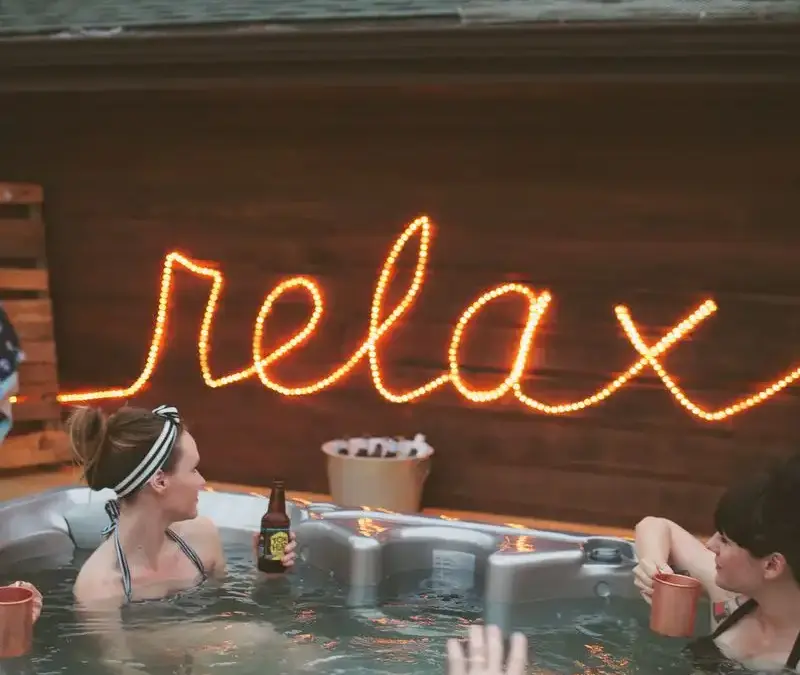
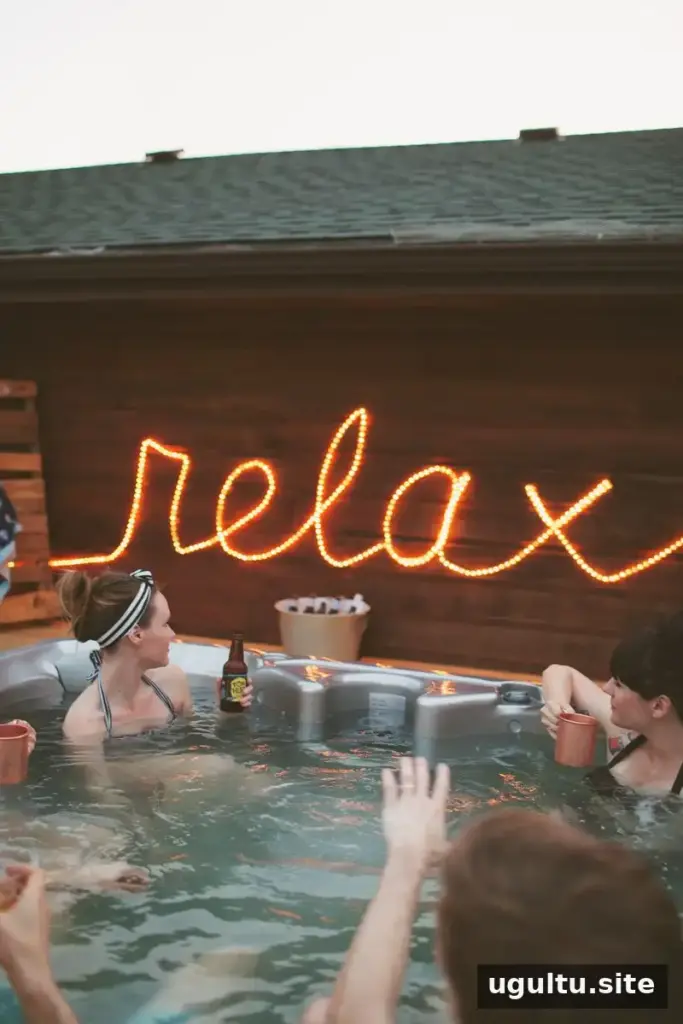


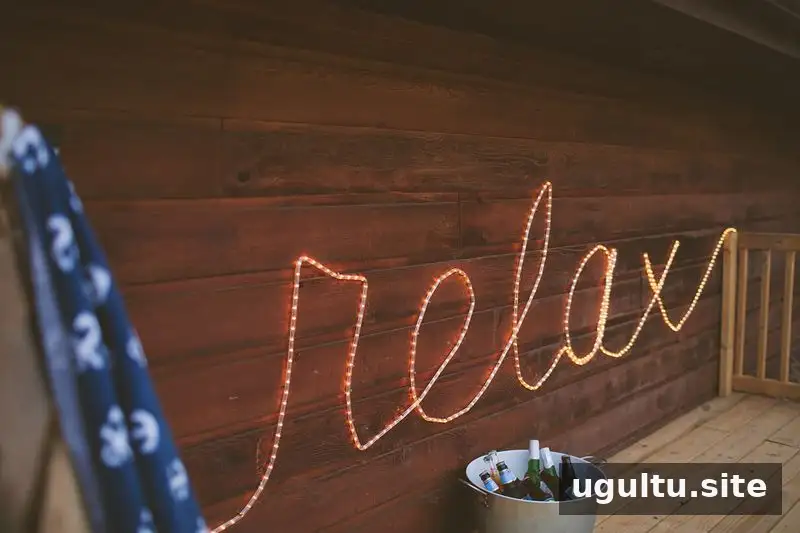
A homemade rope light sign can add both decorative lighting and a personal touch to an outdoor space. This project uses a printed layout, nails and a 48-foot outdoor rope light kit to create a word across a deck or suitable siding. The finished sign can also make pathways and seating areas easier to see after dark.
A deck and hot tub had been added to the backyard, but the area felt dim at night. Rather than outlining the railing with standard holiday lights, the idea was to shape rope lighting into a word. The installation below explains how to plan the lettering, position the supports and finish the wiring neatly.



The project can be adapted to different words and outdoor settings, provided the surface and lighting are suitable. Planning the layout before hammering in any nails helps reduce mistakes and unnecessary holes.
Supplies and tools for a homemade rope light sign
Gather the following materials before starting:
- One outdoor rope light kit, 48 feet long
- 50 nails; not all may be needed, but extras are useful
- A printout of the word arranged on a grid
- String or embroidery thread
- An outdoor light switch or timer, optional
Useful tools include a hammer, measuring tape and a tall level or ruler. The approximate project cost was $55, excluding tools. Check the rope light kit instructions to confirm that it is rated for outdoor use and that its included ties or clips are suitable for the installation.
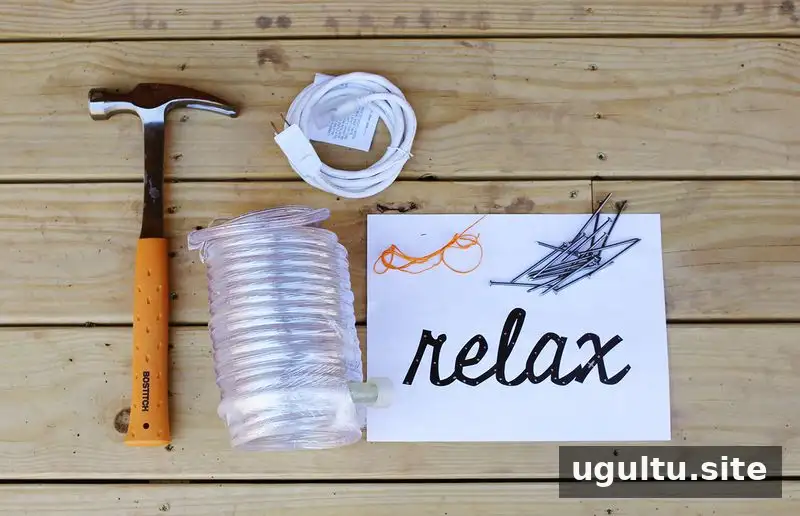
Step 1: Plan the lettering. Create a grid with the word you want to display. A design program is convenient, but any software that lets you place a measured grid behind text can work. Match the grid to the dimensions of the surface; in this project, the siding height helped set the horizontal spacing, while standard measurements were used vertically.
Choose lettering for its curves, corners and proportions rather than expecting the rope to reproduce a typeface exactly. Mark the planned nail positions on the printout. A full-size template is not essential, but the grid makes it easier to transfer the design consistently.
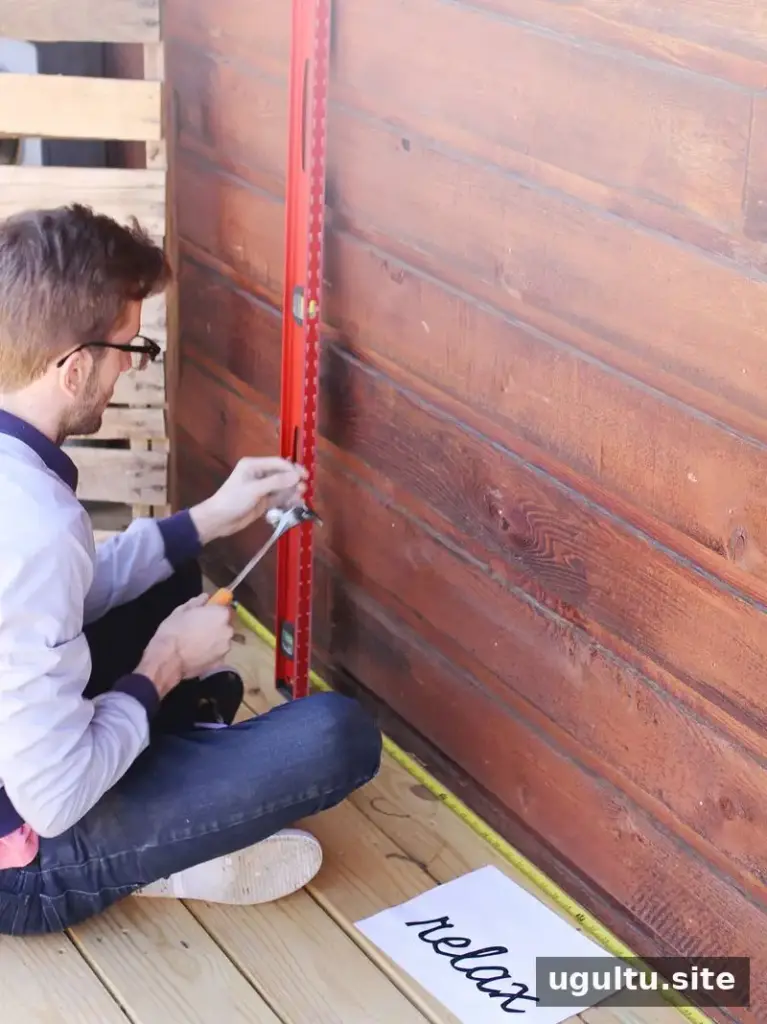
Step 2: Mark and install the nails. Use the siding lines, measuring tape and level to transfer the layout to the wall. Leave a few inches of each nail exposed so it can hold the rope light. Before hammering, make sure the chosen surface can support the installation and that the nail locations will not interfere with wiring or other concealed components.
Darker wood can make small extra holes less noticeable, while a separate board offers another option if you do not want to attach nails directly to siding. Take time to check alignment as you work; small adjustments at this stage can make the lettering look more even.
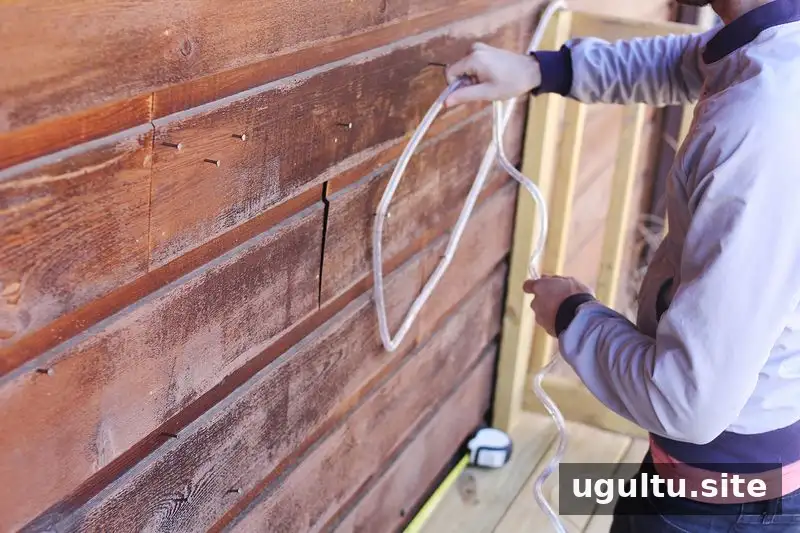
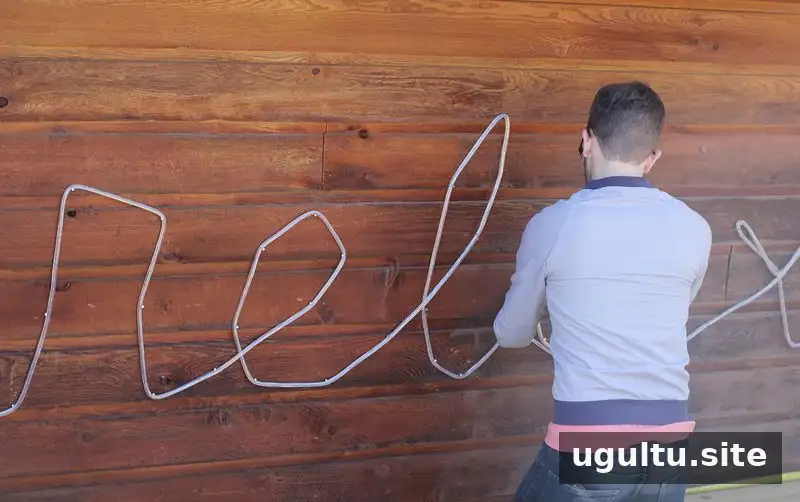
Step 3: Fit the rope light. Once the nails are in place, loop the rope light around them and guide it into the shape of the letters. Having a second person hold and adjust the light can make this step easier. Step back regularly to inspect the overall word rather than judging each section up close.
If the lettering looks too angular, add nails where the rope needs a smoother curve. The light can be repositioned as you refine the shape, so make adjustments gradually and check that it remains securely supported.
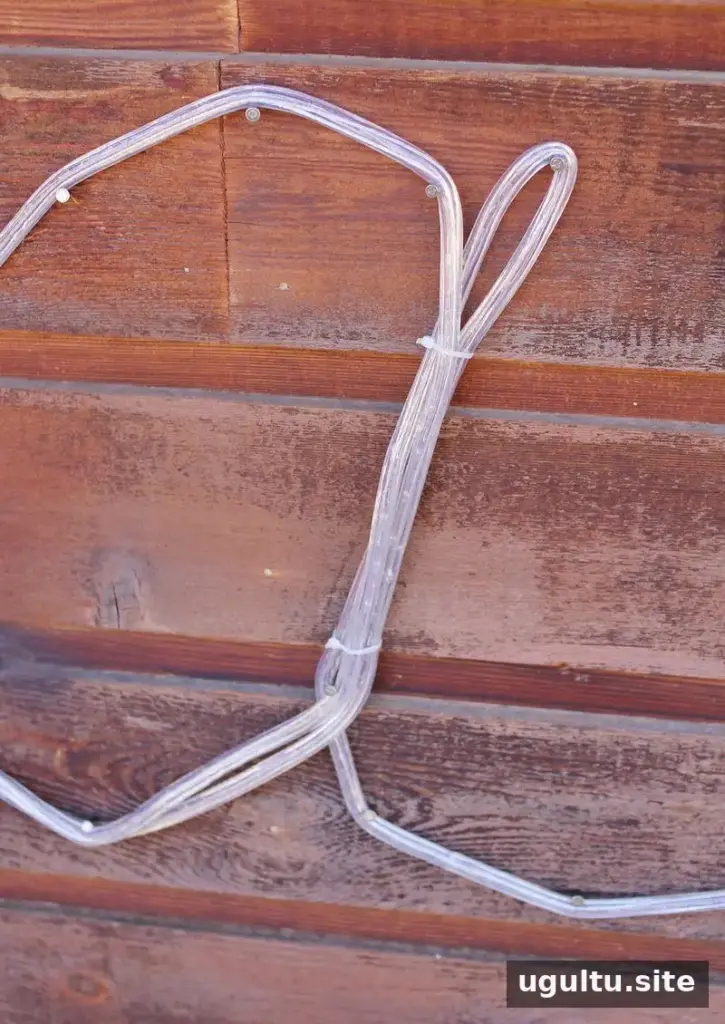
Step 4: Secure doubled sections. Where the rope crosses or runs alongside itself, use the ties supplied with the kit to keep the sections close together and reduce visible gaps. Follow the kit’s guidance for securing the light, and avoid pulling it tighter than the instructions allow.
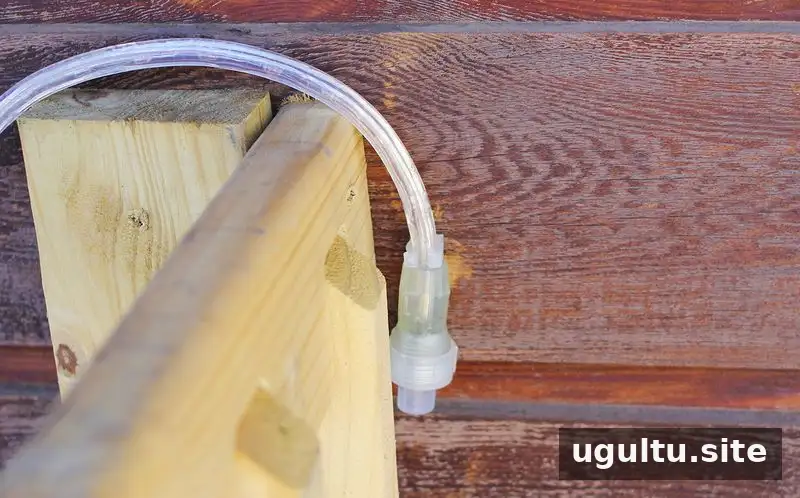
Finish the ends and controls. The power end needs to reach an outdoor outlet. The other end can be less attractive, so the design was extended beyond the edge of the deck rail to conceal it and secured with a plastic loop included in the kit. Plan where both ends will sit before completing the lettering.
The light was connected to an outlet beneath the deck. To avoid repeatedly plugging and unplugging it, an outdoor-rated timer with an on/off switch was installed on the rail. Choose a control designed for outdoor use and follow its instructions for placement and connection.
Outdoor rope light safety and upkeep
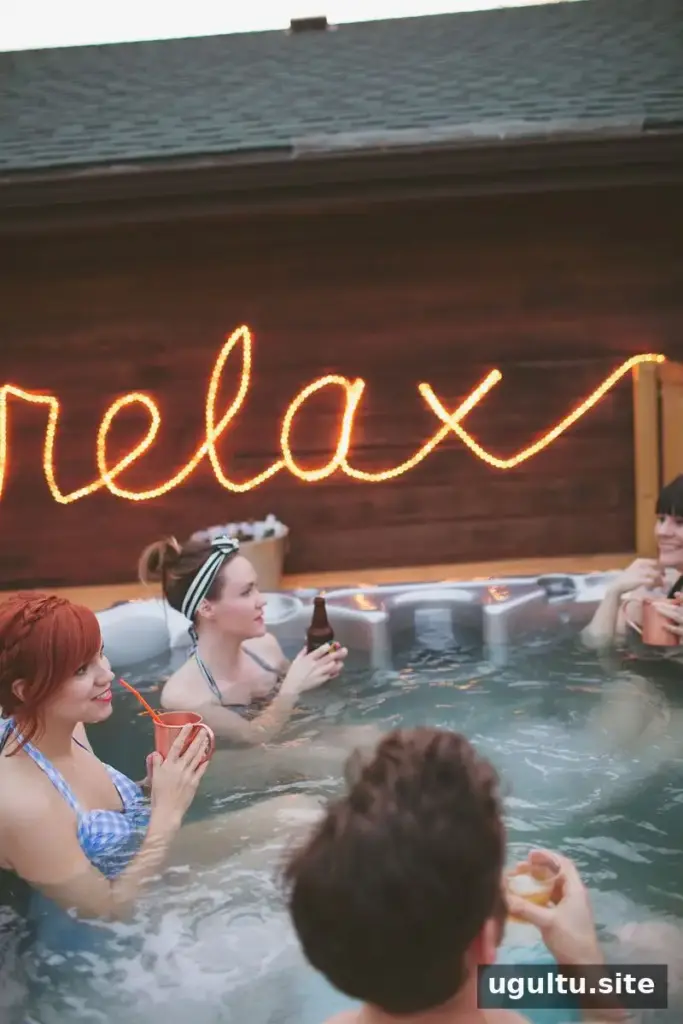

Turn off outdoor lights when they are not in use. Inspect the rope light and connections periodically, especially after exposure to weather, and stop using them if wires become exposed or the equipment appears damaged. Keep electrical connections appropriate for outdoor conditions, and follow the manufacturer’s safety and installation instructions.
Conclusion
A homemade rope light sign is a practical way to add a custom feature to a deck or other outdoor area. A measured grid, carefully placed nails and a final check of the curves help create a cleaner result. Before switching on your homemade rope light sign, confirm that the light and controls are outdoor-rated and securely installed.
Project by Emma and Trey.


