
 admin
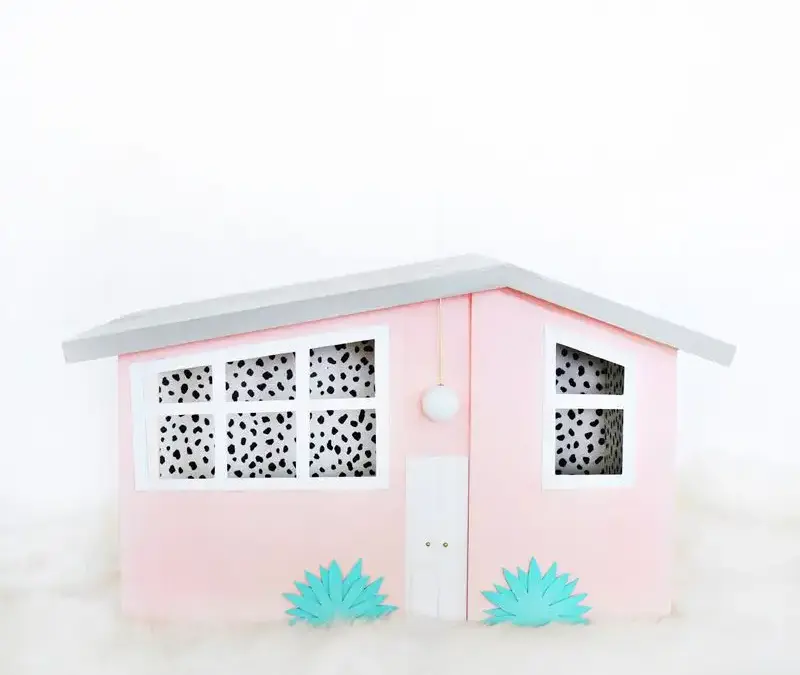
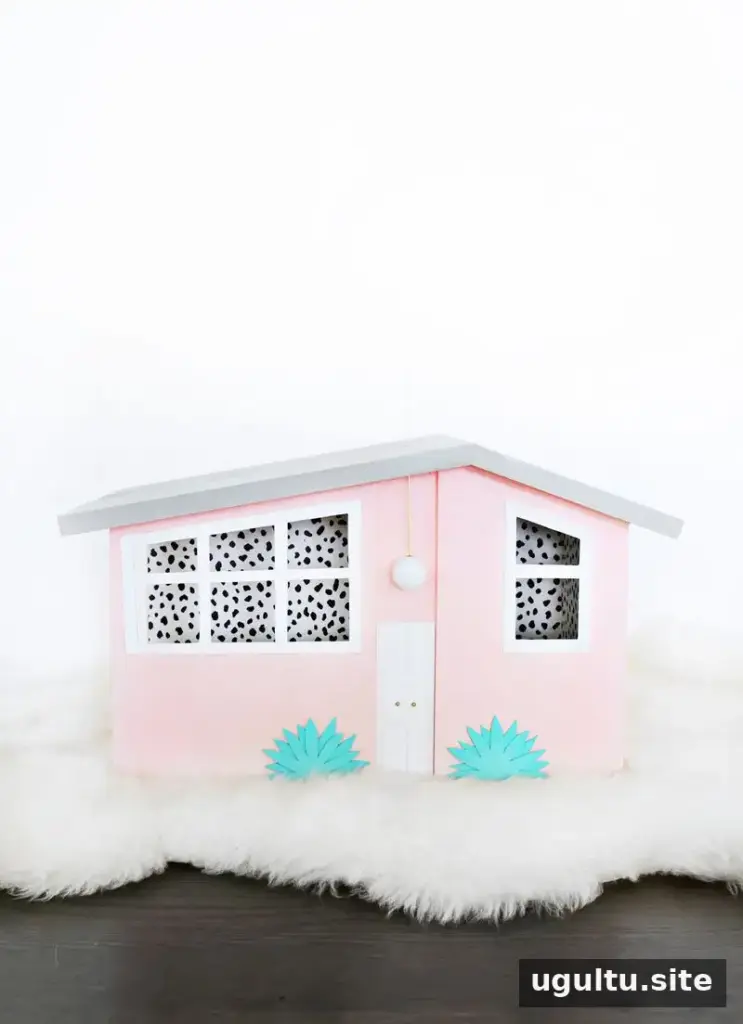
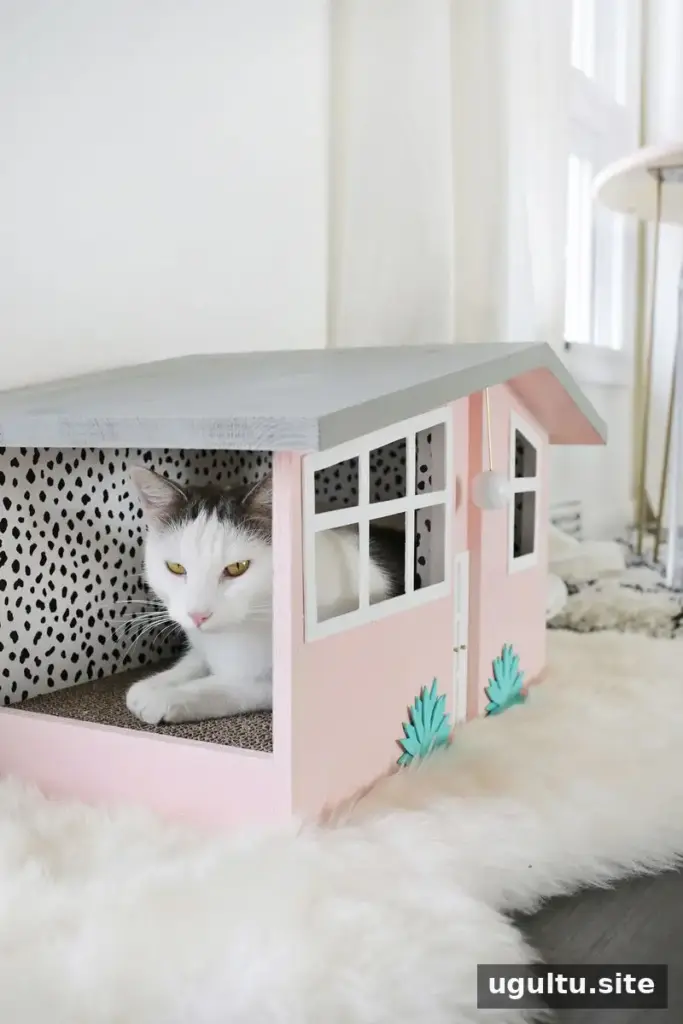
A DIY cat scratch house can give your cat a practical place to scratch while blending more naturally into your living space. Cats may prefer different scratching positions: some like vertical posts, while others favor a horizontal pad. This Palm Springs-inspired wooden house was designed around a replaceable cardboard insert and a cat who preferred scratching on the floor.
Plan a DIY Cat Scratch House Around Your Cat
A scratcher is more likely to be useful when its shape and position suit your cat’s habits. In this project, a vertical scratching post was initially used, but the cat later gravitated toward rugs and furniture. A horizontal scratcher proved to be a better fit, so the house was designed to hold a floor-level pad while making the scratcher more decorative.
Before cutting any wood, check that your cat can comfortably enter and turn around inside the planned structure. The side opening for this design is 9.5 inches high and 7.5 inches wide. The cardboard scratching insert measures 9.5 by 17.75 inches. Include the 1/2-inch plywood floor and the height of the insert when working out the finished interior height.
Materials and Tools
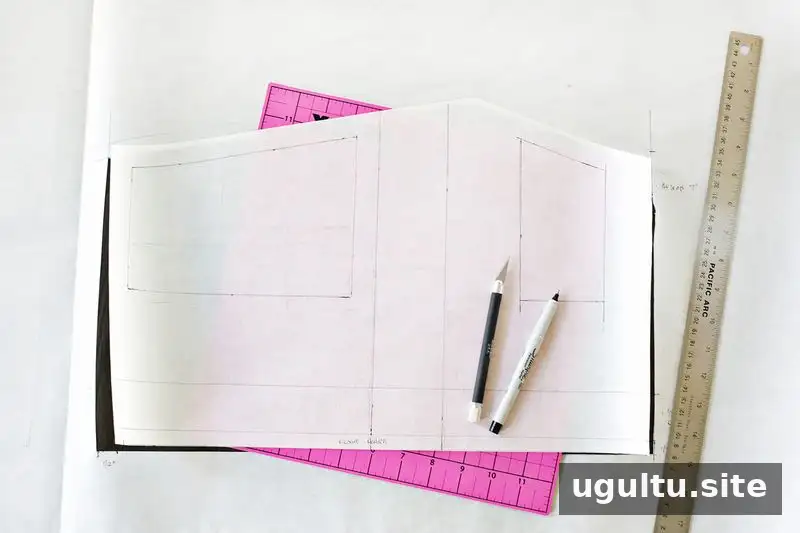
Gather these supplies before starting:
- 1/2-inch-thick plywood sheets
- Craft paper for making a template
- Jigsaw and ruler
- Clamps, wood glue, nails, and a hammer
- Paint of your choice for the house
- Removable wallpaper, optional
- Scratching pad insert
- Balsa wood
- X-Acto knife and cutting mat
- Metal wire and a small wooden ball
- Hot glue gun
Cut the House Pieces
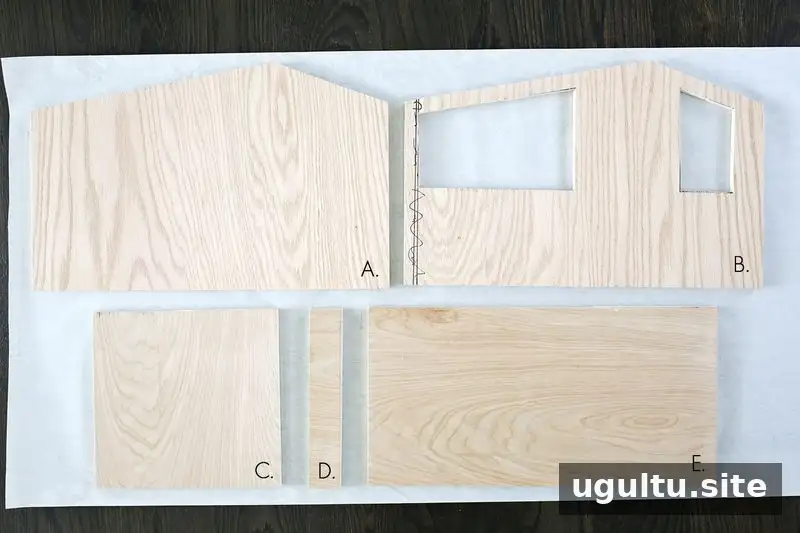
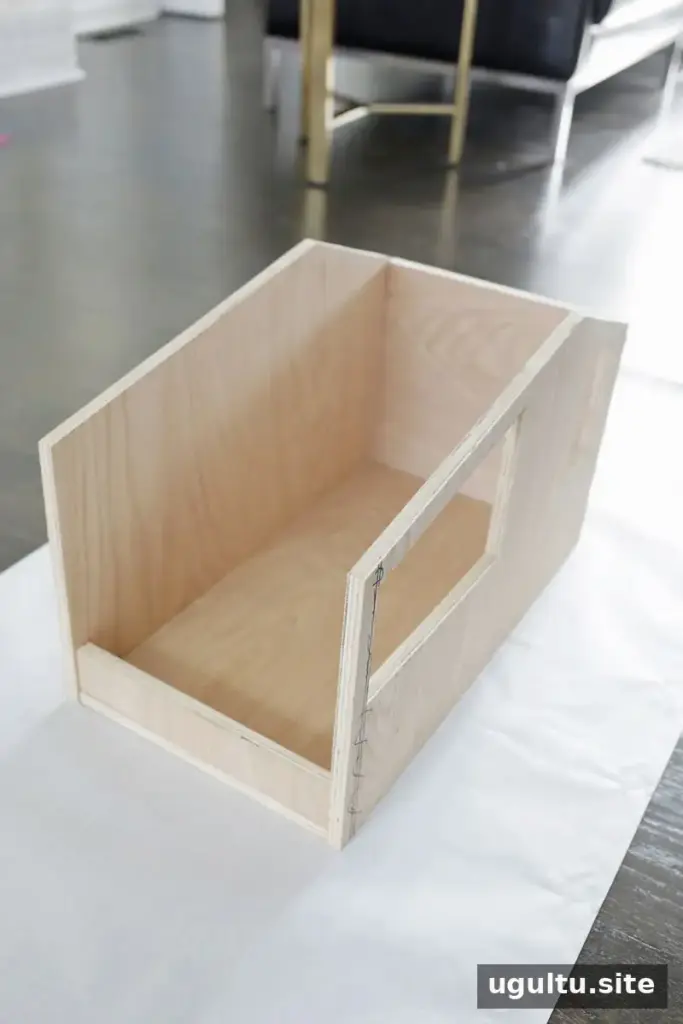
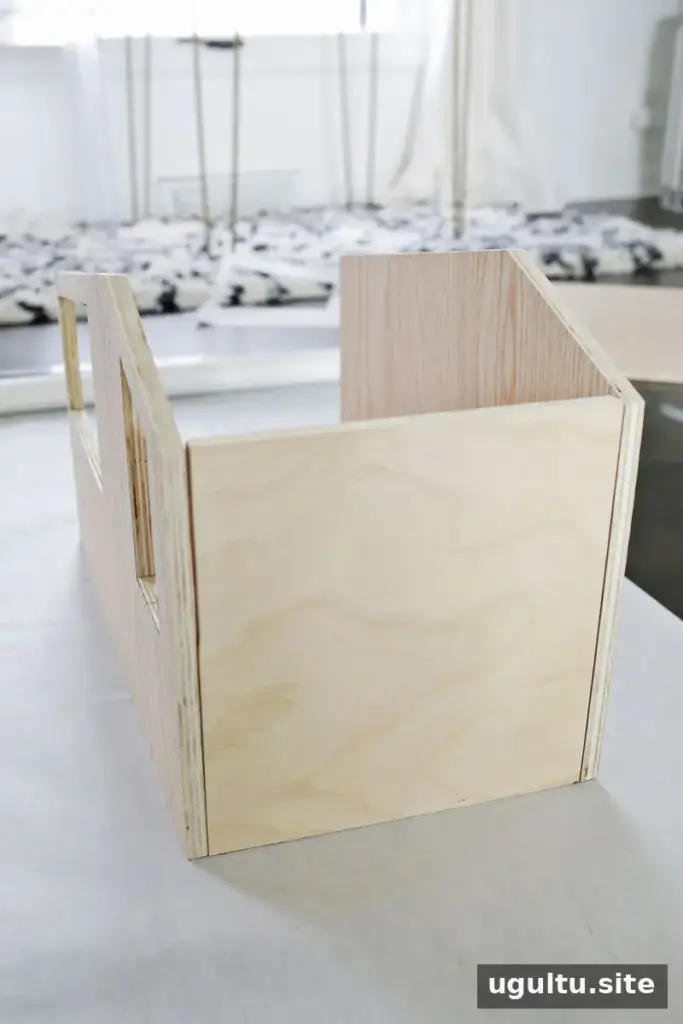
Because the finished house is too large for a single template, use the following measurements as a guide. The design has a slightly asymmetrical ranch-style roof.
- A — Back wall: 19 inches long, 12 inches at the highest peak, and 9.5 inches at the lower peaks.
- B — Front wall: The same overall shape, reversed, with windows cut out.
- C — Closed side: 9.5 by 9.5 inches.
- D — Open-side retaining piece: 9.5 by 1.75 inches; this helps keep the scratcher in place.
- E — Bottom: 18.5 by 9.5 inches.
Transfer the shapes to the plywood and cut them with a jigsaw. For a straighter cut, clamp a ruler parallel to the cutting line so the saw’s metal guide can run against it. Keep hands clear of the blade and secure the wood before cutting.
Assemble the Wooden Cat House
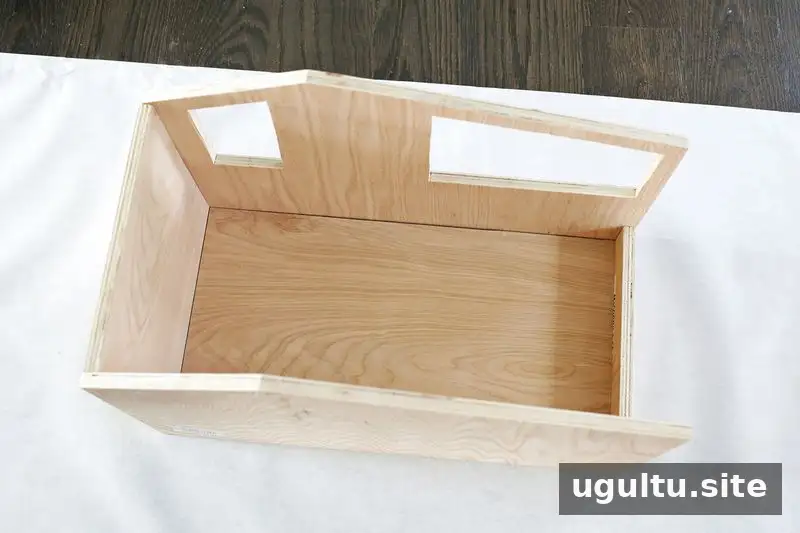
Dry-fit the pieces first to check that the edges align. Then apply wood glue, clamp the pieces together, and allow the glue to dry before securing the joints with nails. Take time to confirm that the floor and walls are square and stable before moving on.
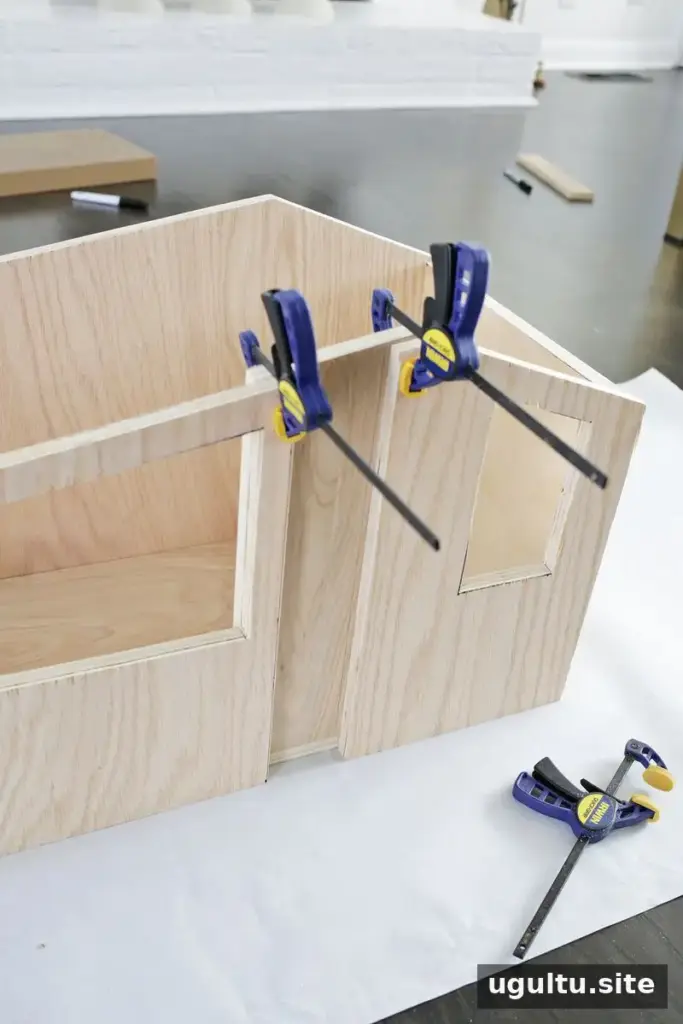
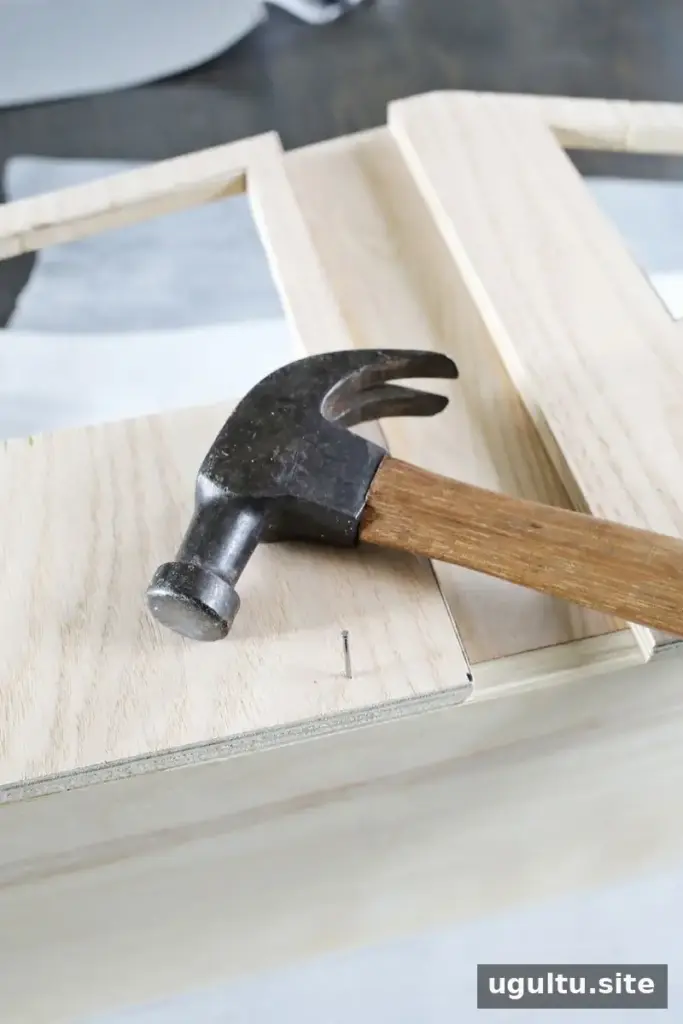
The recessed doorway is made by cutting a strip from the front wall where the entrance will be, then attaching a slightly wider piece behind that opening. This creates a set-back entry while helping define the front of the house.
Fit the Roof, Wallpaper, and Paint
The asymmetrical roof can take extra measuring and fitting. With a conventional right-angle roof, the two roof boards may meet more simply, but angled edges can require several adjustments. Test the pieces together before applying glue or nails, and trim gradually until the joint fits.
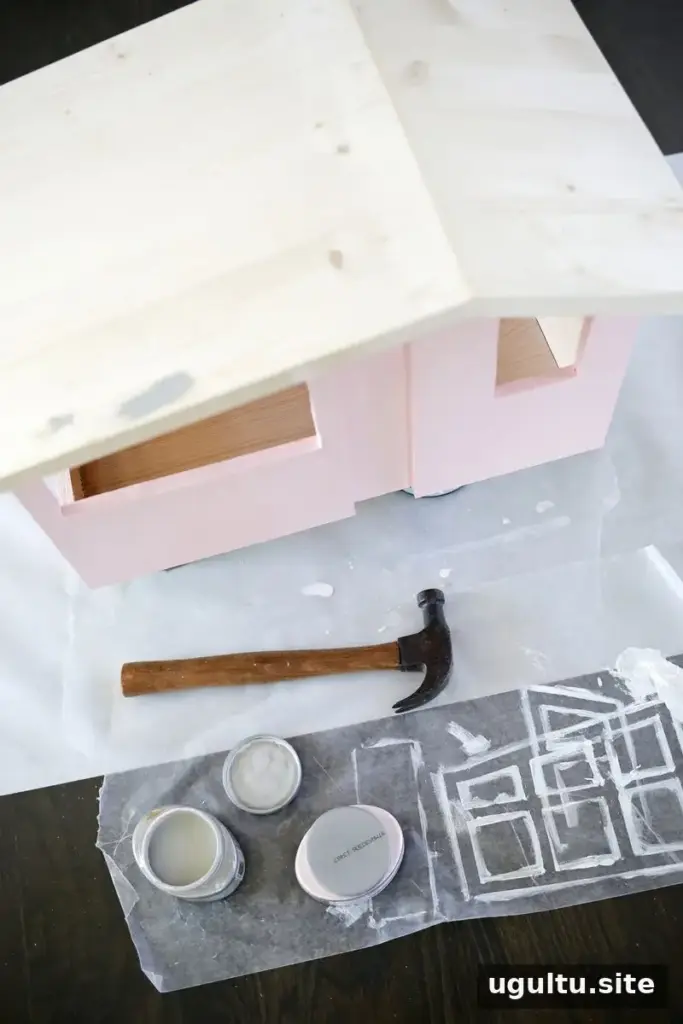
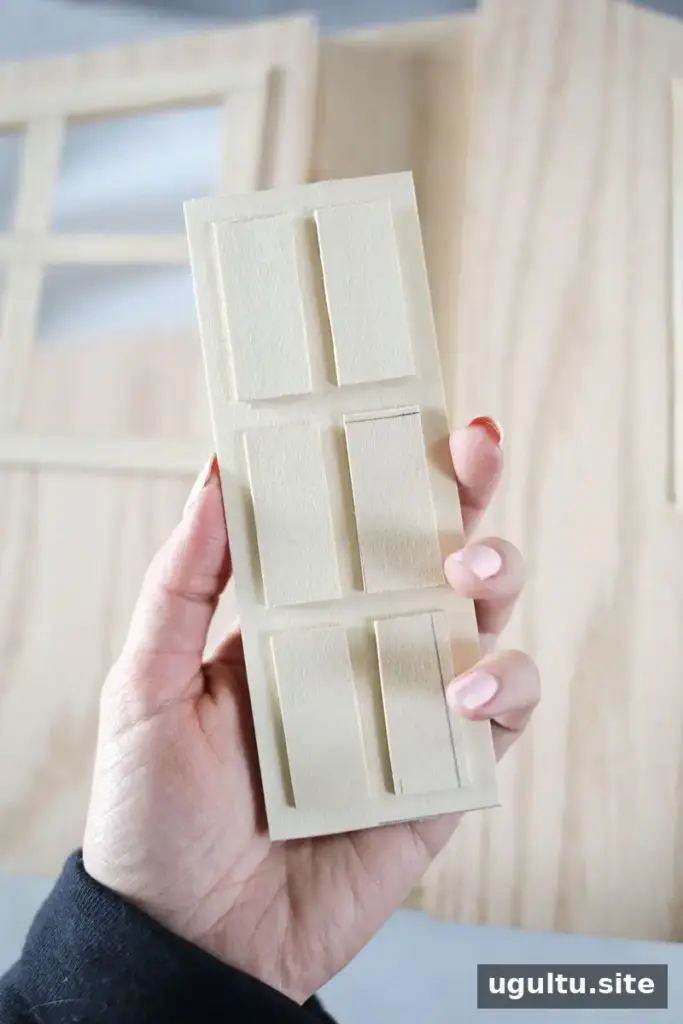
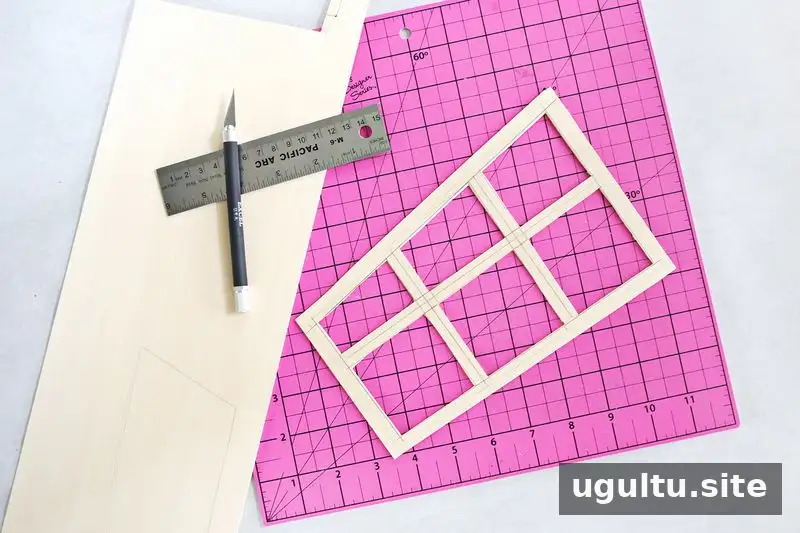
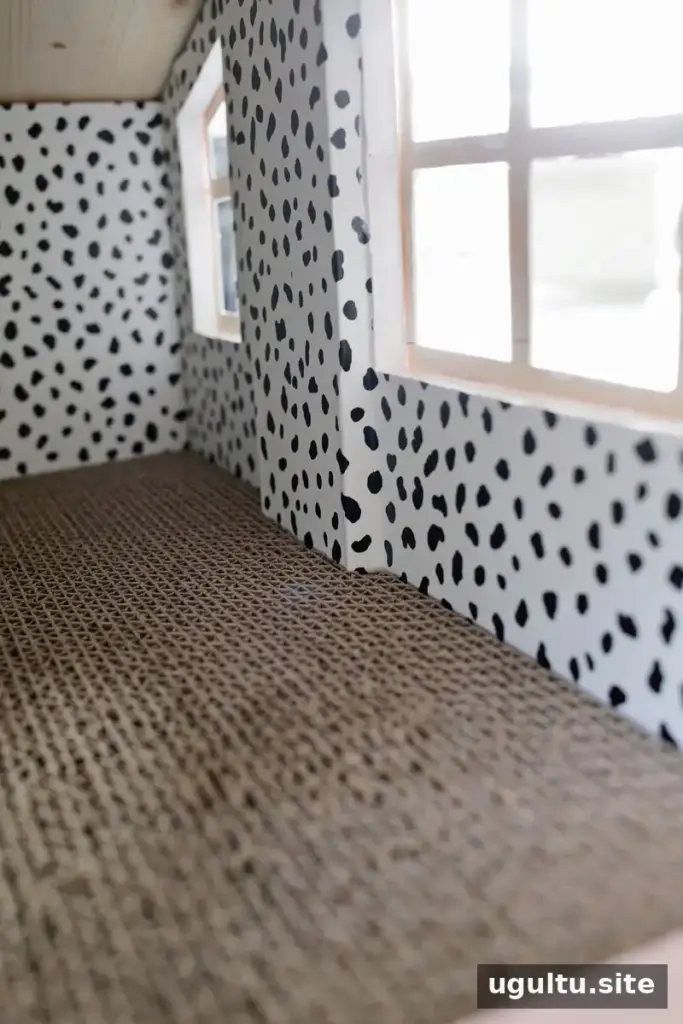
If you plan to use removable wallpaper inside, apply it before attaching the roof; reaching the interior afterward can be difficult. Once the roof is fitted and secured, paint the house. The colors used for this version were Valspar Tea Rose and Sherwin Williams Dorian Gray. Balsa wood can be shaped into window frames and a door, then painted between coats.
Add the Decorative Details and Scratching Pad
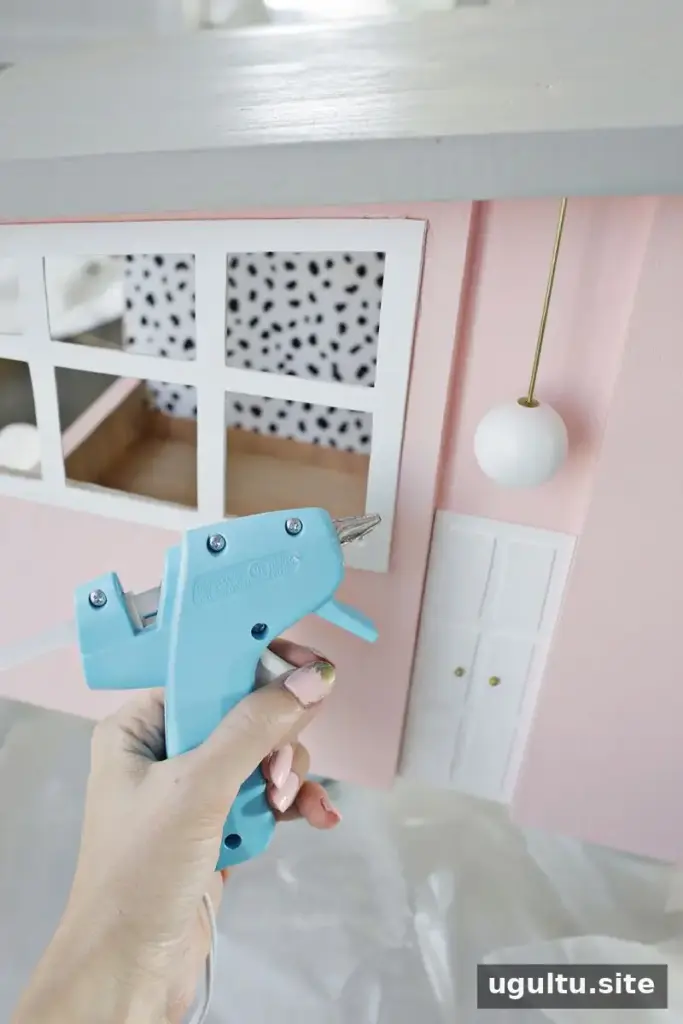
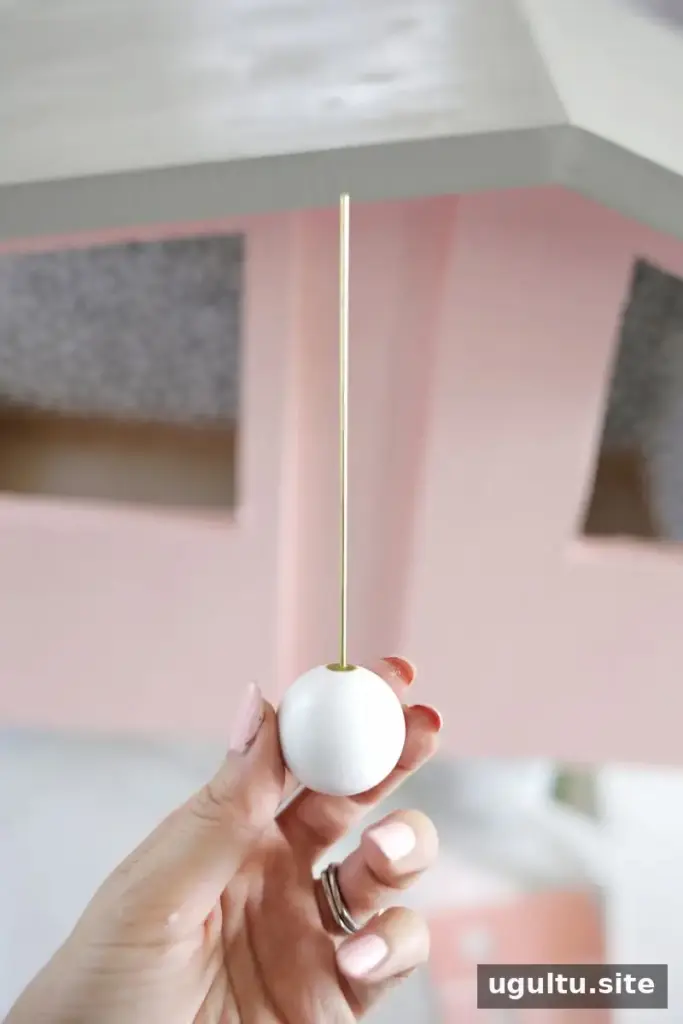
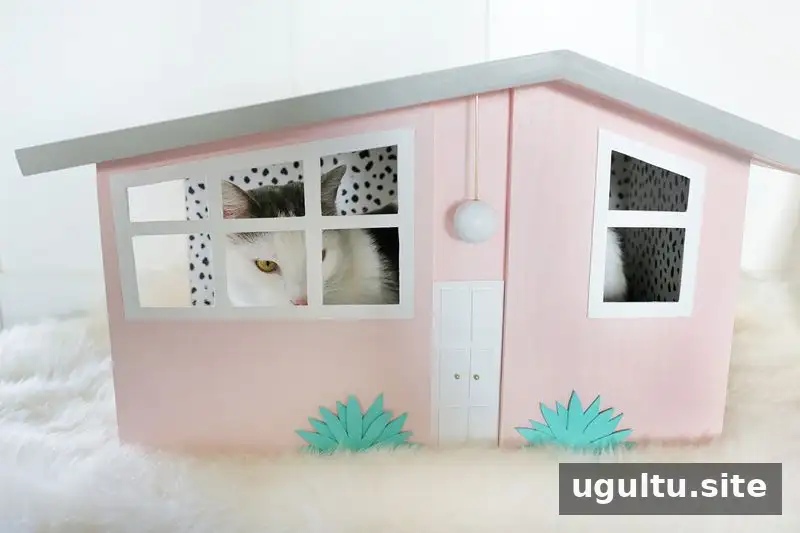
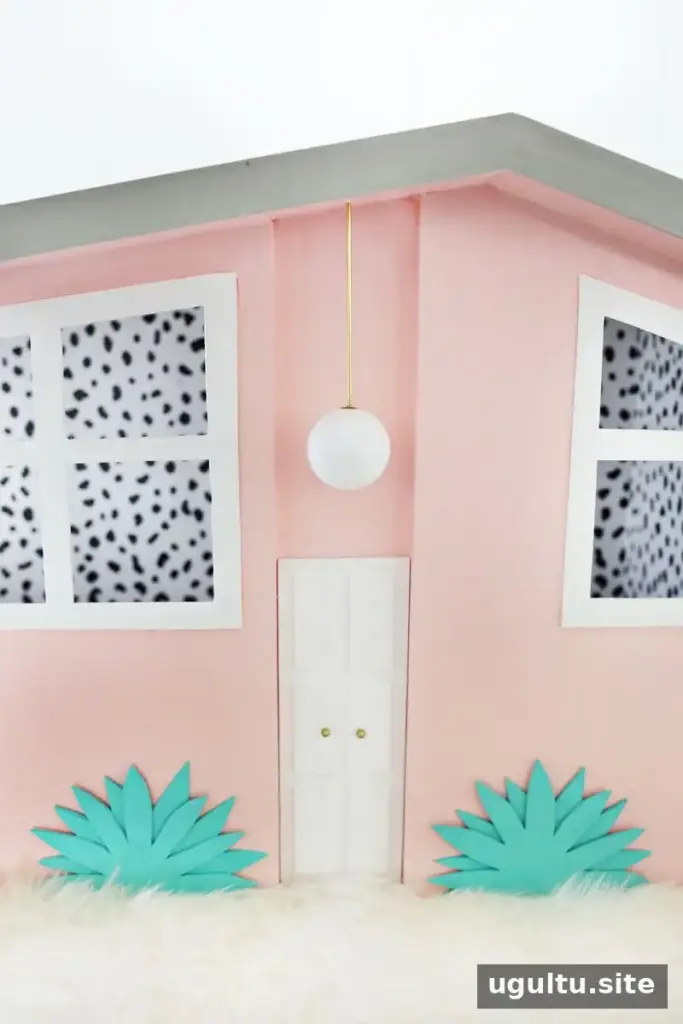
After the paint has dried, attach the balsa-wood windows and door. For a small globe-style entry light, paint a wooden craft ball and drill a small hole into it and into the underside of the roof. A little super glue in each hole can hold the wire-mounted detail in place. Small gold-painted pin heads, cut in half and tapped into the door, create tiny doorknobs.
For the finishing touch, make agave plants from pieces of balsa wood and place them beside the entrance. Measure the scratching insert and cut a small notch so it fits around the recessed doorway. Slide the pad into place; because the insert is removable, it can be replaced when worn.
Enjoy the Finished DIY Cat Scratch House
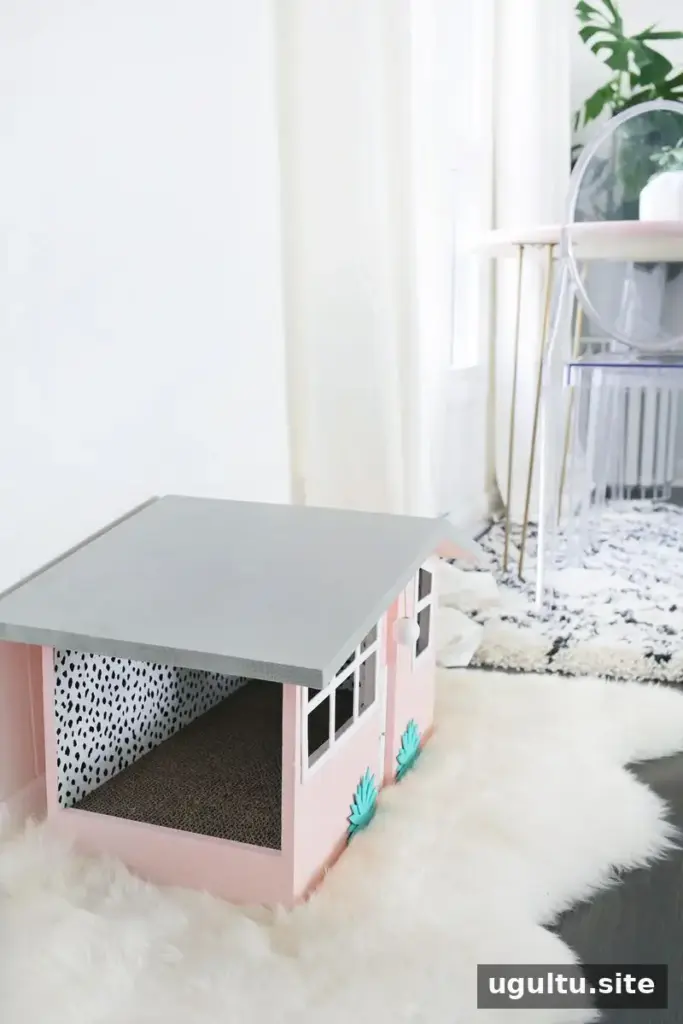
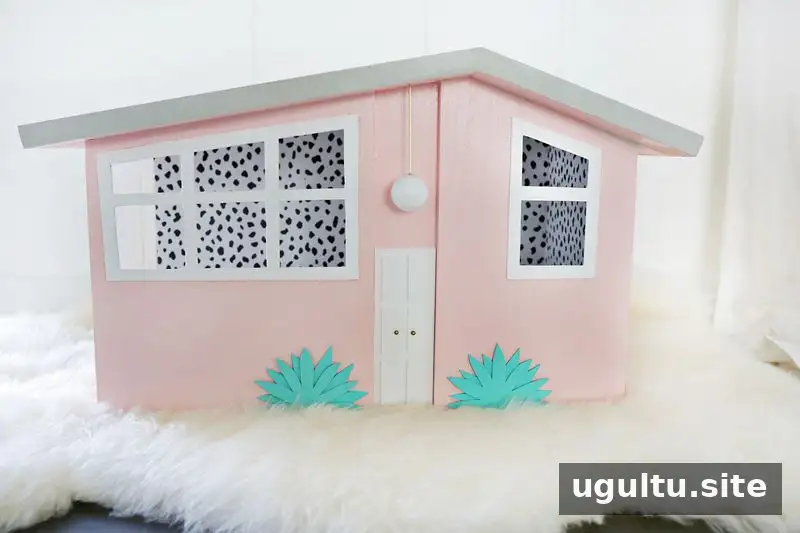
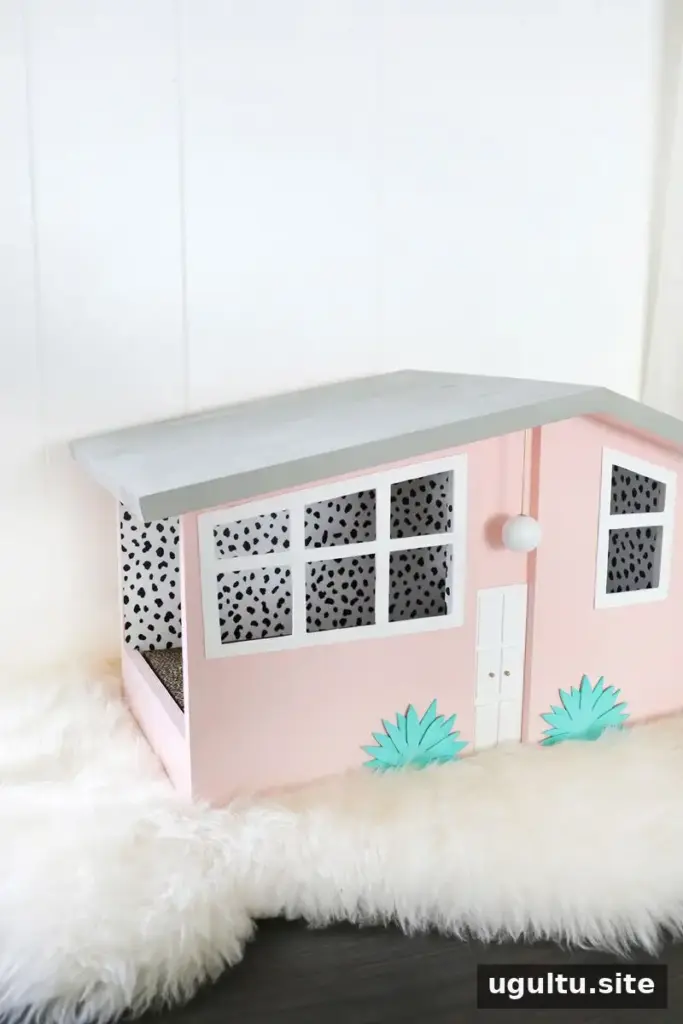
The finished house combines a pink exterior, patterned interior wallpaper, a globe light, and miniature agave accents with a useful horizontal scratching surface. Its replaceable insert means the wooden structure can stay in use even when the cardboard pad needs changing. The cat also used the house as a place to nap between scratching sessions.
When making your own DIY cat scratch house, prioritize a comfortable opening, a secure structure, and a pad that fits without shifting. Smooth rough edges, keep the house stable, and let finishes dry fully before allowing your cat to use it.
— Laura


