
 admin
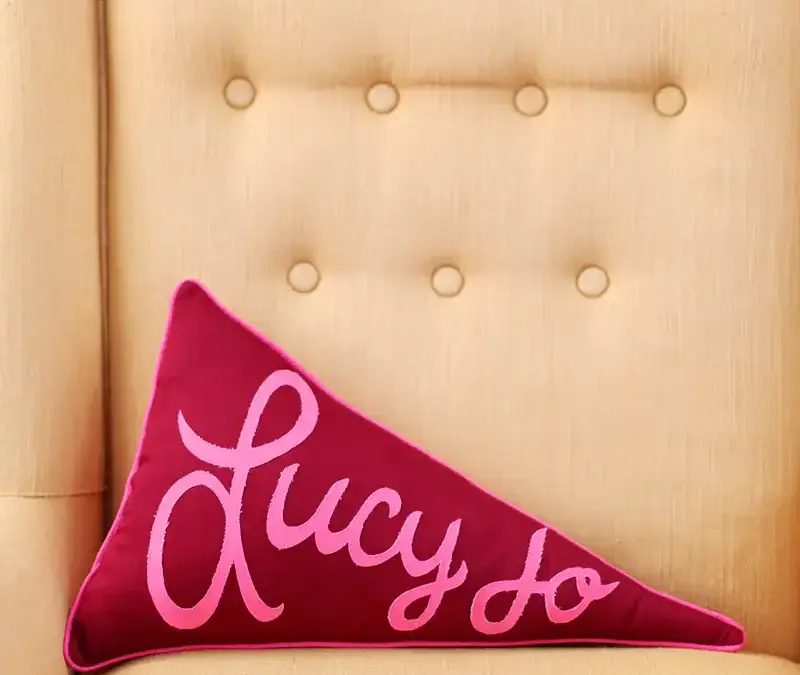
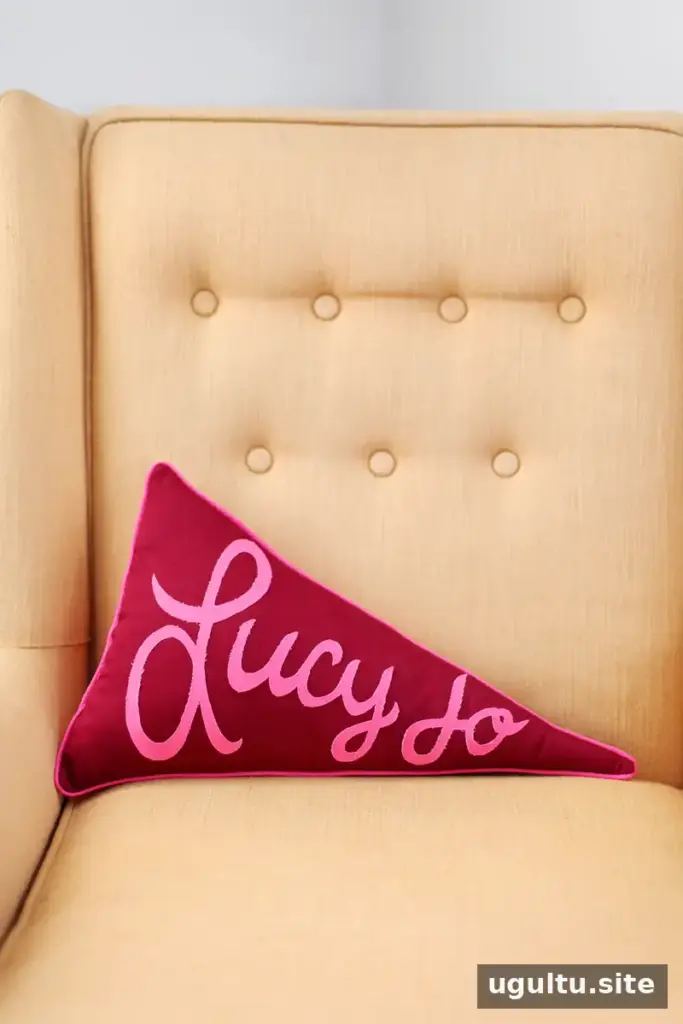
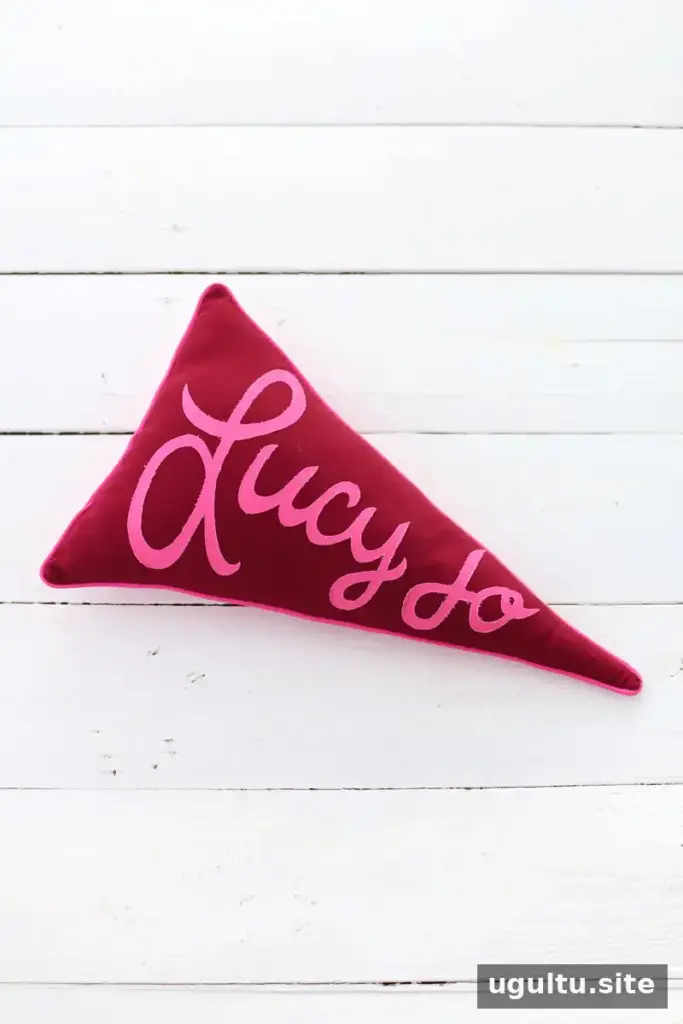
A Pennant Pillow DIY project is a simple way to make a personalized cushion for a child’s bed, a sofa, or a favorite chair. This version uses two coordinating fabrics, fusible webbing, and piping to create a classic pennant shape with custom lettering. Make the pillow in favorite colors, or add a name, family name, or team-inspired design.
The project was inspired by pennant pillow designs, including one designed by Christine Schmidt. The instructions below explain how to draft the shape, apply fabric letters, sew in the piping, and fill the finished pillow.
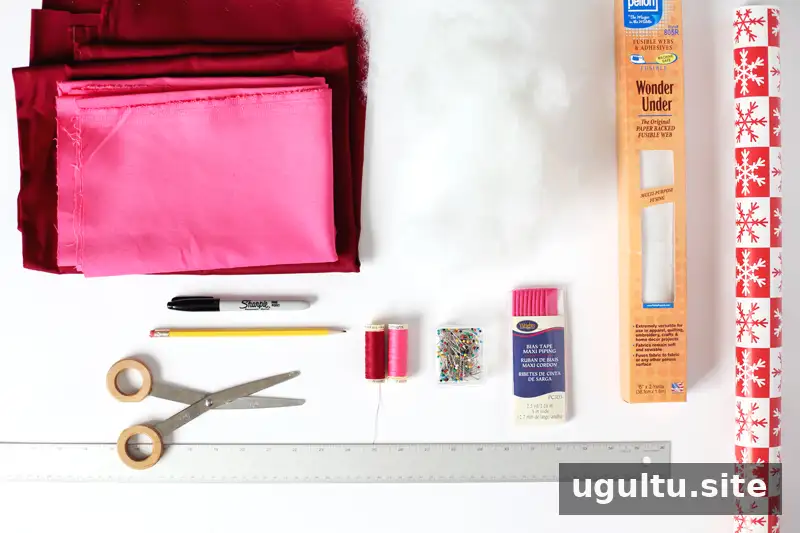
Supplies for the Pennant Pillow DIY
- 1/4 yard of dark-colored fabric
- 1/2 yard of coordinating lighter-colored fabric; medium-weight twill was used for both fabrics
- Paper-backed fusible webbing
- One pack of premade piping, or enough piping to go around the pennant
- Straight pins
- Thread matching the lighter fabric, plus thread matching the piping
- Polyfill or another batting material
- Pencil and permanent marker
- Paper scissors and fabric scissors
- A large piece of paper for the pattern
- A long ruler, such as a yardstick or T-square
Before cutting, check that the fabrics and piping coordinate, and read the fusible webbing instructions for any specific heat or pressing guidance.
How to Make a Pennant Pillow
1. Draft and cut the pennant pattern
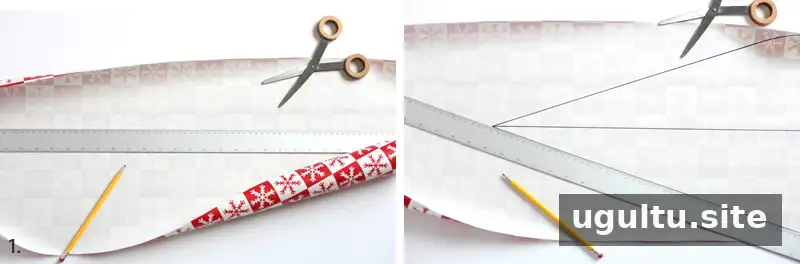
Cut a rectangle of paper measuring 20 inches by 12 inches. Draw a line through the center of the rectangle to mark the pennant point, then draw lines from the end of that center line to the two opposite corners. Cut along the lines to make the triangular pennant pattern.
2. Cut the fabric pieces
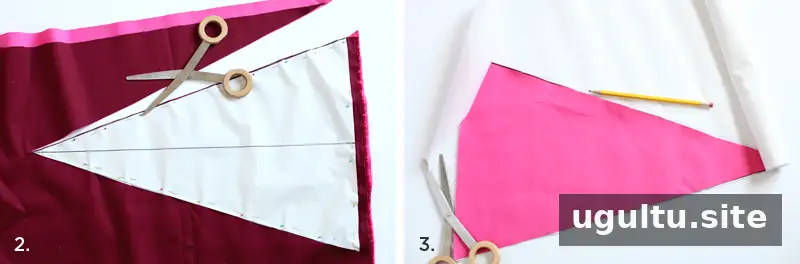
Place the two fabric layers with their right sides facing one another. Pin the paper pattern in place and cut around it with fabric scissors. Keep the pieces stacked so they remain the same shape.
3. Prepare and cut out the lettering
Trace around one fabric pennant on the fusible webbing and cut out the traced shape. On the rough side of the webbing, draw a margin that is 2 inches from the left edge and 1 inch from the other edges. Write the chosen name in cursive inside that area. Once the lettering looks balanced, trace over it with a permanent marker. Keep every part of each letter at least 1/4 inch wide.
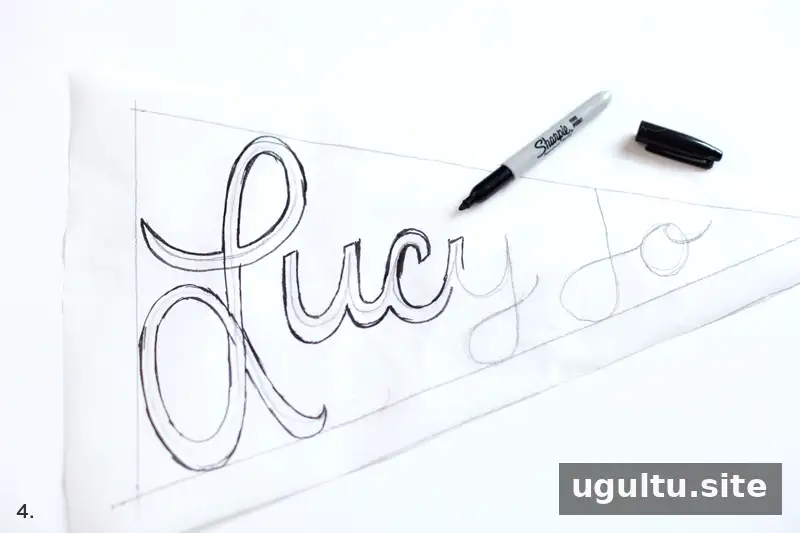
Place the drawn side of the webbing against the right side of a scrap of the lighter fabric. Press with a dry iron set to the wool setting, holding it for about 10 seconds at each spot. Cut out the letters. Peel off the paper backing, arrange the letters on the dark pennant fabric, and cover them with a lightly damp pressing cloth. Press on the wool setting for about 10–15 seconds, adjusting for fabric thickness. Let the piece cool and dry fully before handling.
For extra durability, stitch or embroider around the letter edges after they have been fused. This can help keep the lettering from lifting over time.
4. Attach the piping
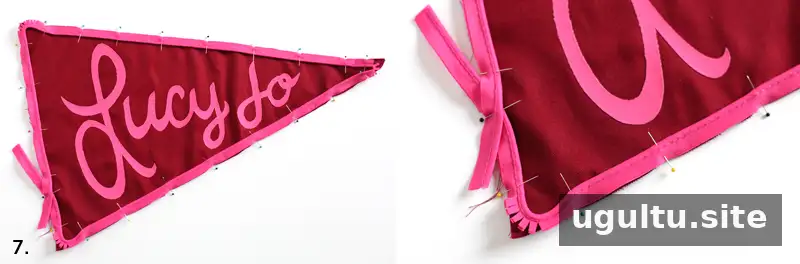
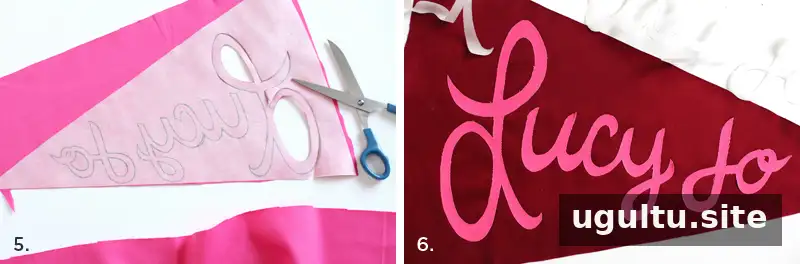
Pin the piping around the edge of the dark pennant piece, with the rolled edge facing inward and the selvage edge facing outward. Snip small cuts into the selvage at the corners so the piping can follow the shape more easily. Start and finish along the lower part of the left edge, overlapping the ends. Use a zipper foot, or a foot without a left edge, and sew close to the piping with matching thread.
5. Sew the pillow pieces together
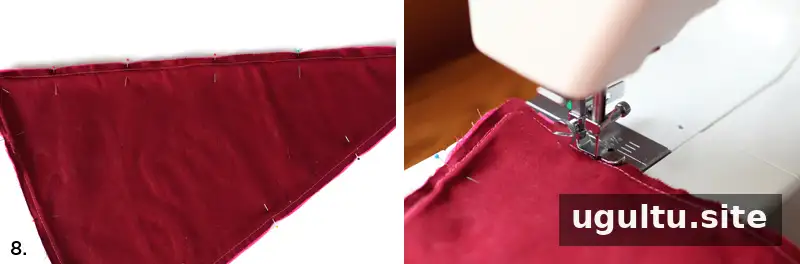
Place the pennant pieces with right sides together and pin around the edges. Using the zipper foot, sew slowly around the shape without stitching over the piping. Leave an opening along the left edge large enough to turn and fill the pillow.
6. Turn, fill, and close the pillow
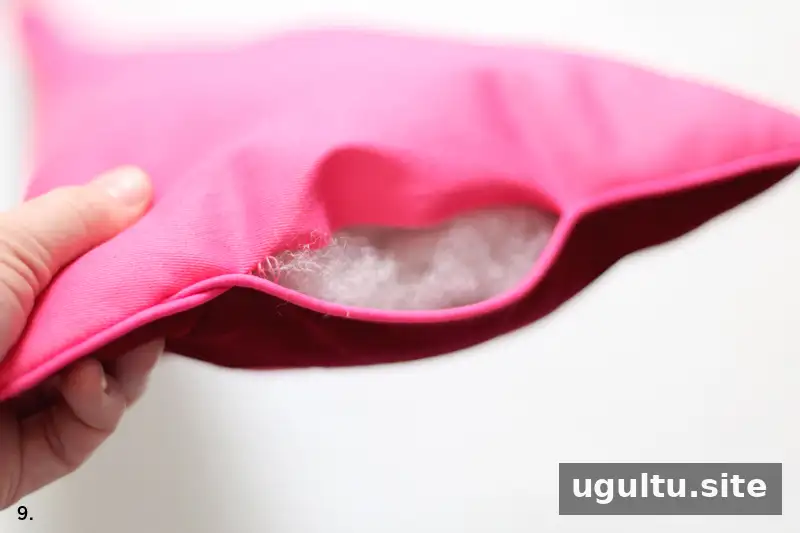
Turn the pillow right side out. Gently push the corners into shape with a blunt tool, taking care not to pierce the fabric. Add the filling to the corners first, then distribute it evenly through the rest of the pillow. Close the opening with a blind stitch.
Finishing Tips and Fabric Options
Woven fabric edges may fray slightly with use. If you prefer a cleaner edge, felt is an alternative fabric choice. Stitching or embroidering around the applied letters can also help secure them; do this after fusing the letters or while attaching the piping.
Choose a filling amount that gives the pillow an even shape without making it difficult to close the opening. For a coordinated look, match the piping to one of the lettering or fabric colors.
Display Your Finished Pennant Pillow

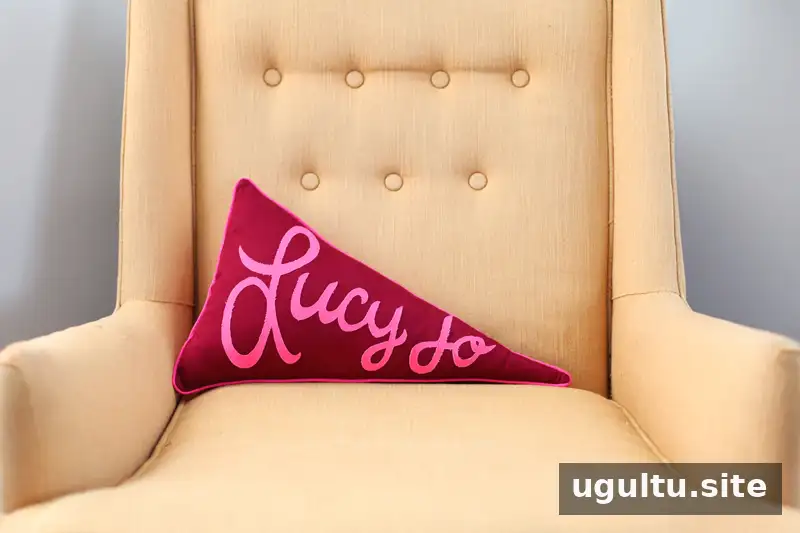
A finished pennant pillow can add a personalized touch to a child’s bed, but it also works as an accent on a sofa or chair. Customize the lettering and color combination to suit the room. This Pennant Pillow DIY uses a straightforward shape and basic sewing steps, making it easy to adapt for different names and styles.
—Mandi


